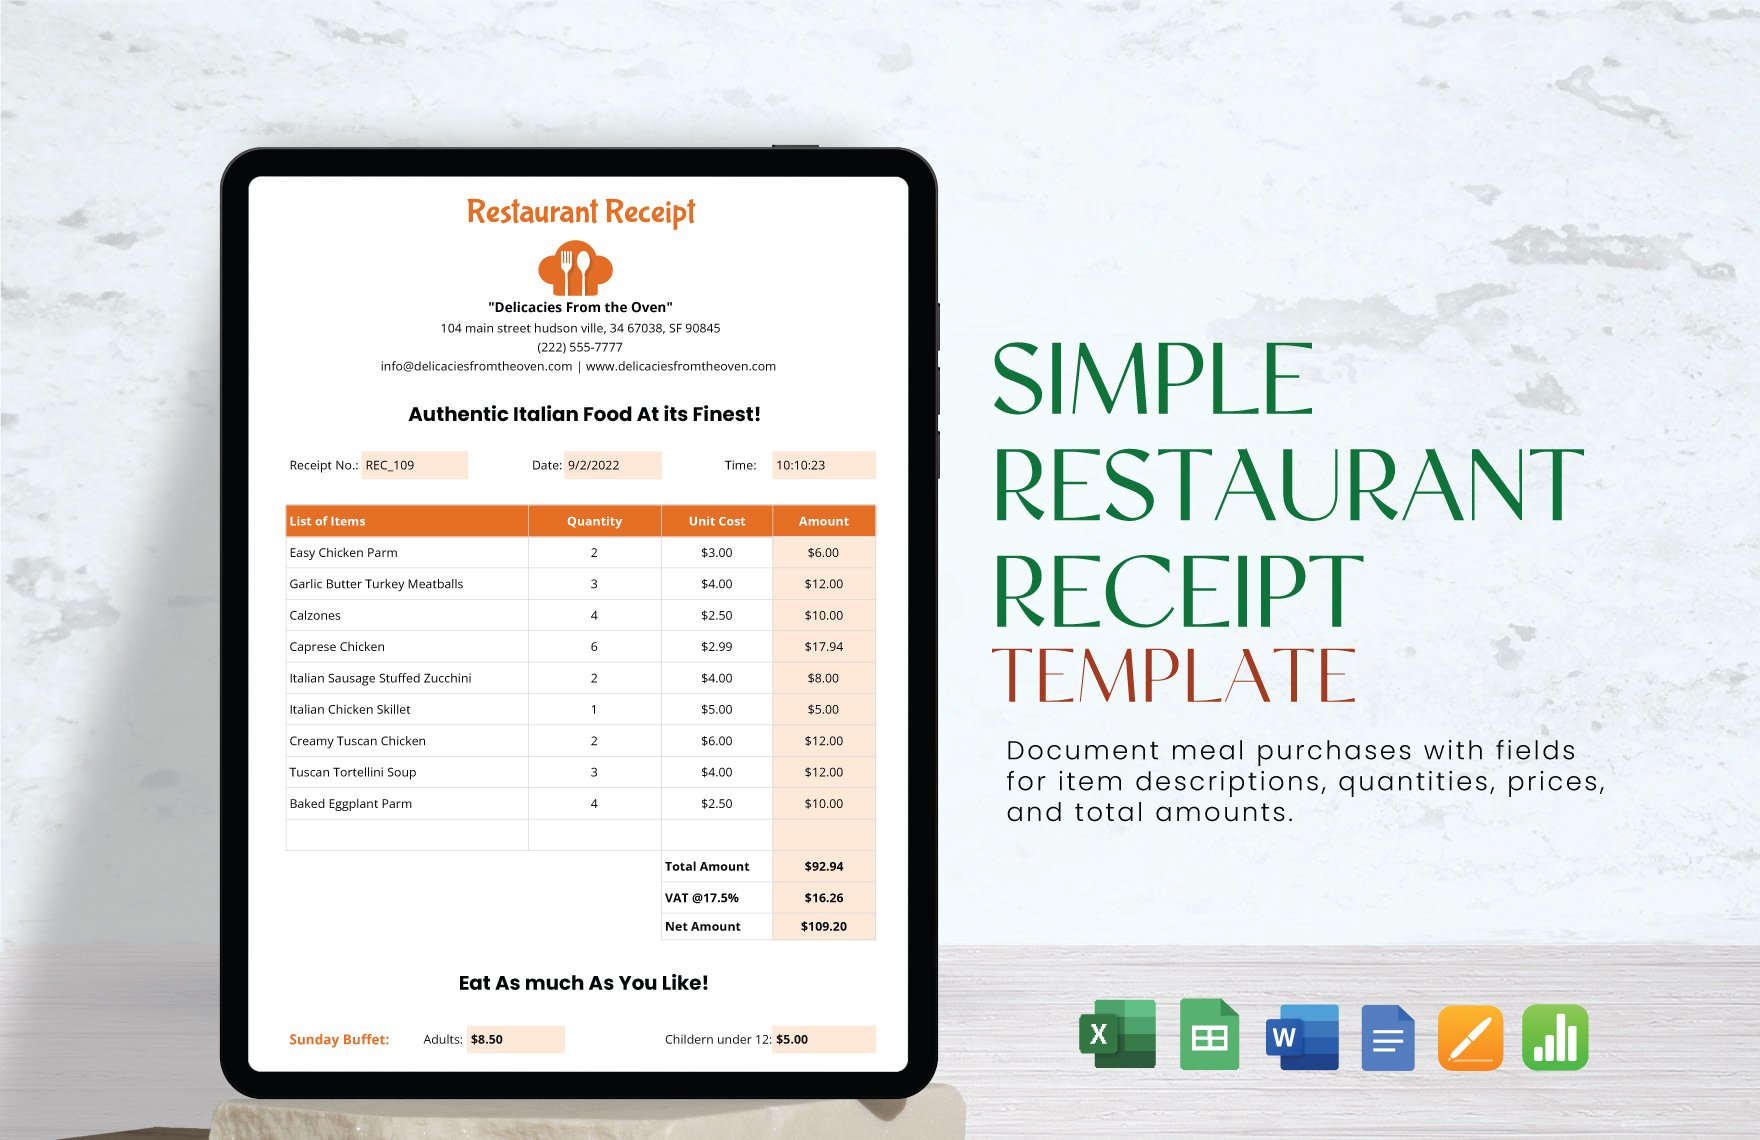
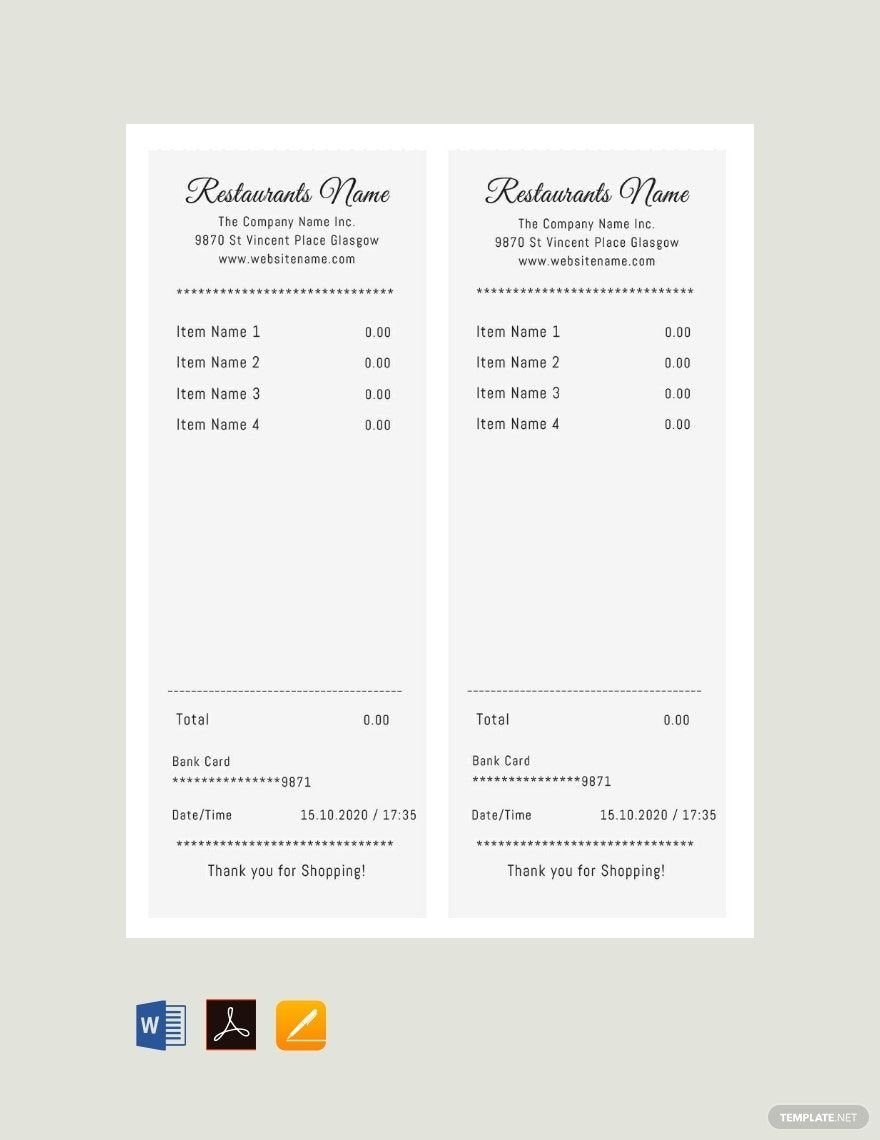
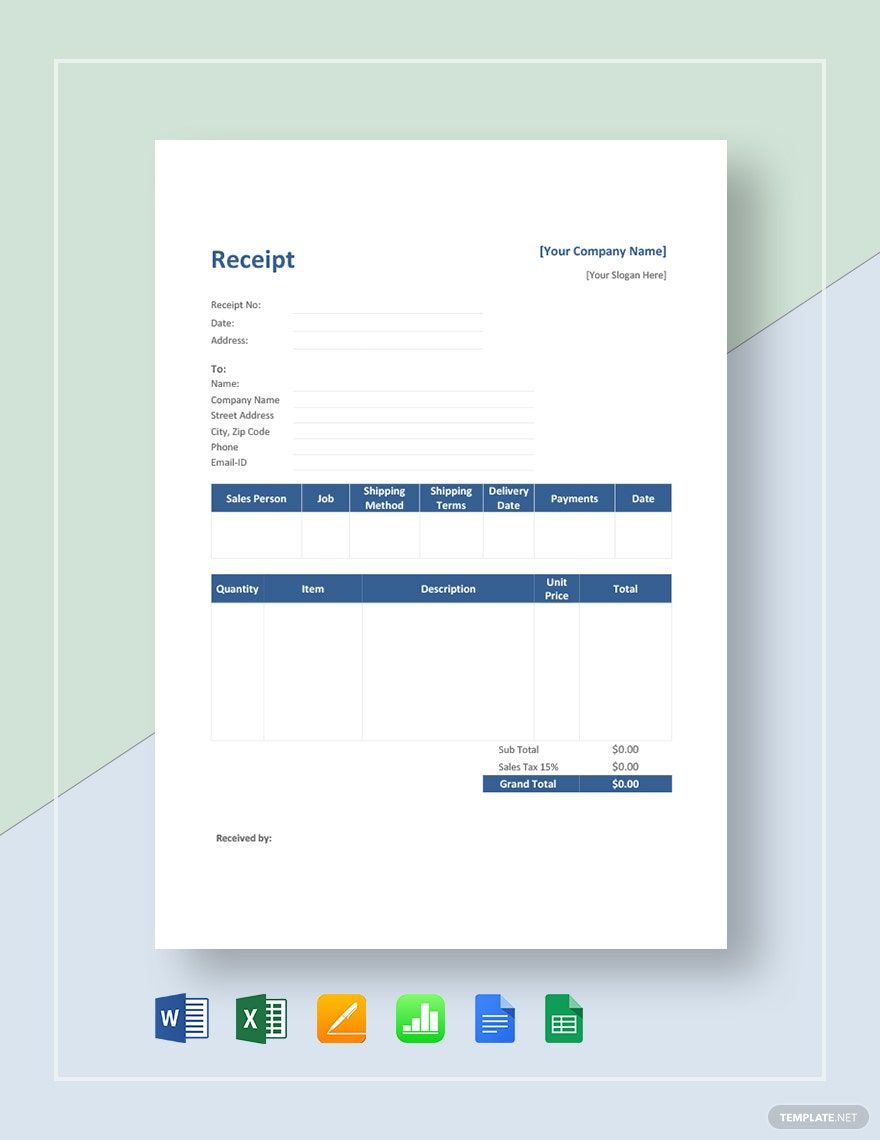
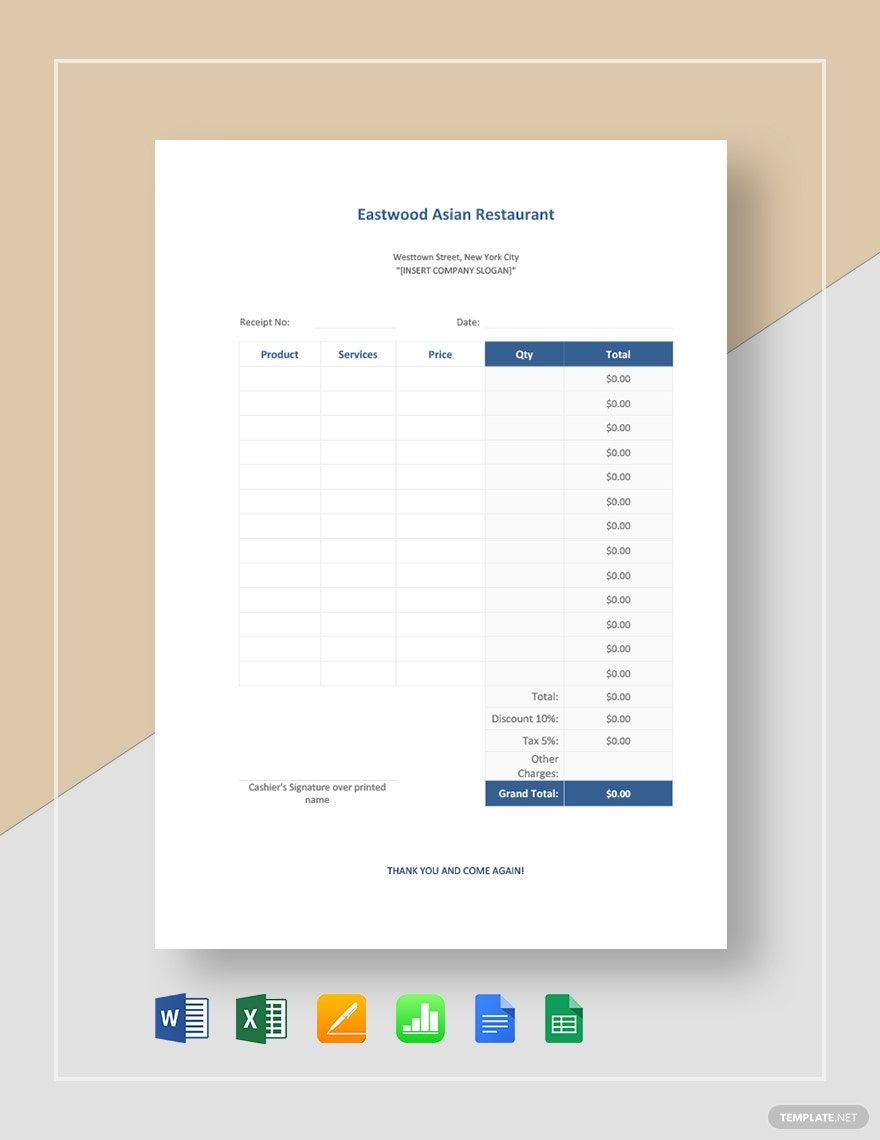
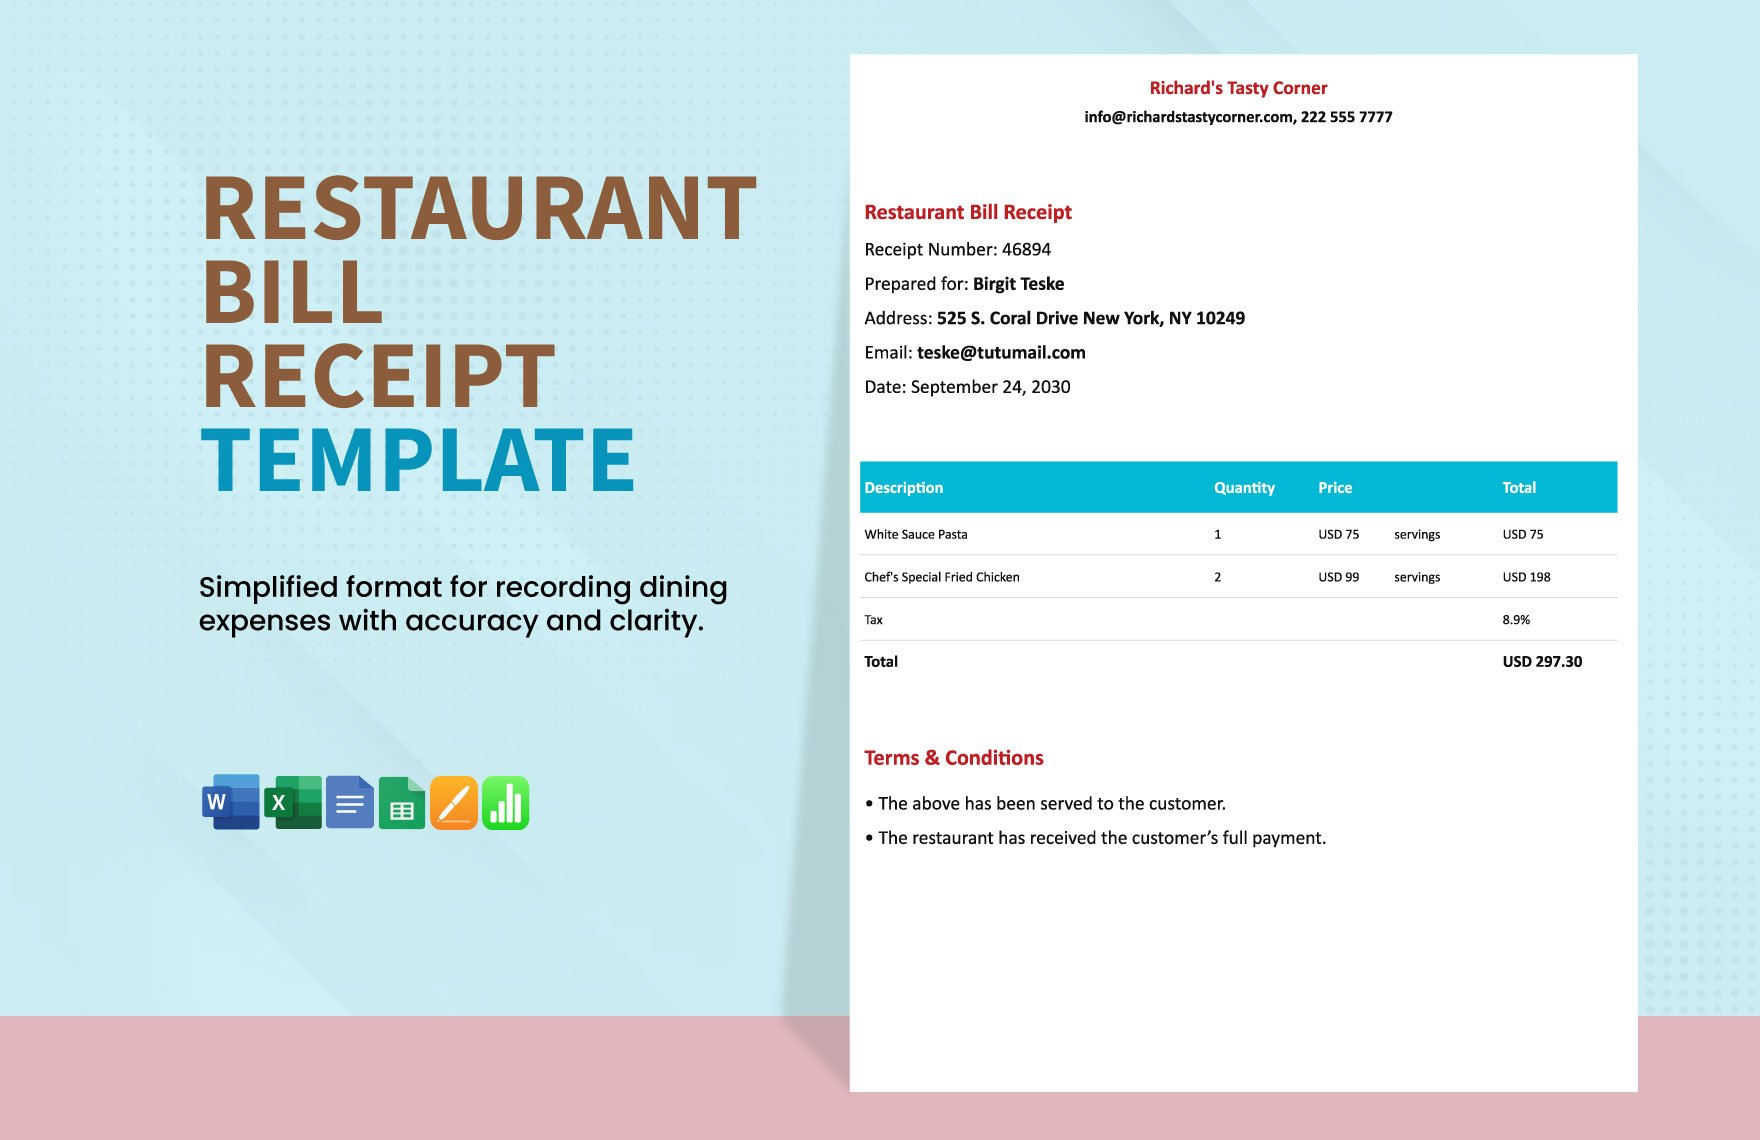
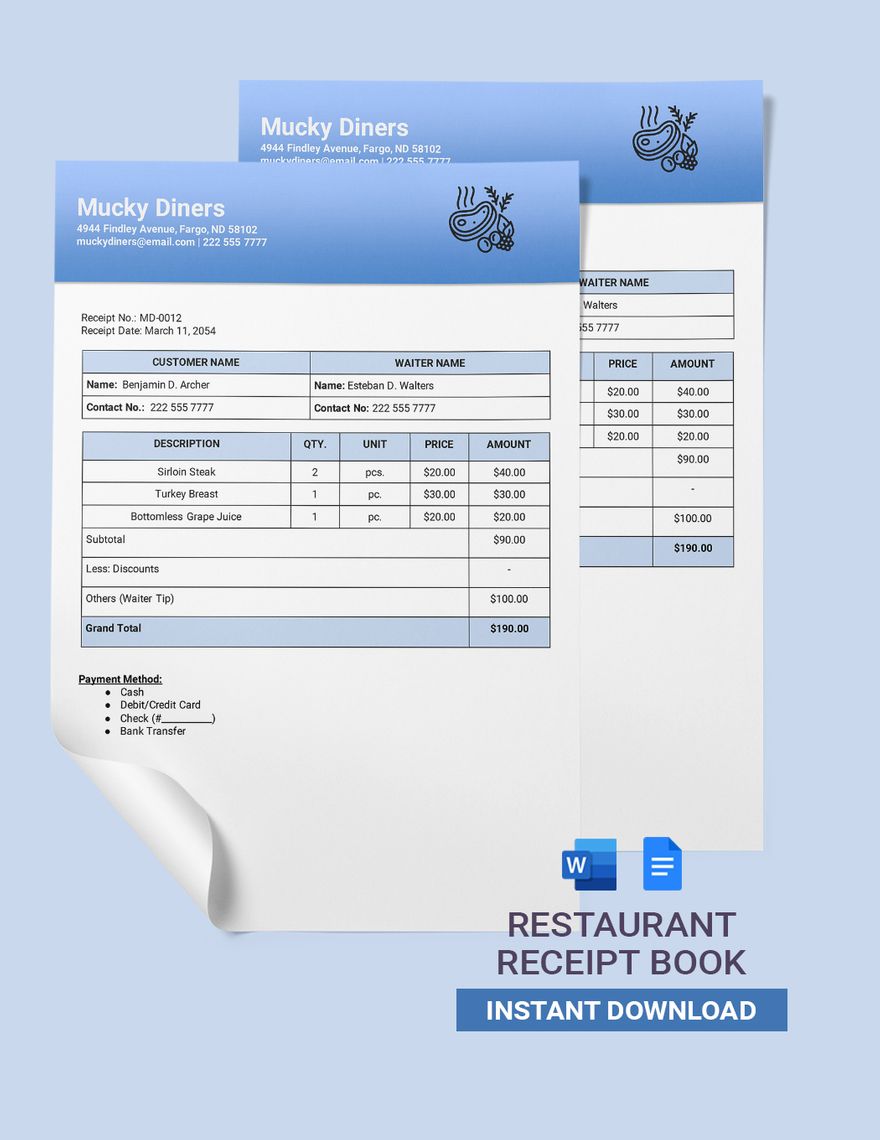
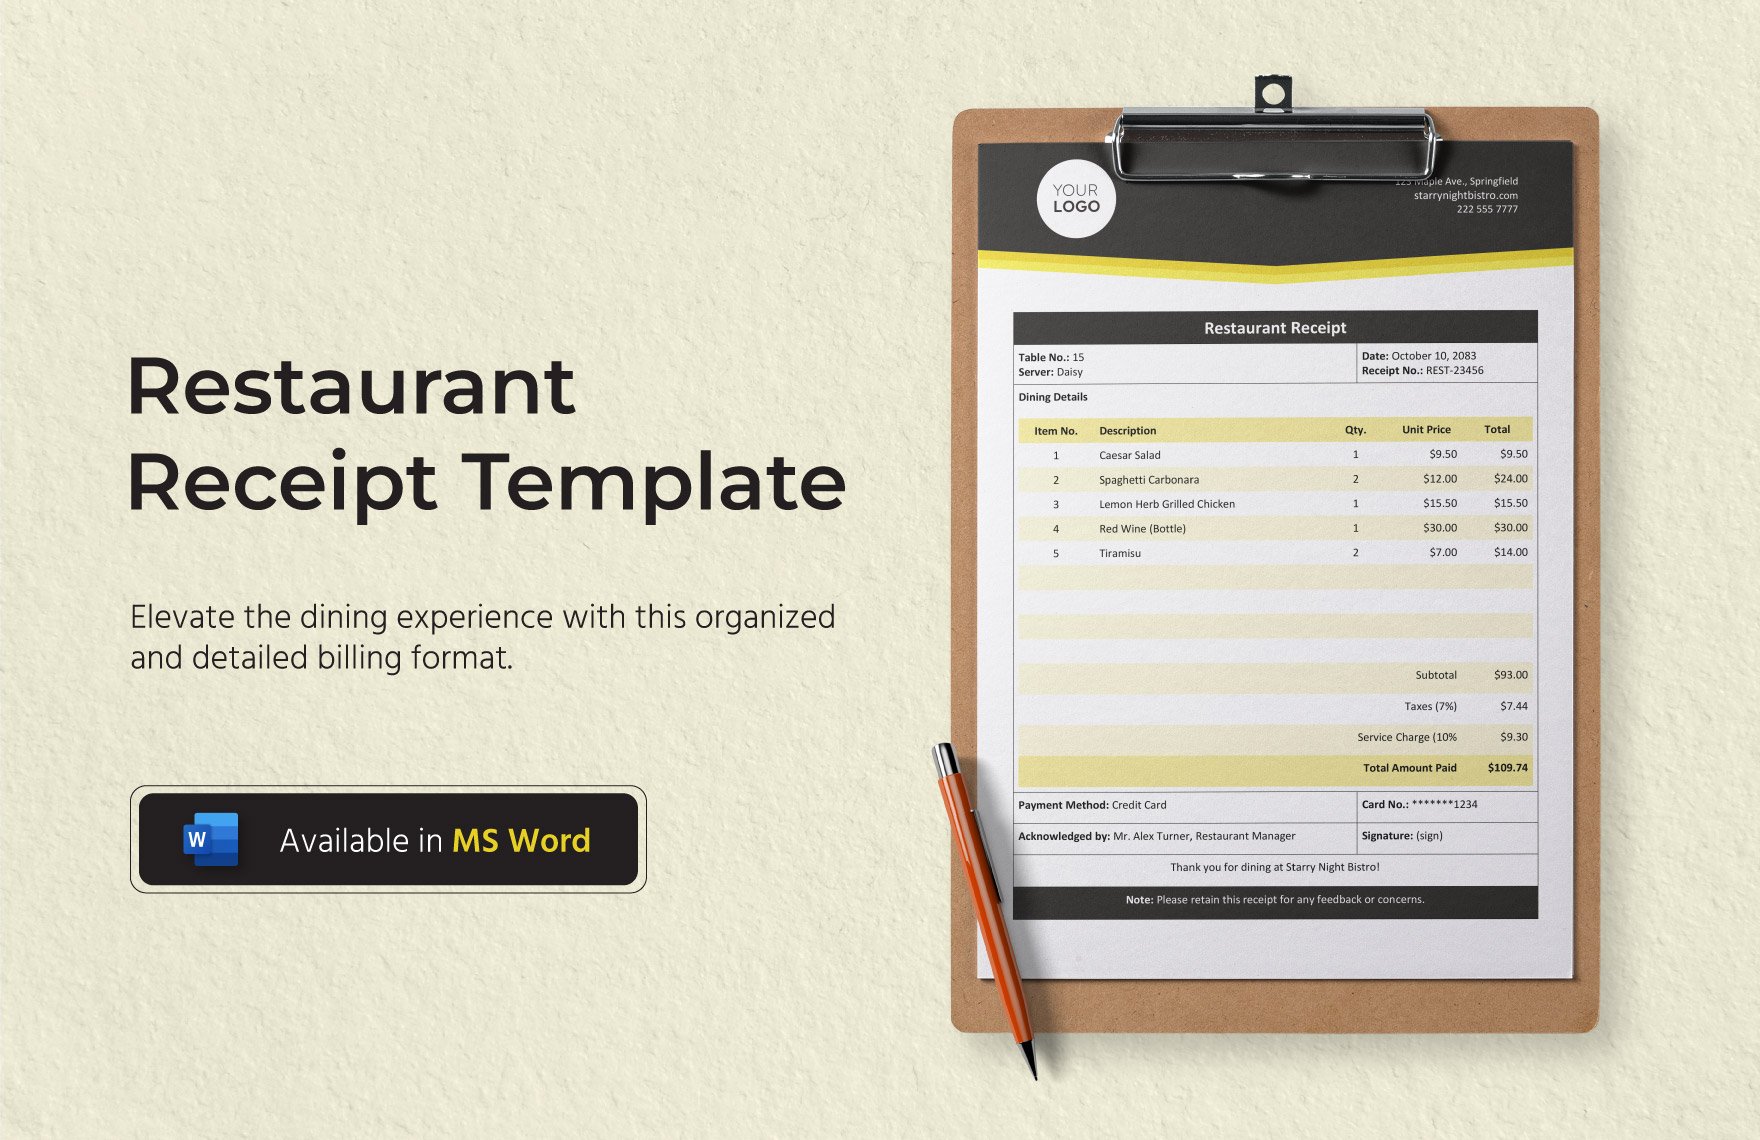
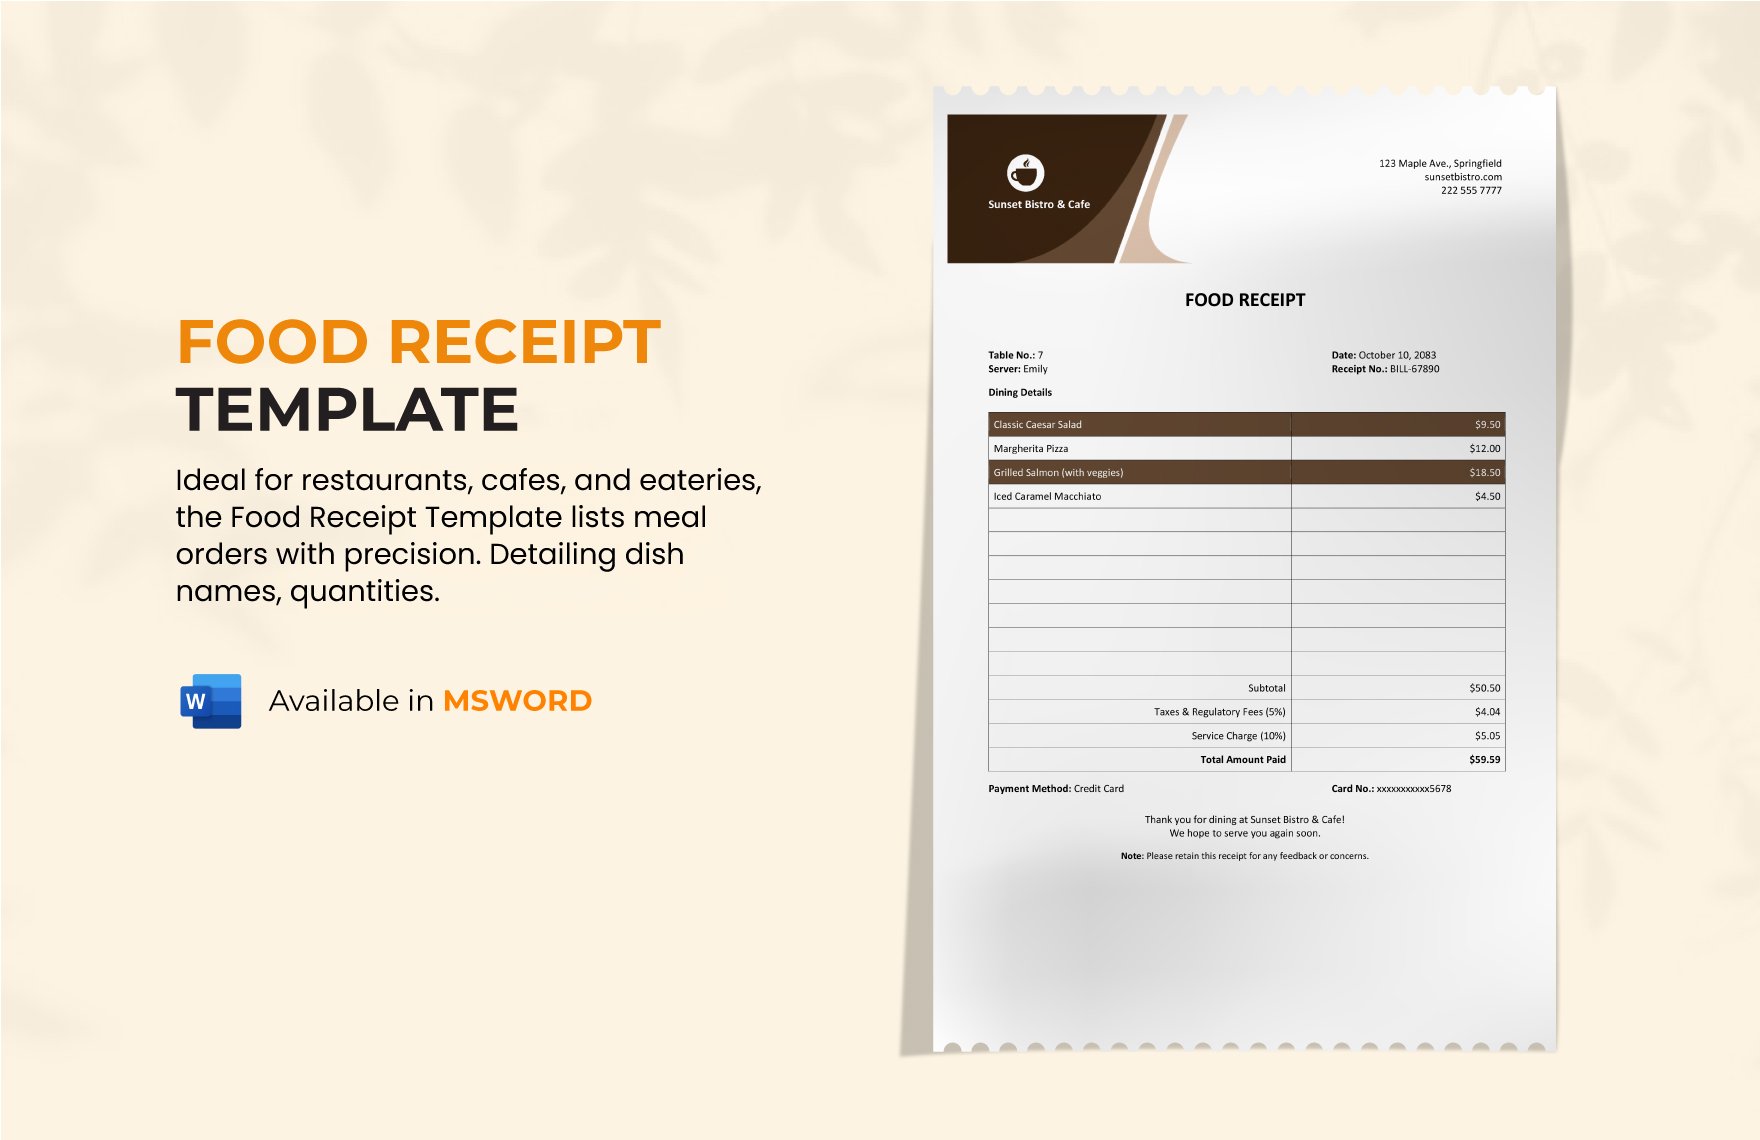
Transactions are made every time all over the world. With every transaction, there must be a written document to prove the transaction's eligibility—through receipts. Especially for restaurants, receipts serve as a list of itemized orders with corresponding prices. Well, if you happen to be a restaurateur, issuing restaurant receipts is as essential as issuing your customer's orders. Start issuing now by downloading our comprehensive, premium, and professionally written Restaurant Receipt Template in Microsoft Word. This template is packed with original suggestive headline and content that is easily editable and 100% customizable. Also, we guarantee you that our template is printable in A4 & US Sizes. Download now, and make more food transactions!
Restaurant Receipt Templates in Word
Explore professionally designed restaurant receipt templates in Apple Pages. Free and customizable for a polished look. Download now!
- Ticket
- Quotation
- Receipt
- Recipe Card
- Proposal
- Contract
- Statement
- Newsletter
- Coupon
- Bill of Sale
- Agreement
- Affidavit
- Memo
- White Paper
- Itinerary
- Email Signature
- Postcard
- Plan
- Planner
- Program
- Note
- Cover Page
- ID Card
- Banner
- Form
- Envelope
- CV
- Ebook
- Manual
- Notice
- Magazine
- Thesis
- Bookmark
- Lesson Plan
- APA
- Job Description
- Cover Letter
- Sign In Sign Out
- Poster
- Chart
- List
- Time Sheet
- To-Do List
- Log
- Assessment
- Teacher
- Business
- HR
- Marketing
- Sale
- Advertising
- Finance
- Accounting
- Legal
- Administration
- Operations
- Health Safety
- Bookkeeping
Elevate Your Business Transactions with Professionally Designed Restaurant Receipt Templates in Microsoft Word by Template.net
Unlock the potential of your business transactions using free pre-designed Restaurant Receipt Templates available in Microsoft Word by Template.net. Designed for busy restaurant owners and managers, these templates allow you to create polished and consistent receipts effortlessly, without needing any design skills. Perfect for enhancing your customer service and streamlining your bookkeeping, you can use Template.net's offerings to manage everything from dine-in receipts to takeout orders. With a collection of beautiful pre-designed templates, each downloadable and printable in Microsoft Word format, Template.net ensures that your receipt needs are met both digitally and in print. Experience the simplicity and savings, allowing you to focus on delivering exceptional dining experiences without fuss over technicalities.
Discover a plethora of premium pre-designed templates available in Microsoft Word to fit any business requirement. Enjoy the benefits of regularly updated templates and exciting new designs that keep your receipts fresh and professional. With options to download or share effortlessly via email, print, or digital platforms, your reach to customers can expand seamlessly. Take advantage of free templates for everyday use and premium options for special occasions or branding purposes, giving you maximum flexibility and control over your restaurant's image.
