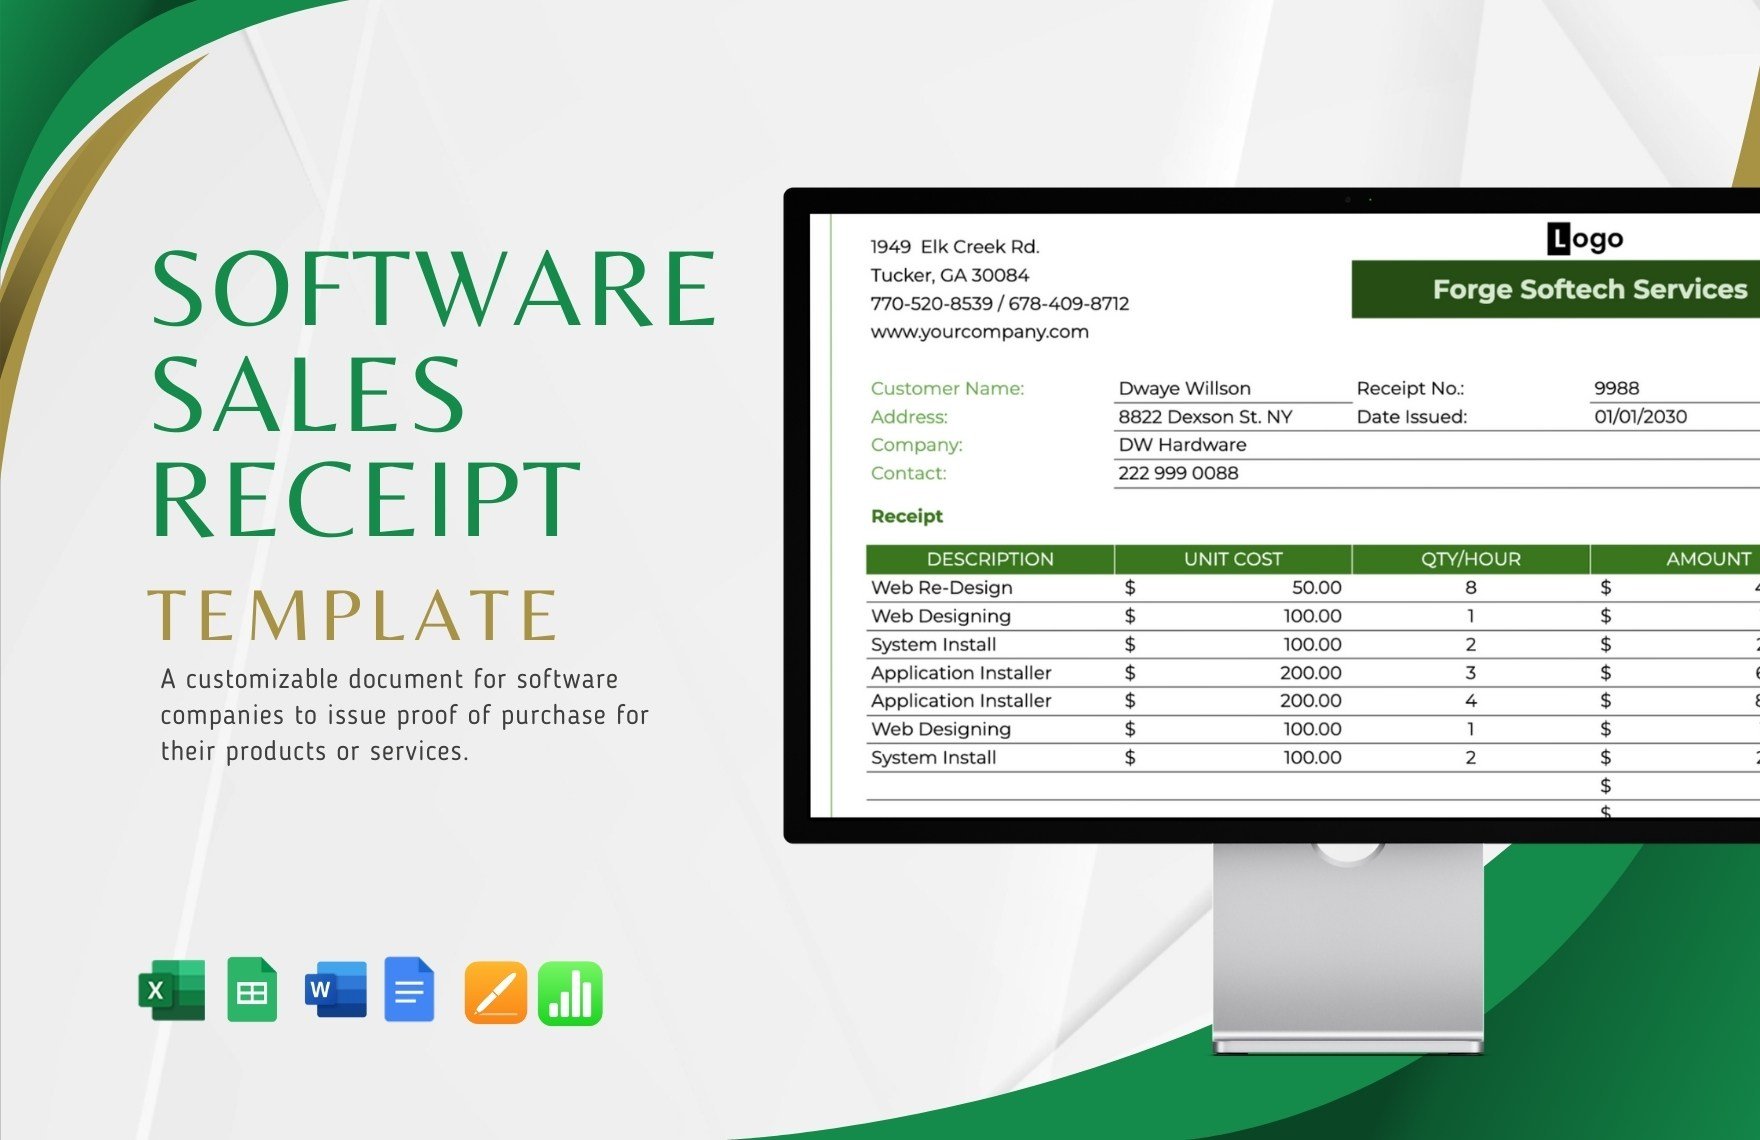
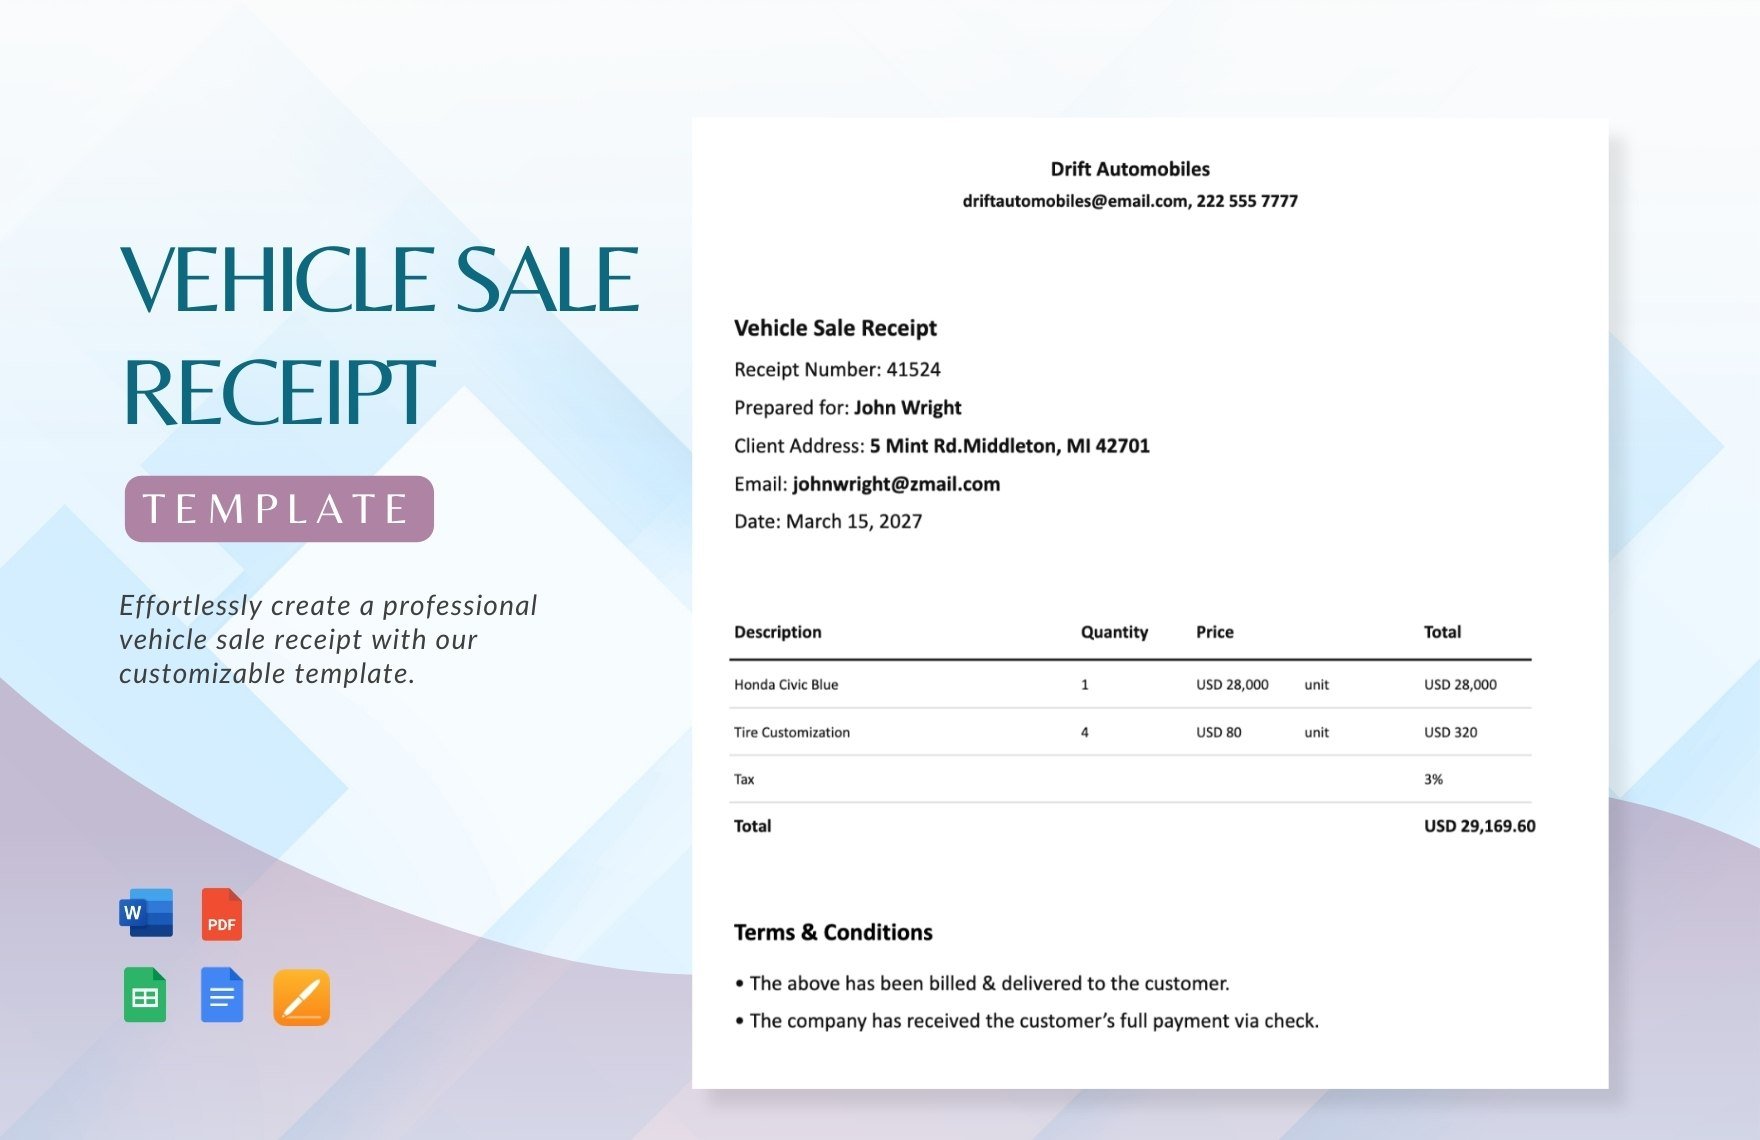
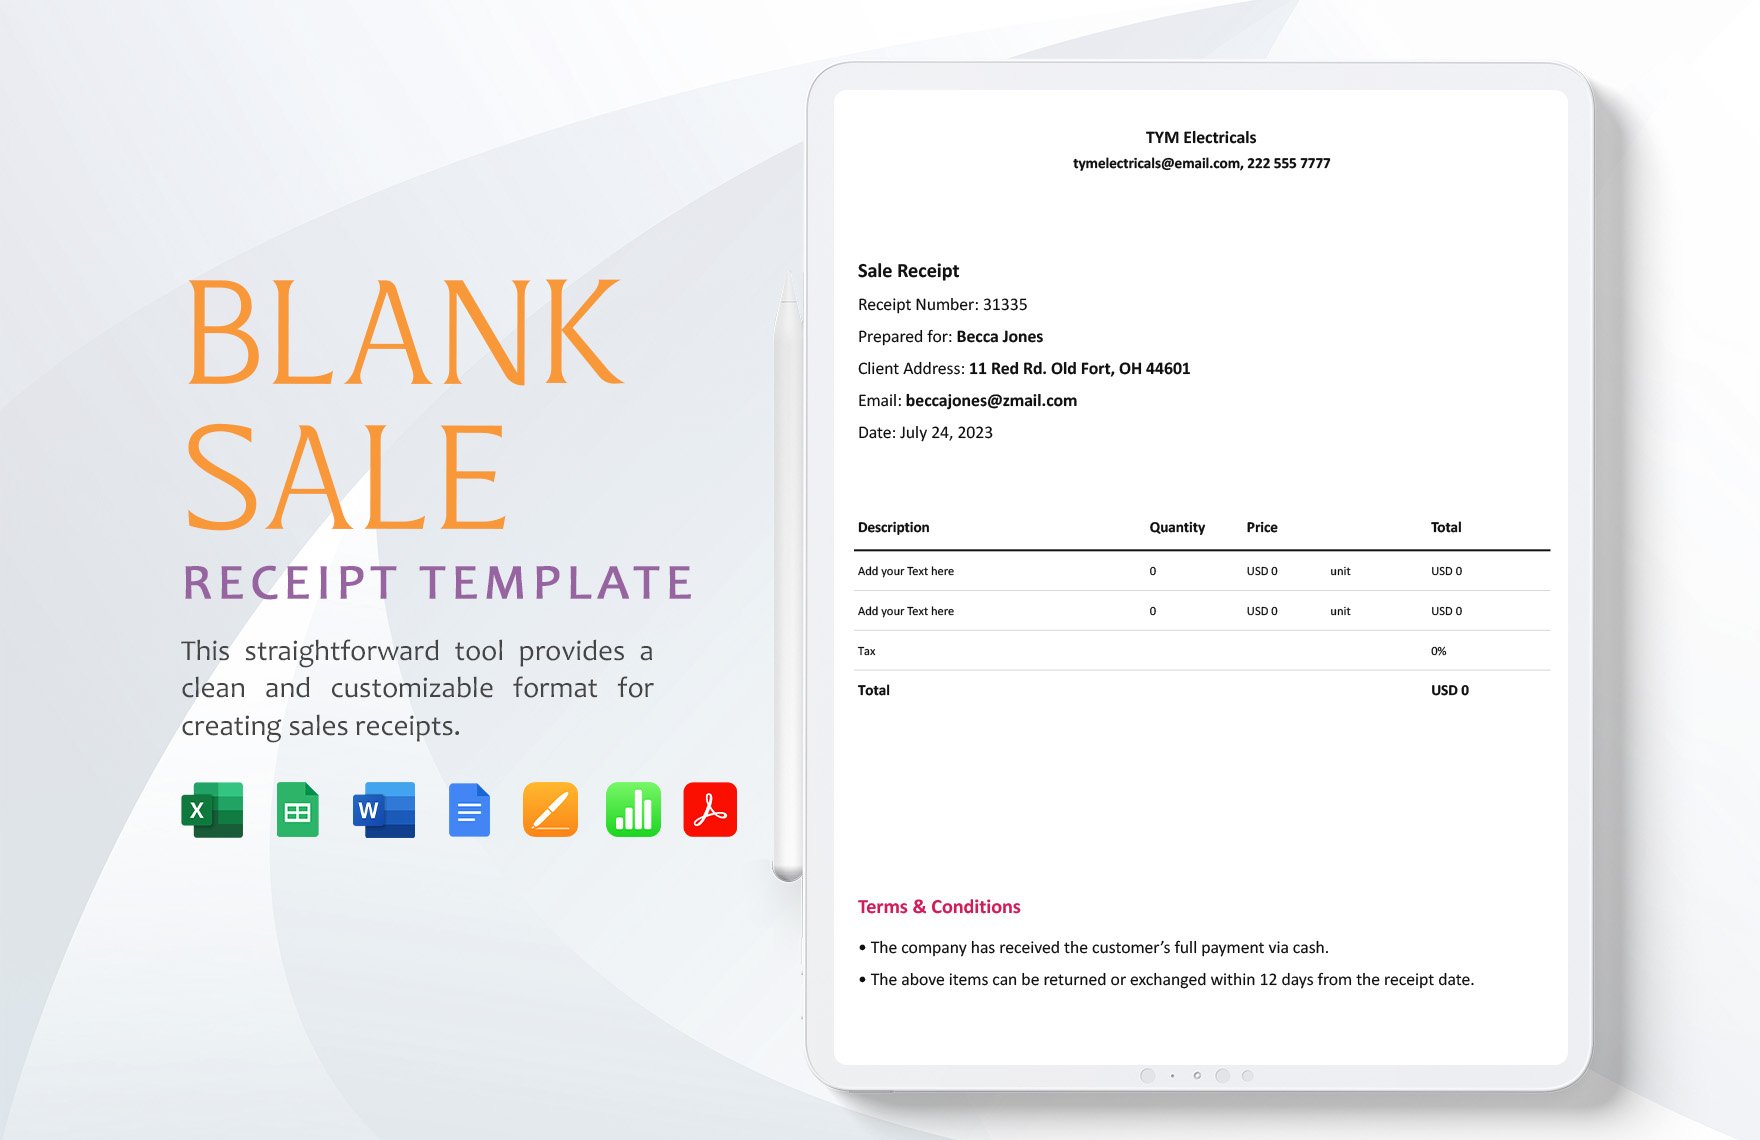
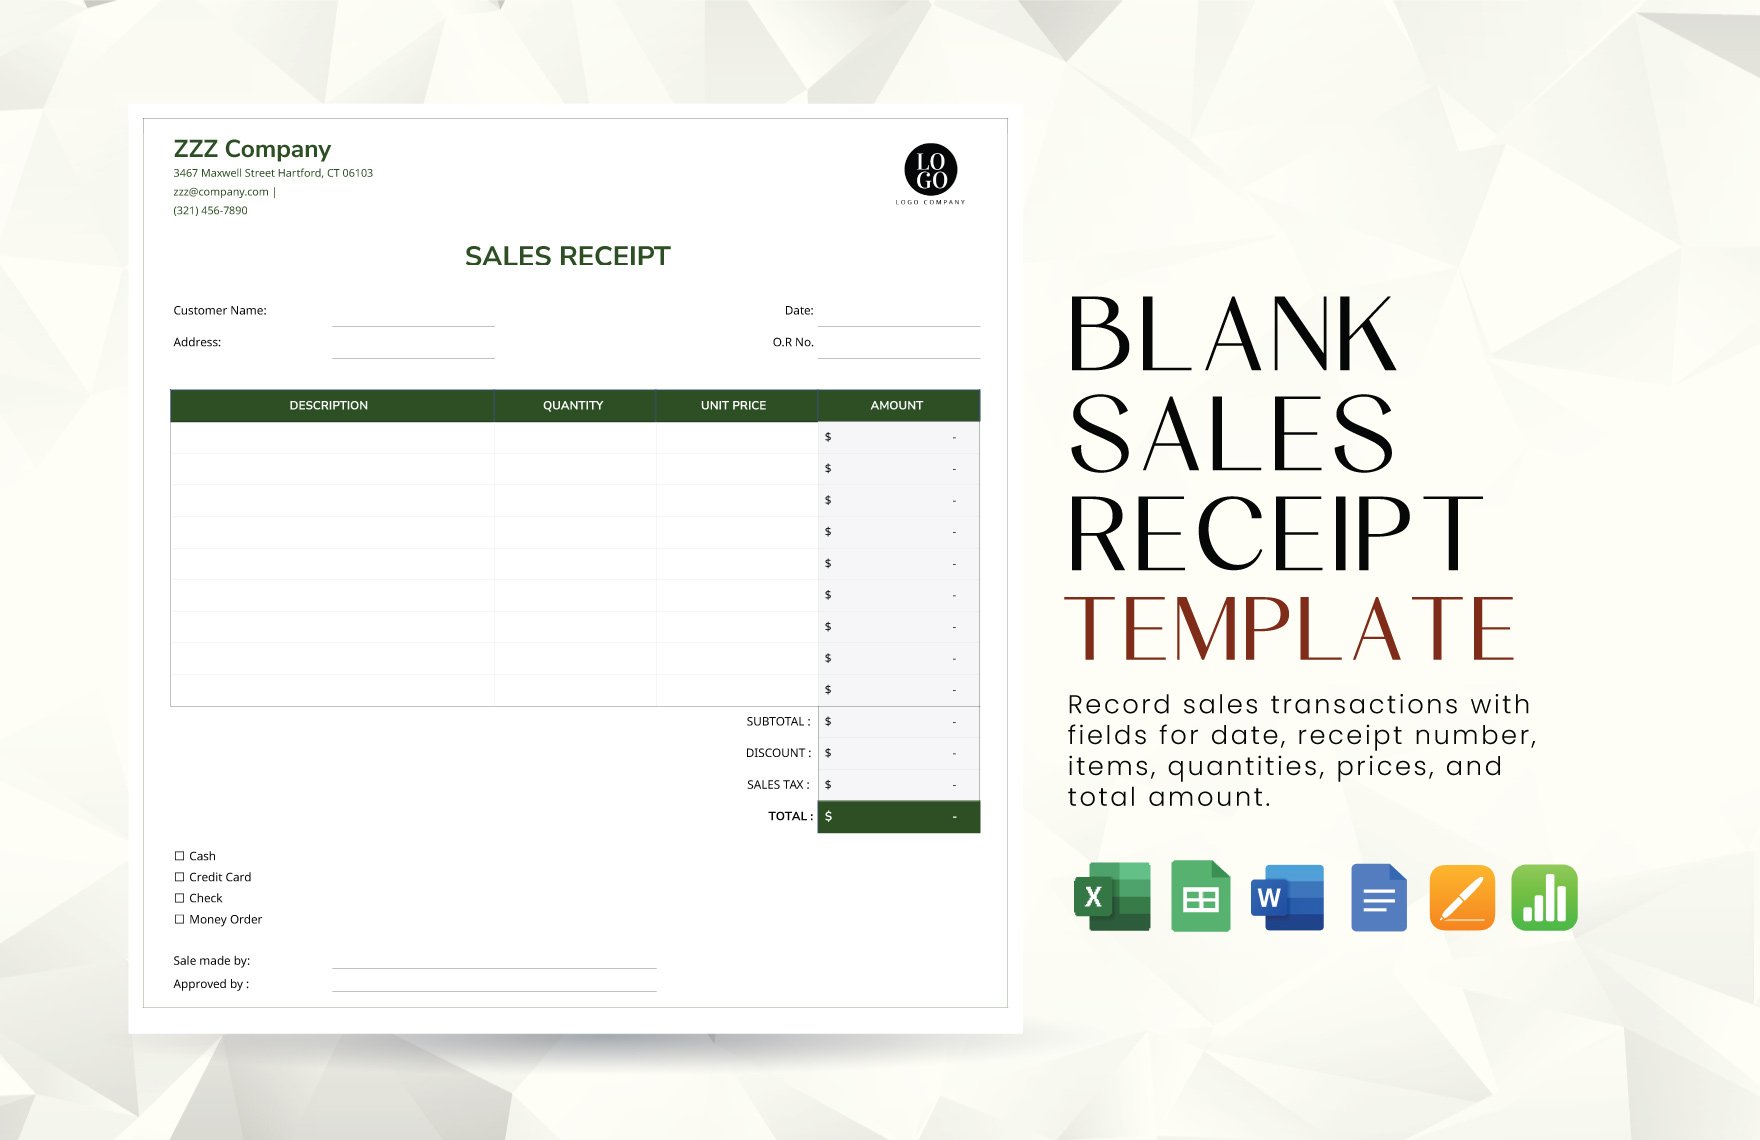
Get sales receipts you can access anywhere using only your Google account. Download our Sales Receipt Templates in Google Doc file format for those in need of sales receipts on the go. Access any file template anywhere using only your Google account. Edit, change or insert any content into the template with relative ease. Additionally, get standard Google fonts and license. Print in US or A4 paper sizes. Now, making sales receipts for vehicle or property sales has never been this fast and convenient. Download any chosen sales receipt template now for free to get instant access to the file.
What Is a Sales Receipt?
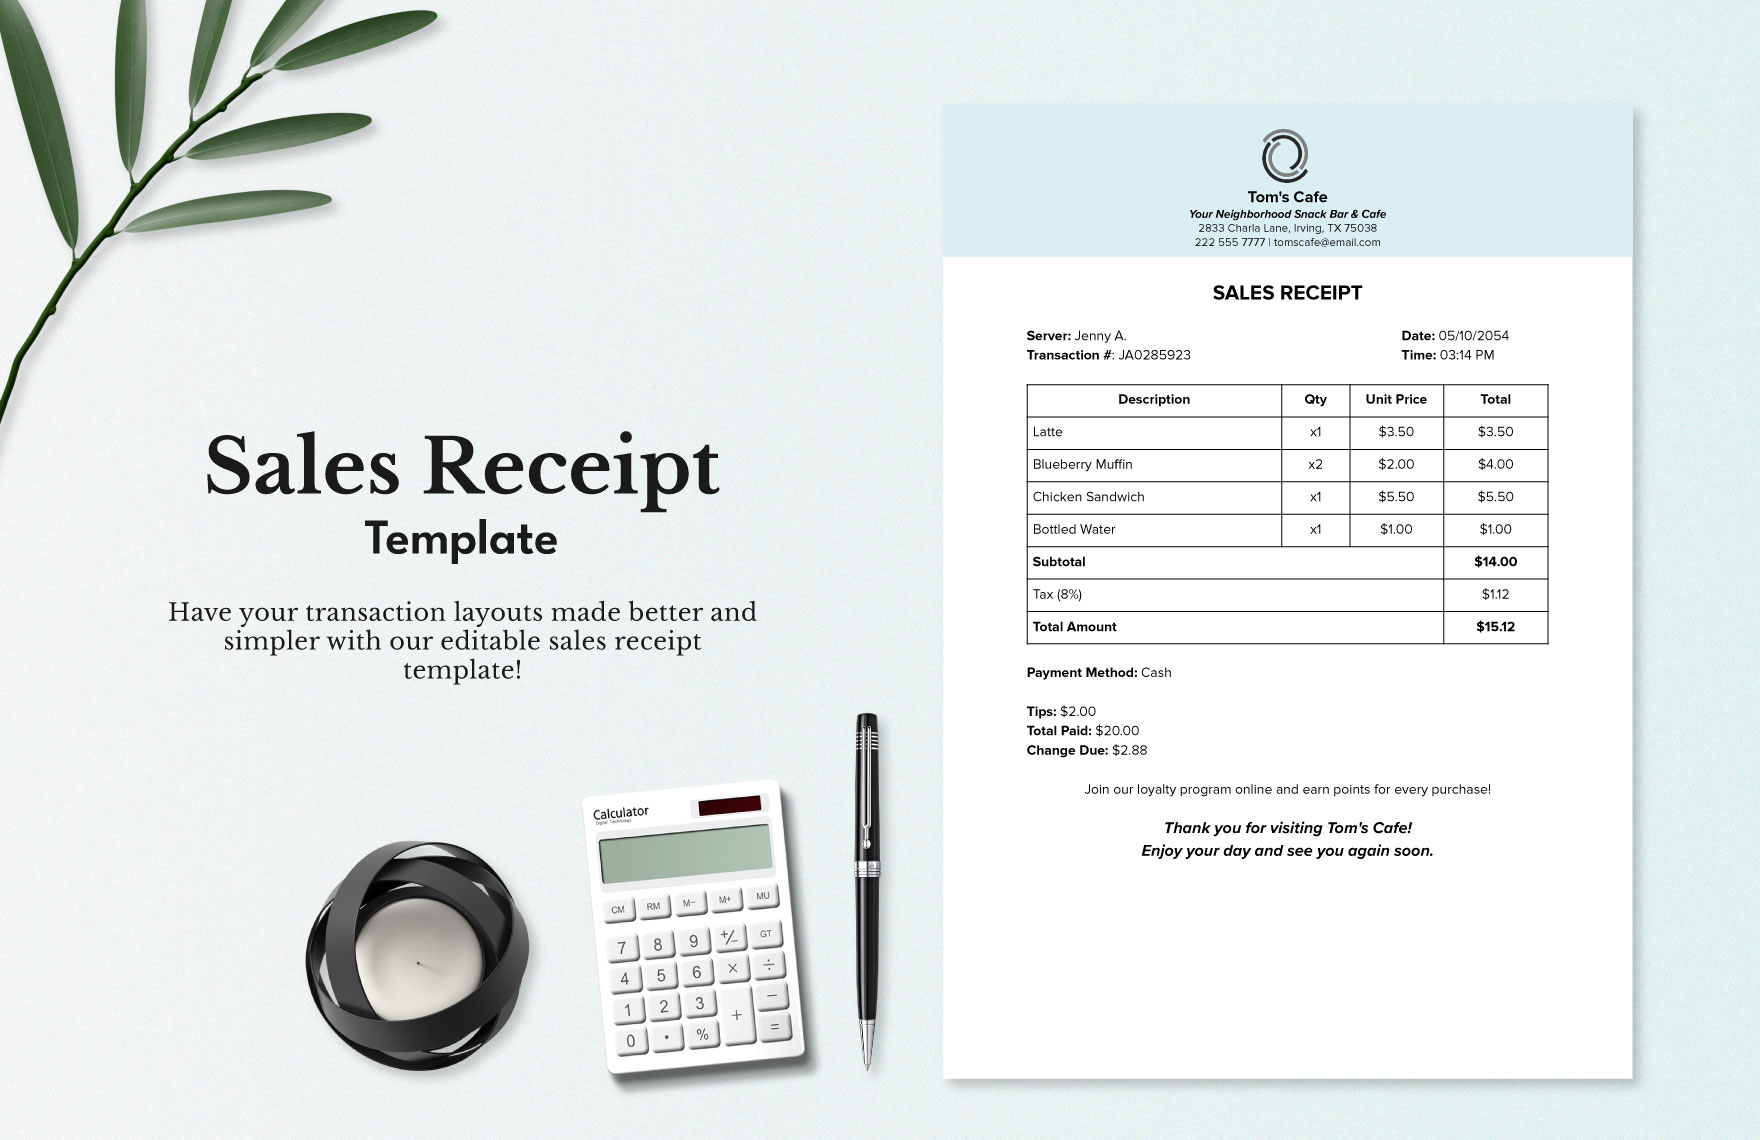
A sales receipt is a printed document that shows that an item has been purchased on a specific date and time. The sales receipt also tells you the number of items purchased, the name of the store and which branch it is located, and the method of payment. Receipts typically provide these kinds of information as they are necessary for store returns or exchanges.
How to Make a Sales Receipt in Google Docs?
Receipts don't just serve as proof of purchase but also guarantee the buyers refunds, reimbursements, and budgeting in the event of a defect in the item purchased. Because of this, the information you put into your receipt needs to be carefully detailed. This article will give you tips on how to make your own sales receipt. The program we will be using is Google Docs as it can be accessed anywhere so long as you have a Gmail account.
1. Outline of the Receipt
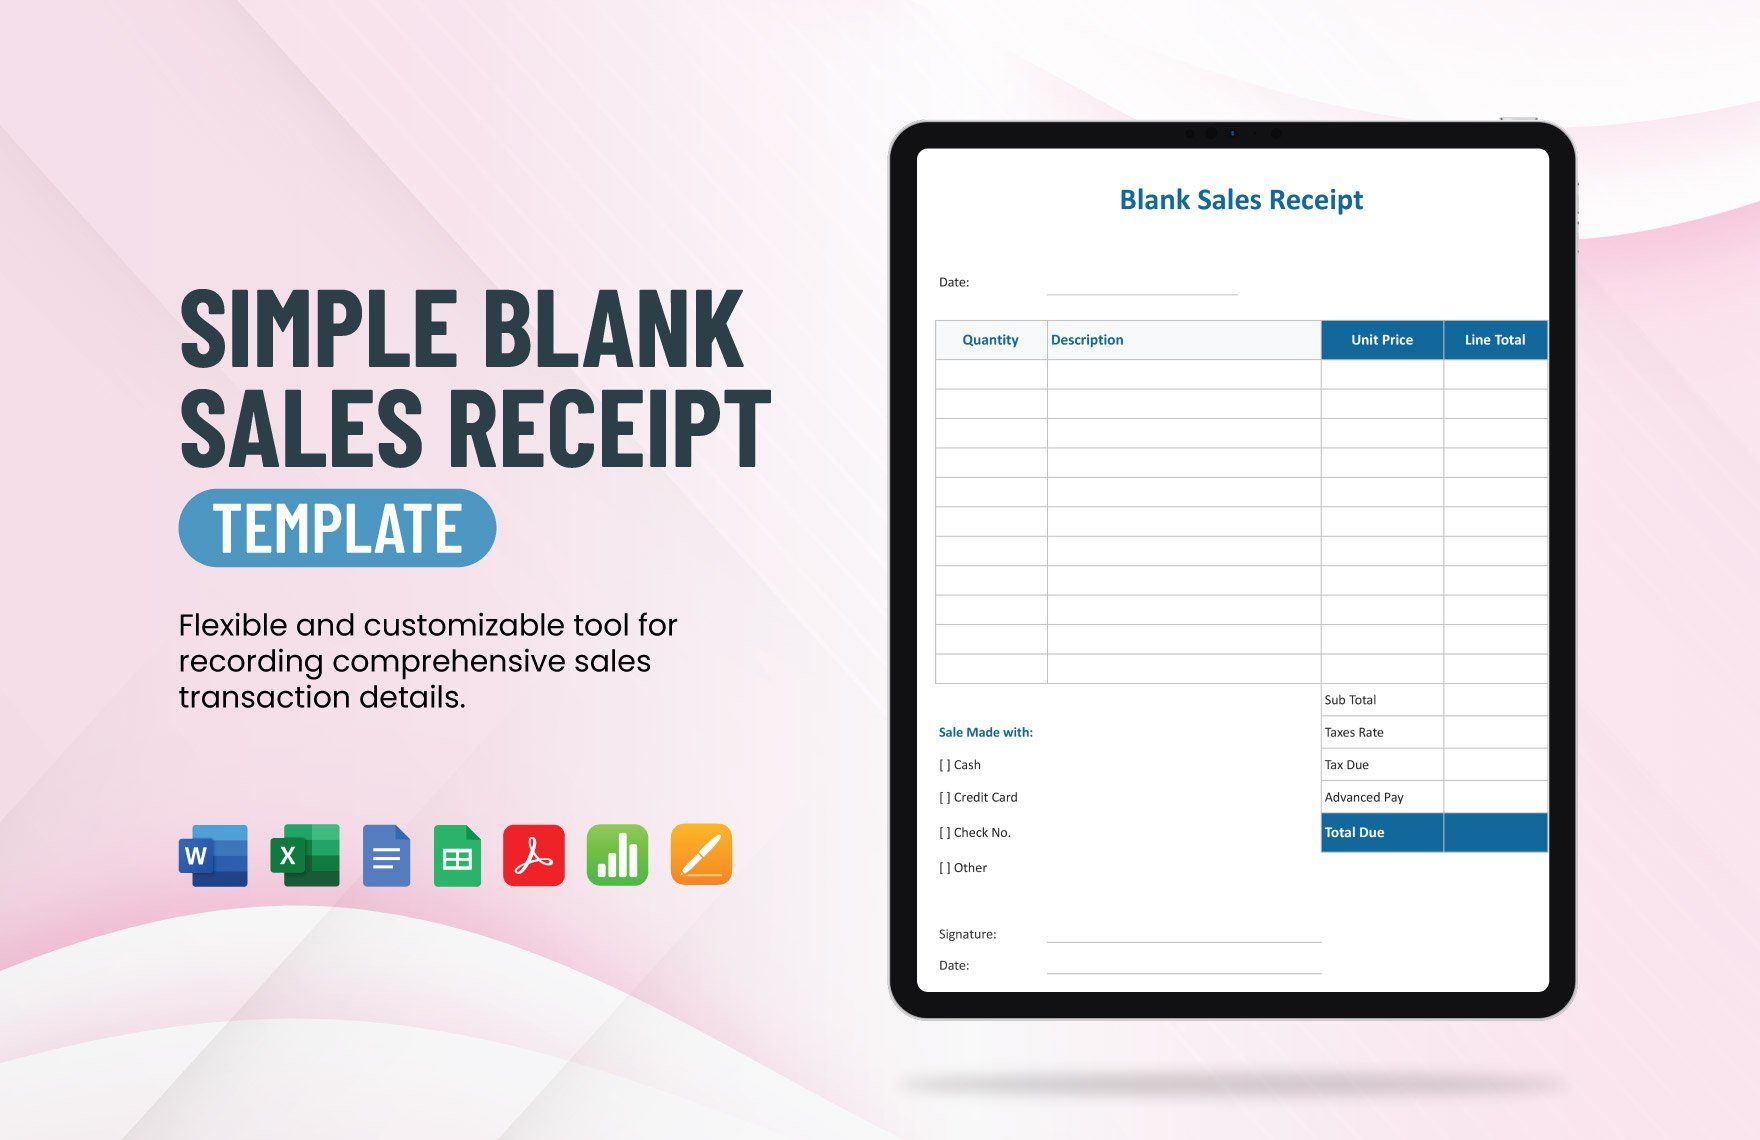
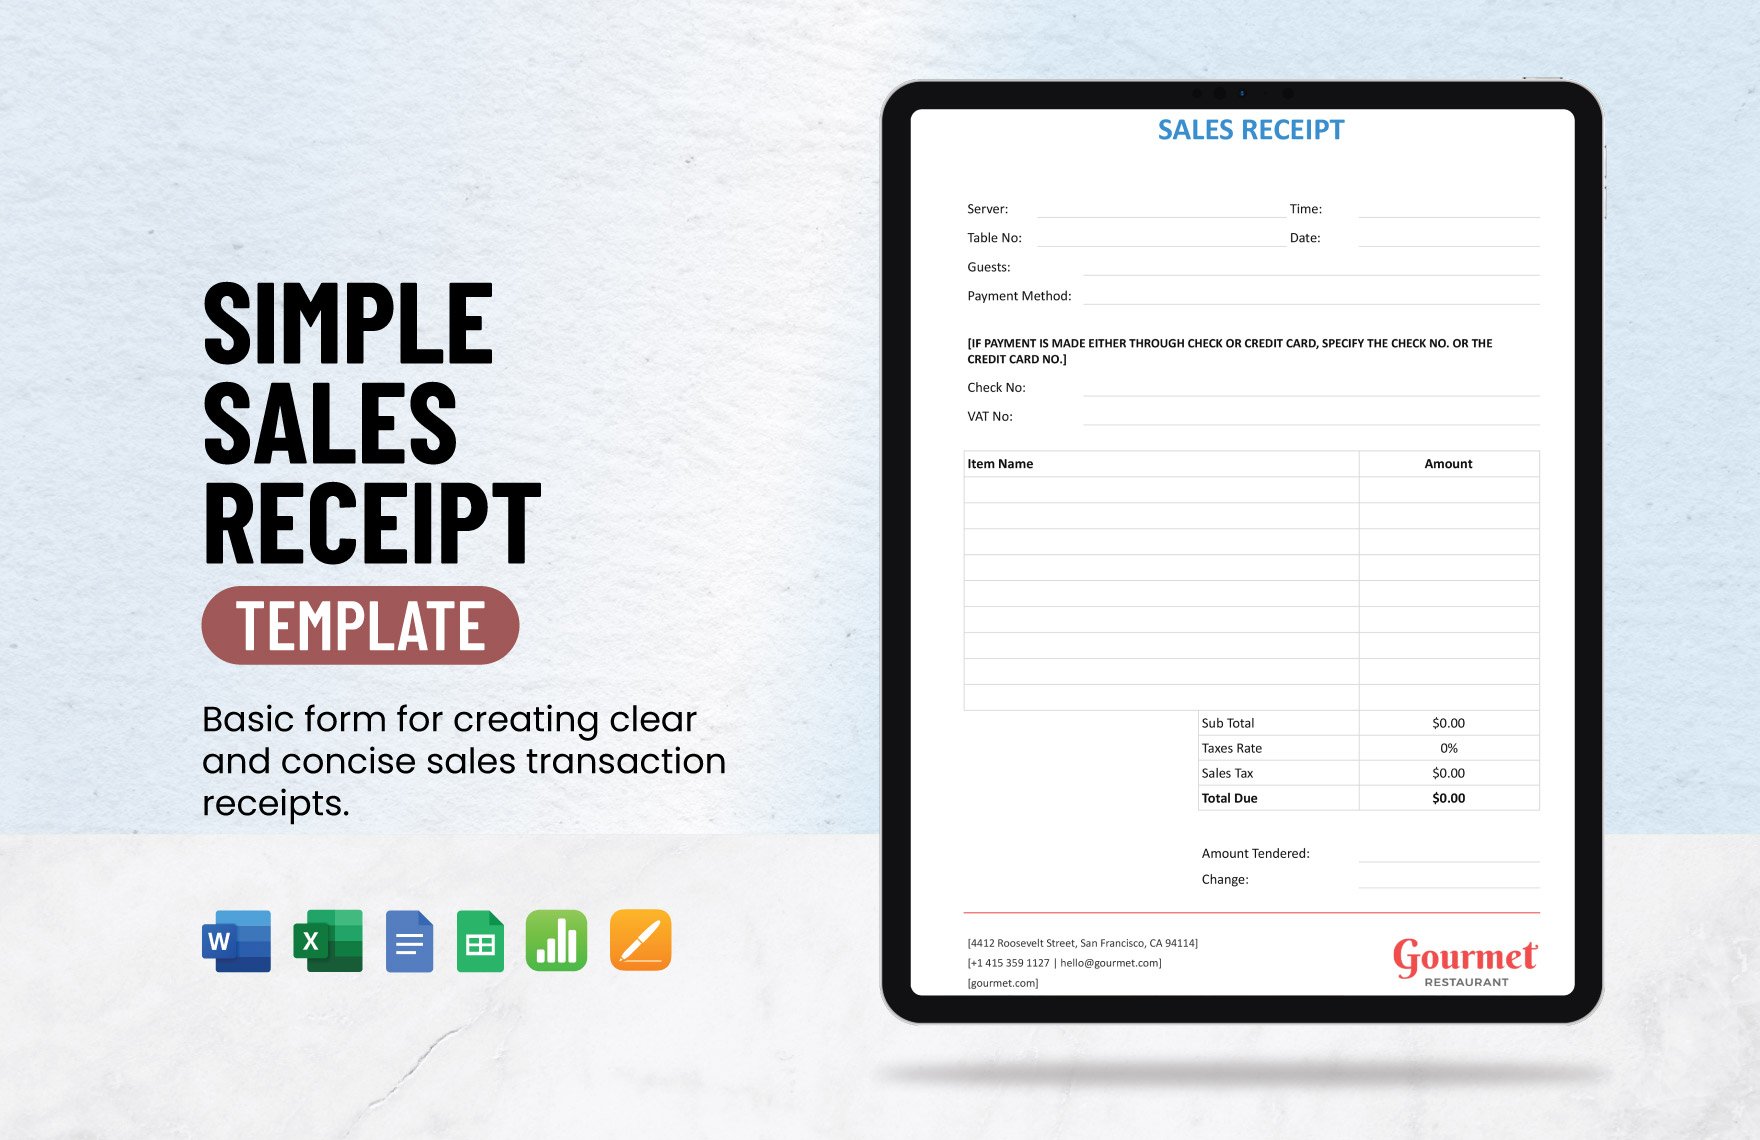
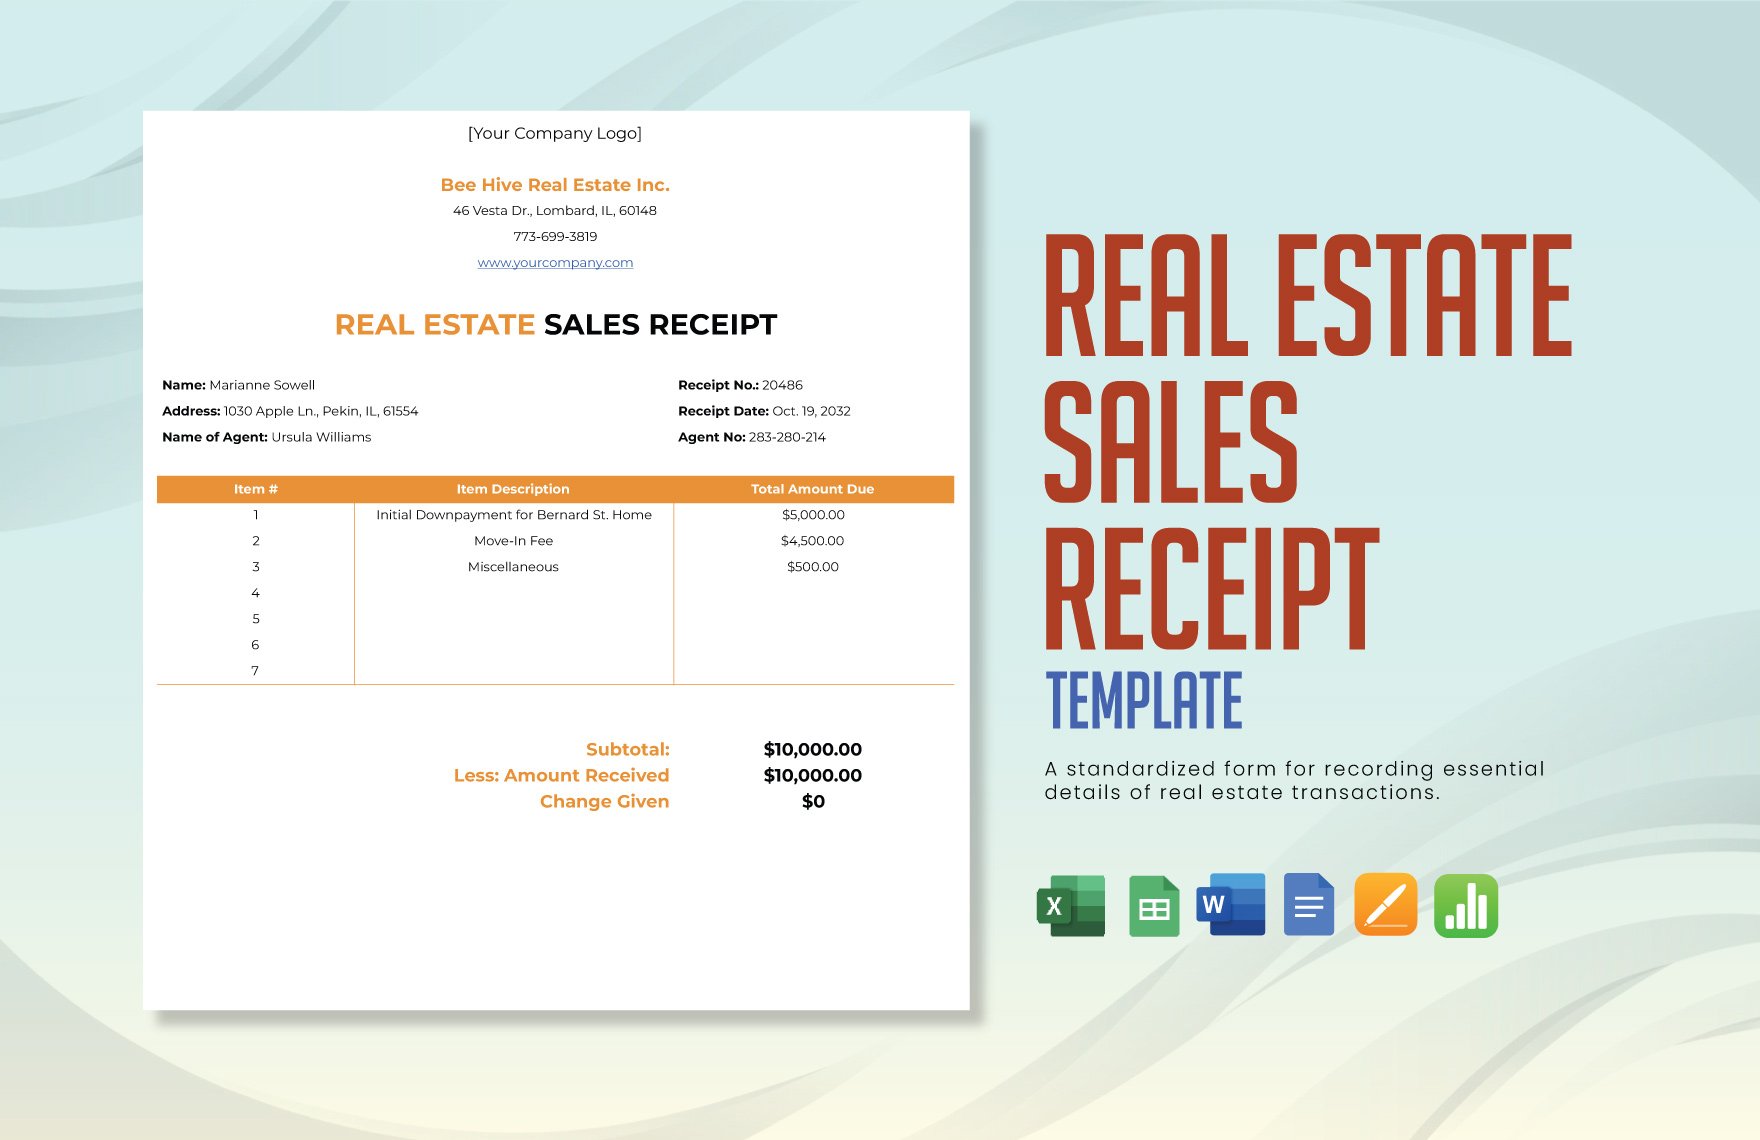
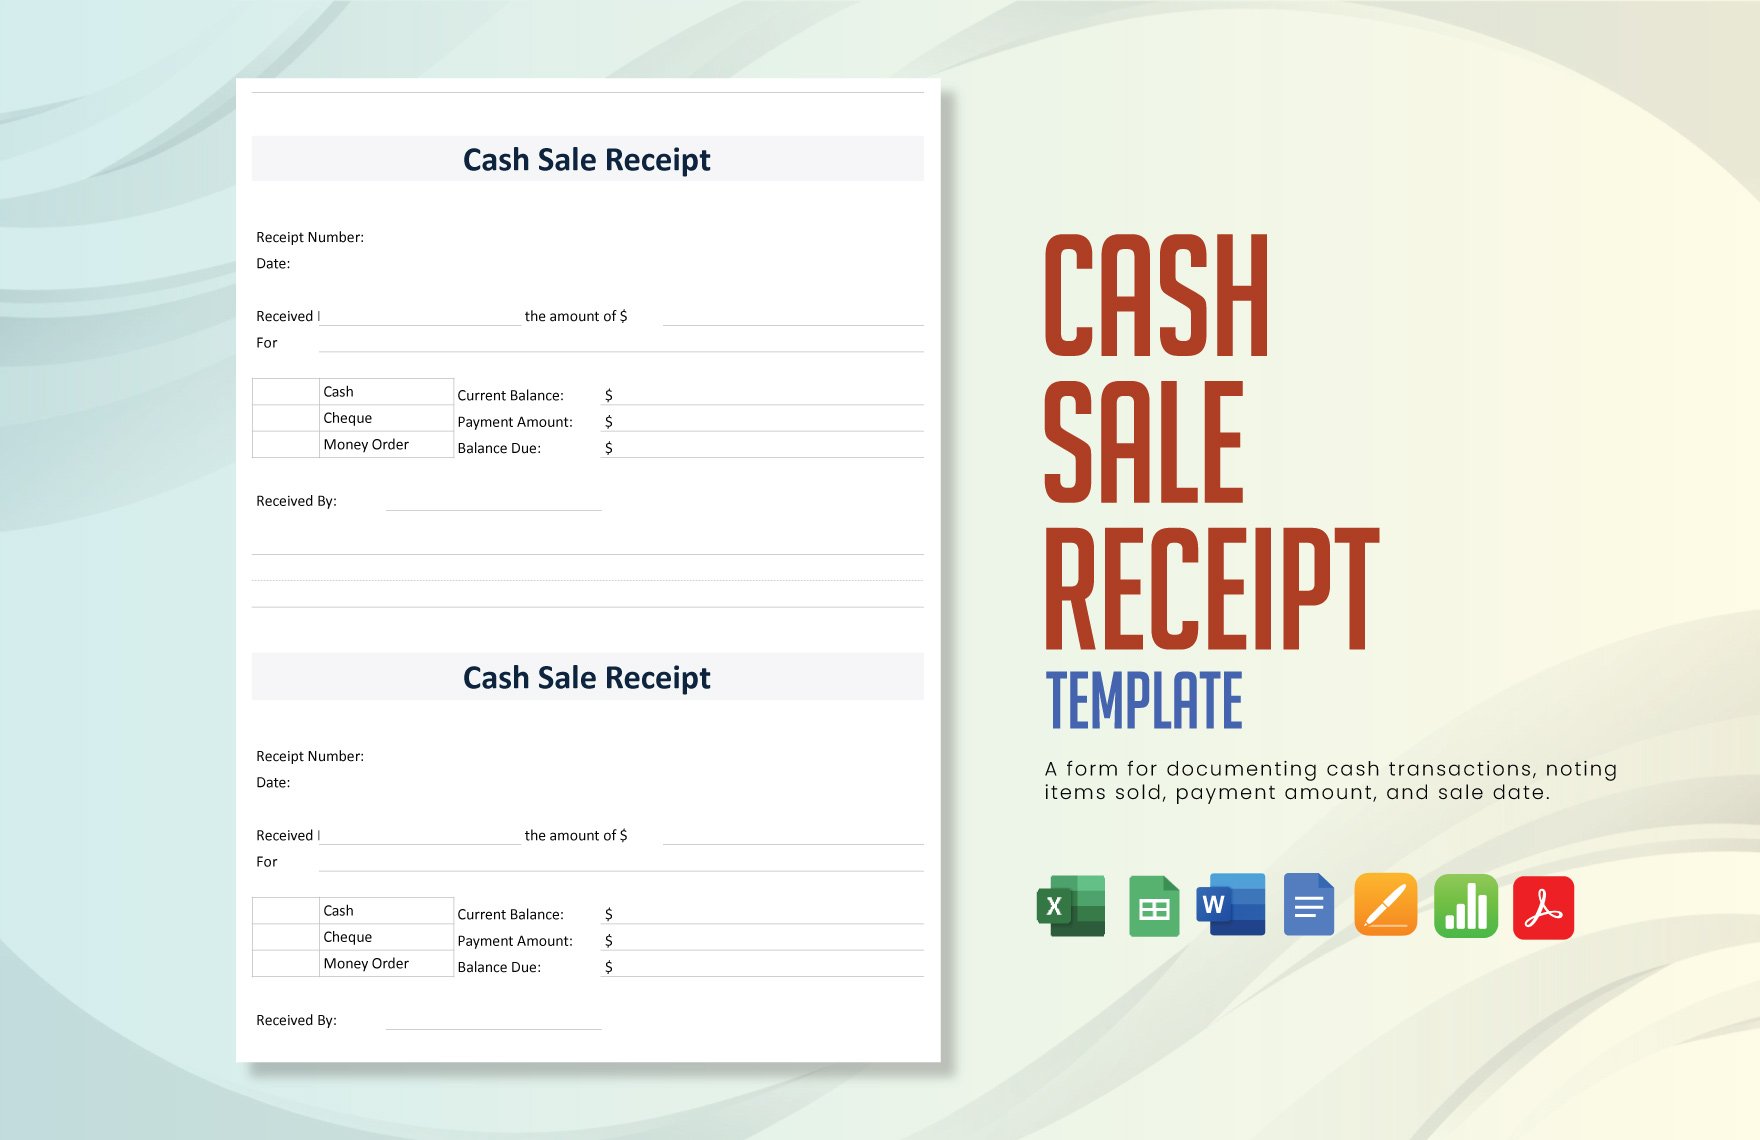
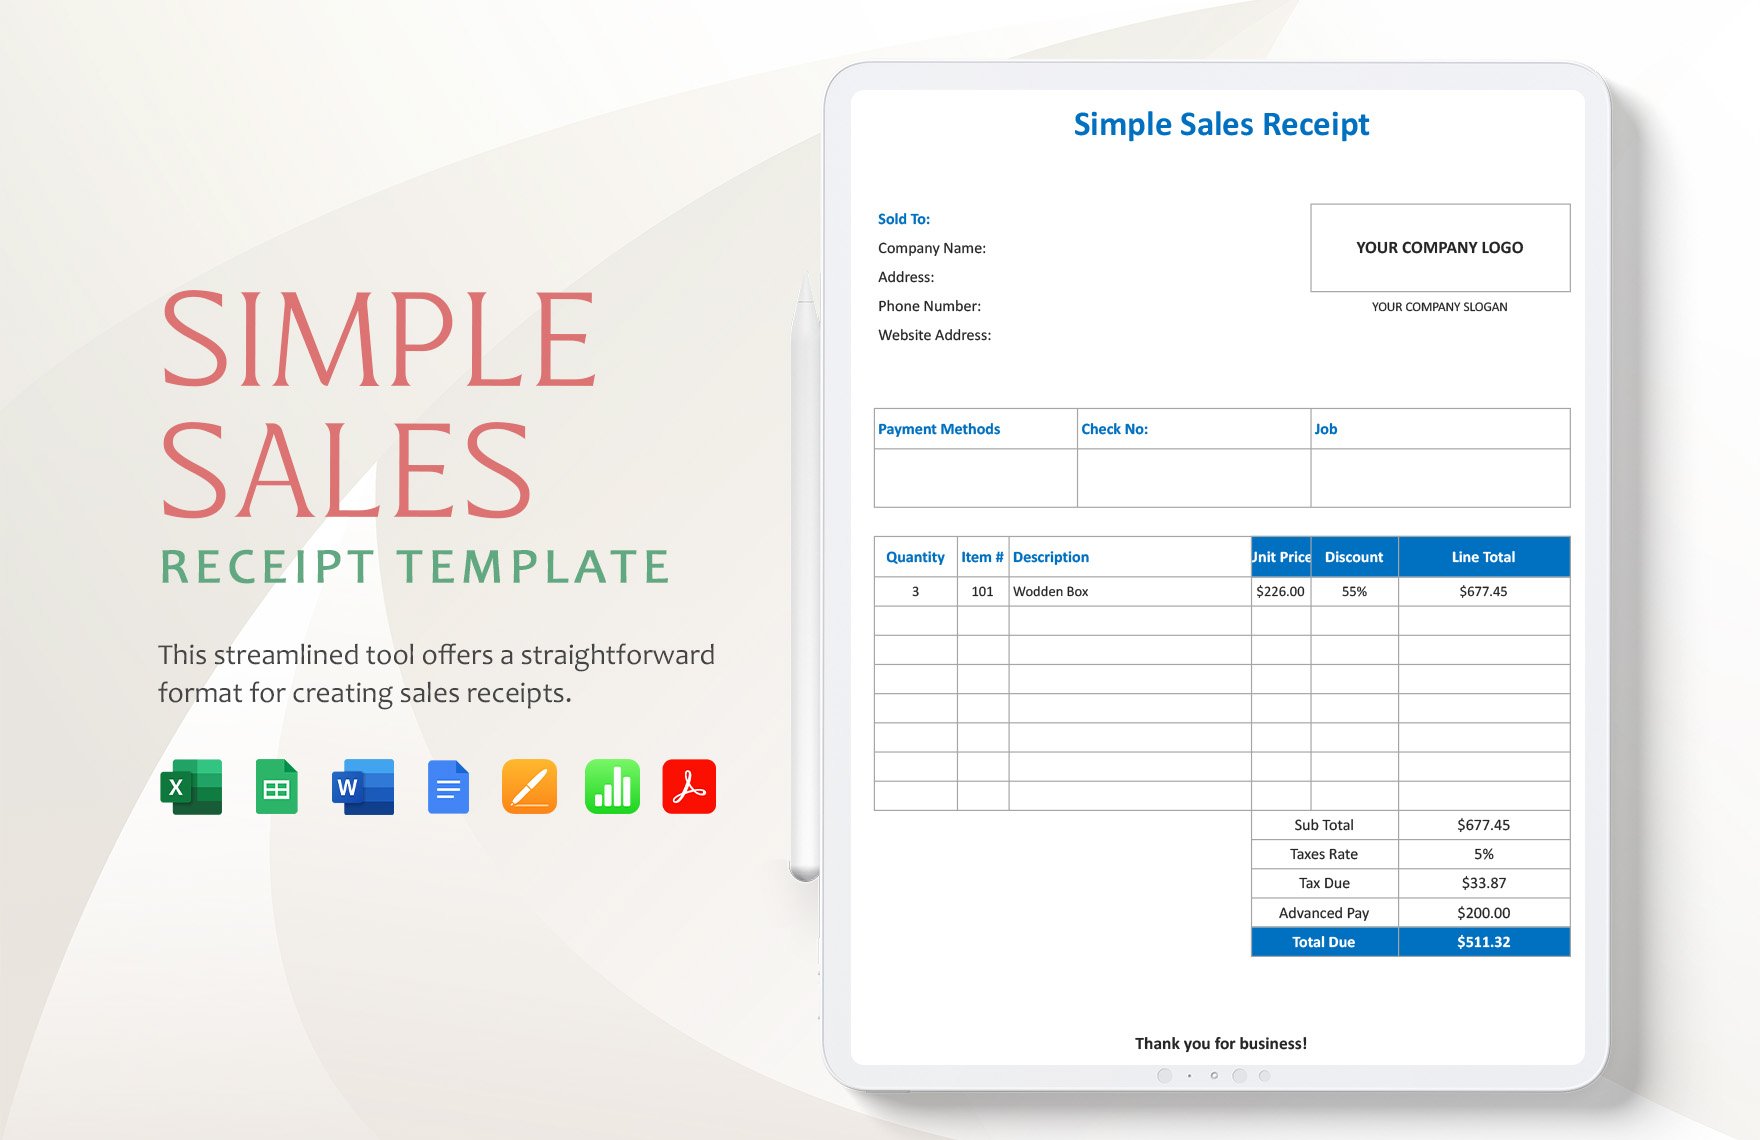
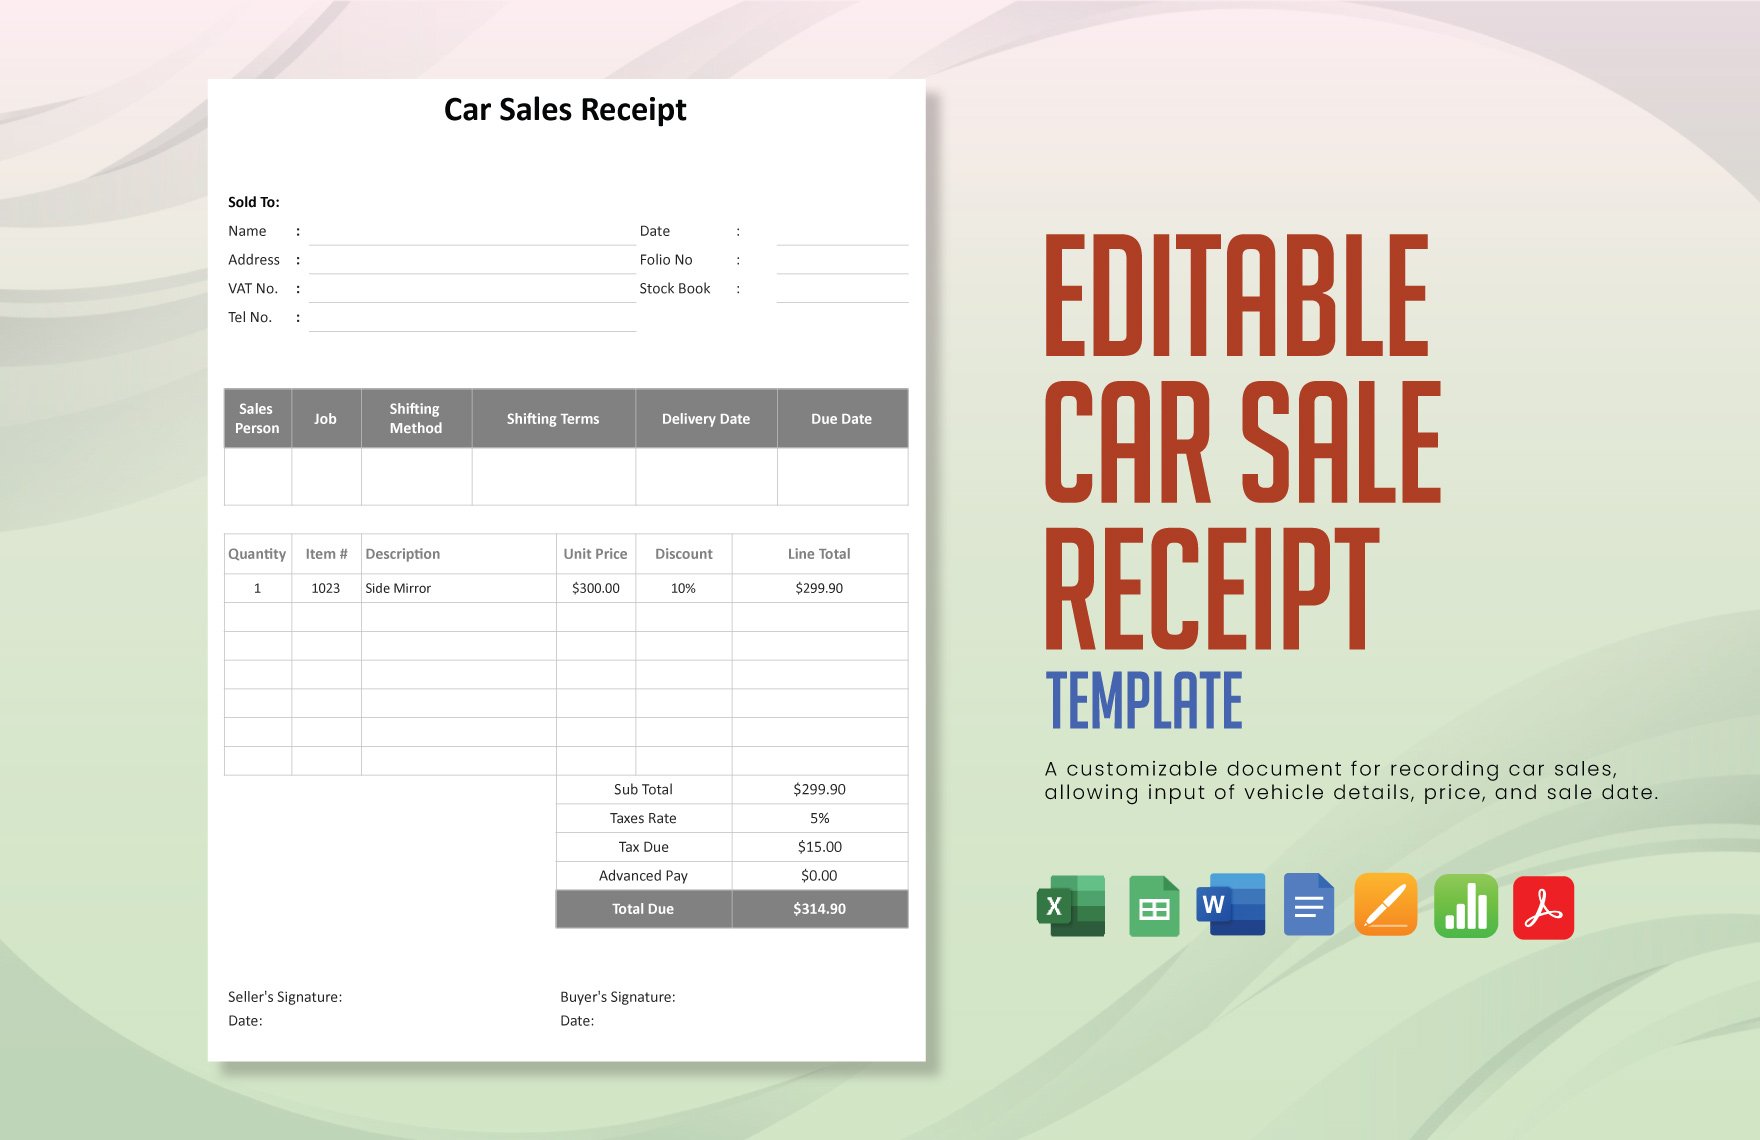
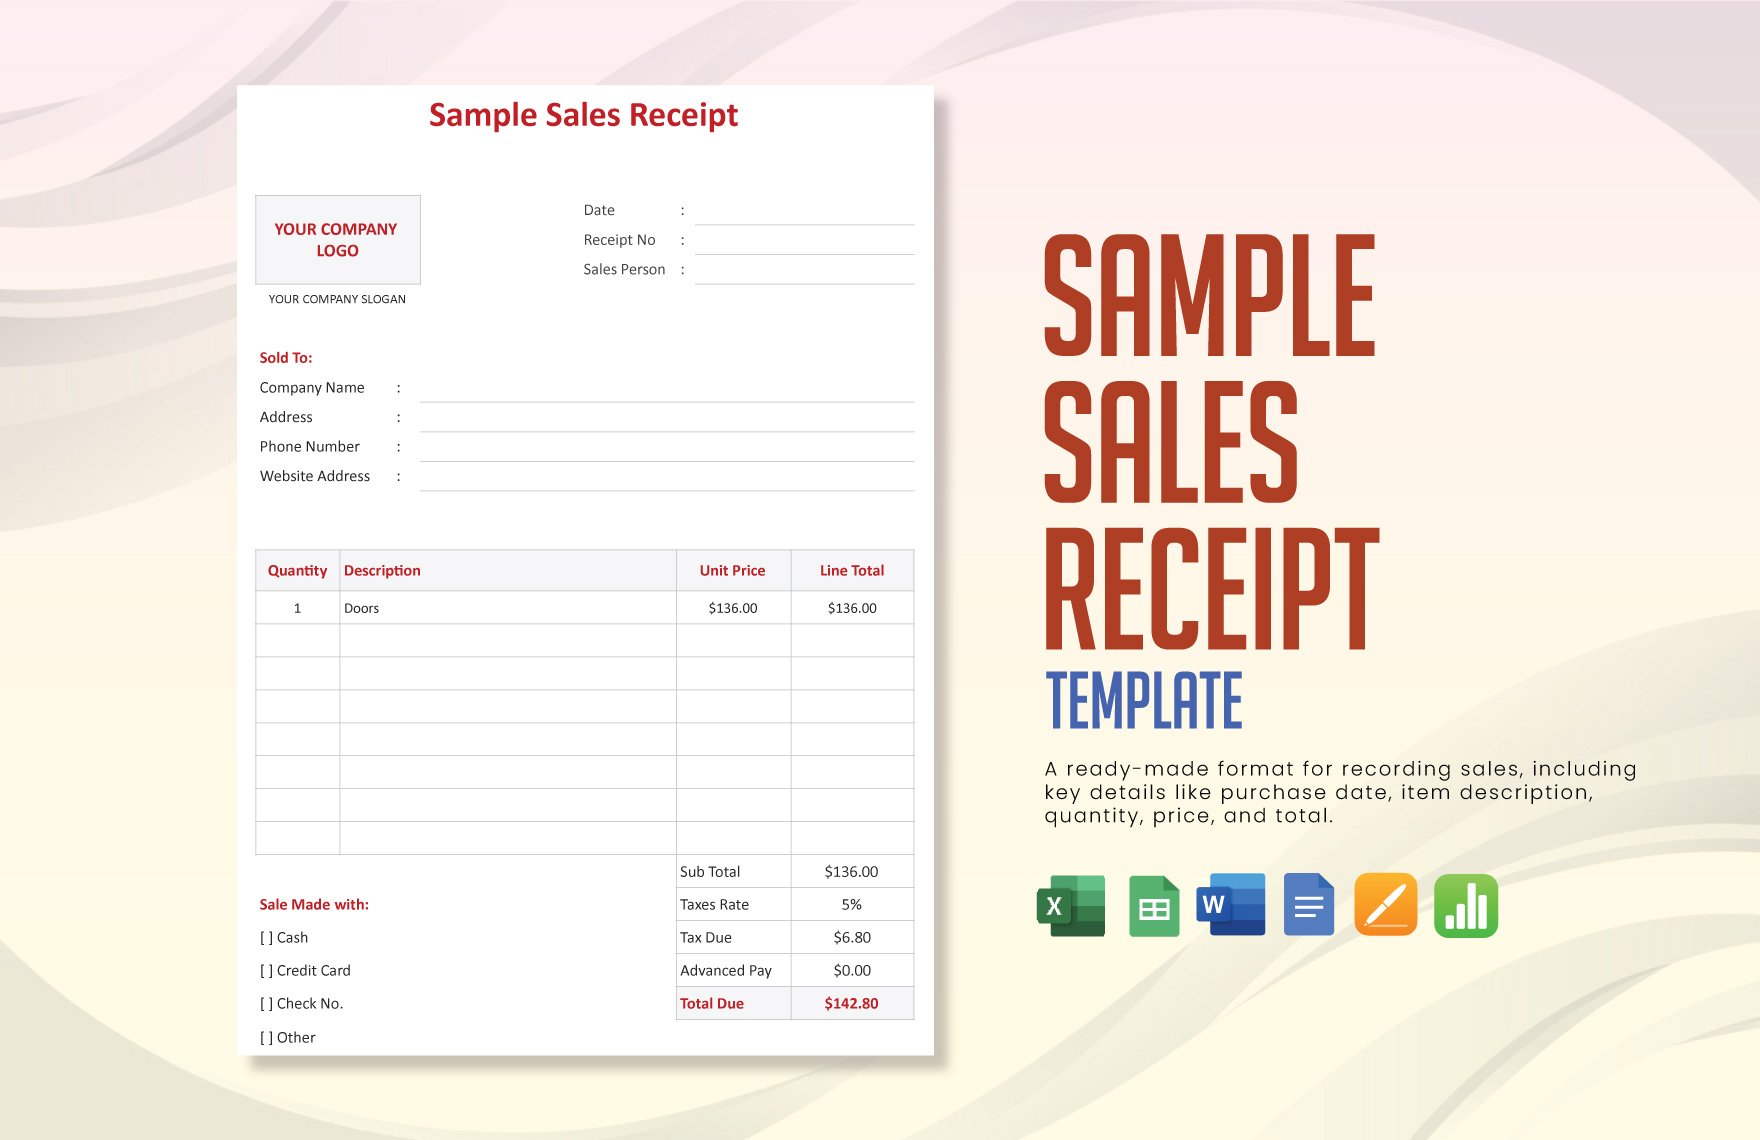
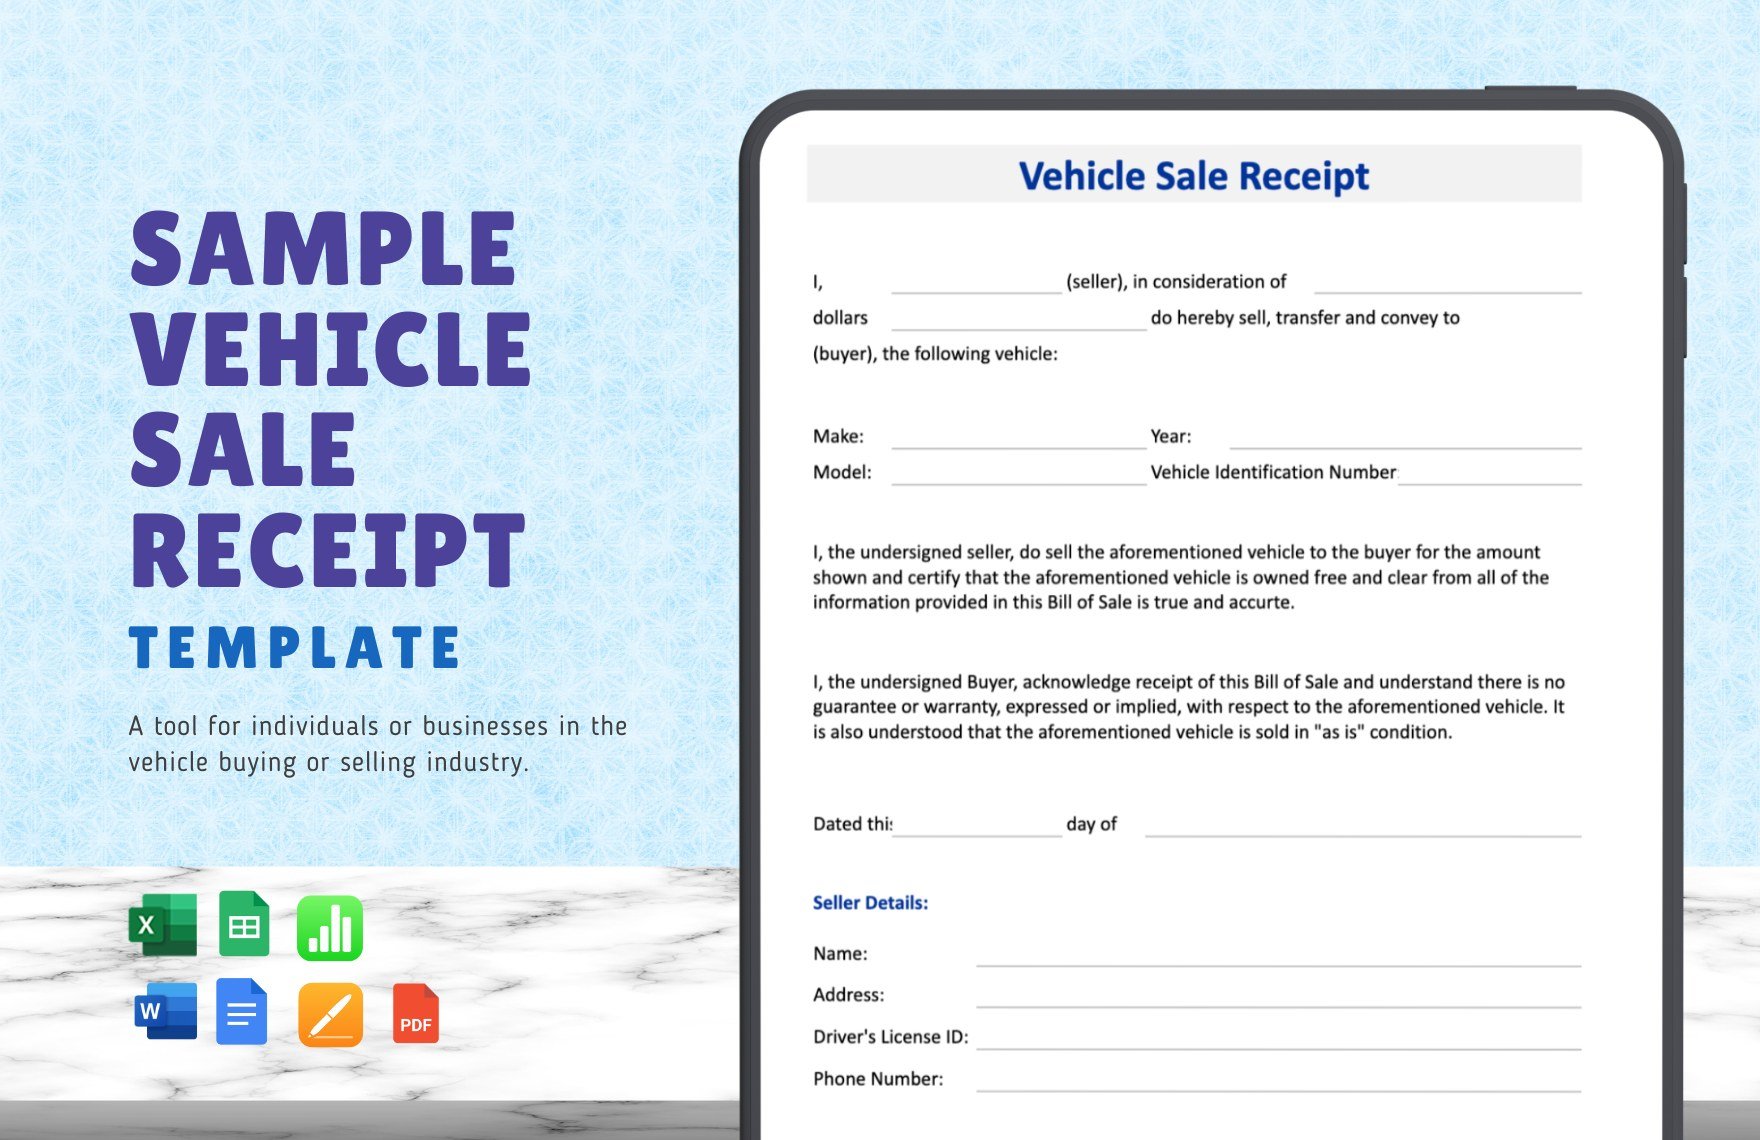
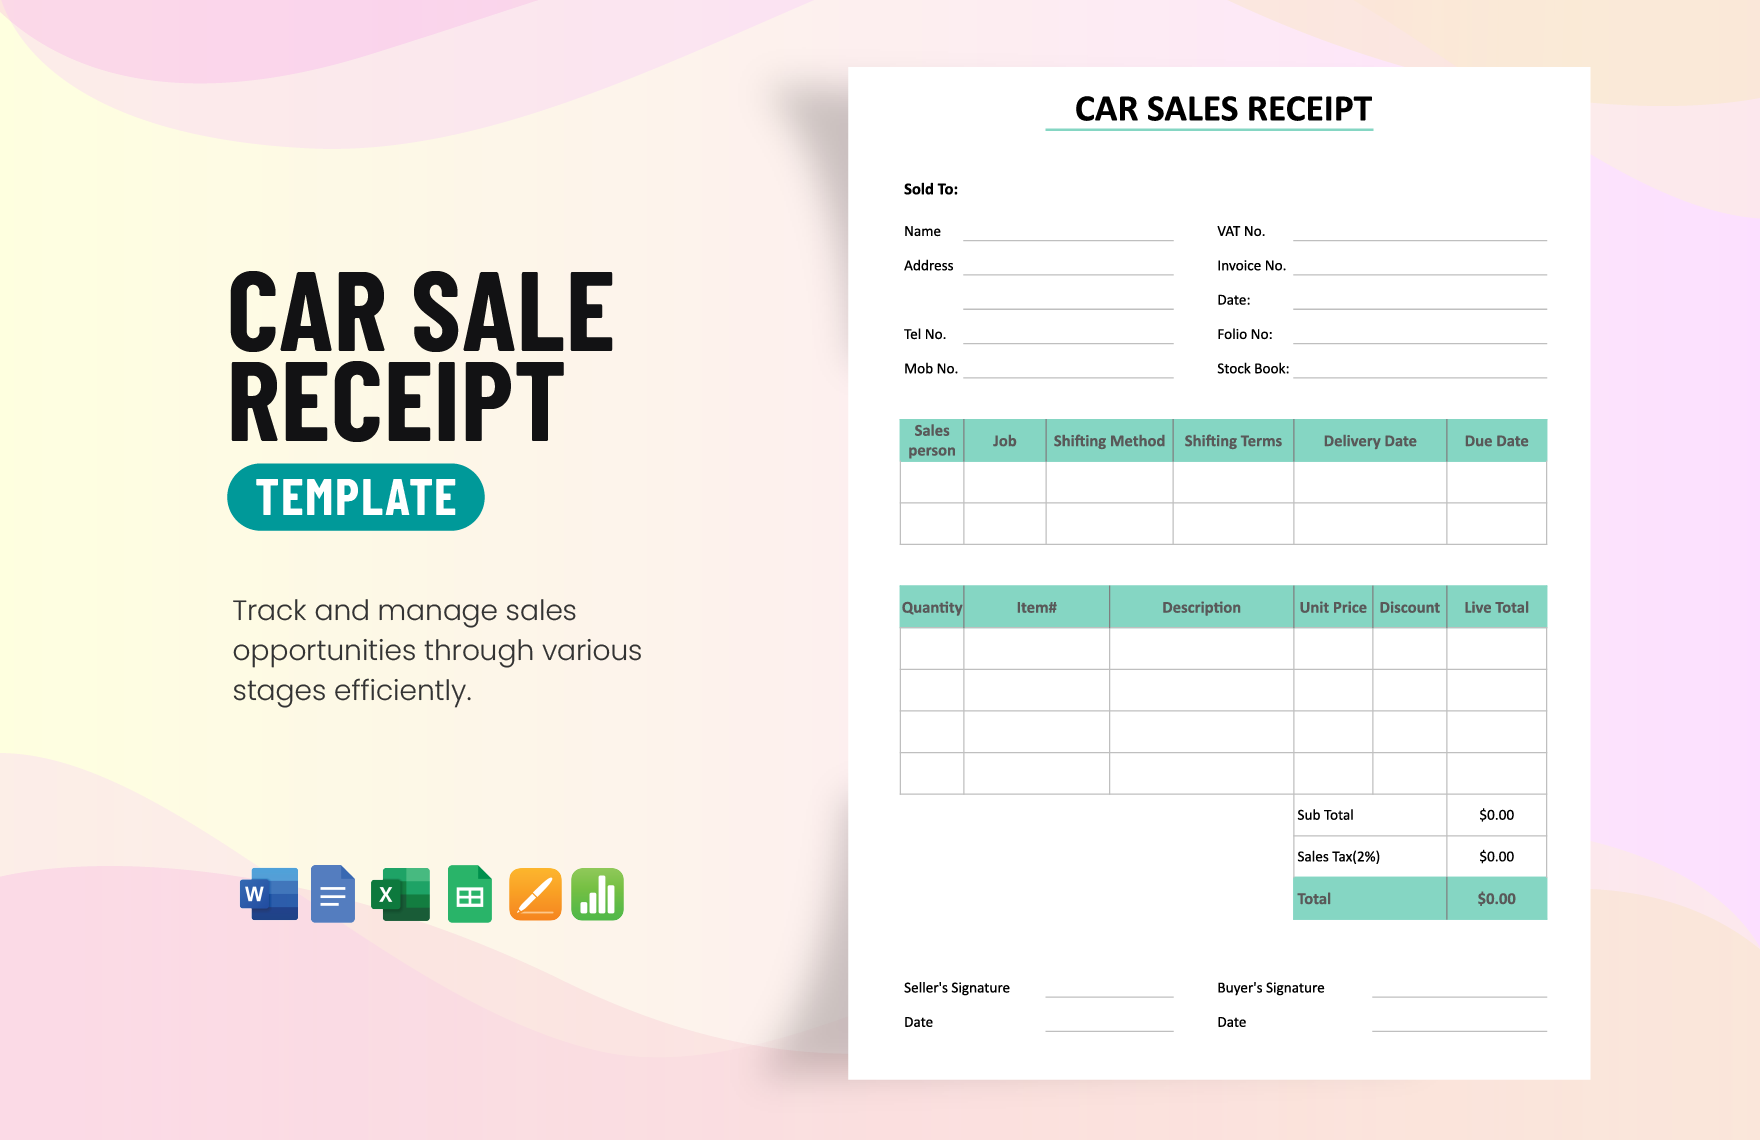
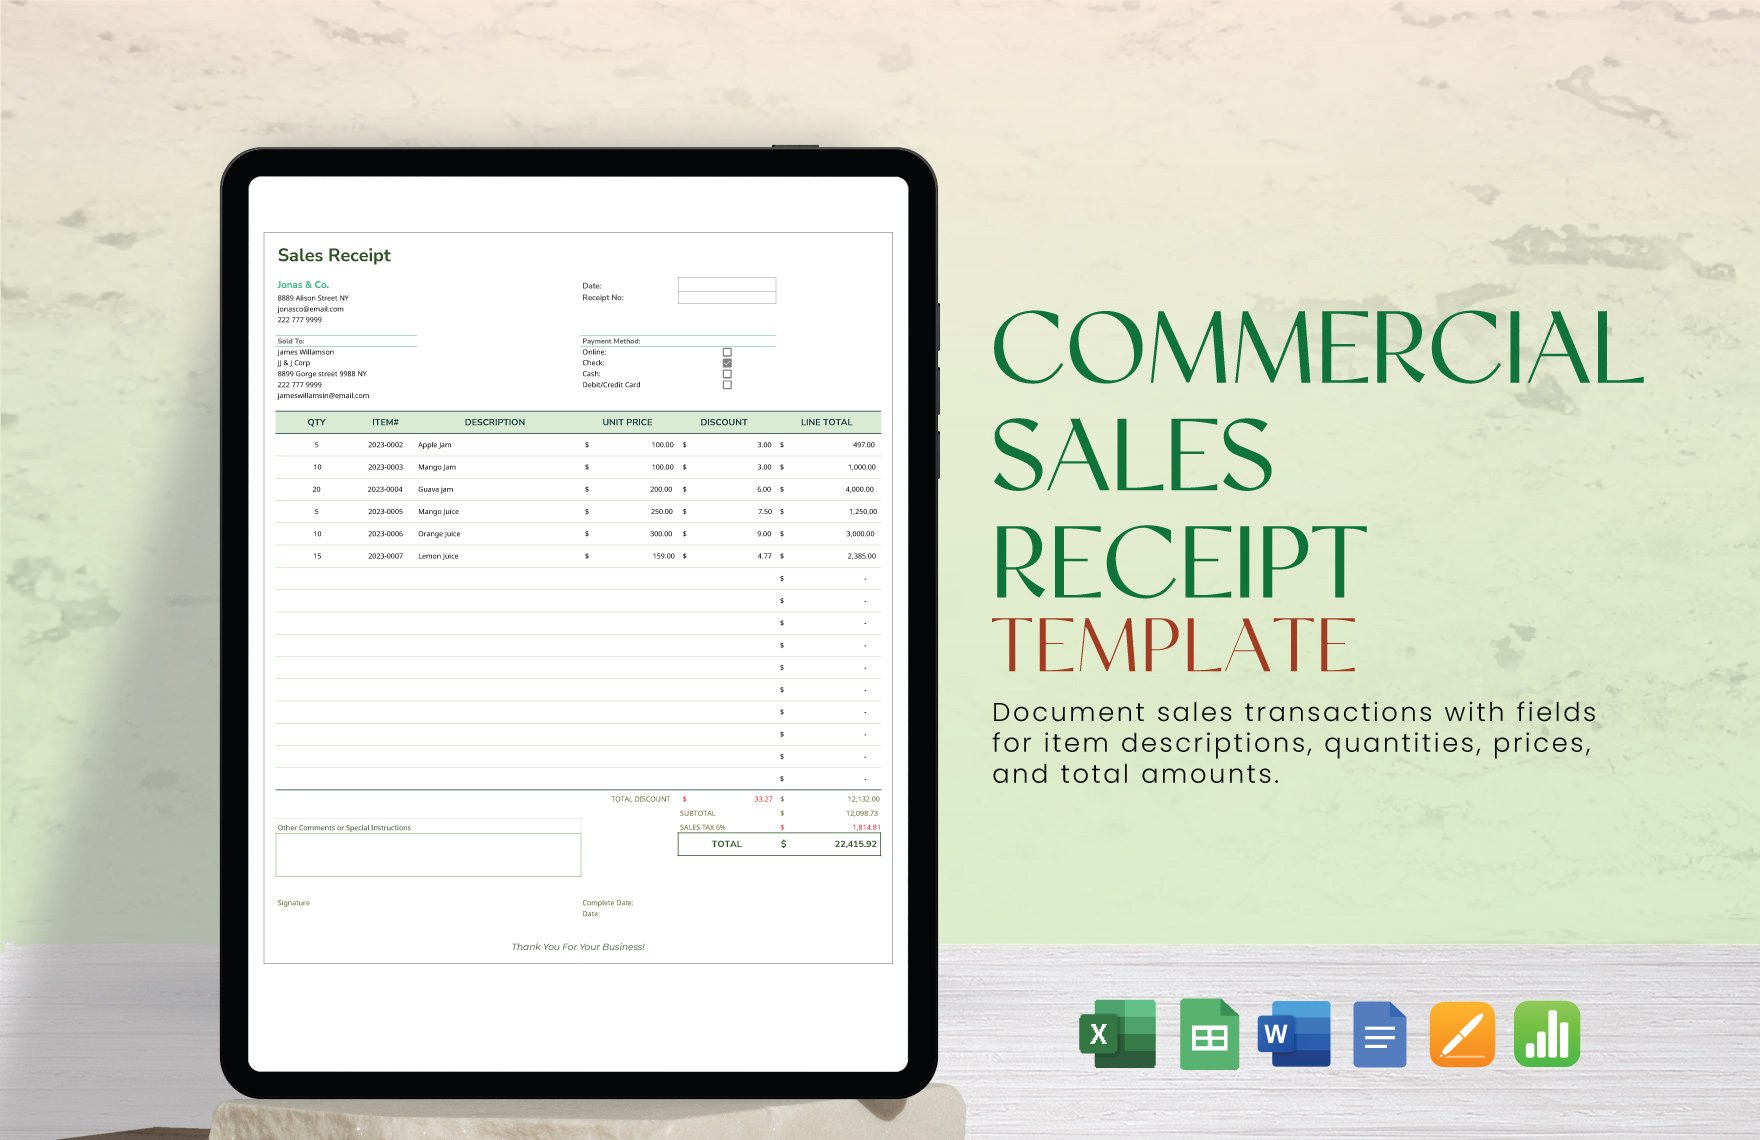
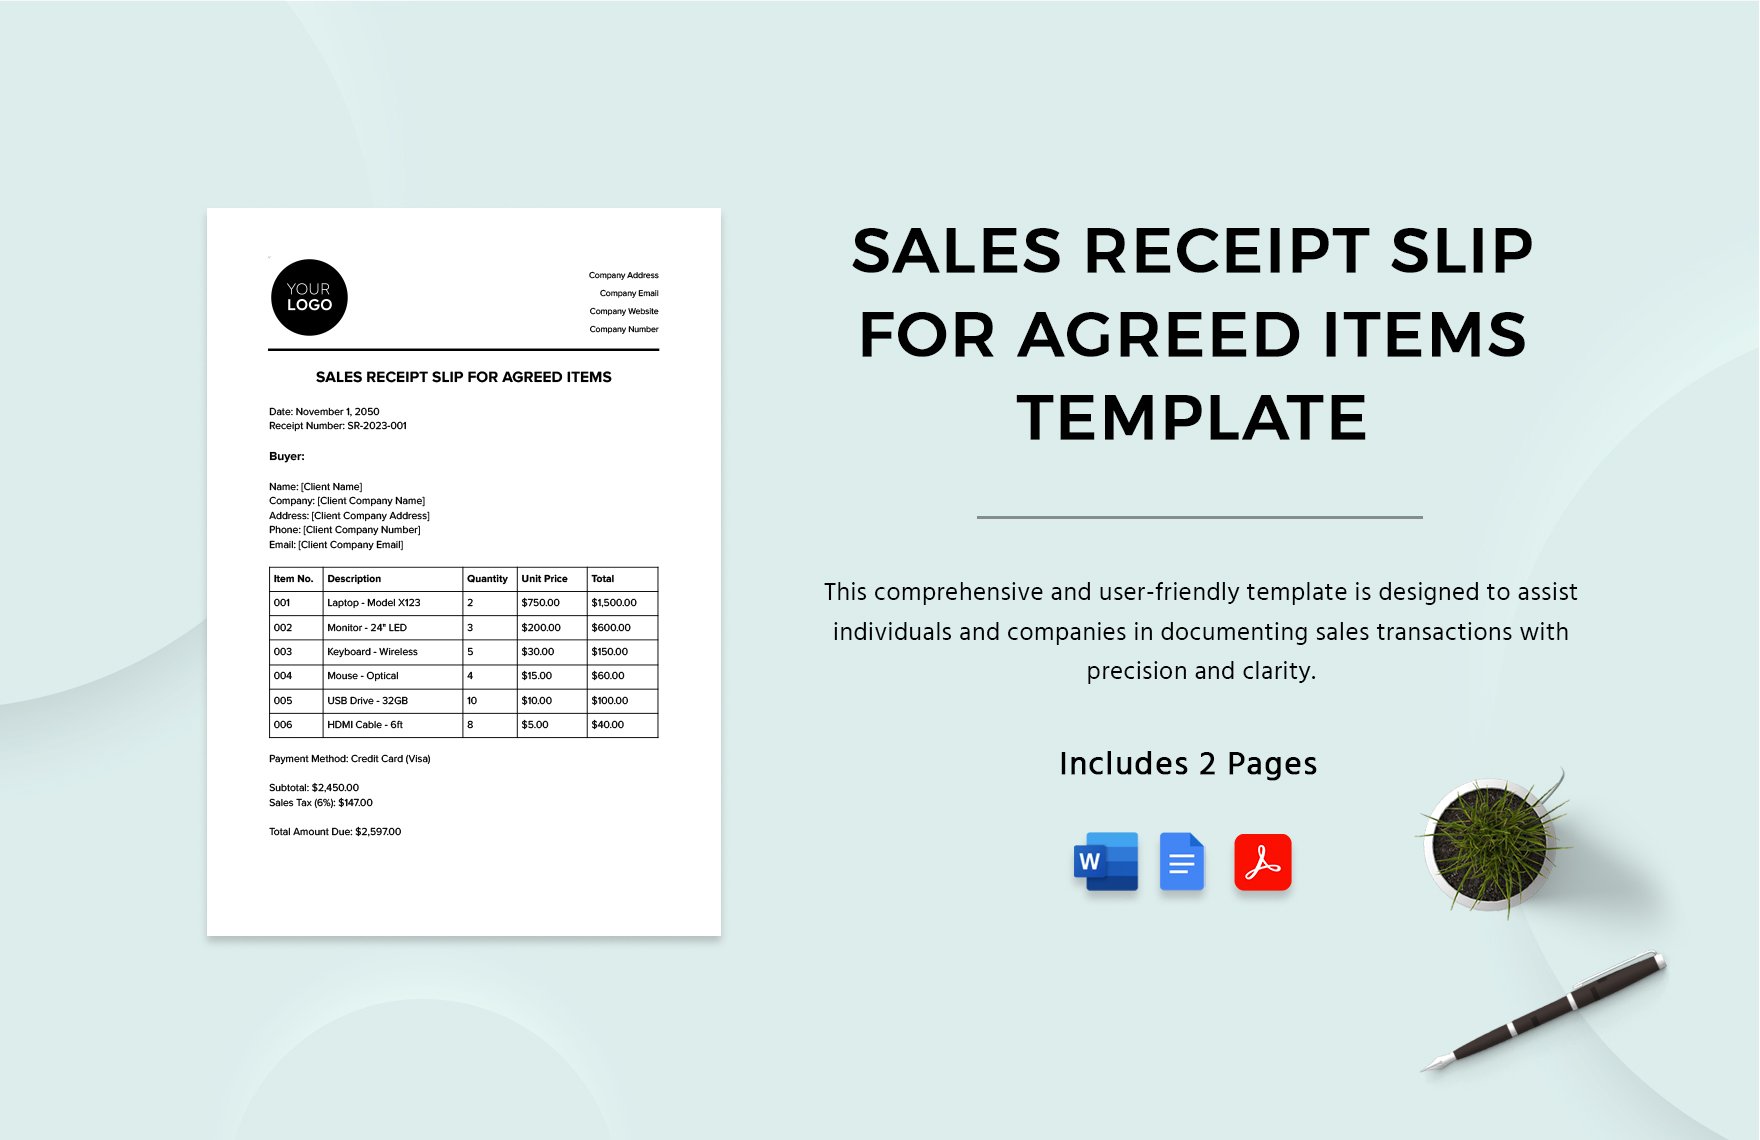
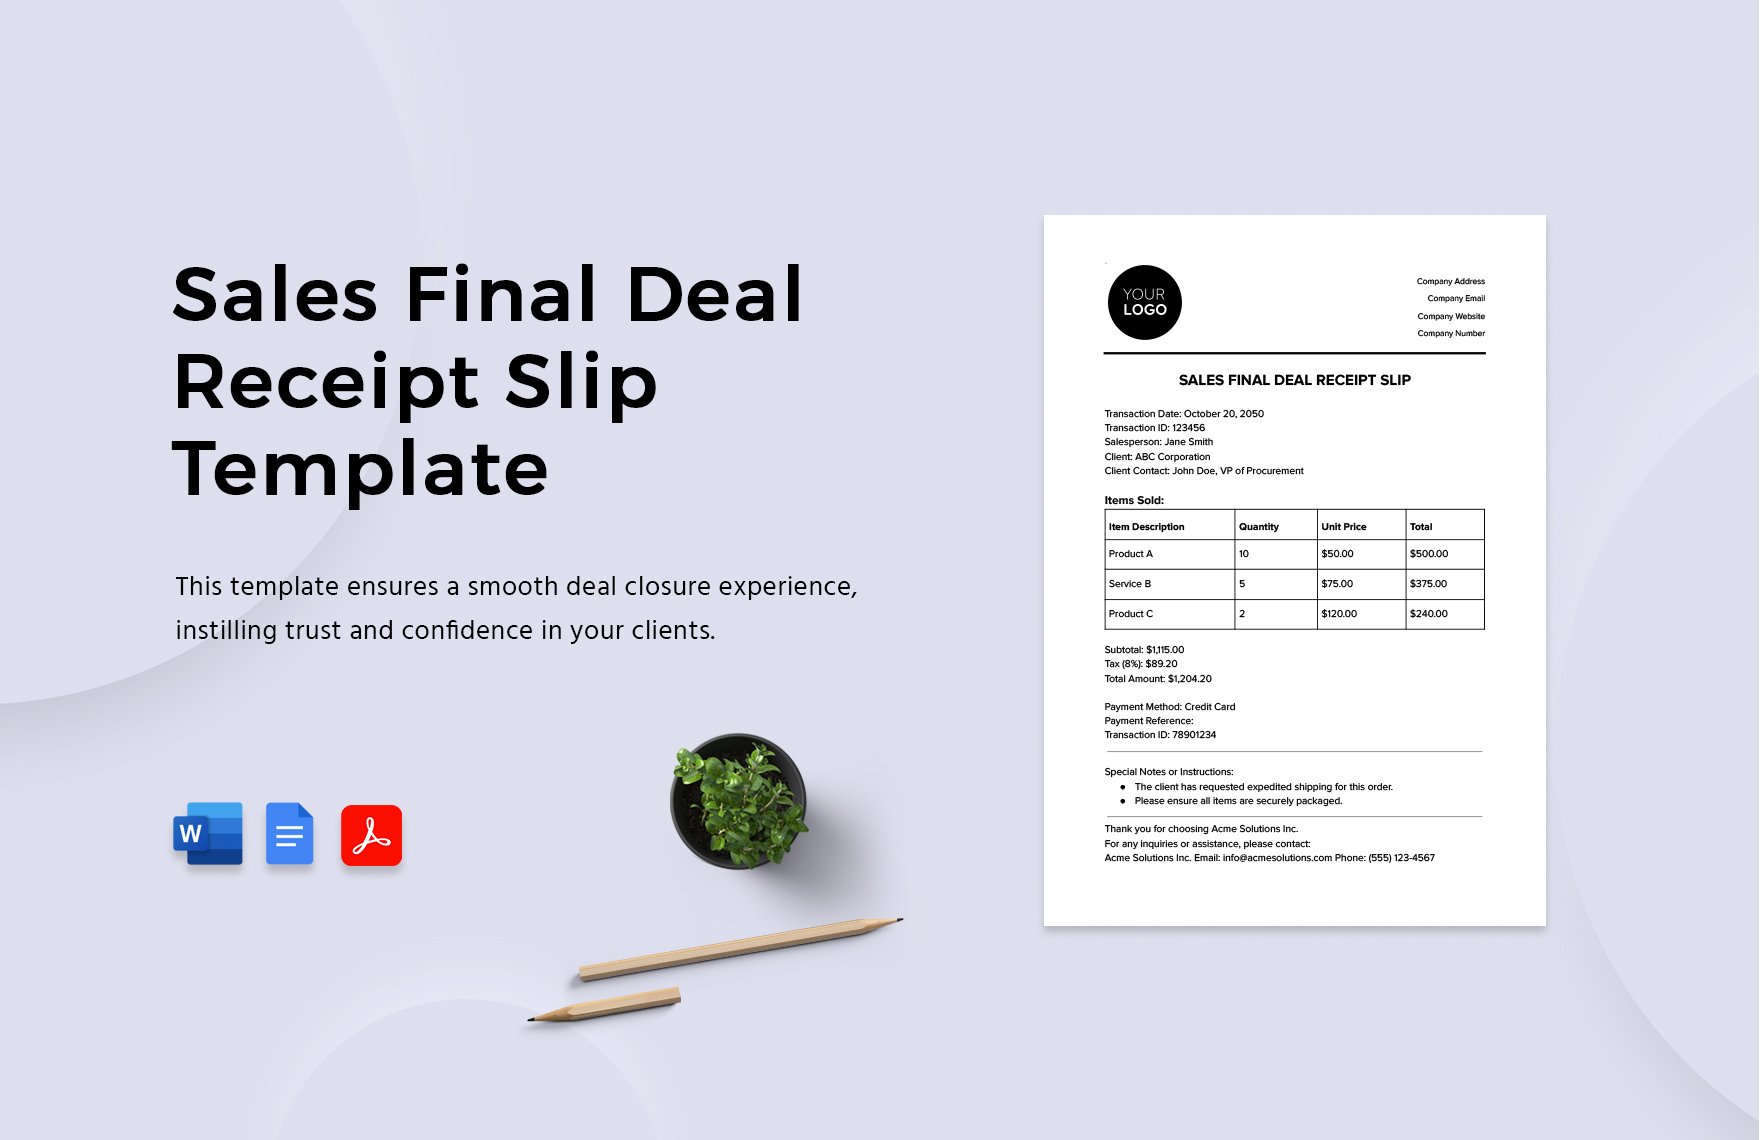
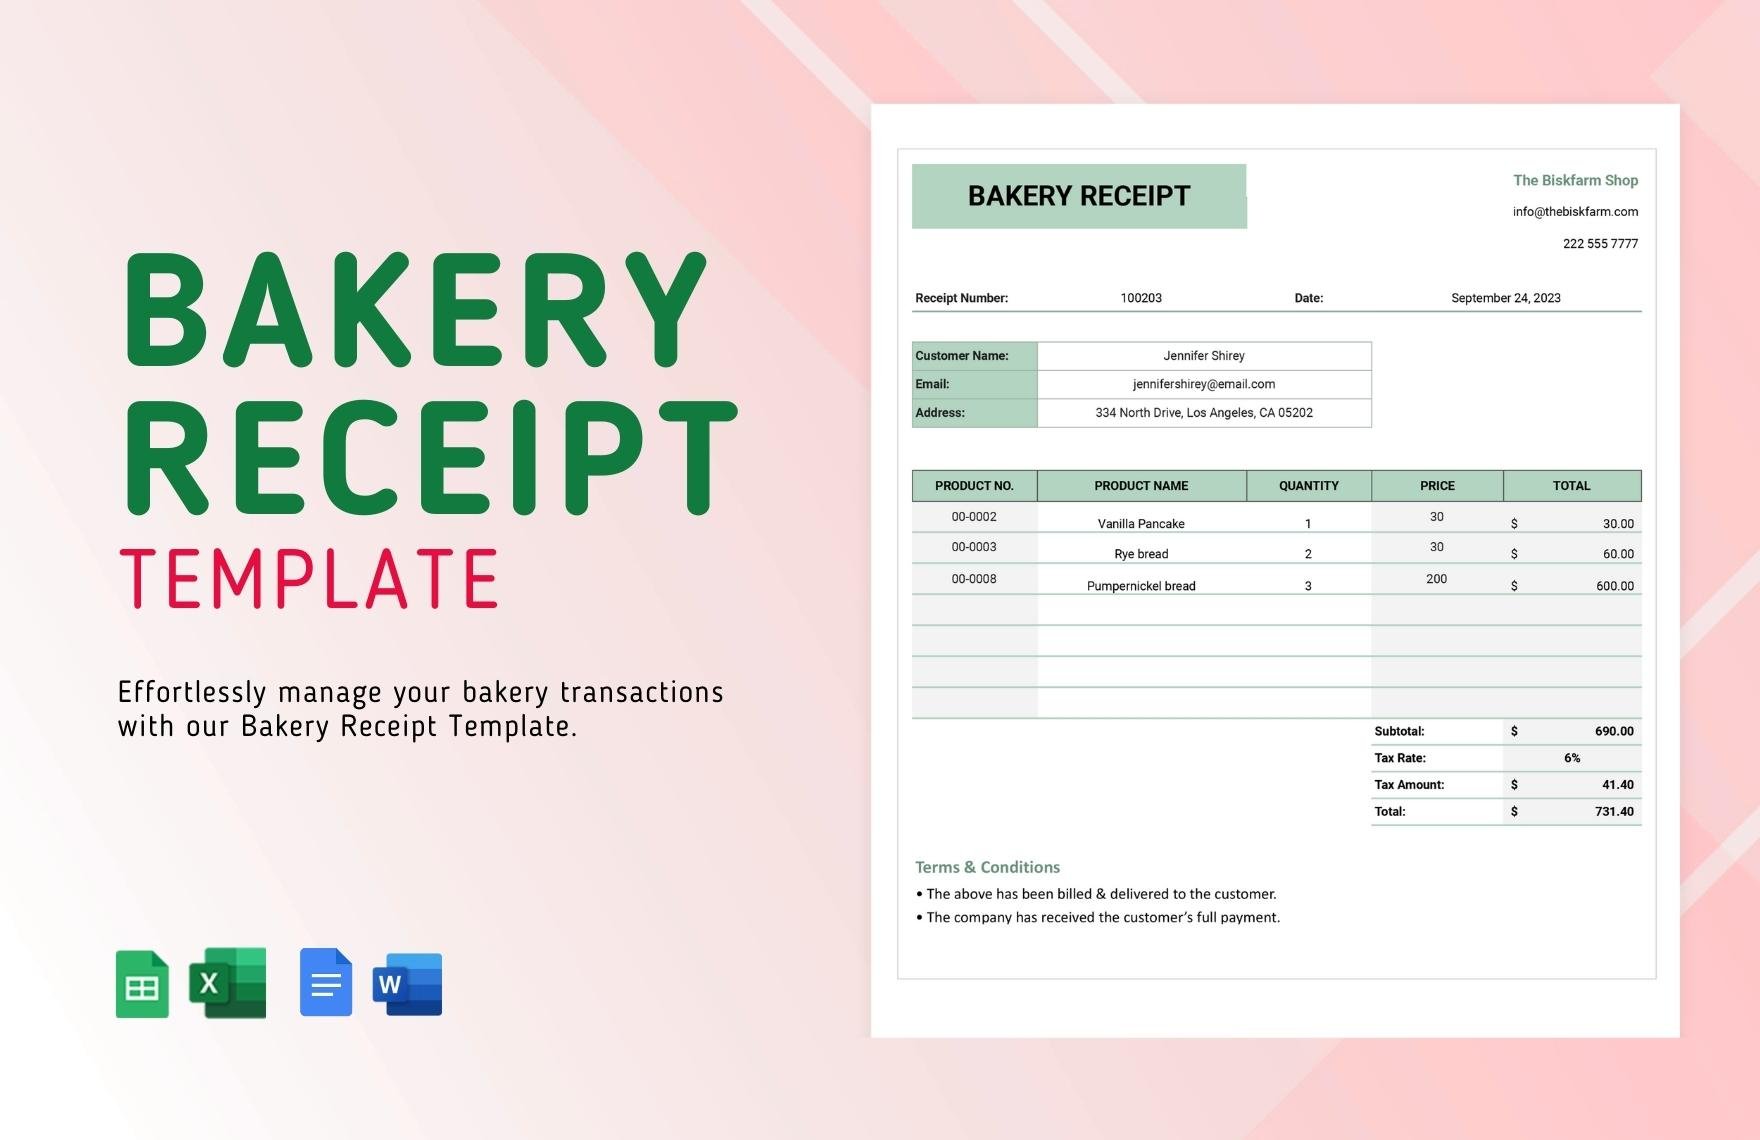
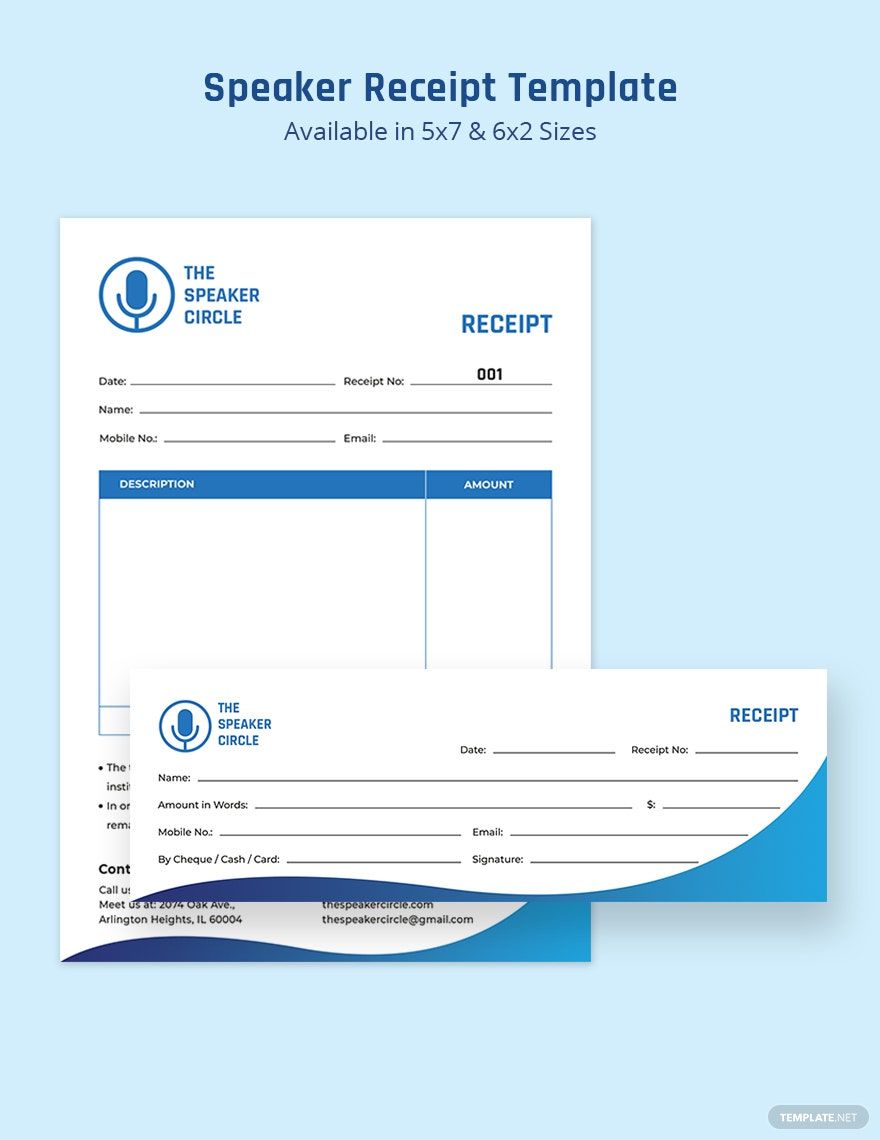
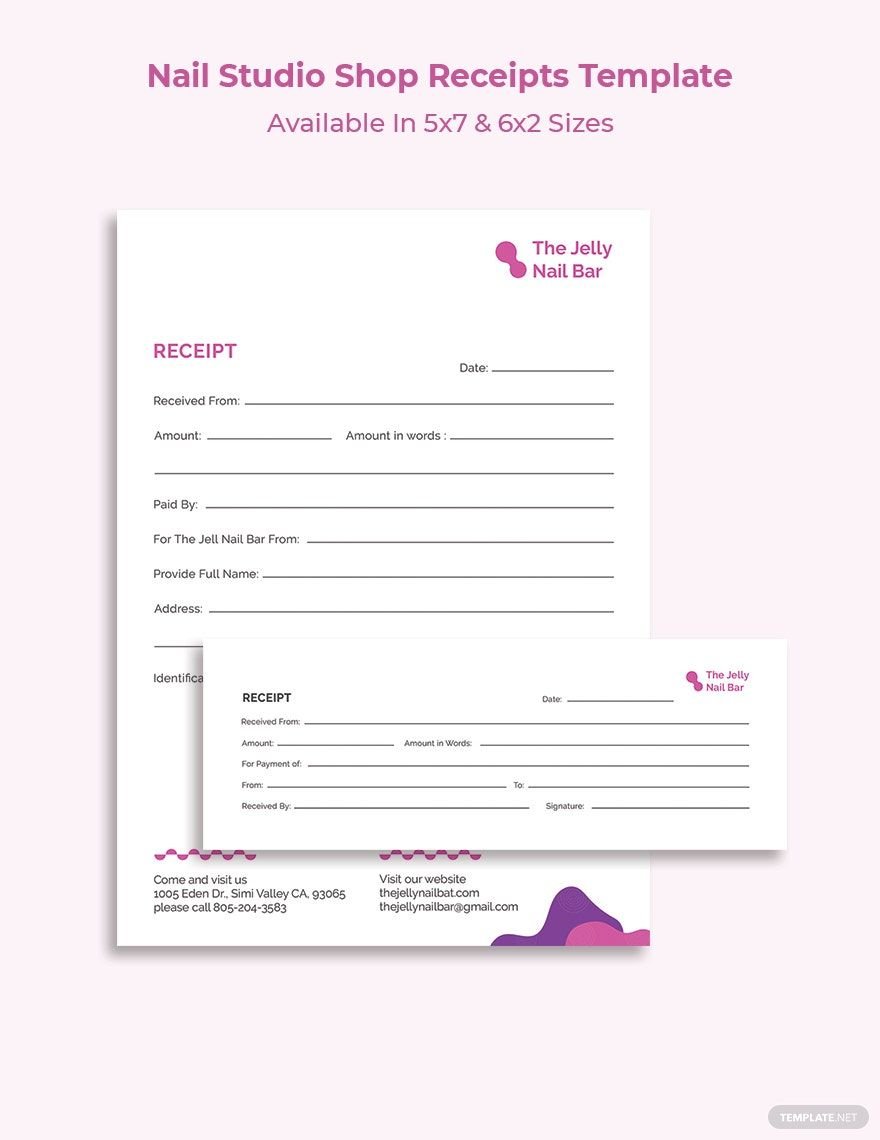
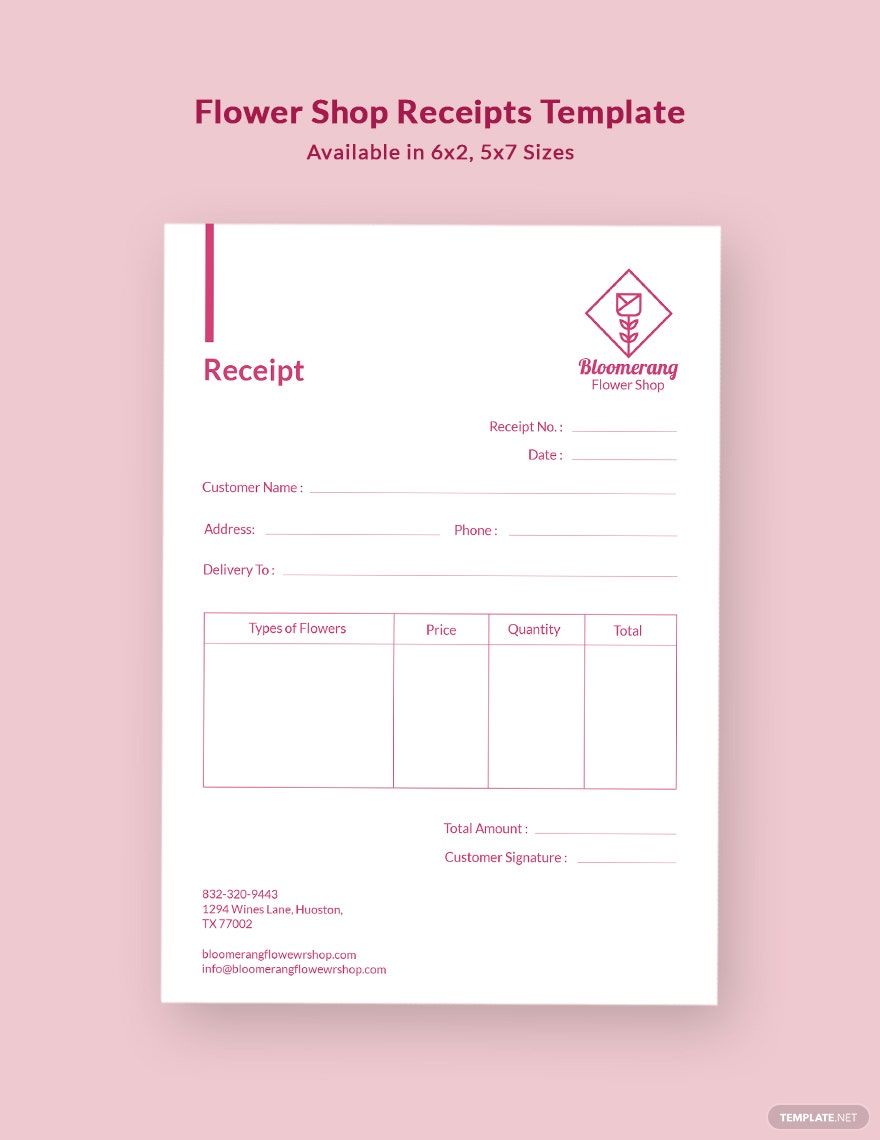
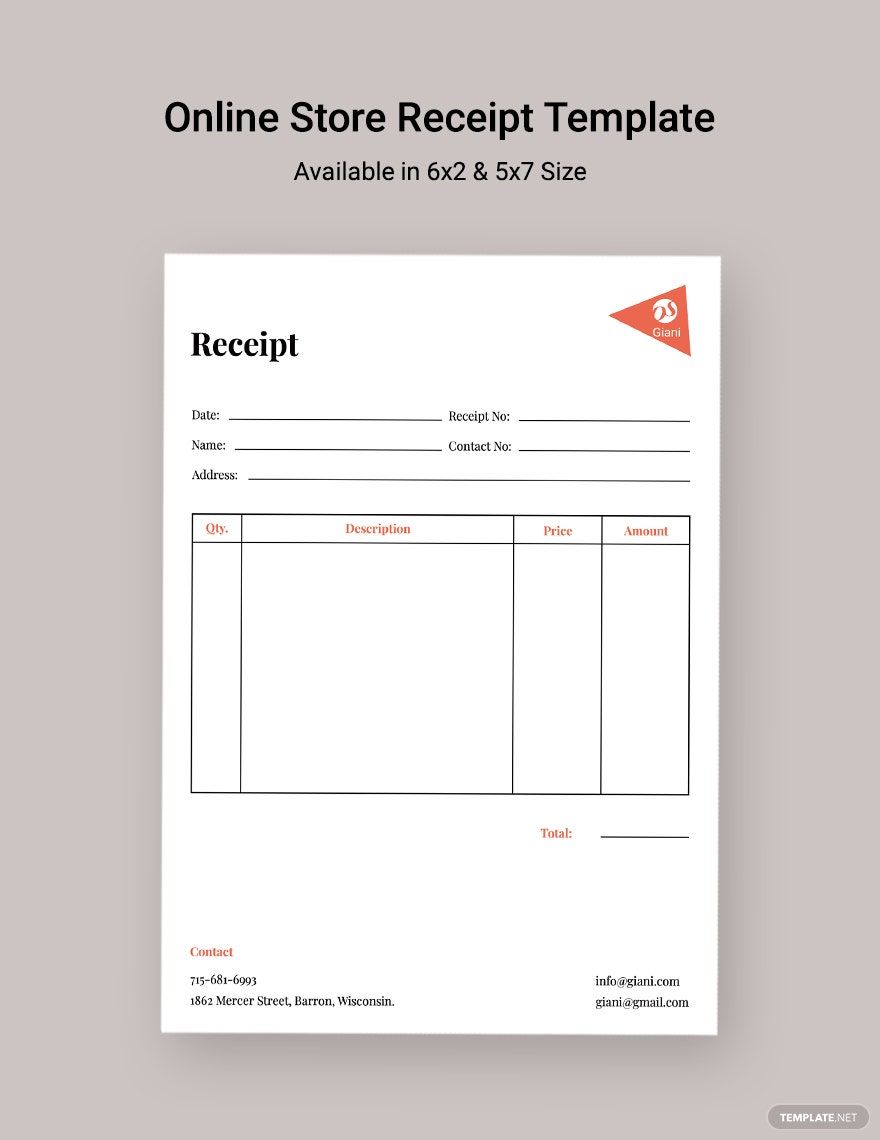
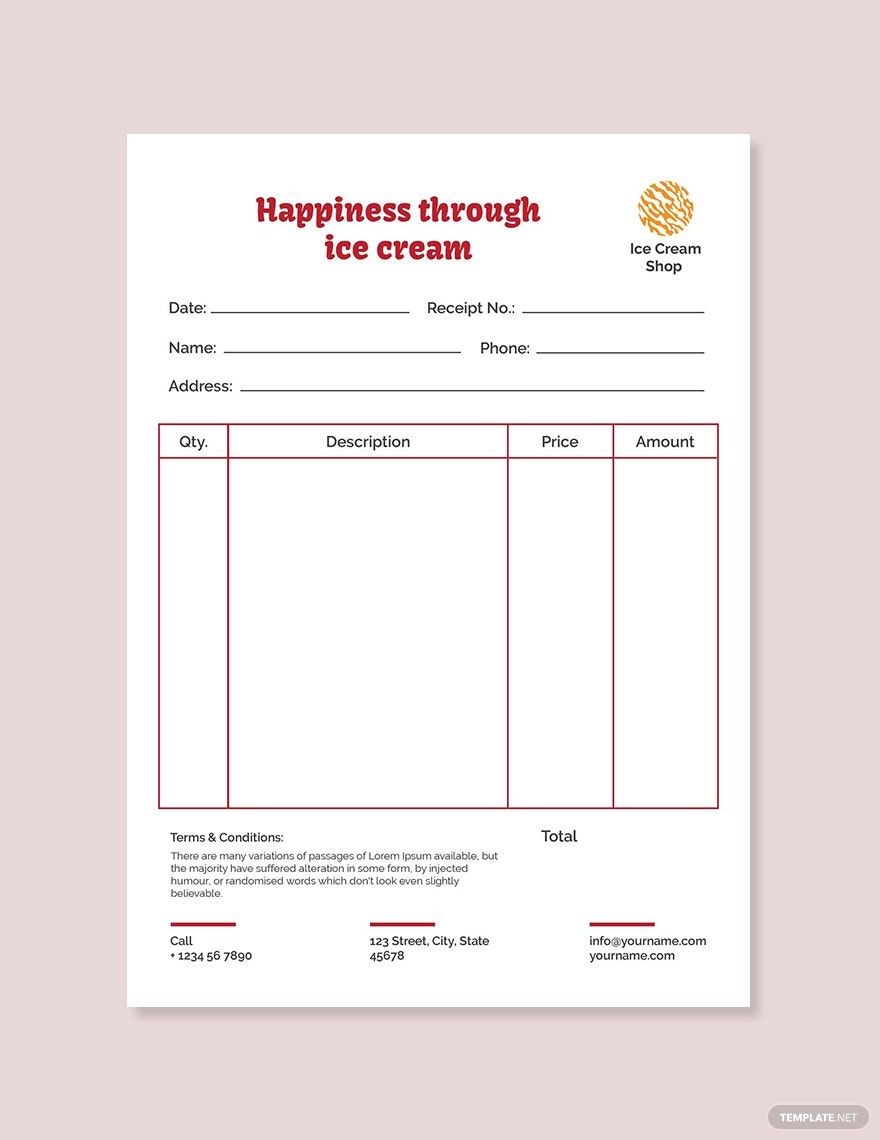
If you take a look at any of the receipts you've previously kept, you'll find that a lot of them look similar. This shouldn't be a problem in the process of creating your own. Although the content is printed in a small format, you can take a look at some sample receipt templates to get an idea of what your outline will look like.
2. The Content of the Receipt
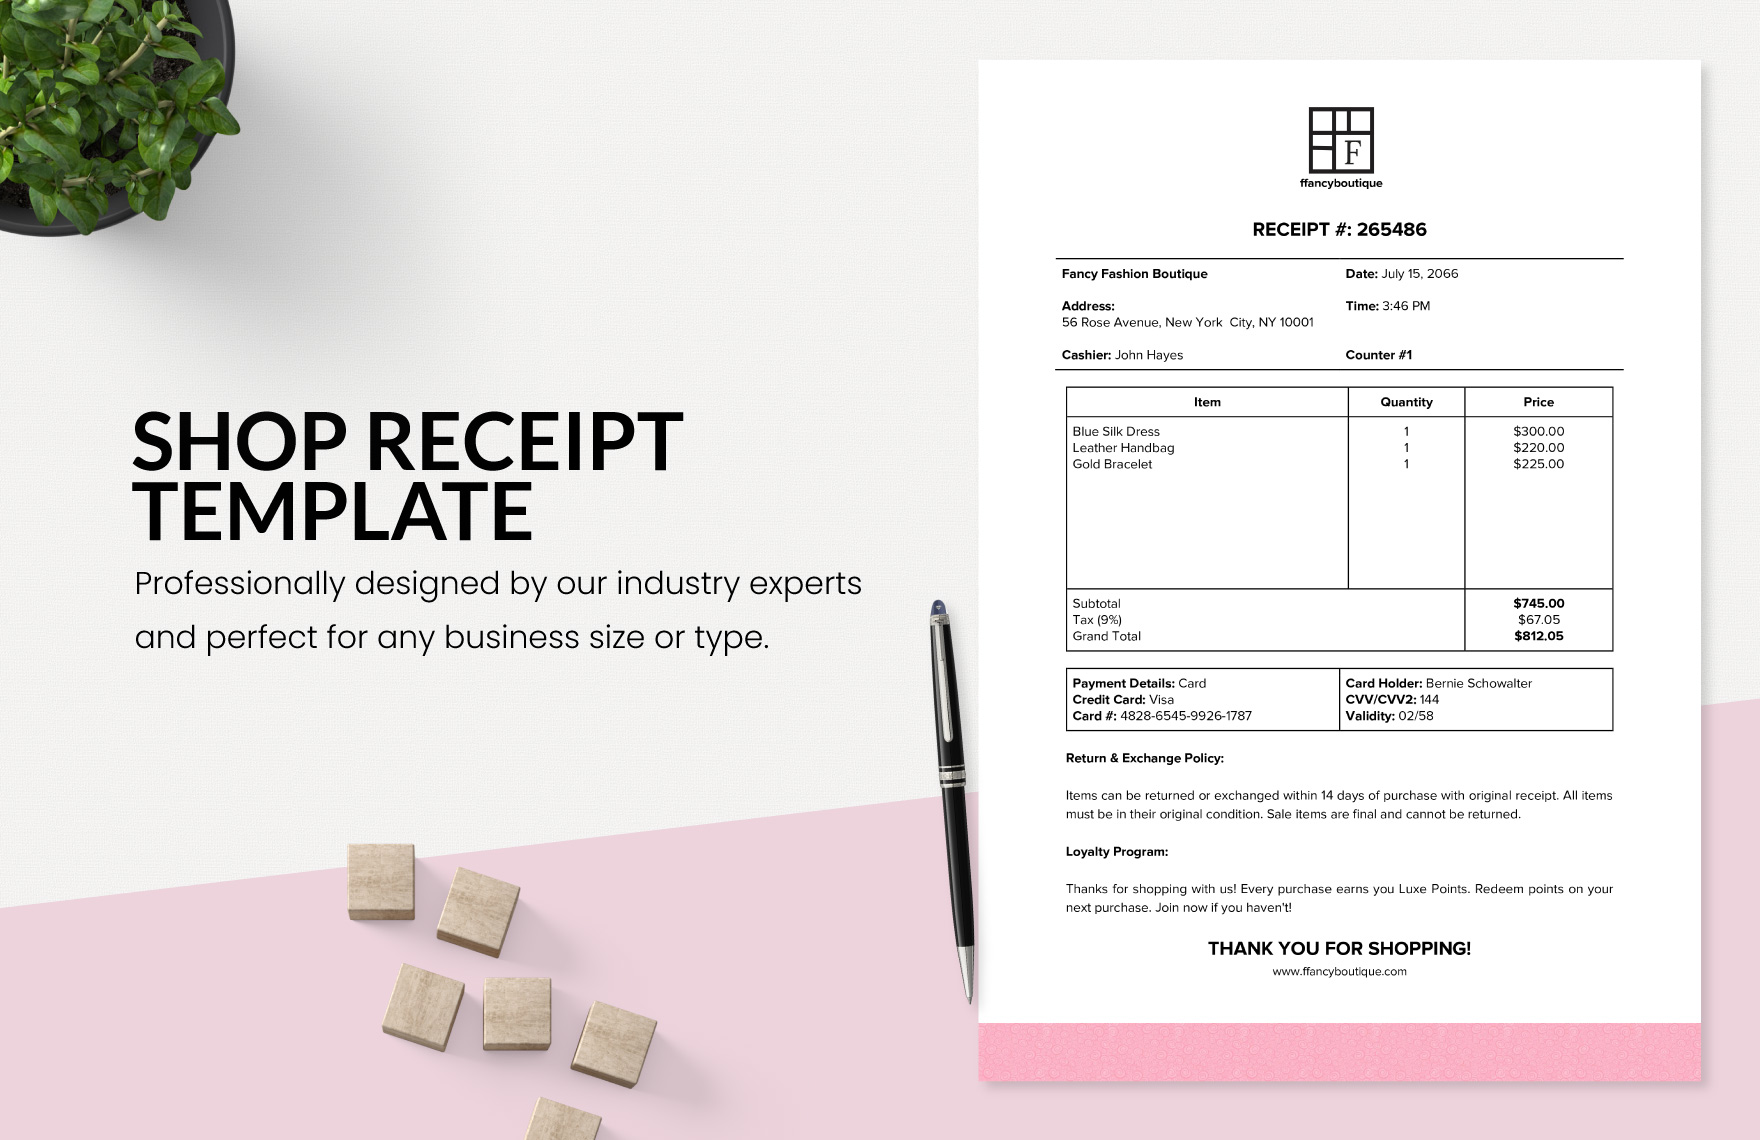
In your receipt, you will need to begin with the header. It should consist of the name of the company at the top as well as a logo. Small businesses don't need to include logos if they don't have any. Your receipt will also need to include the date and time of purchase. If the item has any defects, you can use the receipt to initiate the warranty (should the item be provided with one). The next thing to include in your receipt is the name of the item purchased and the price. The name of the product is usually placed on the left side of the receipt with the price on the right. Under this, indicate the mode of payment. Because there are different ways to pay a product, you need to show whether the purchase was complete with either cash, debit card, or credit card.
3. Terms and Conditions
Strange as it sounds, receipts do have a section that contains terms and conditions. It's in this section where you can find details about the warranty. This mostly benefits the customer who is looking to get a refund or even a replacement.
4. Signature Line
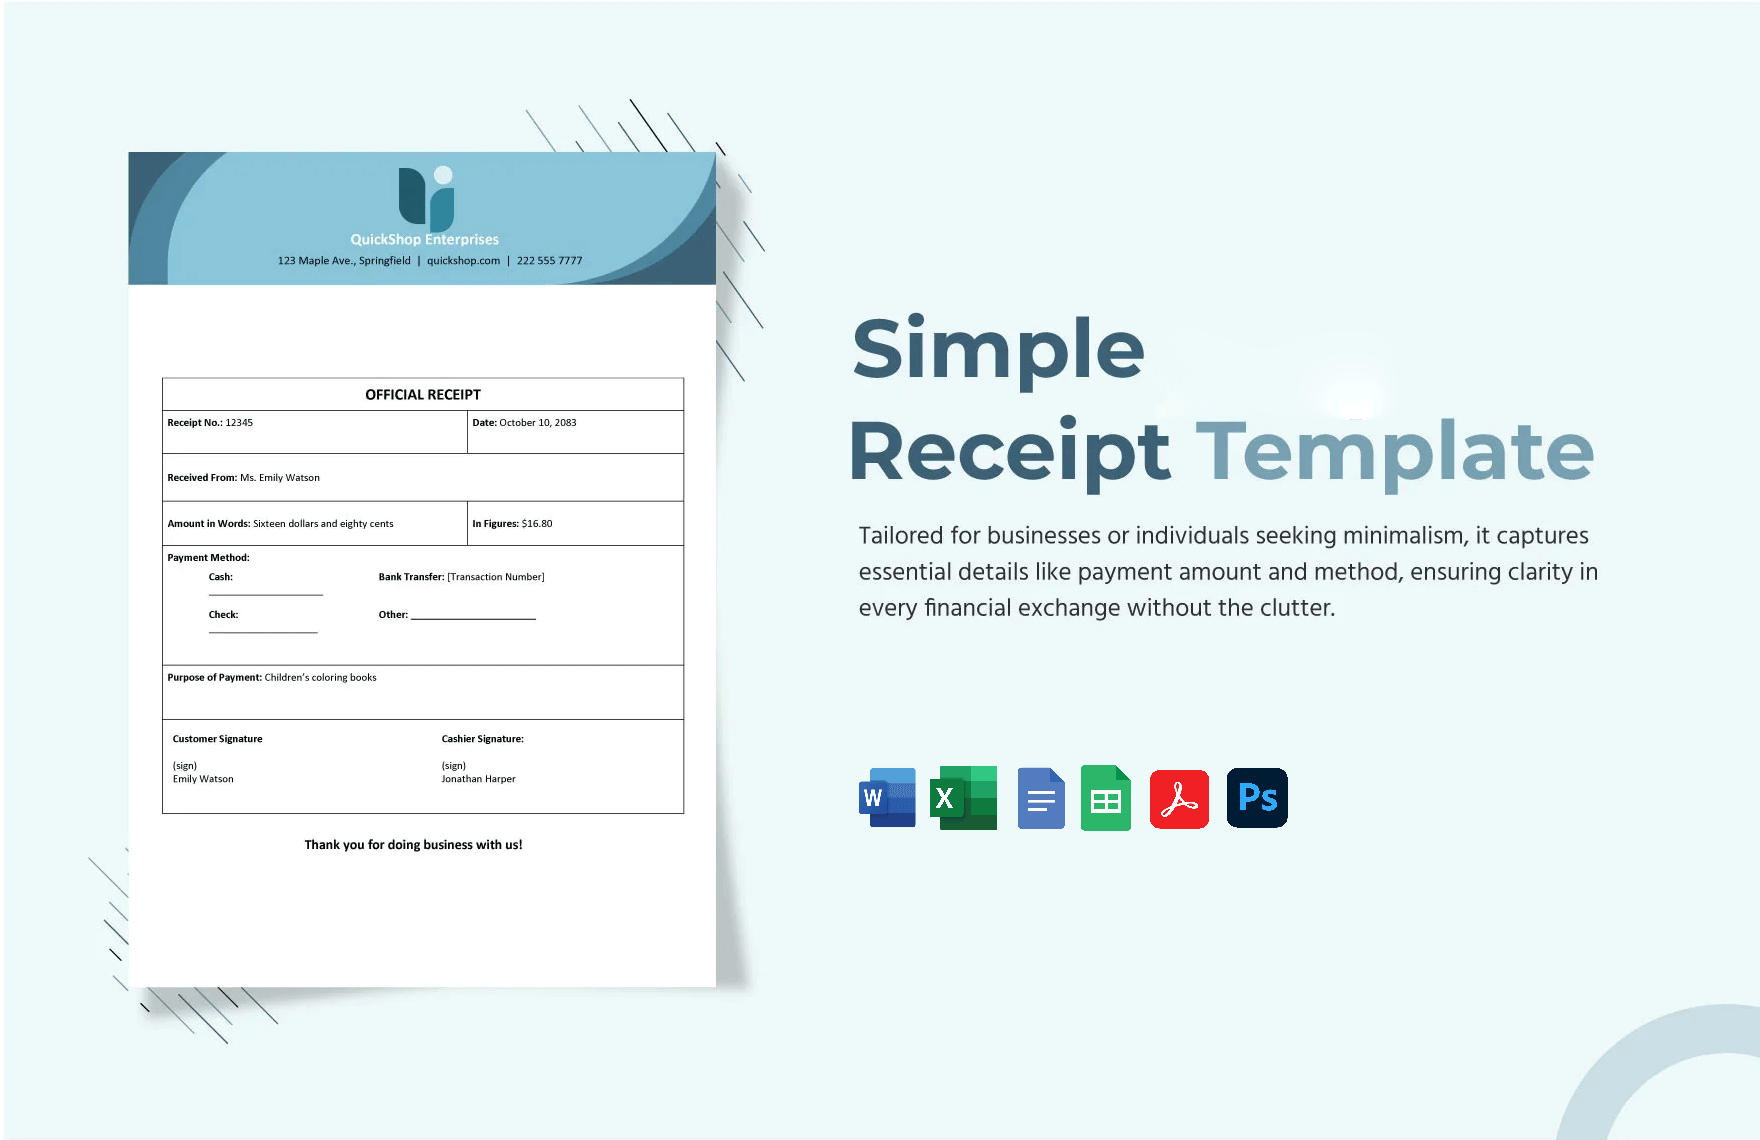
To validate your receipt, you're going to have to include a section that shows the signature of your customer. It's especially useful for those who are making a purchase through either debit card or credit card.
5. Platform of the Receipt
Because we are living in a digital era, the receipt can be presented as an electronic receipt or the traditional paper. Bigger businesses or online businesses usually email the receipt once the purchase is made. This is done automatically.