Bring Your Professionalism to Life with Service Receipt Templates from Template.net
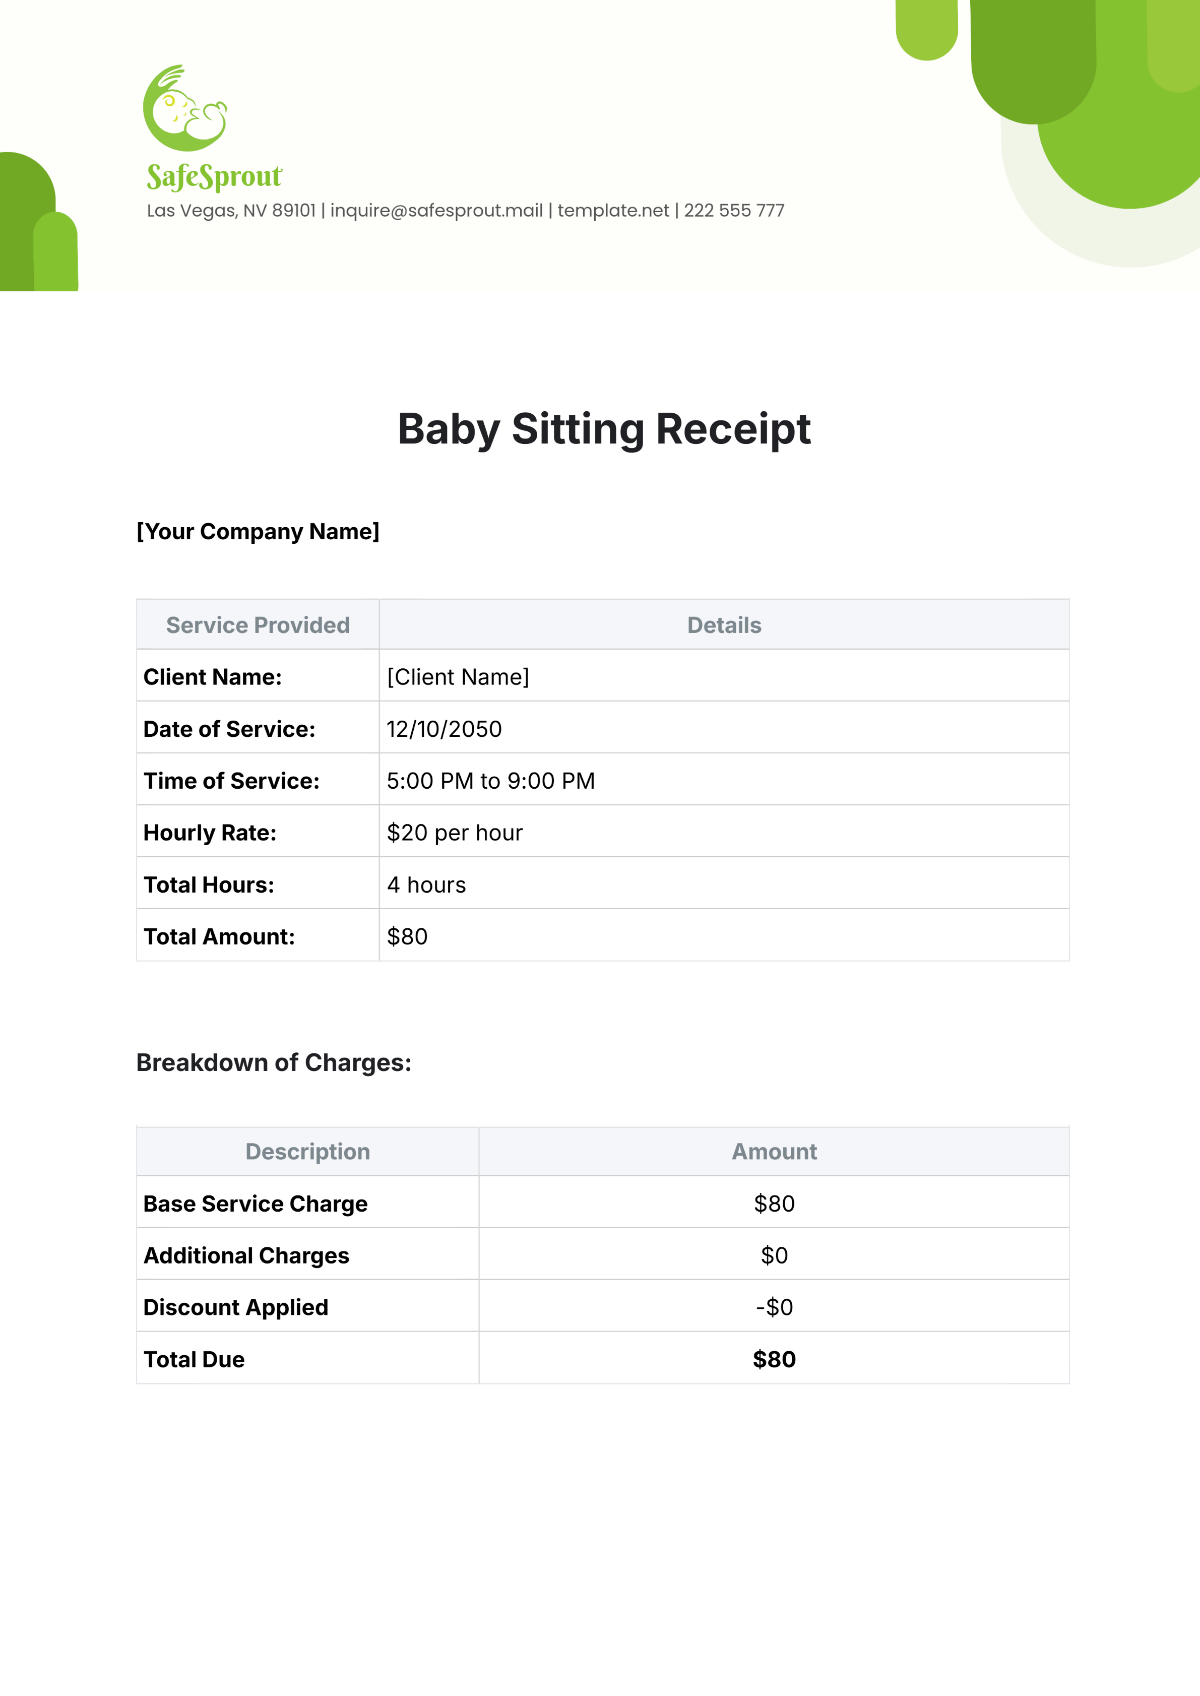
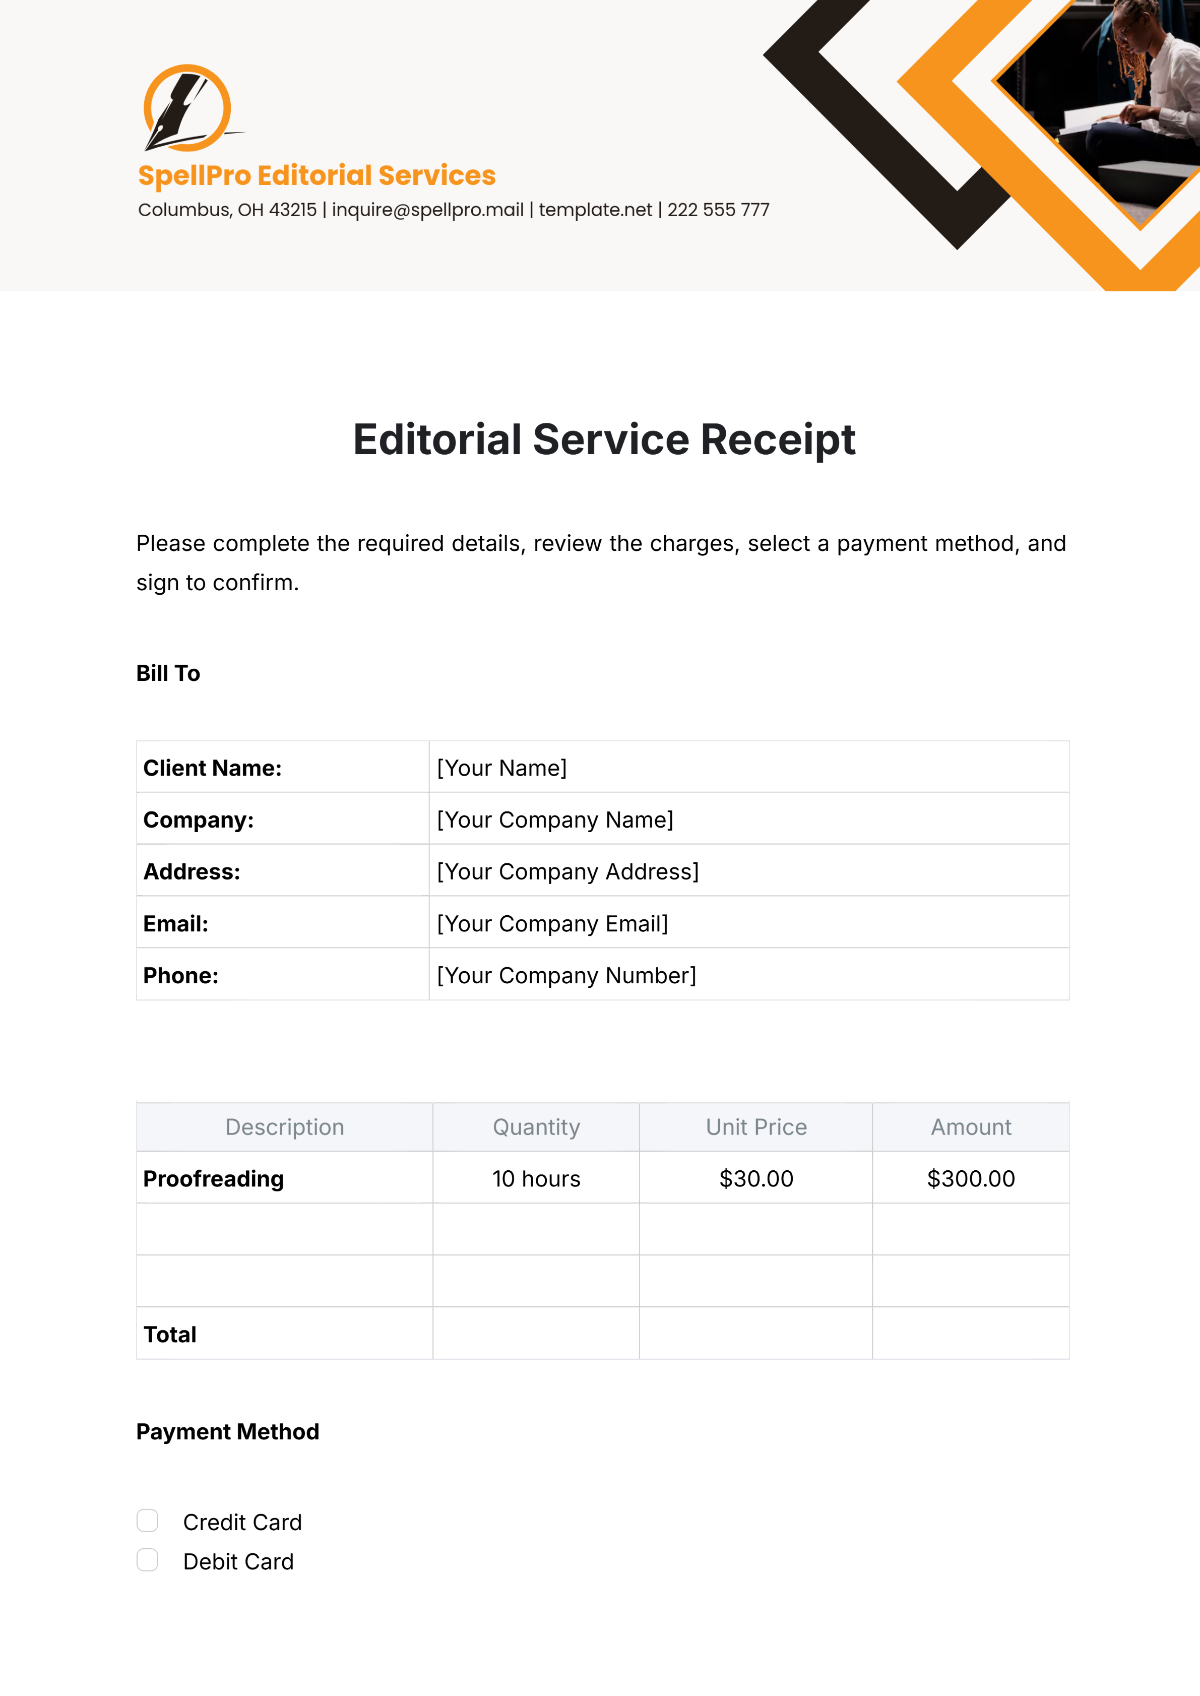
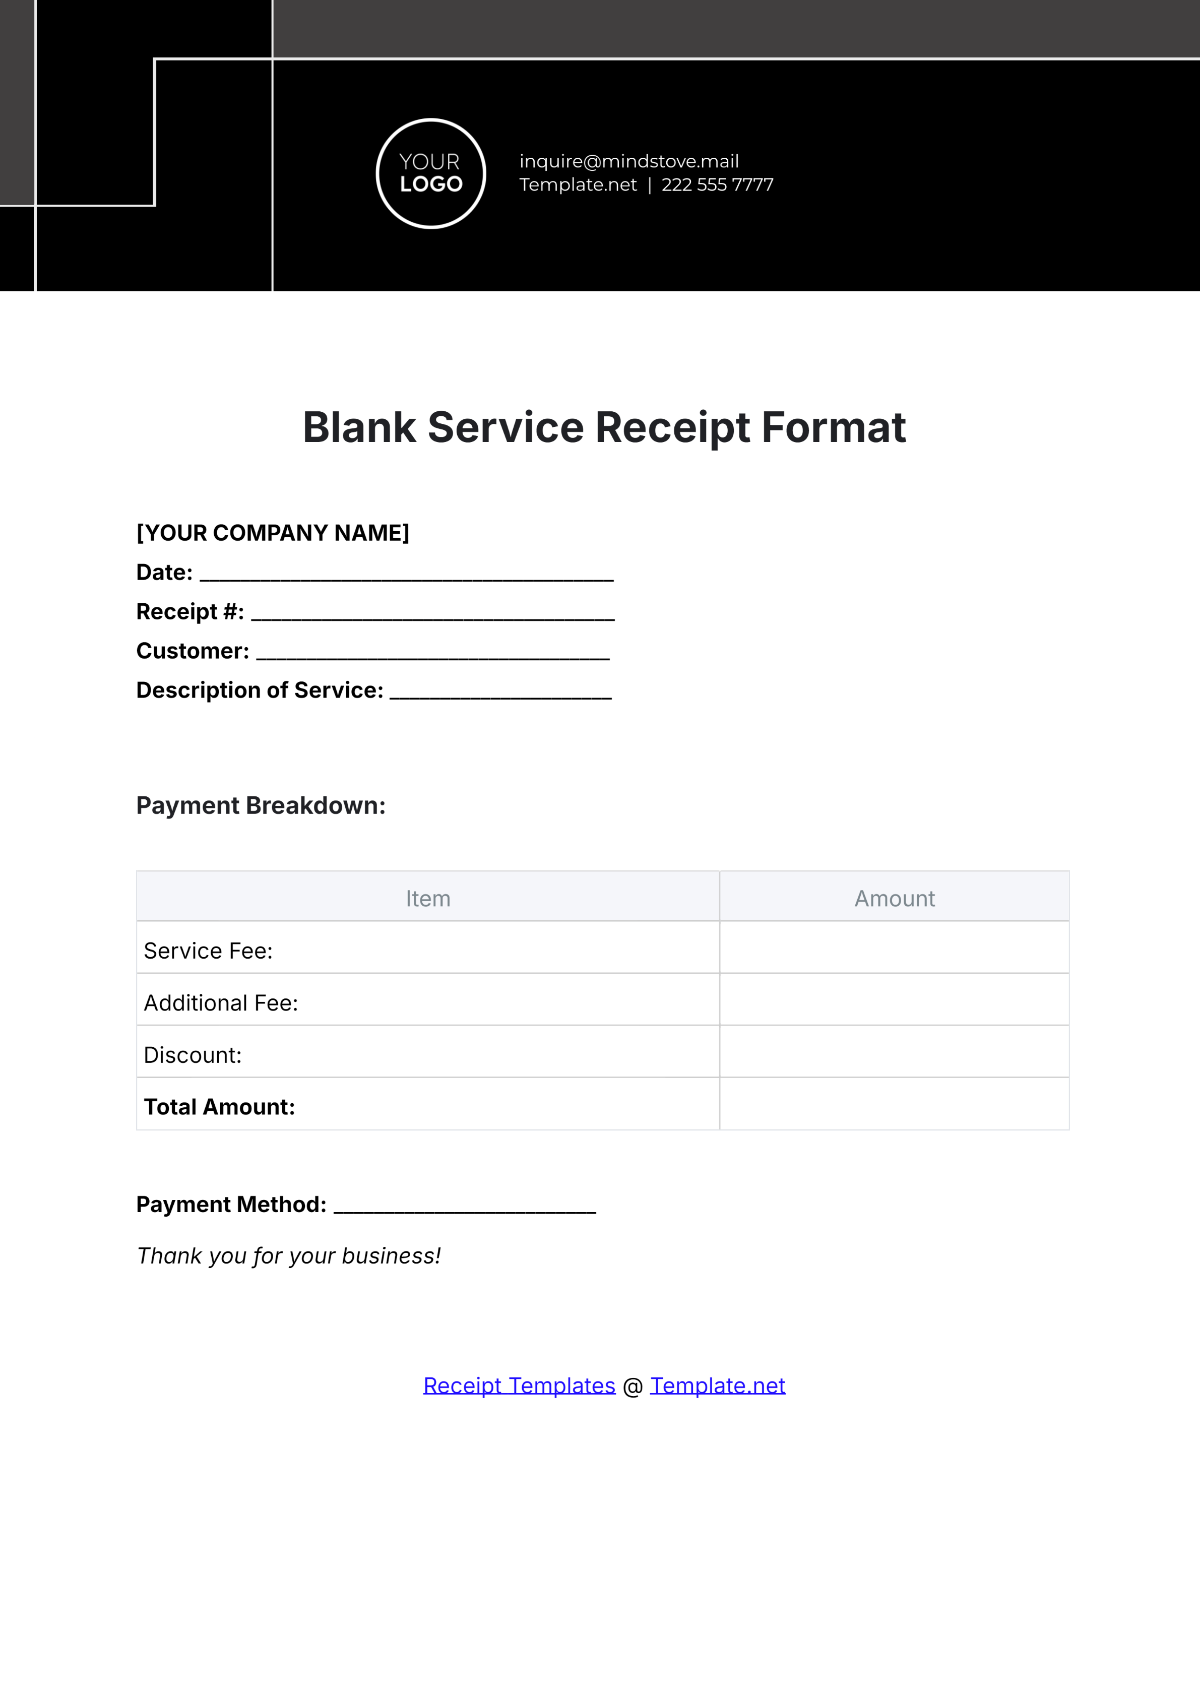
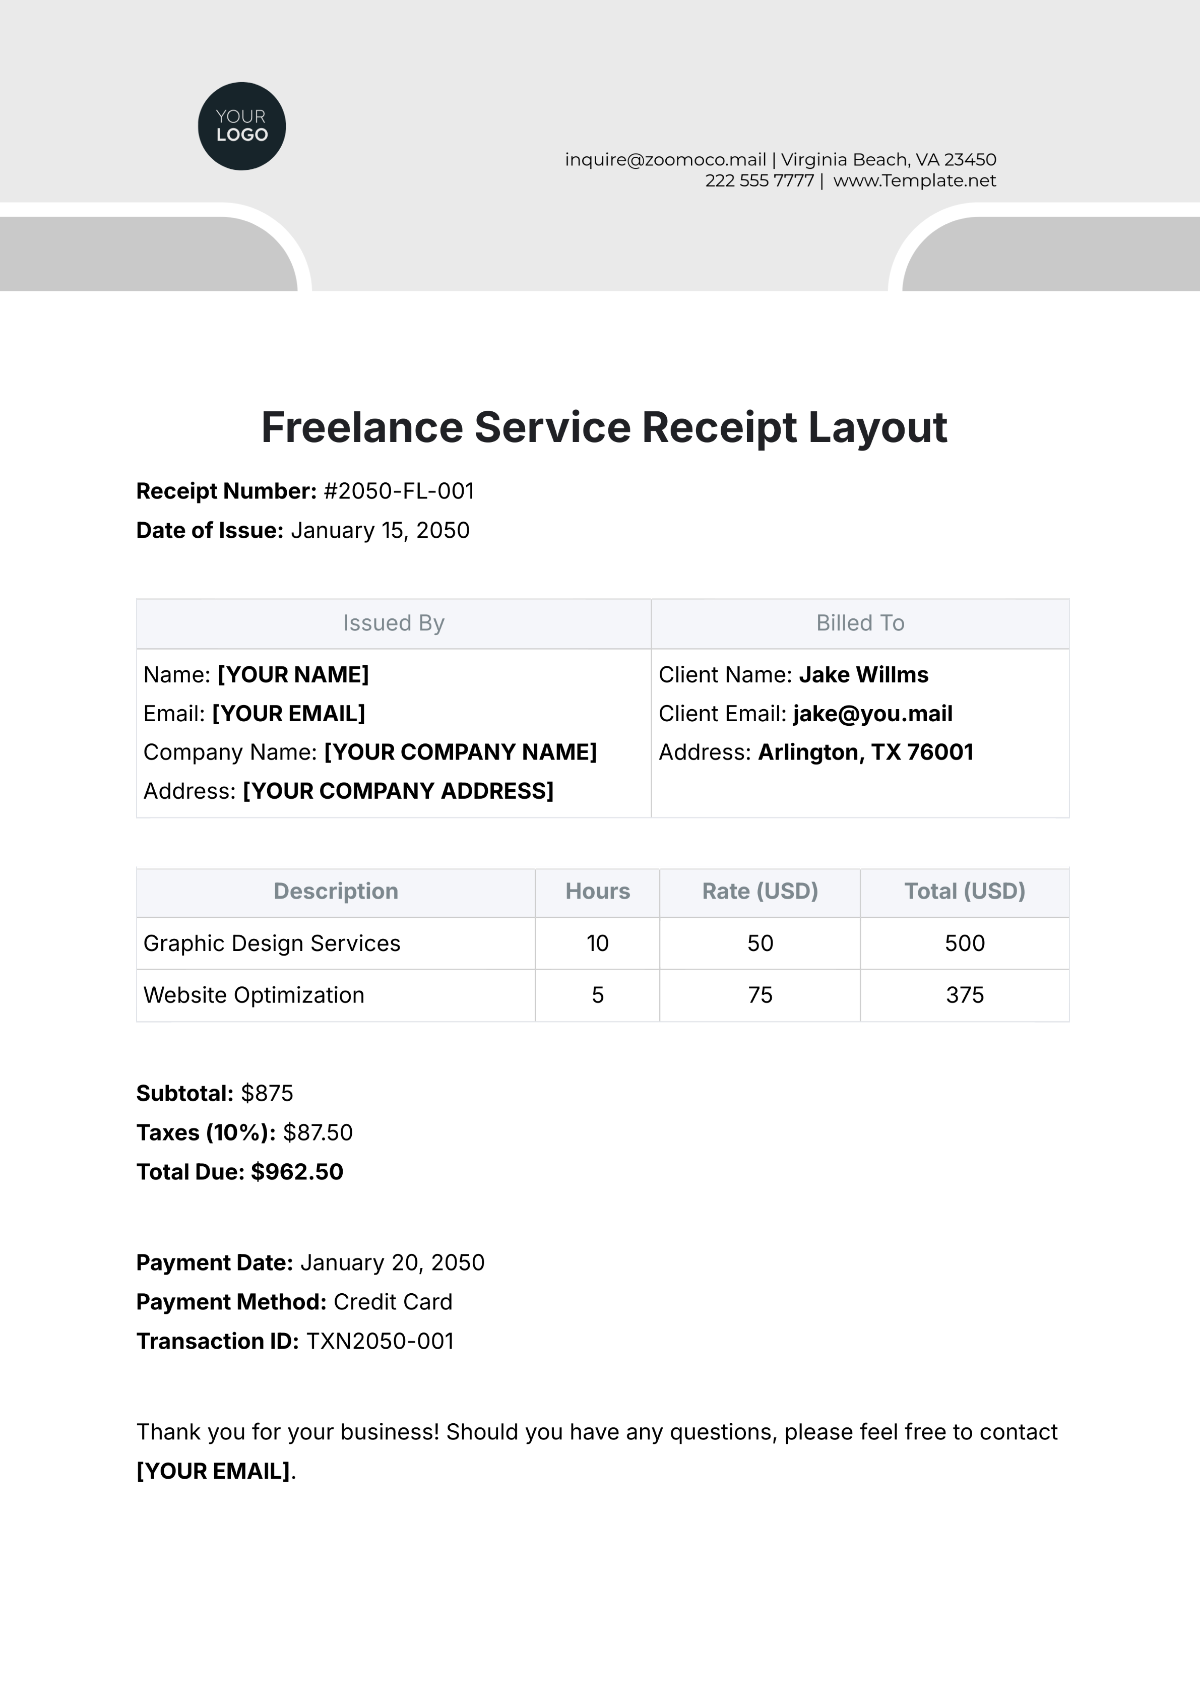
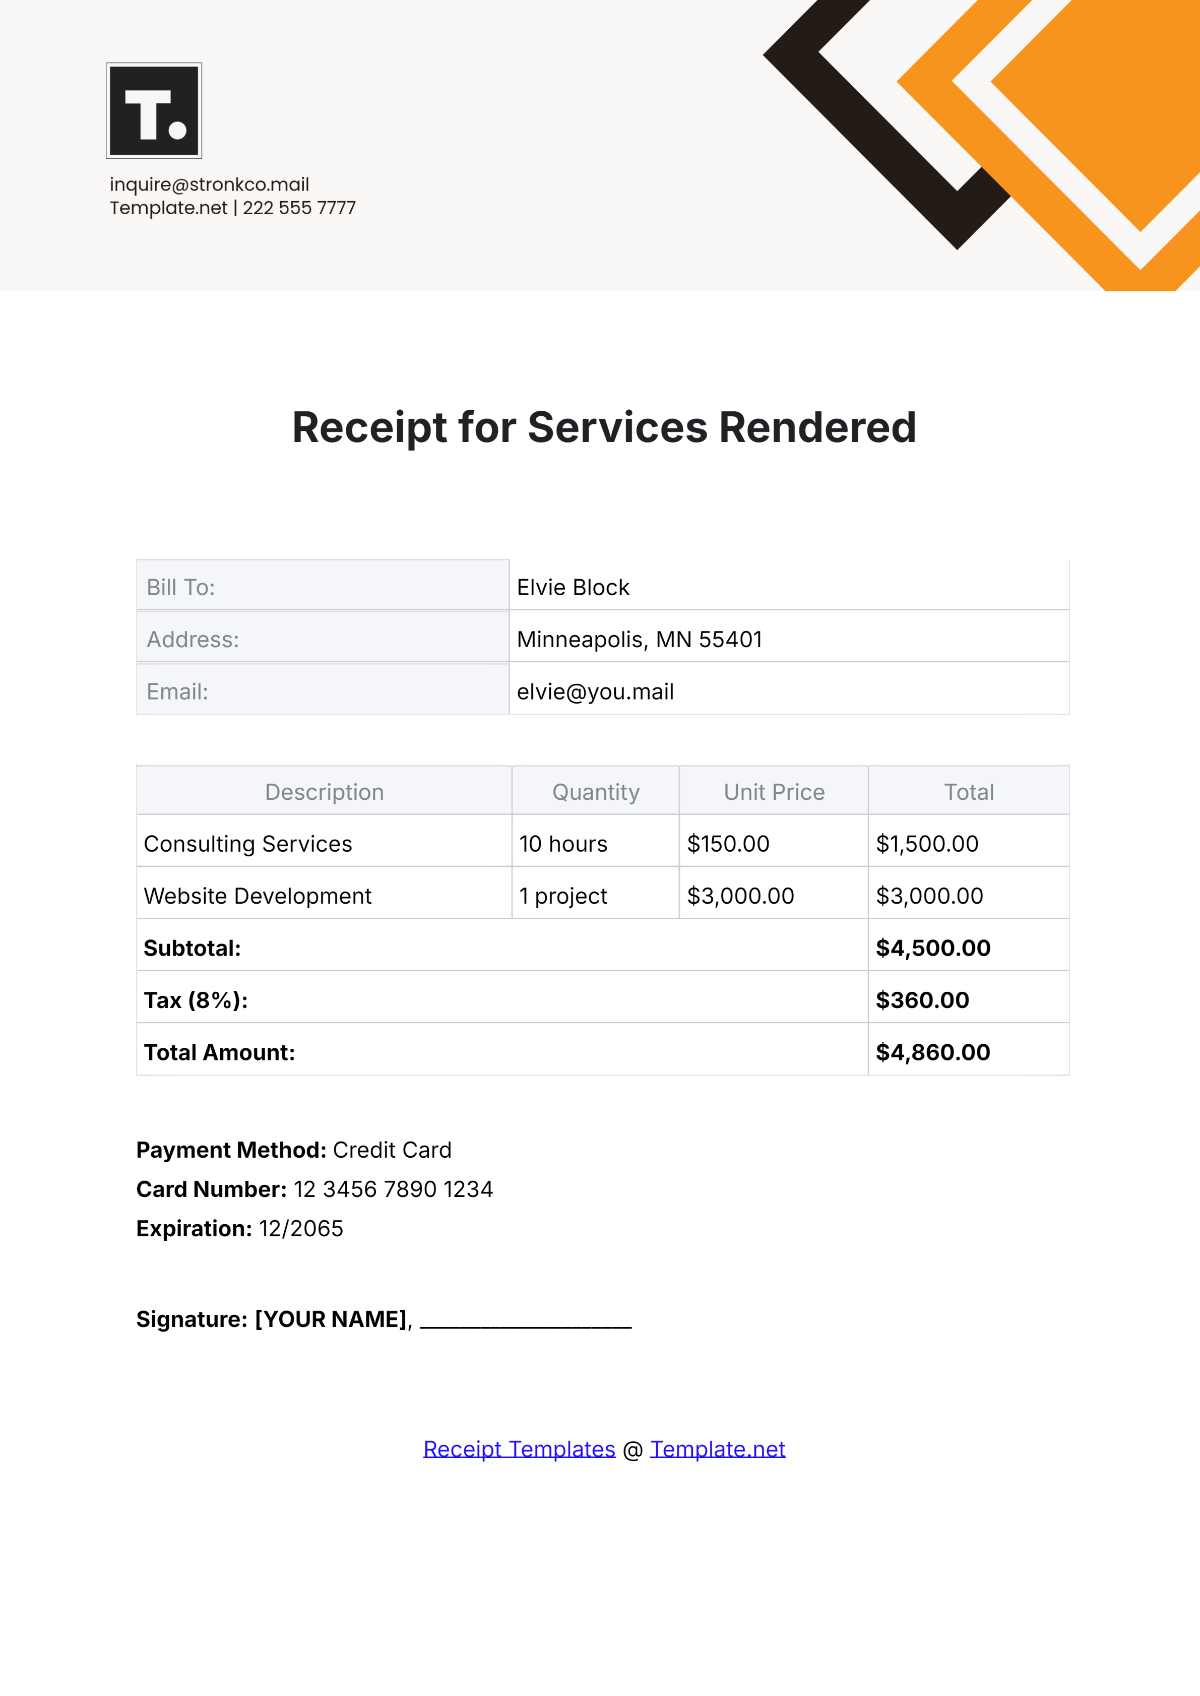
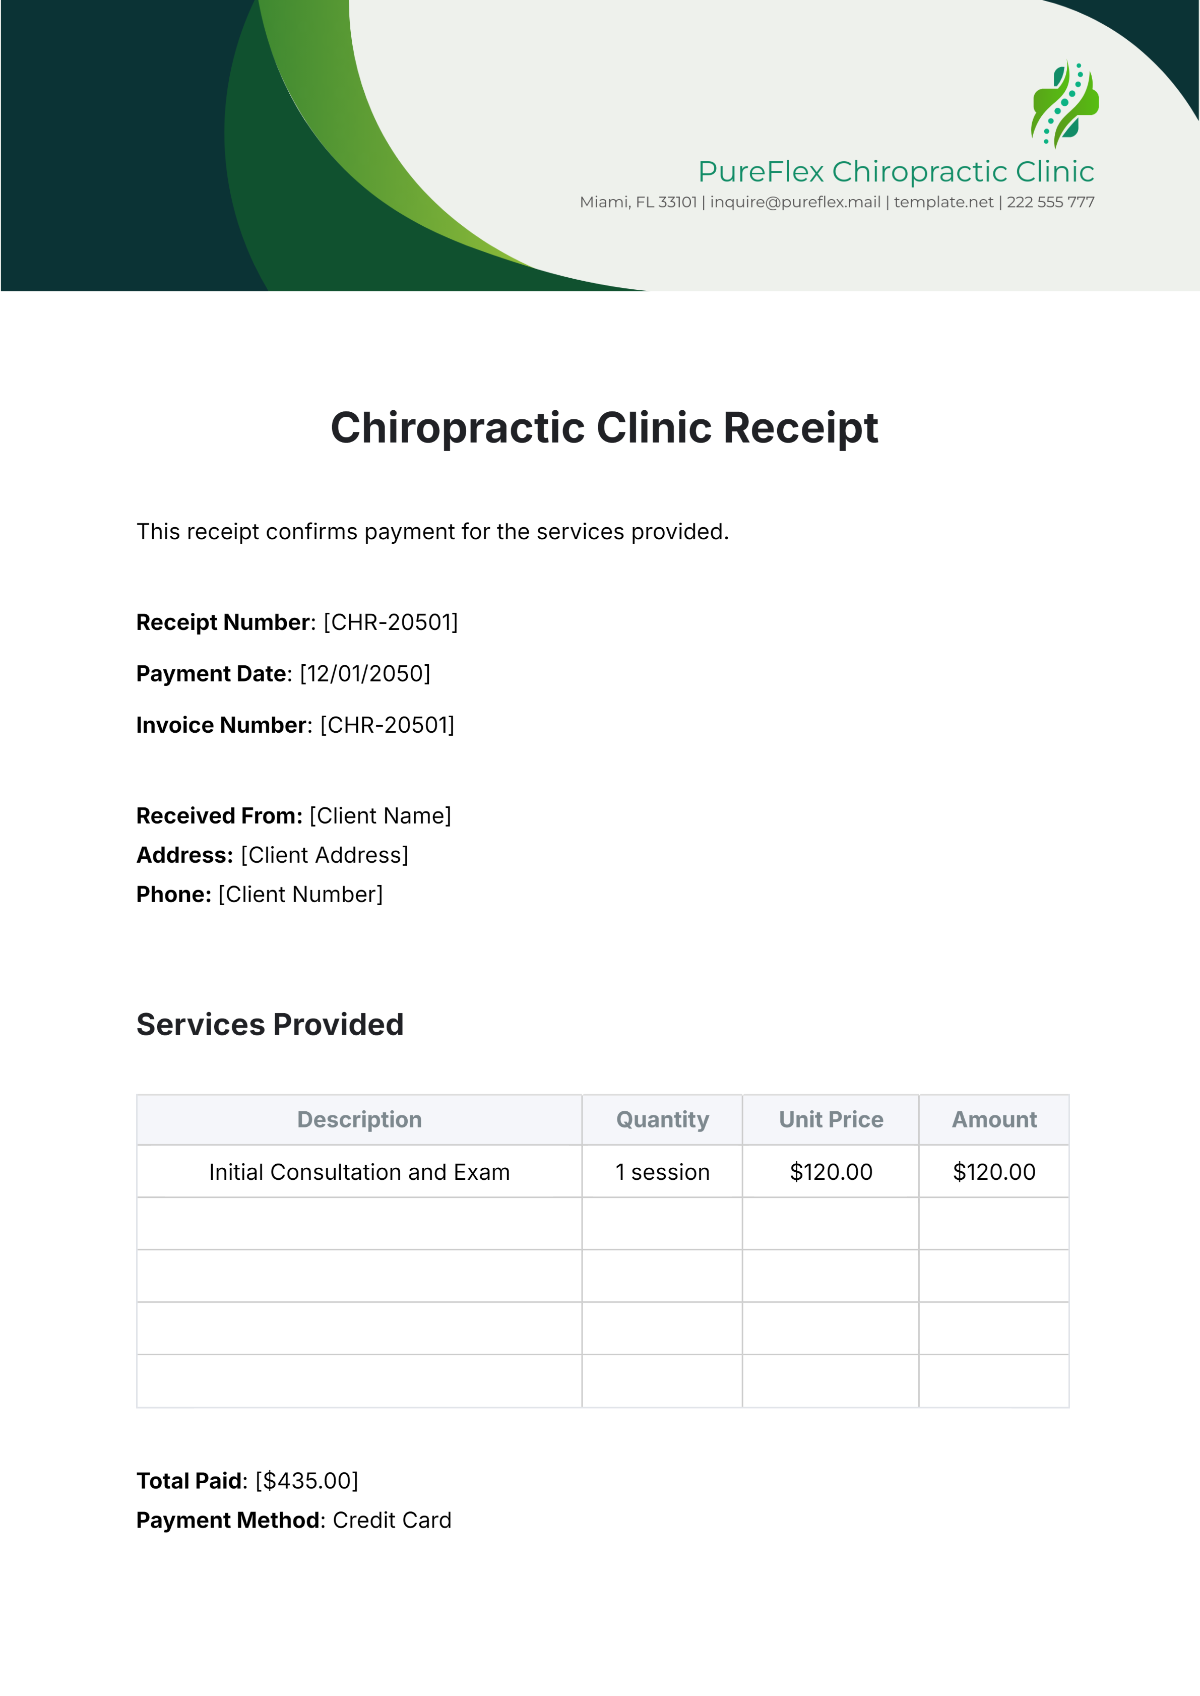
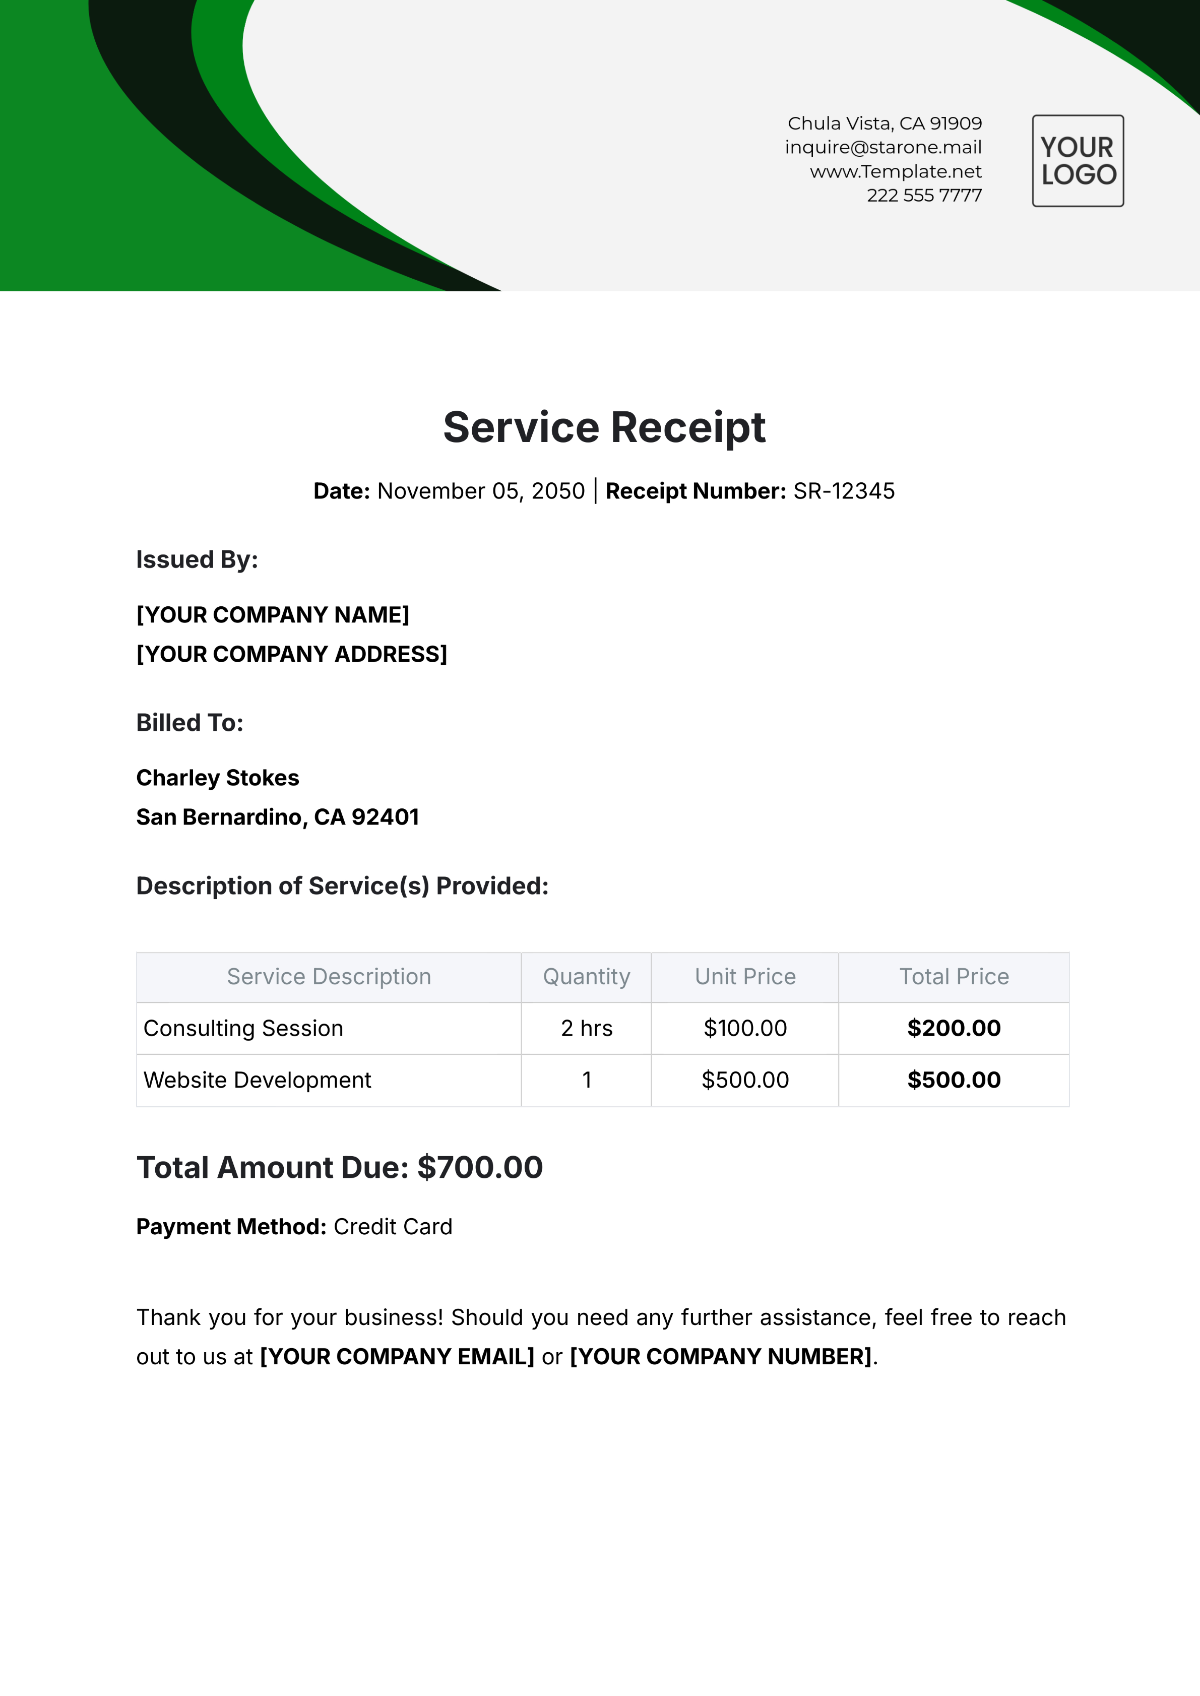
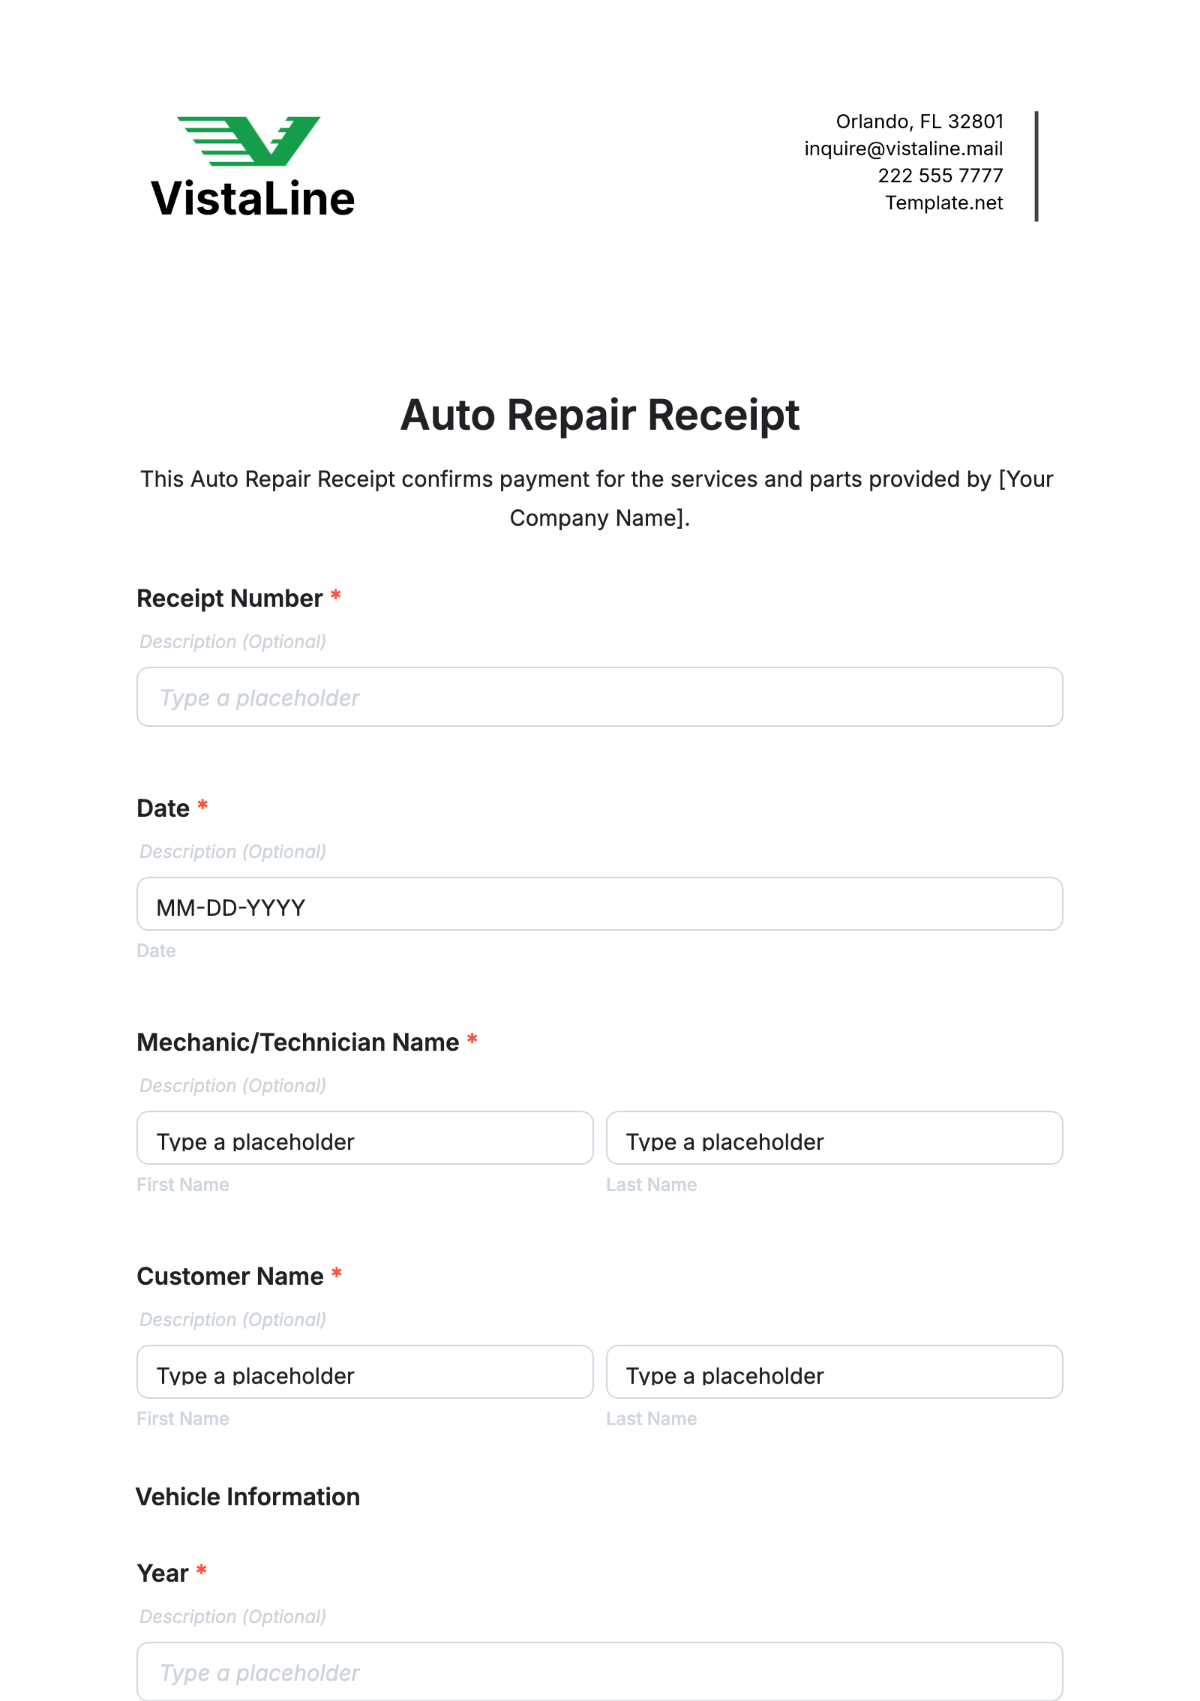
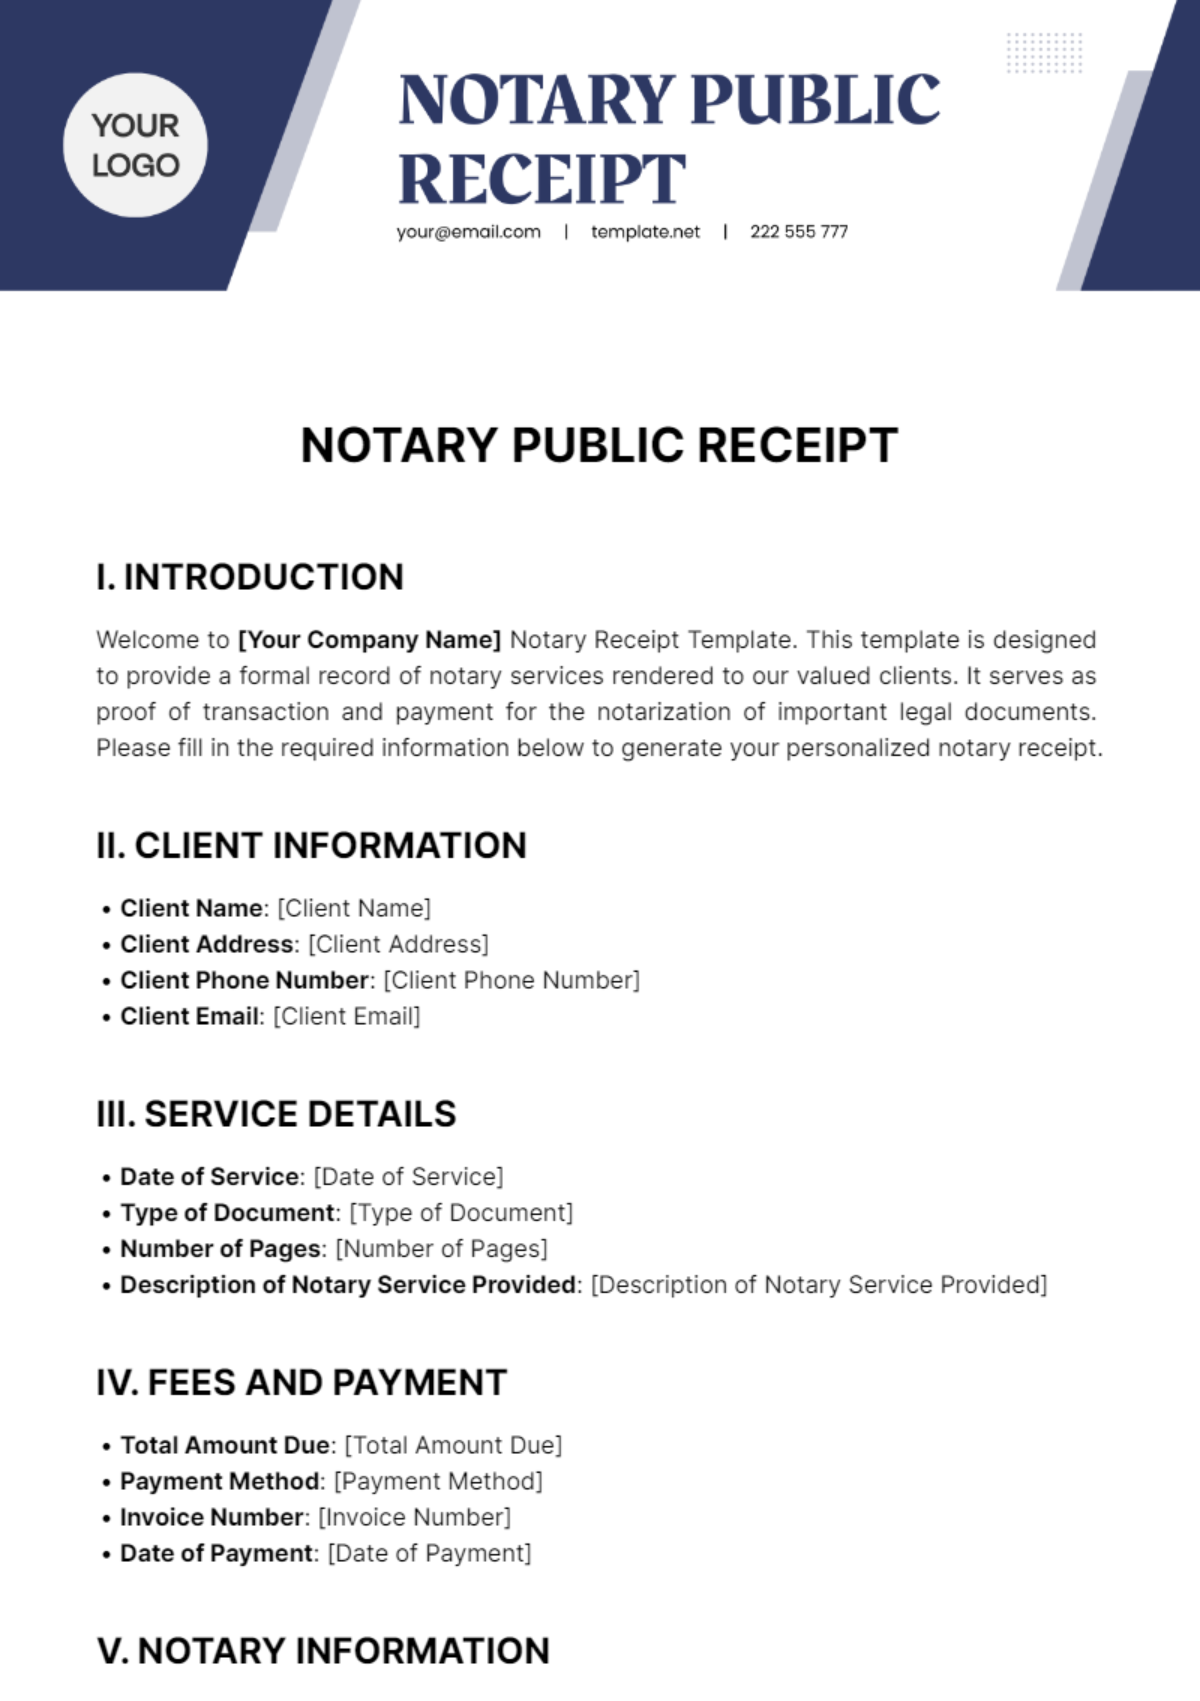
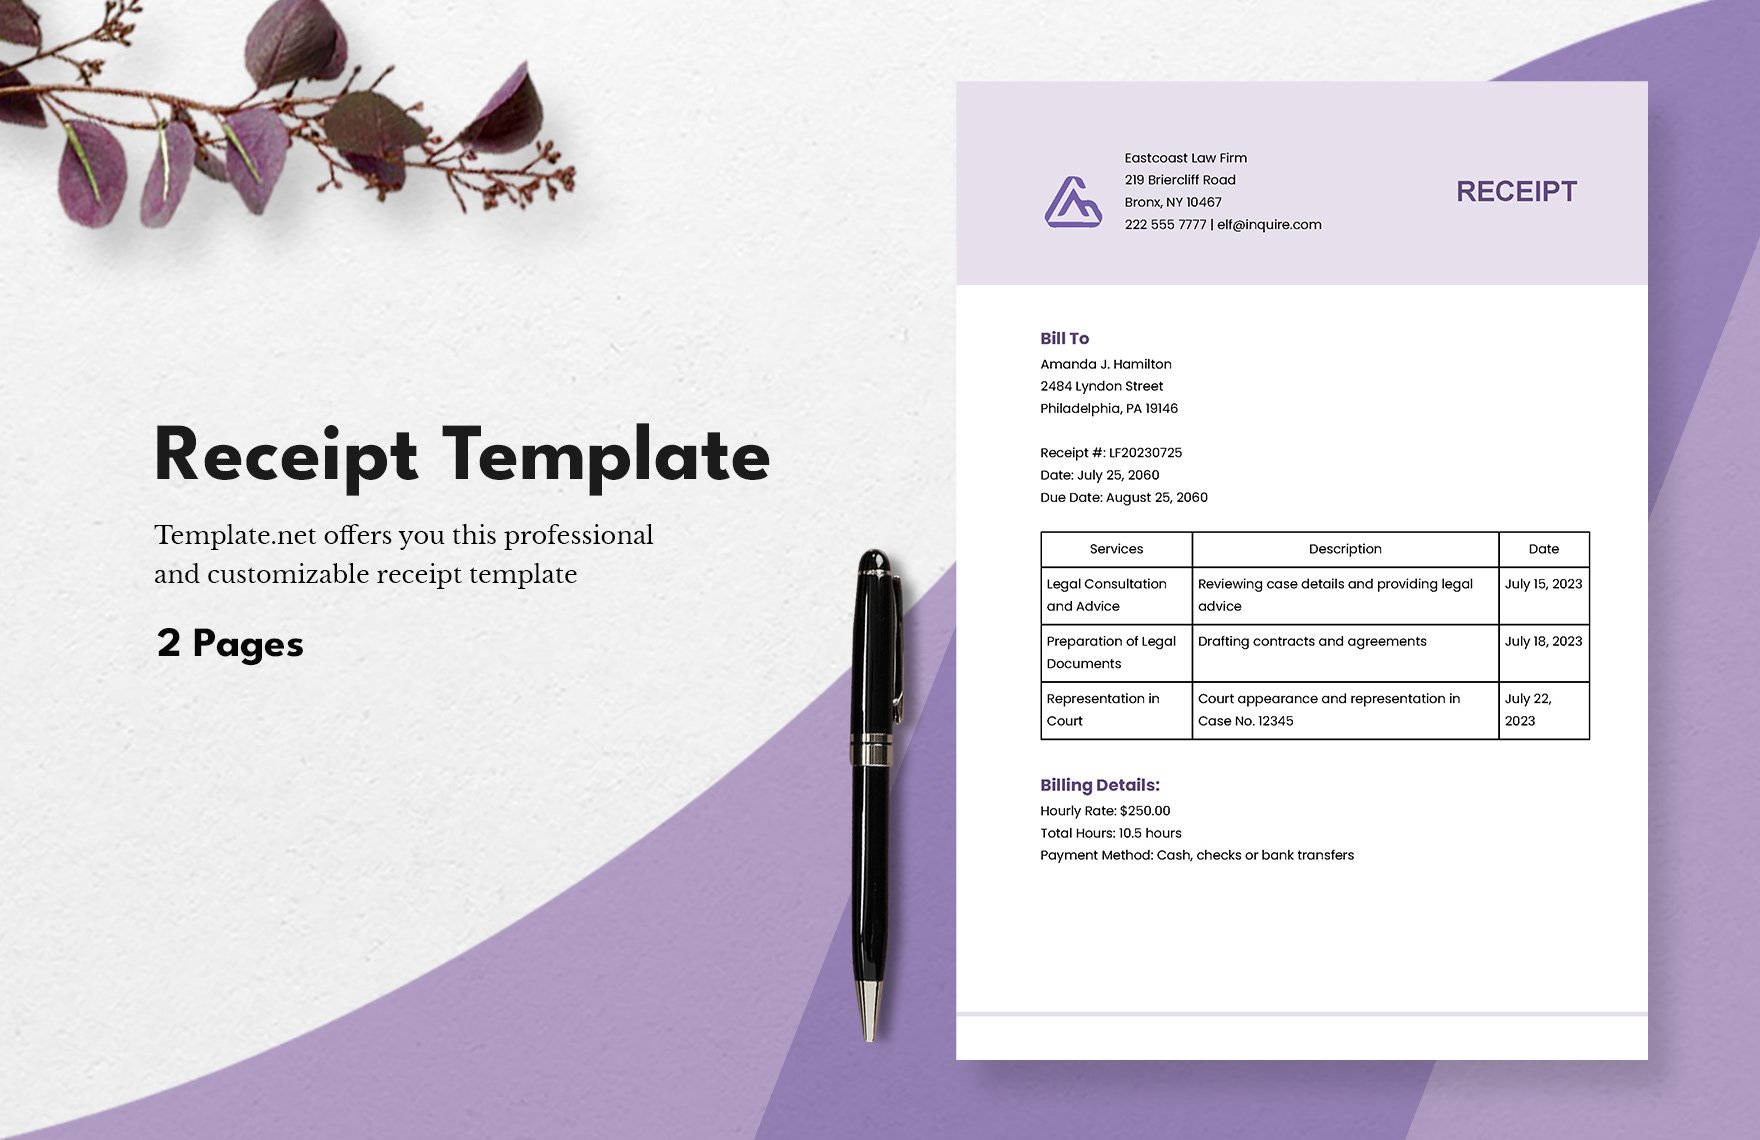
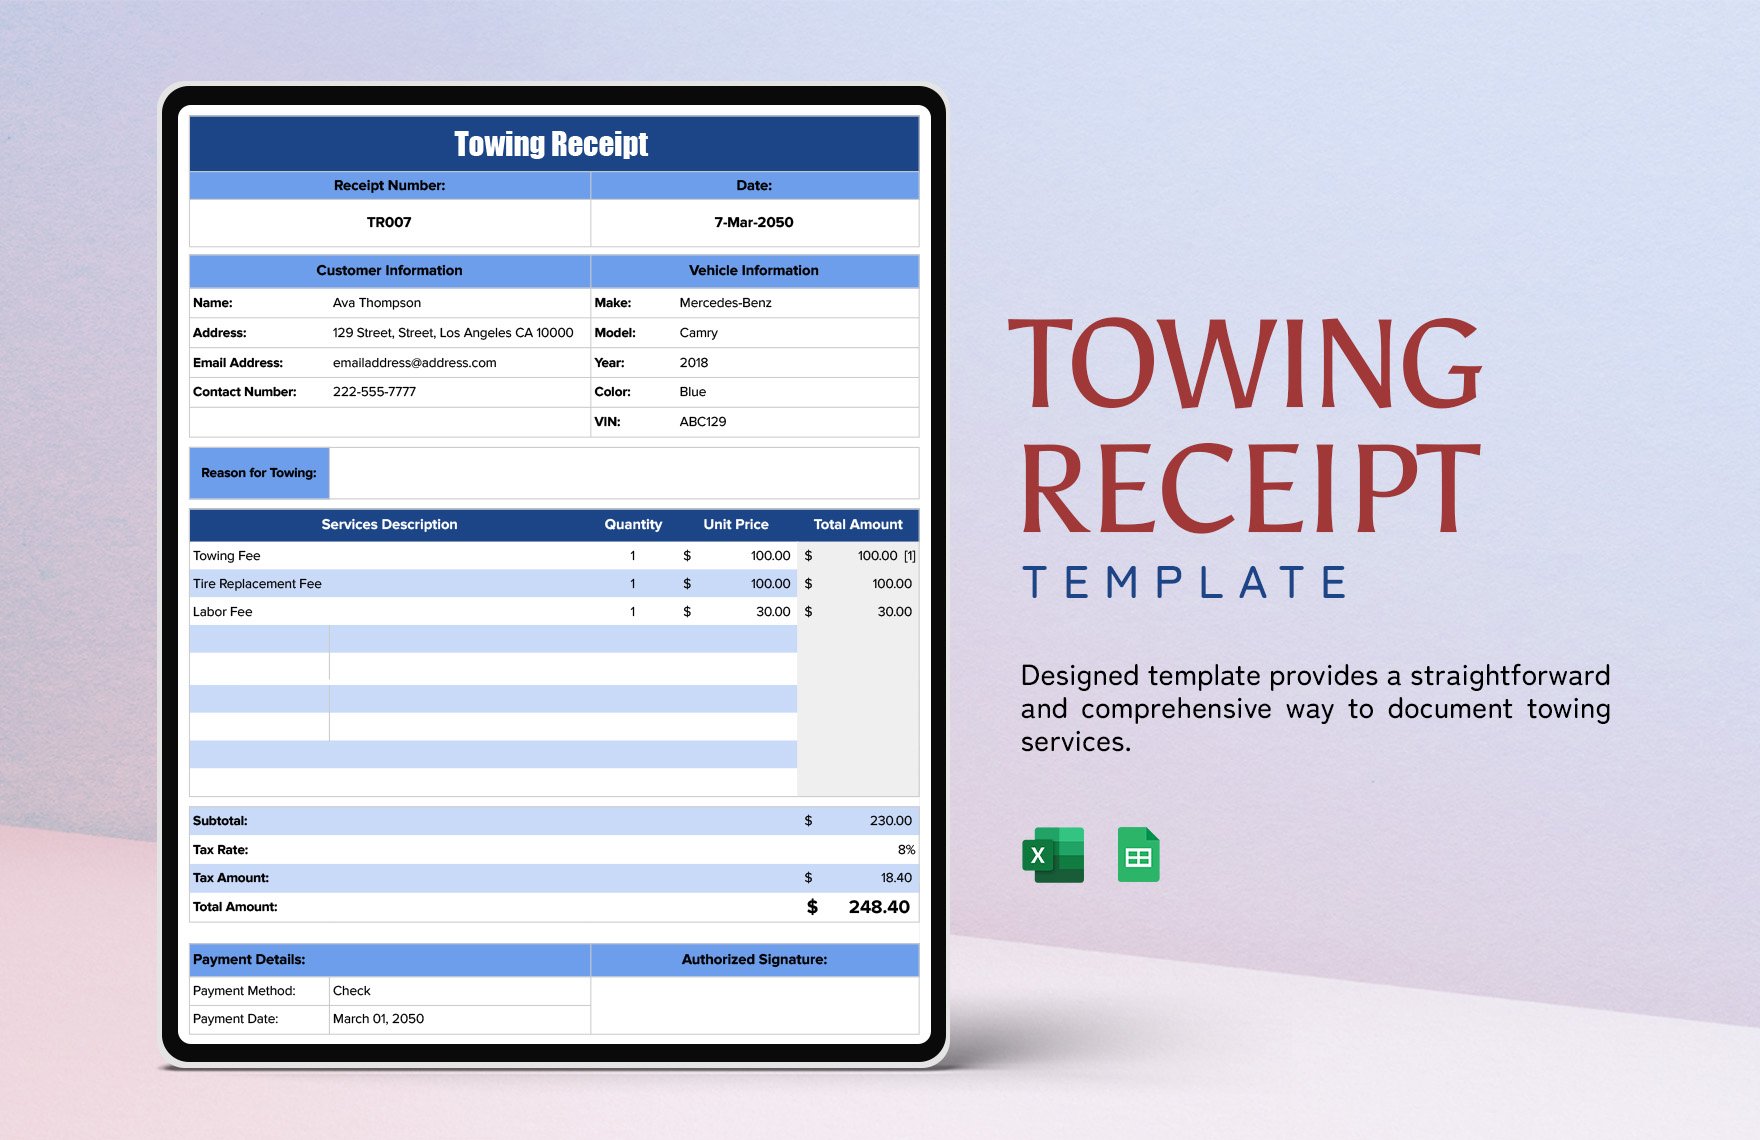
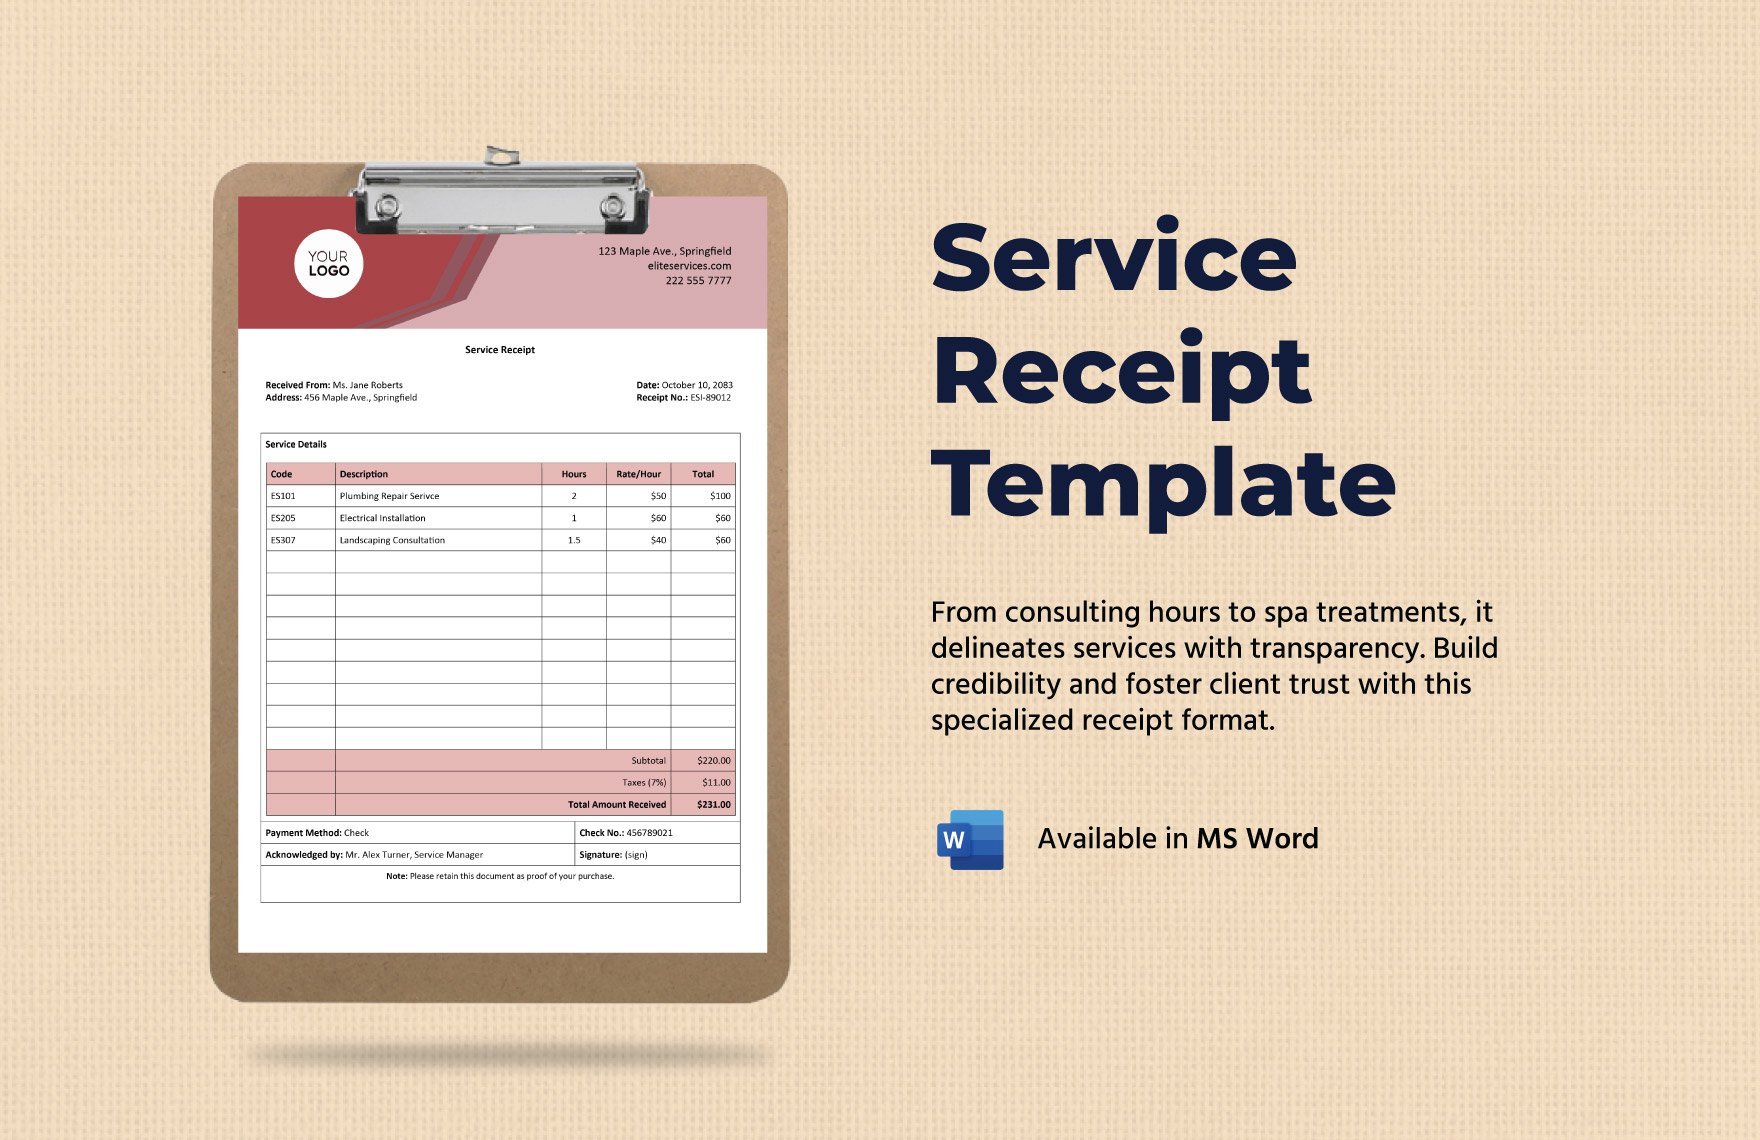
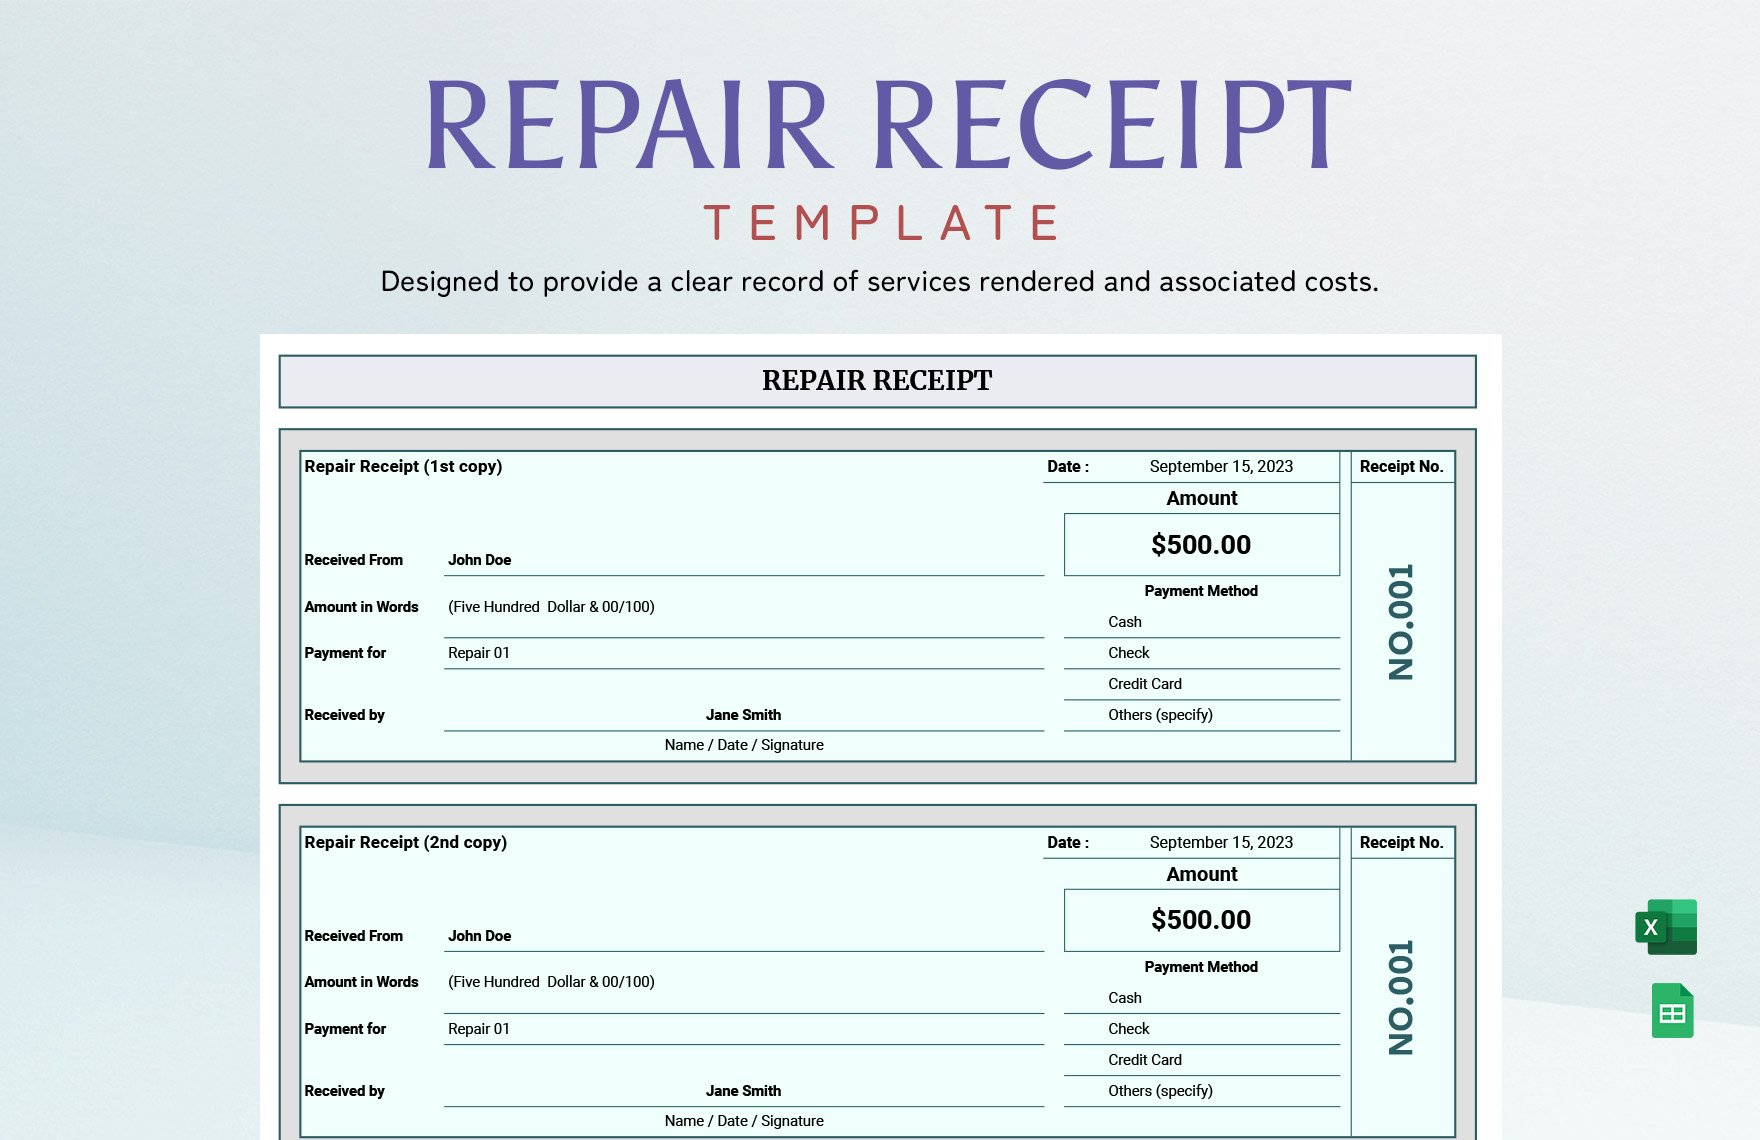
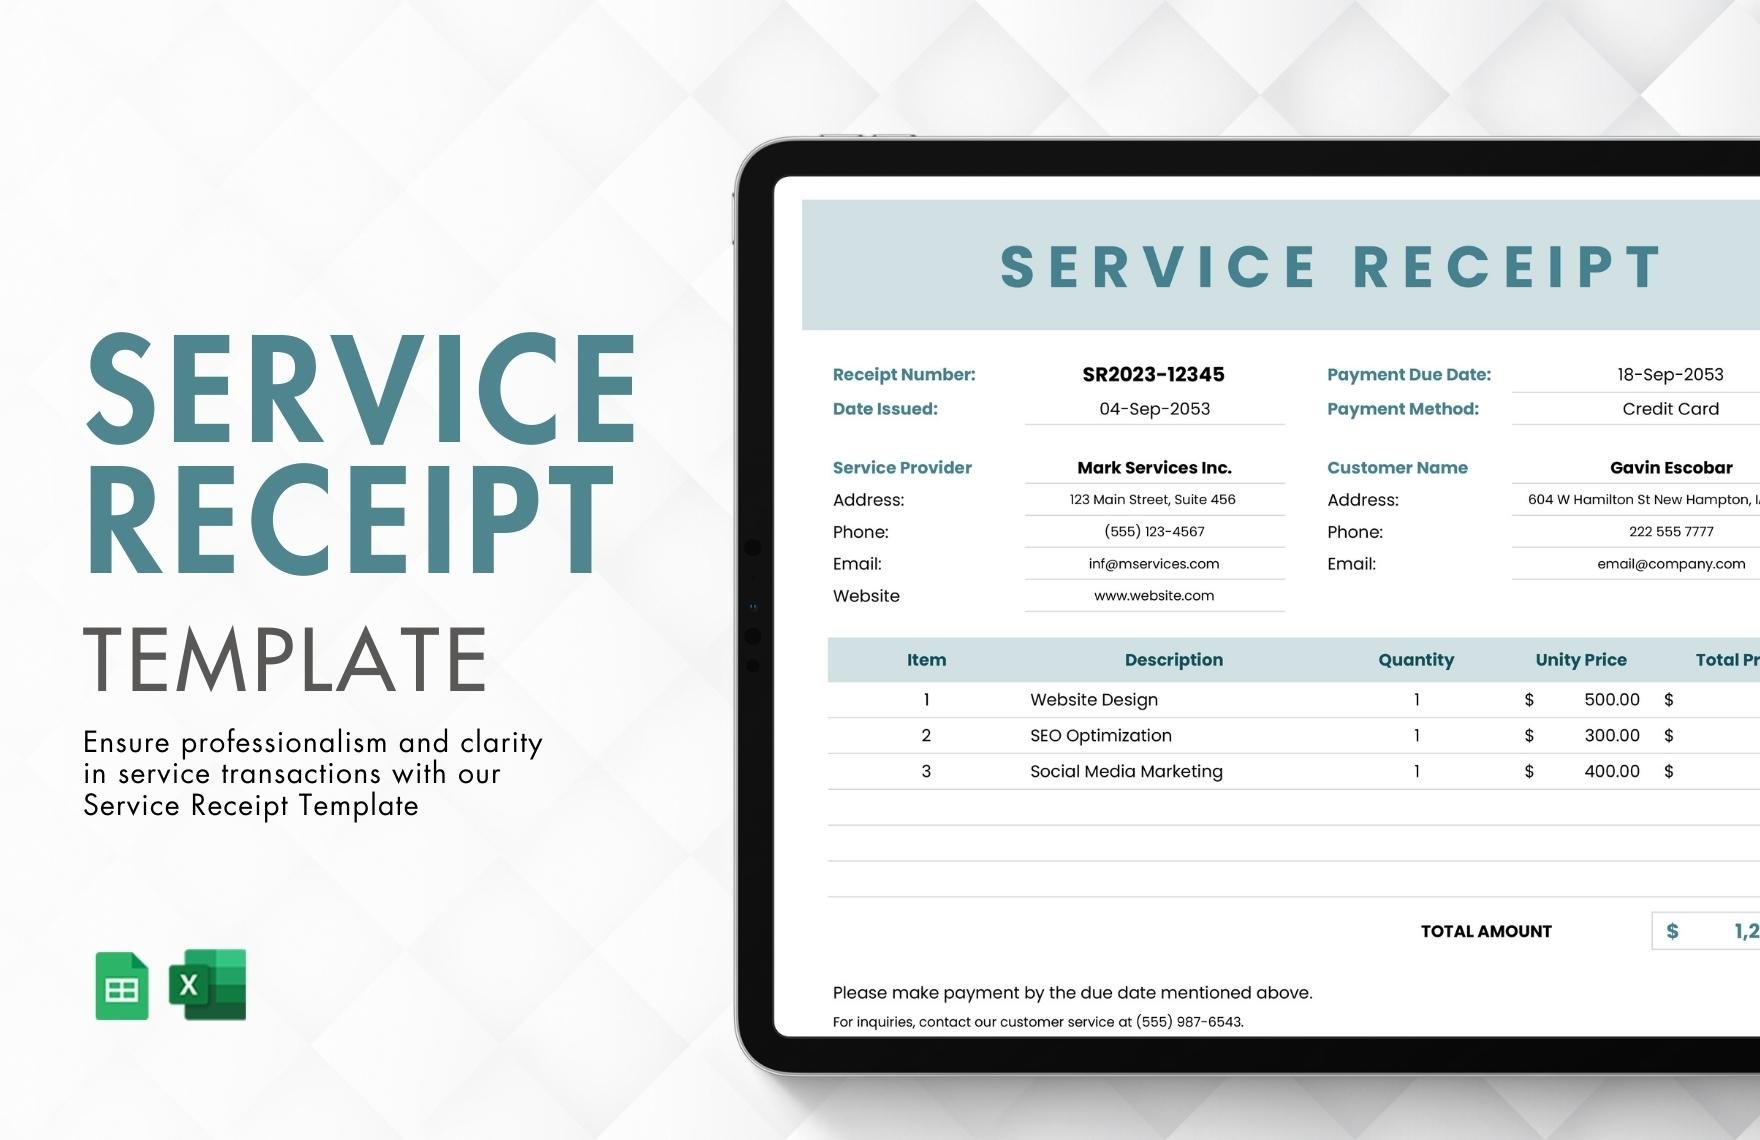
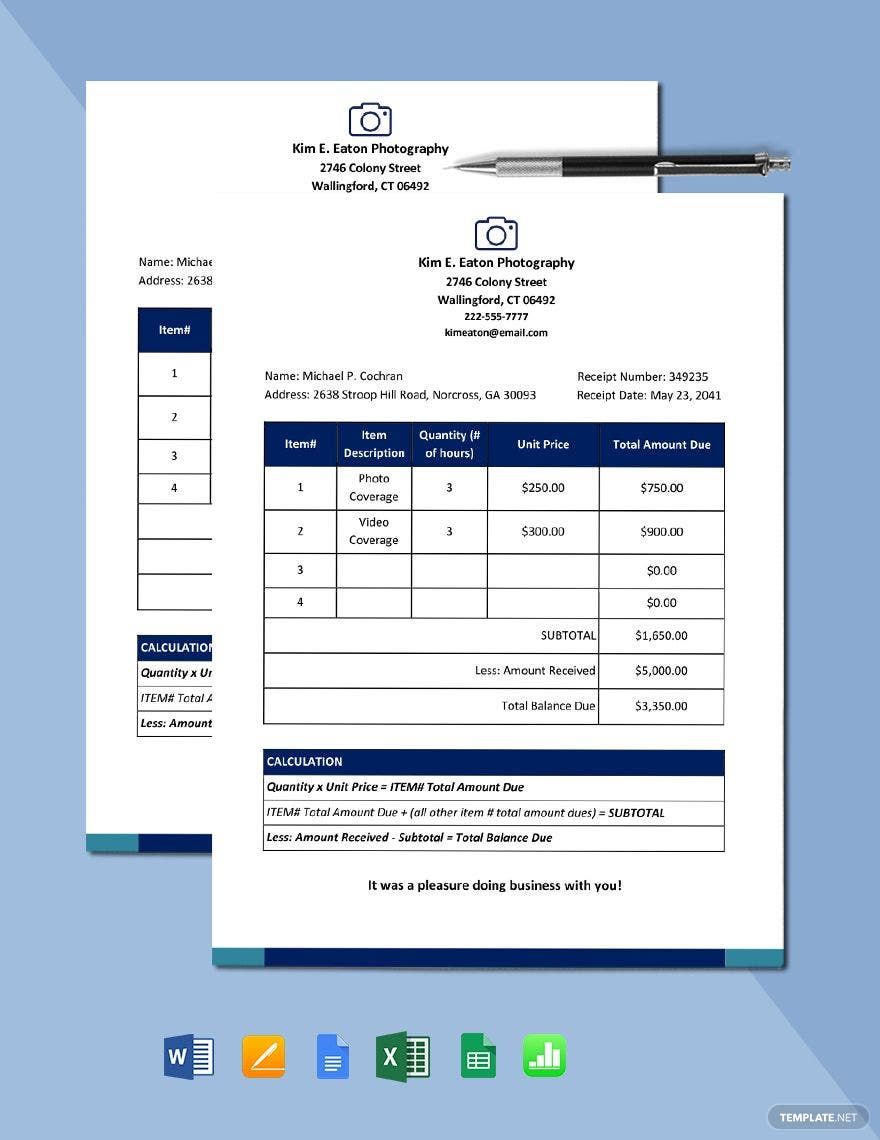
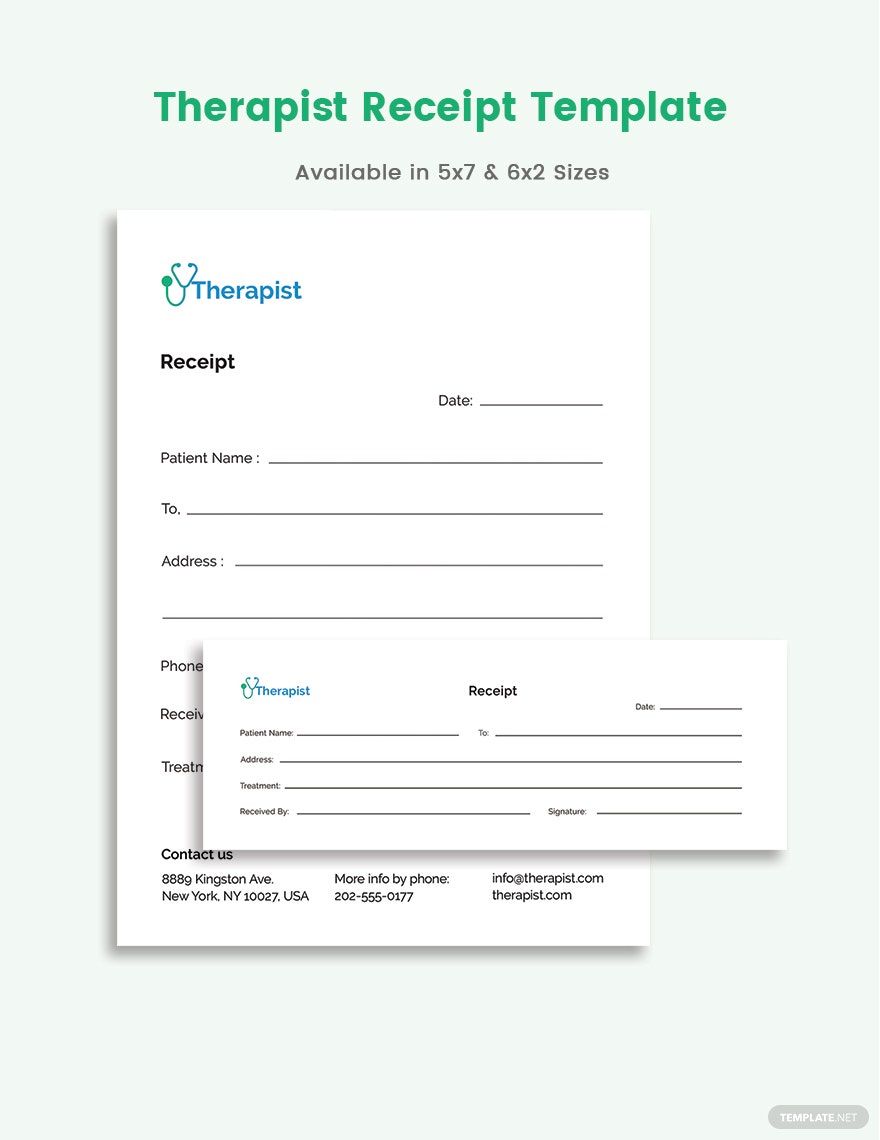
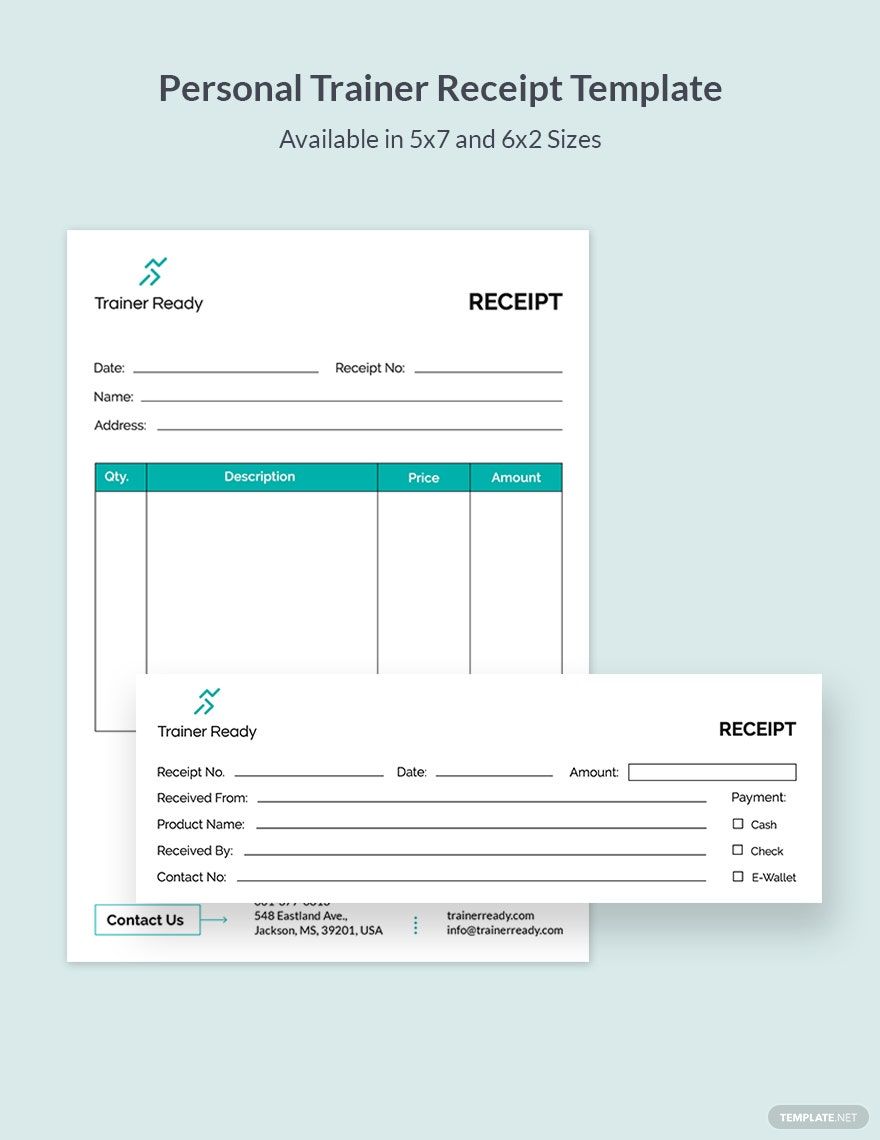
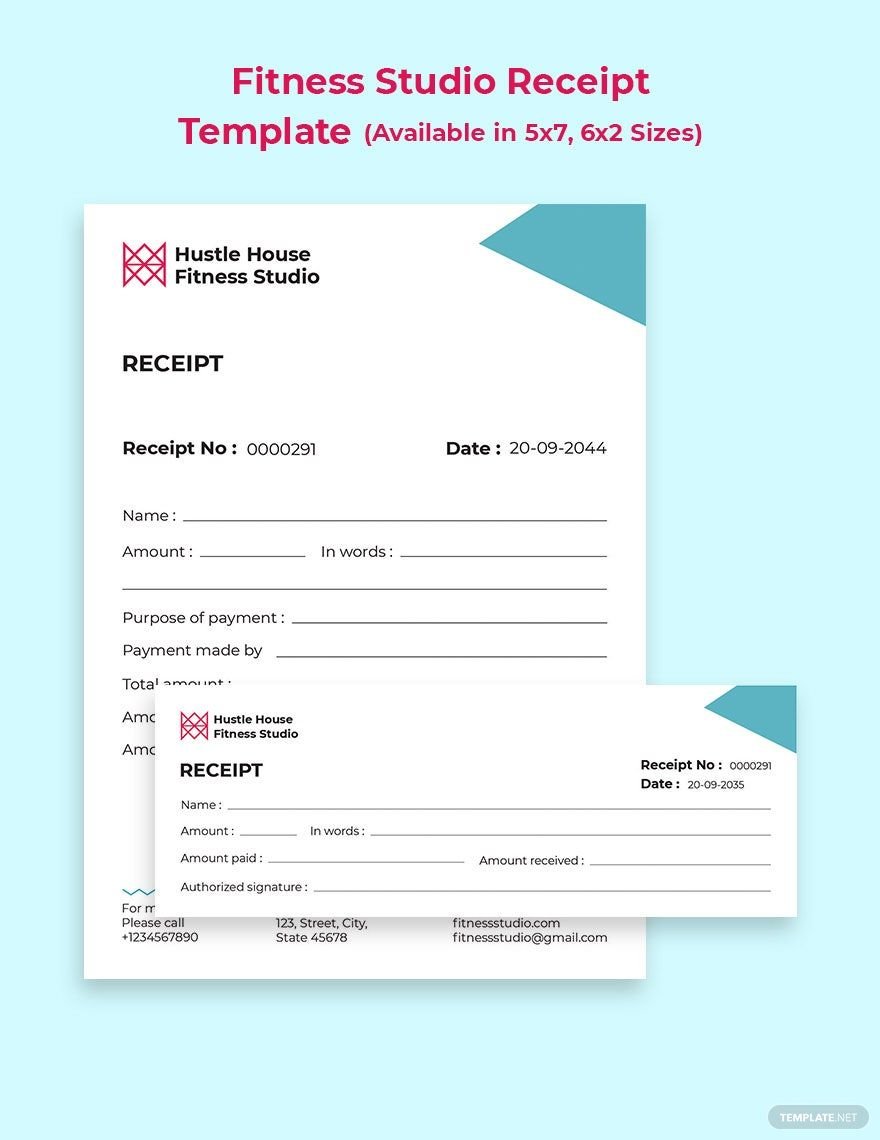
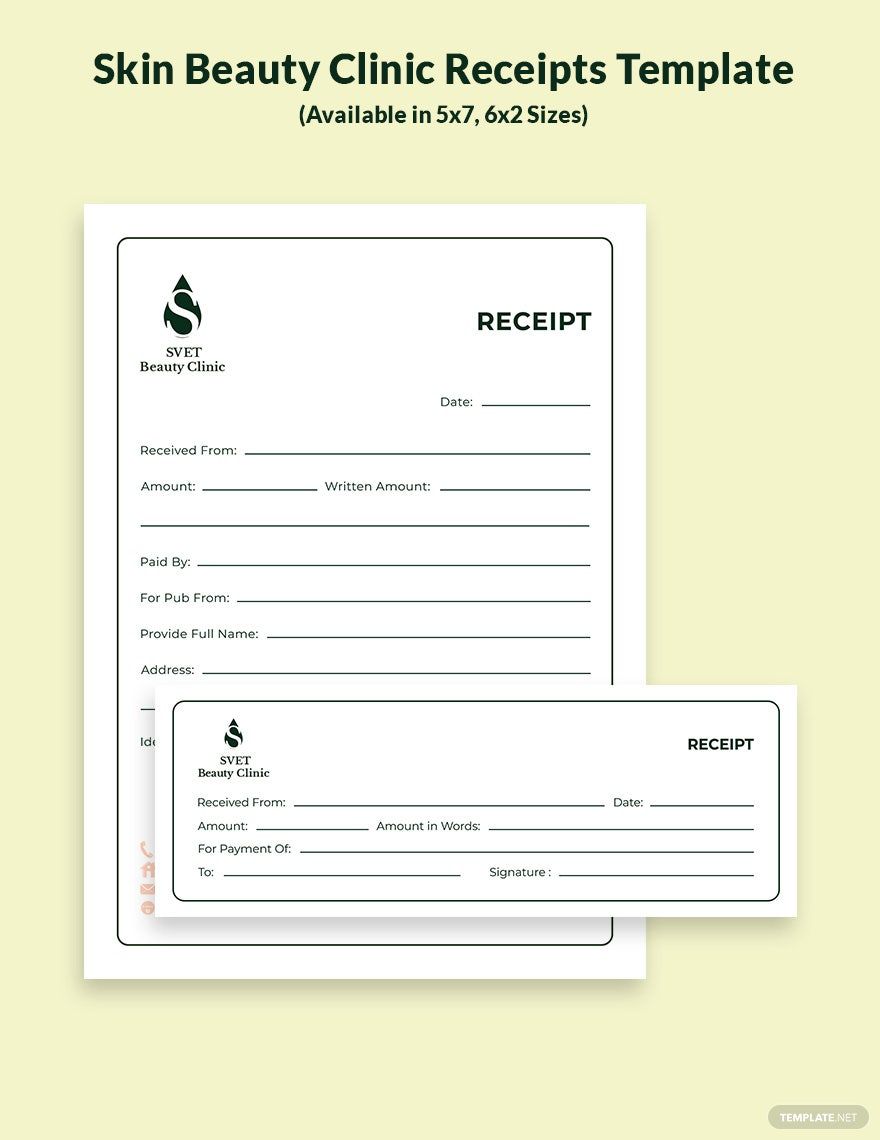
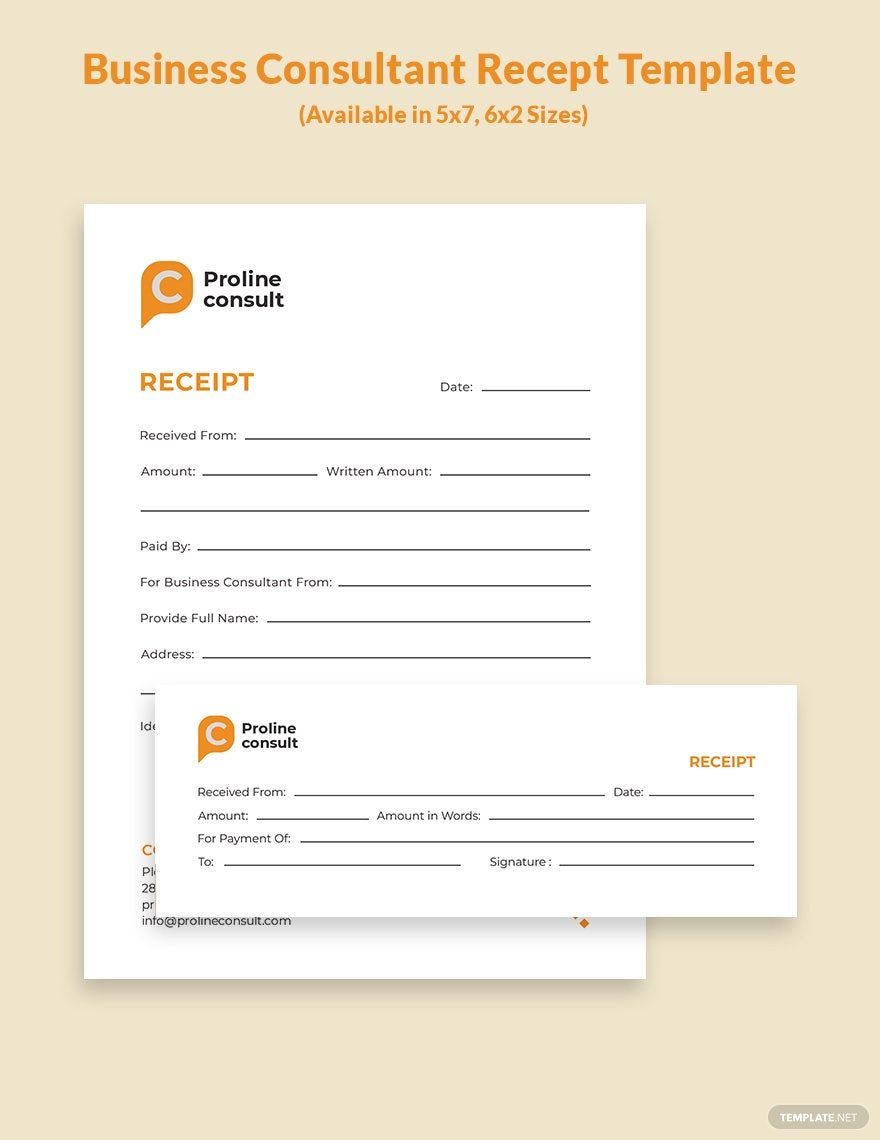
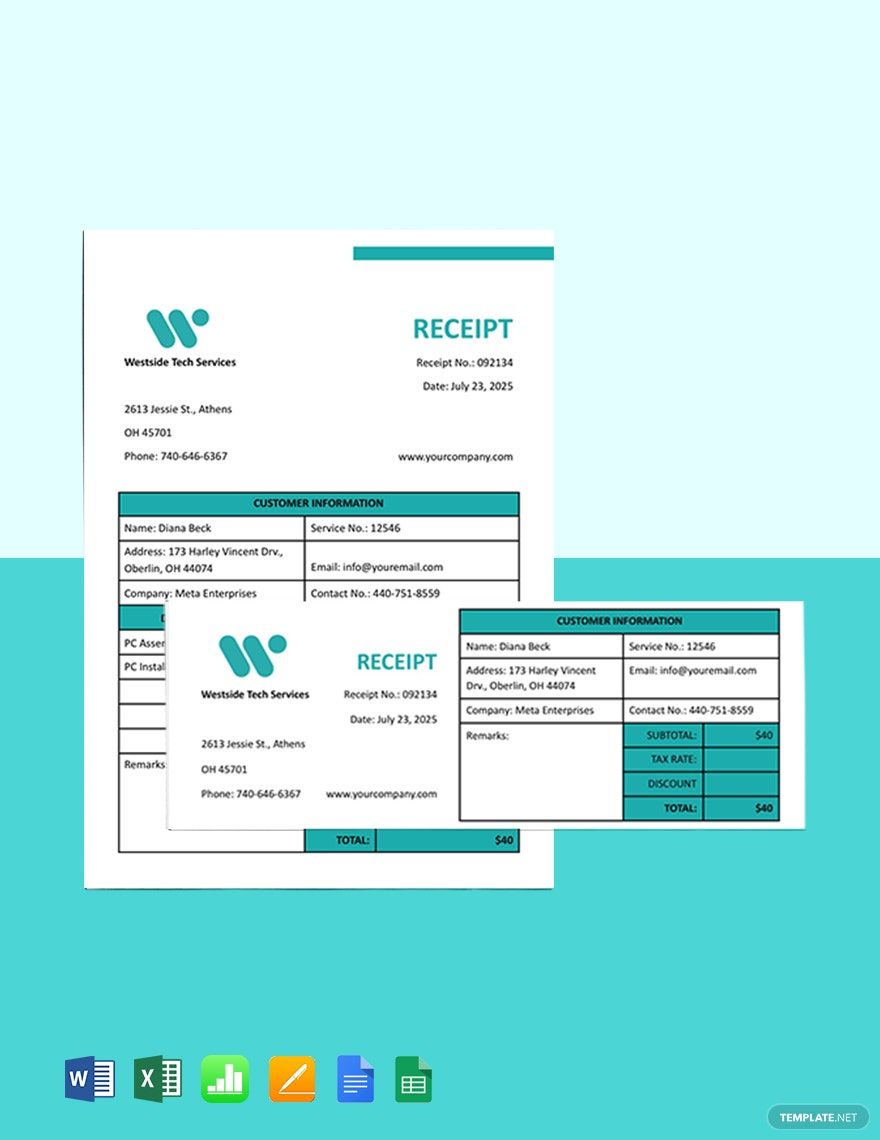
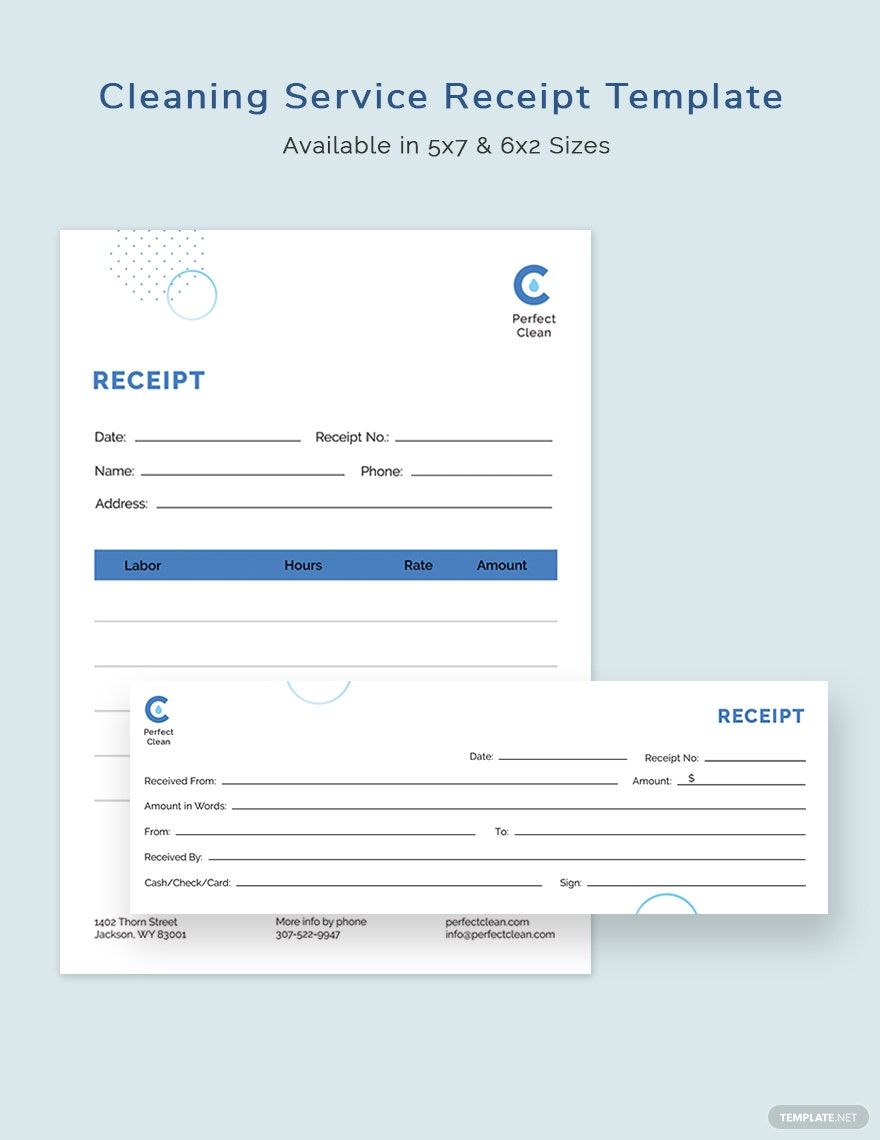
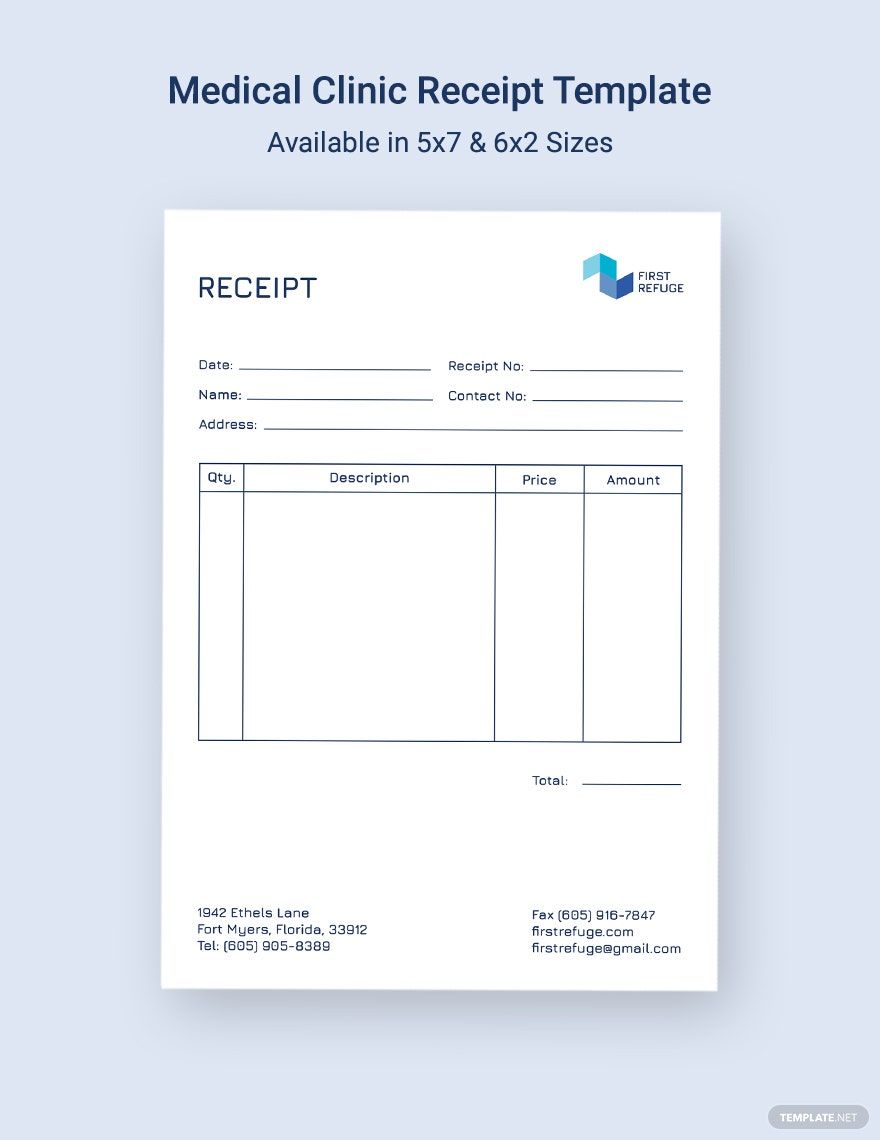
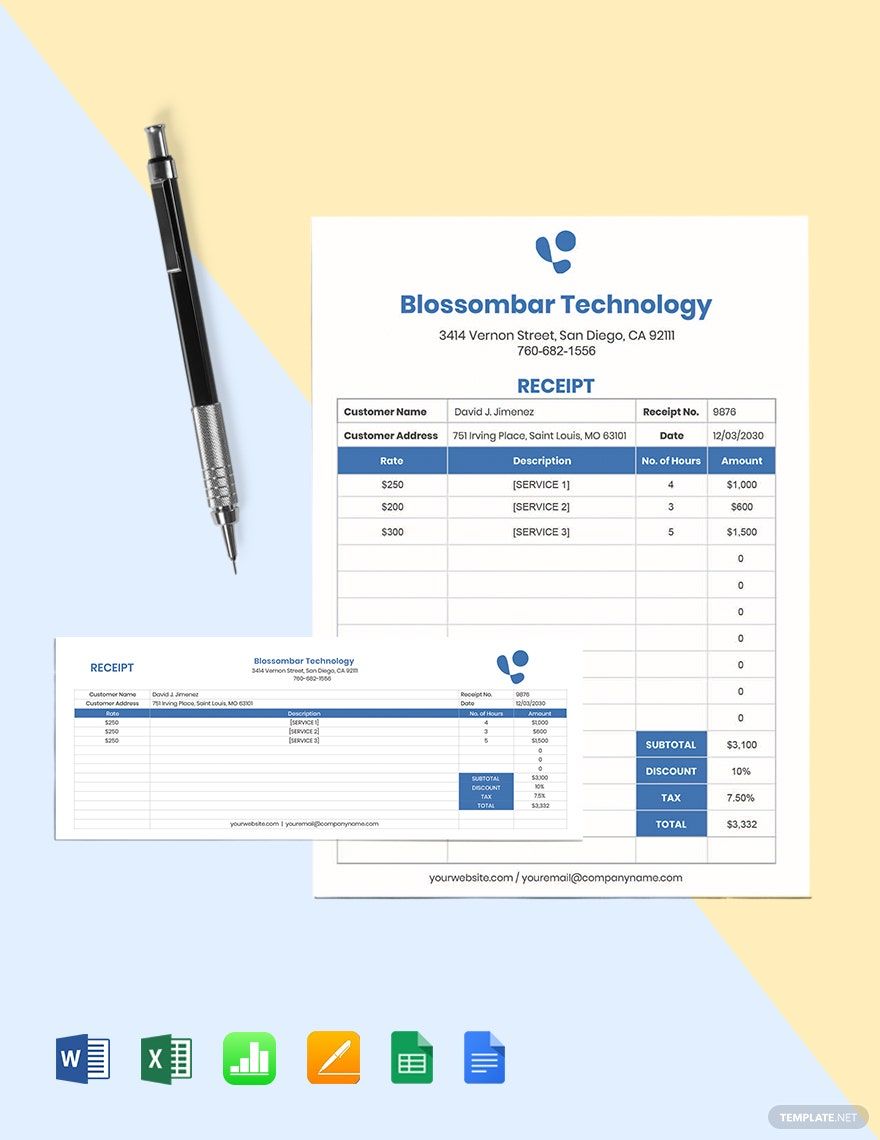
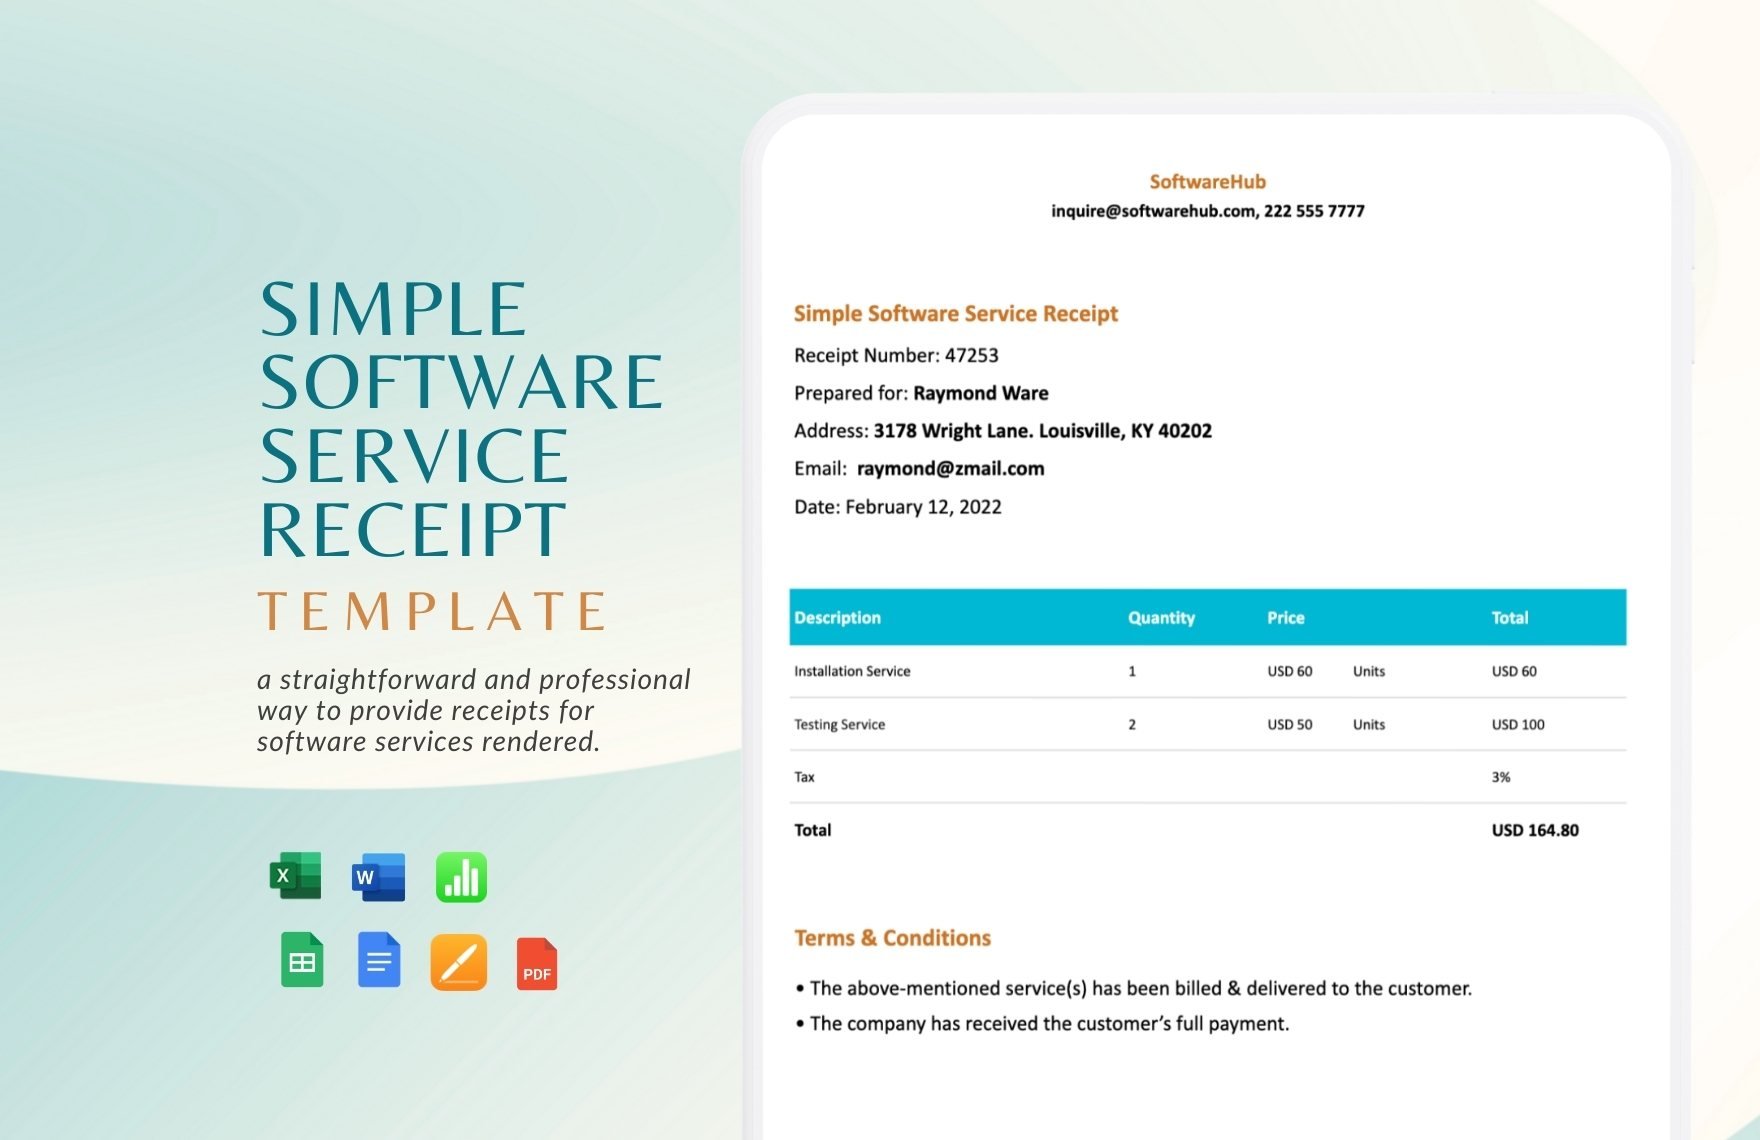
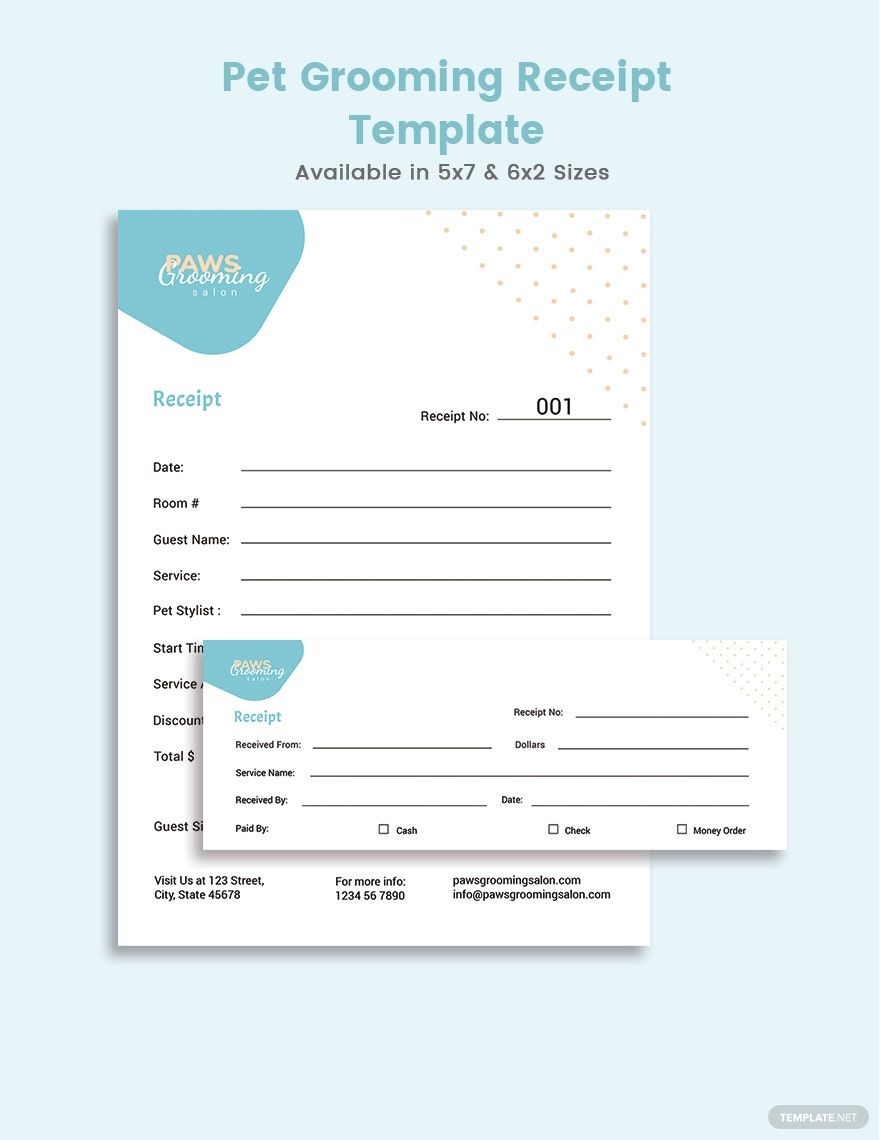
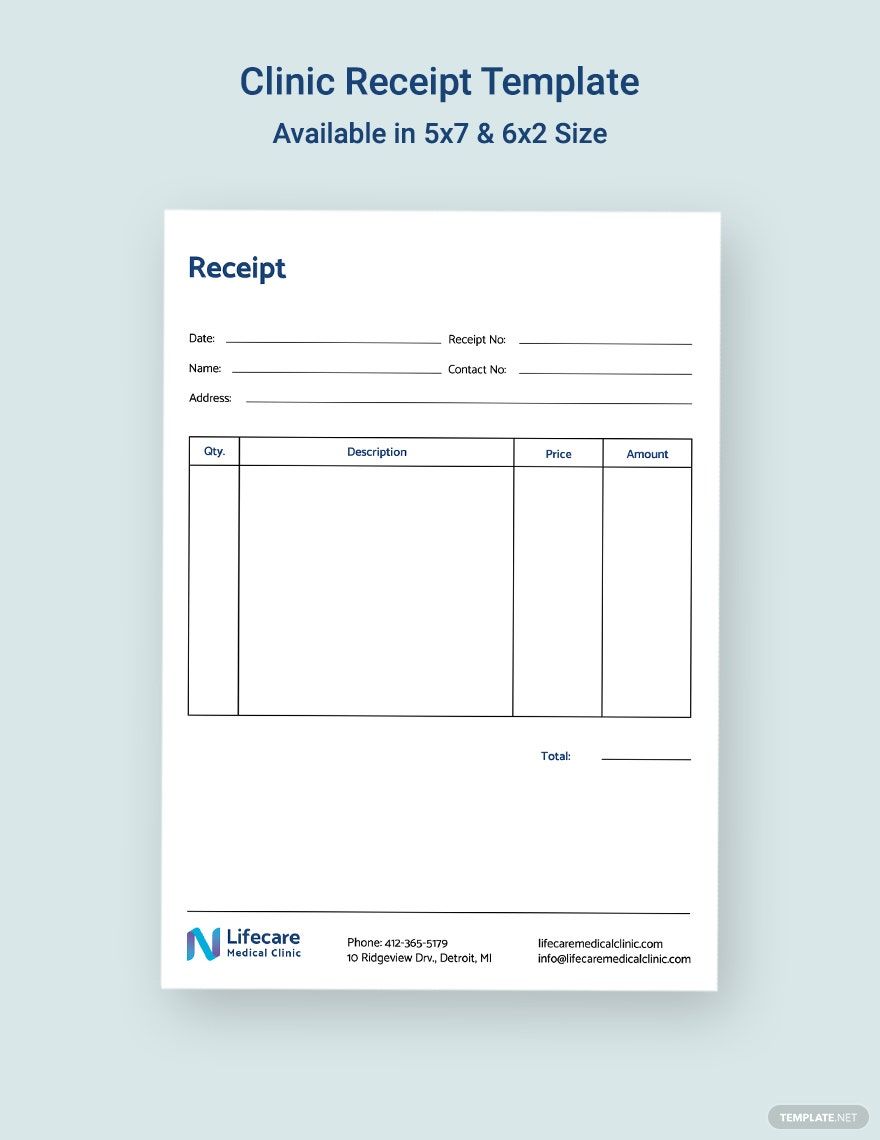
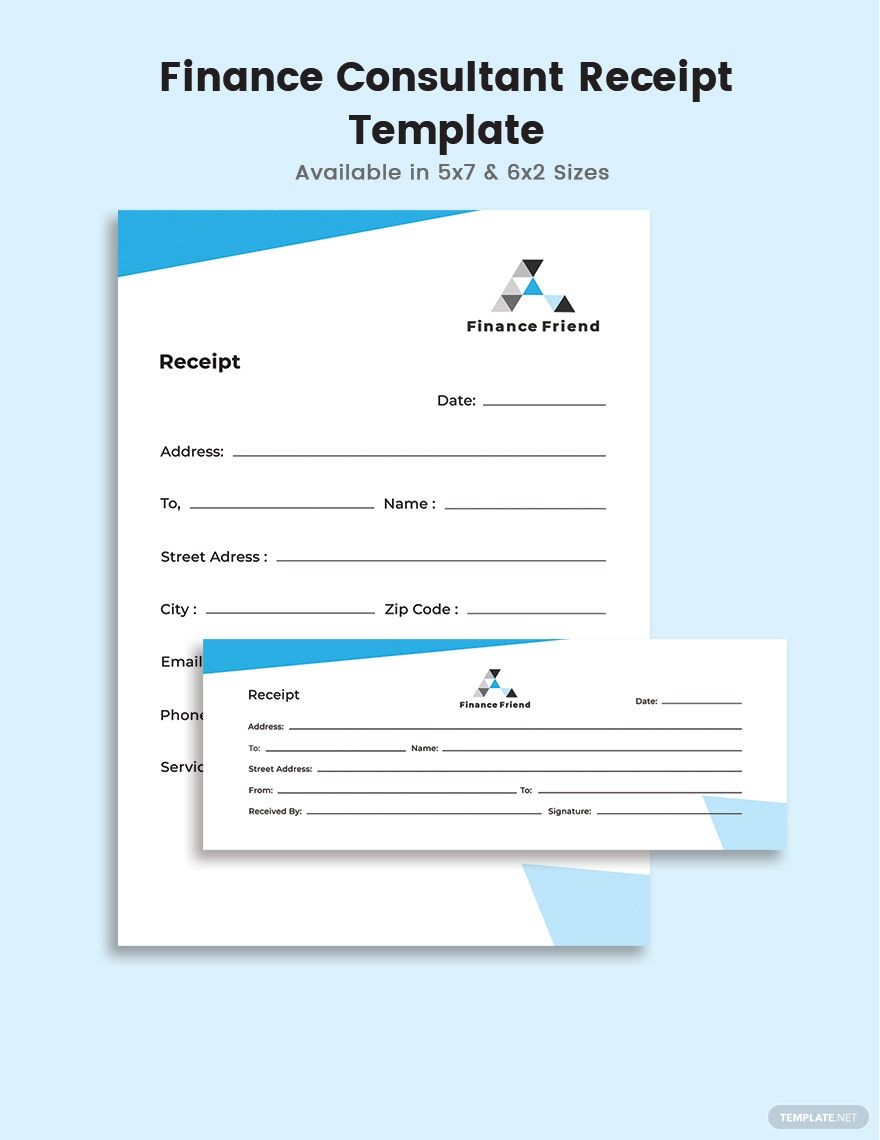
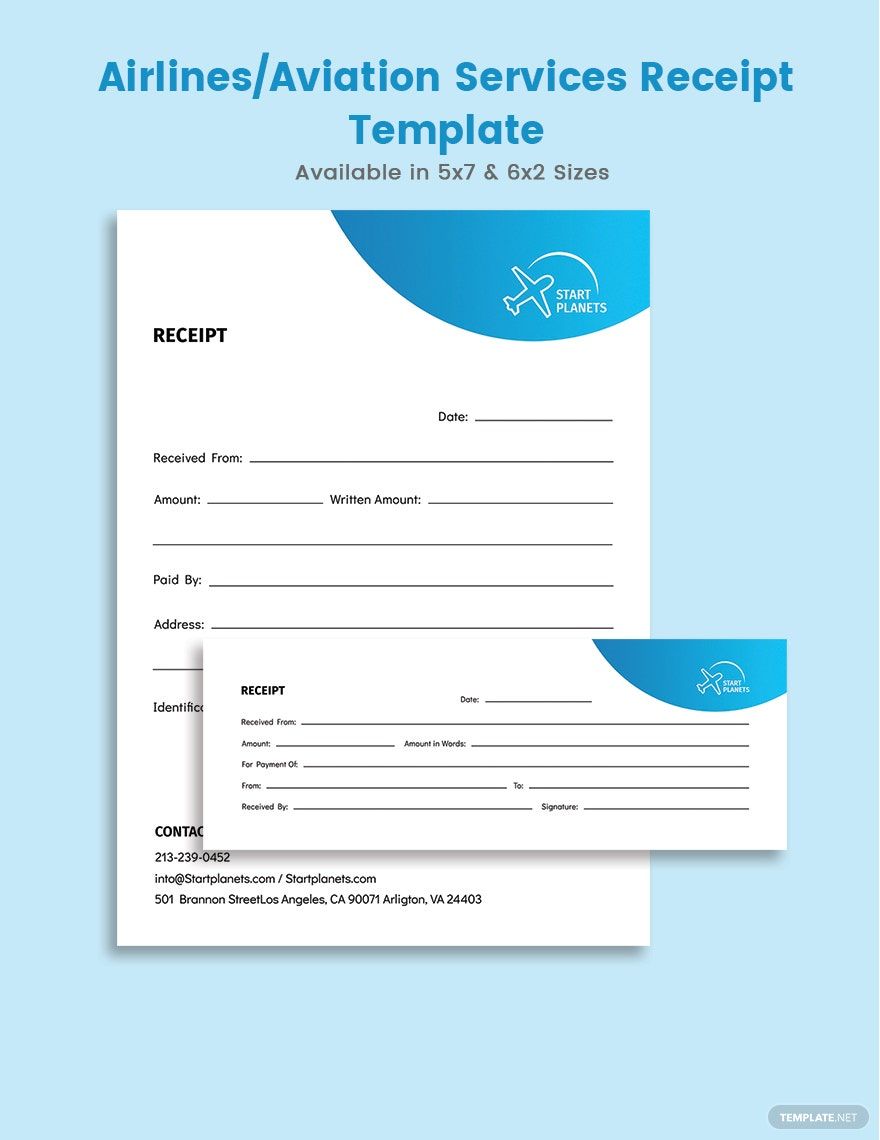
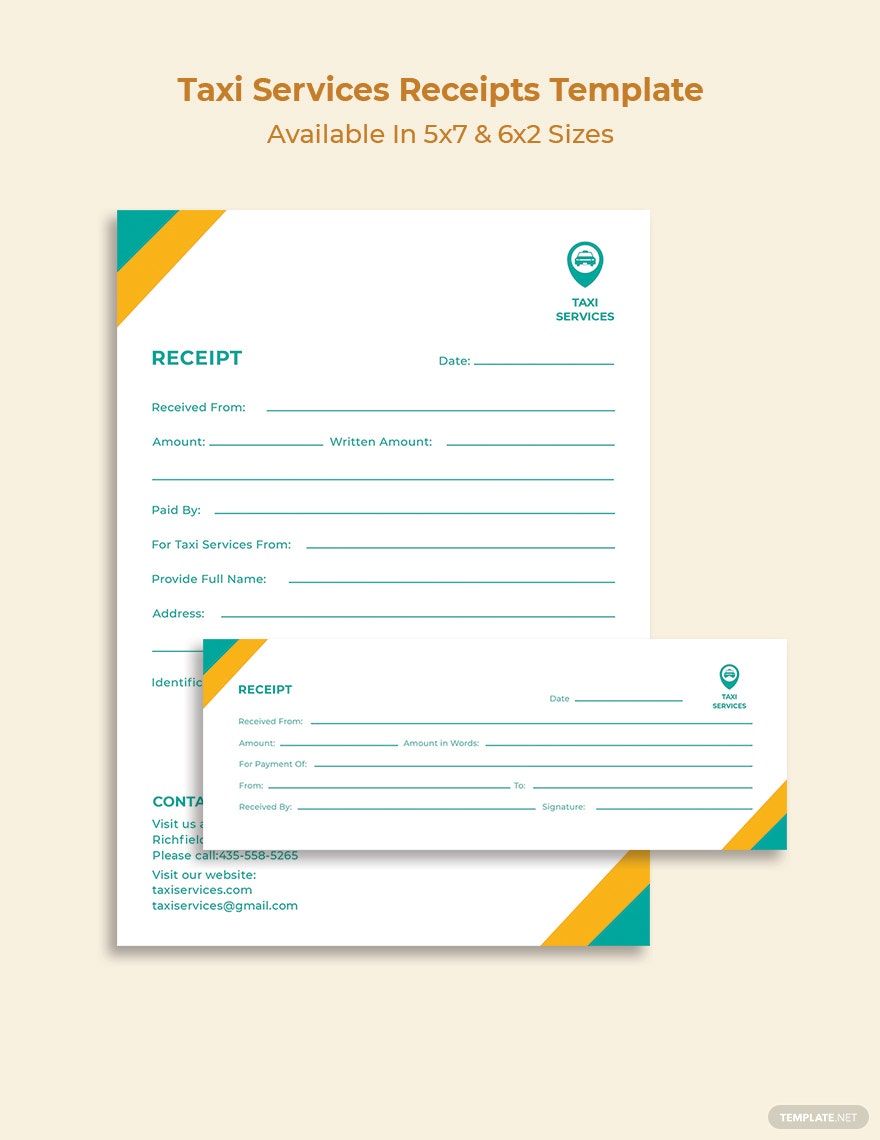
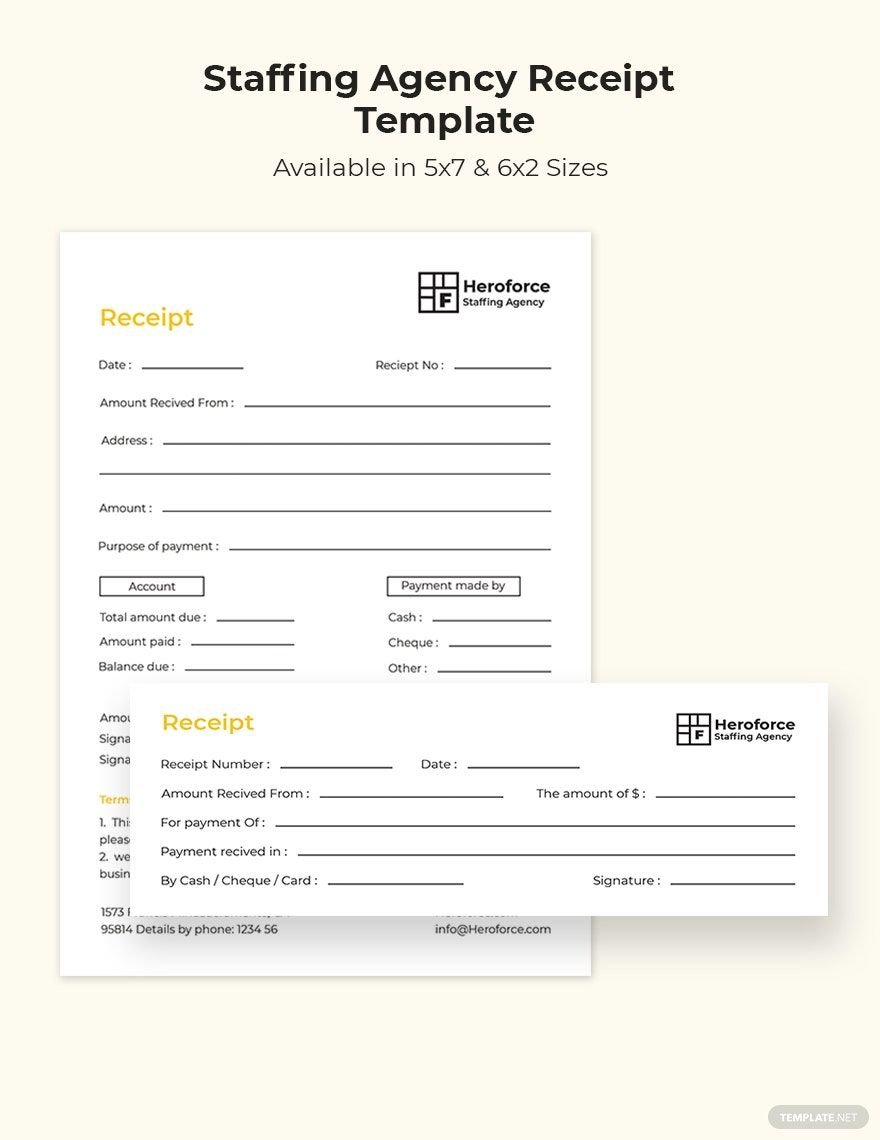
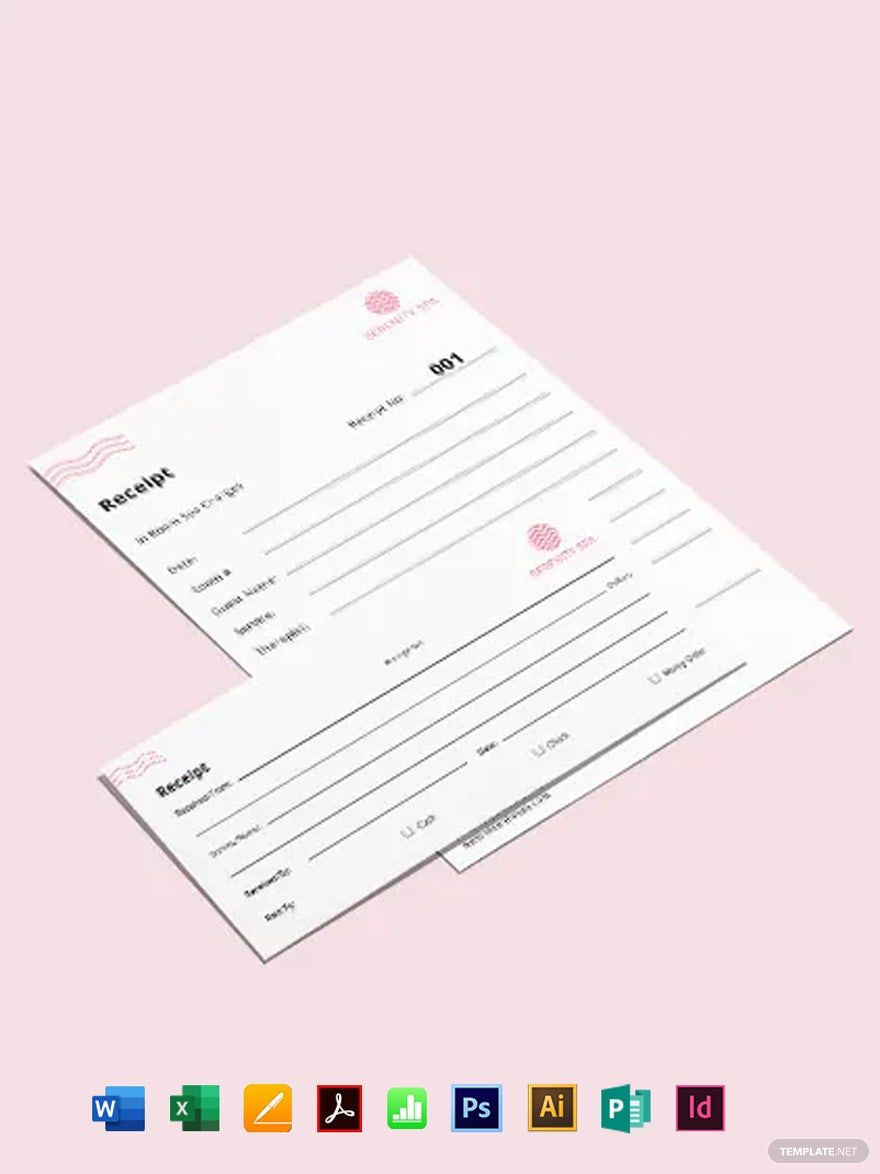
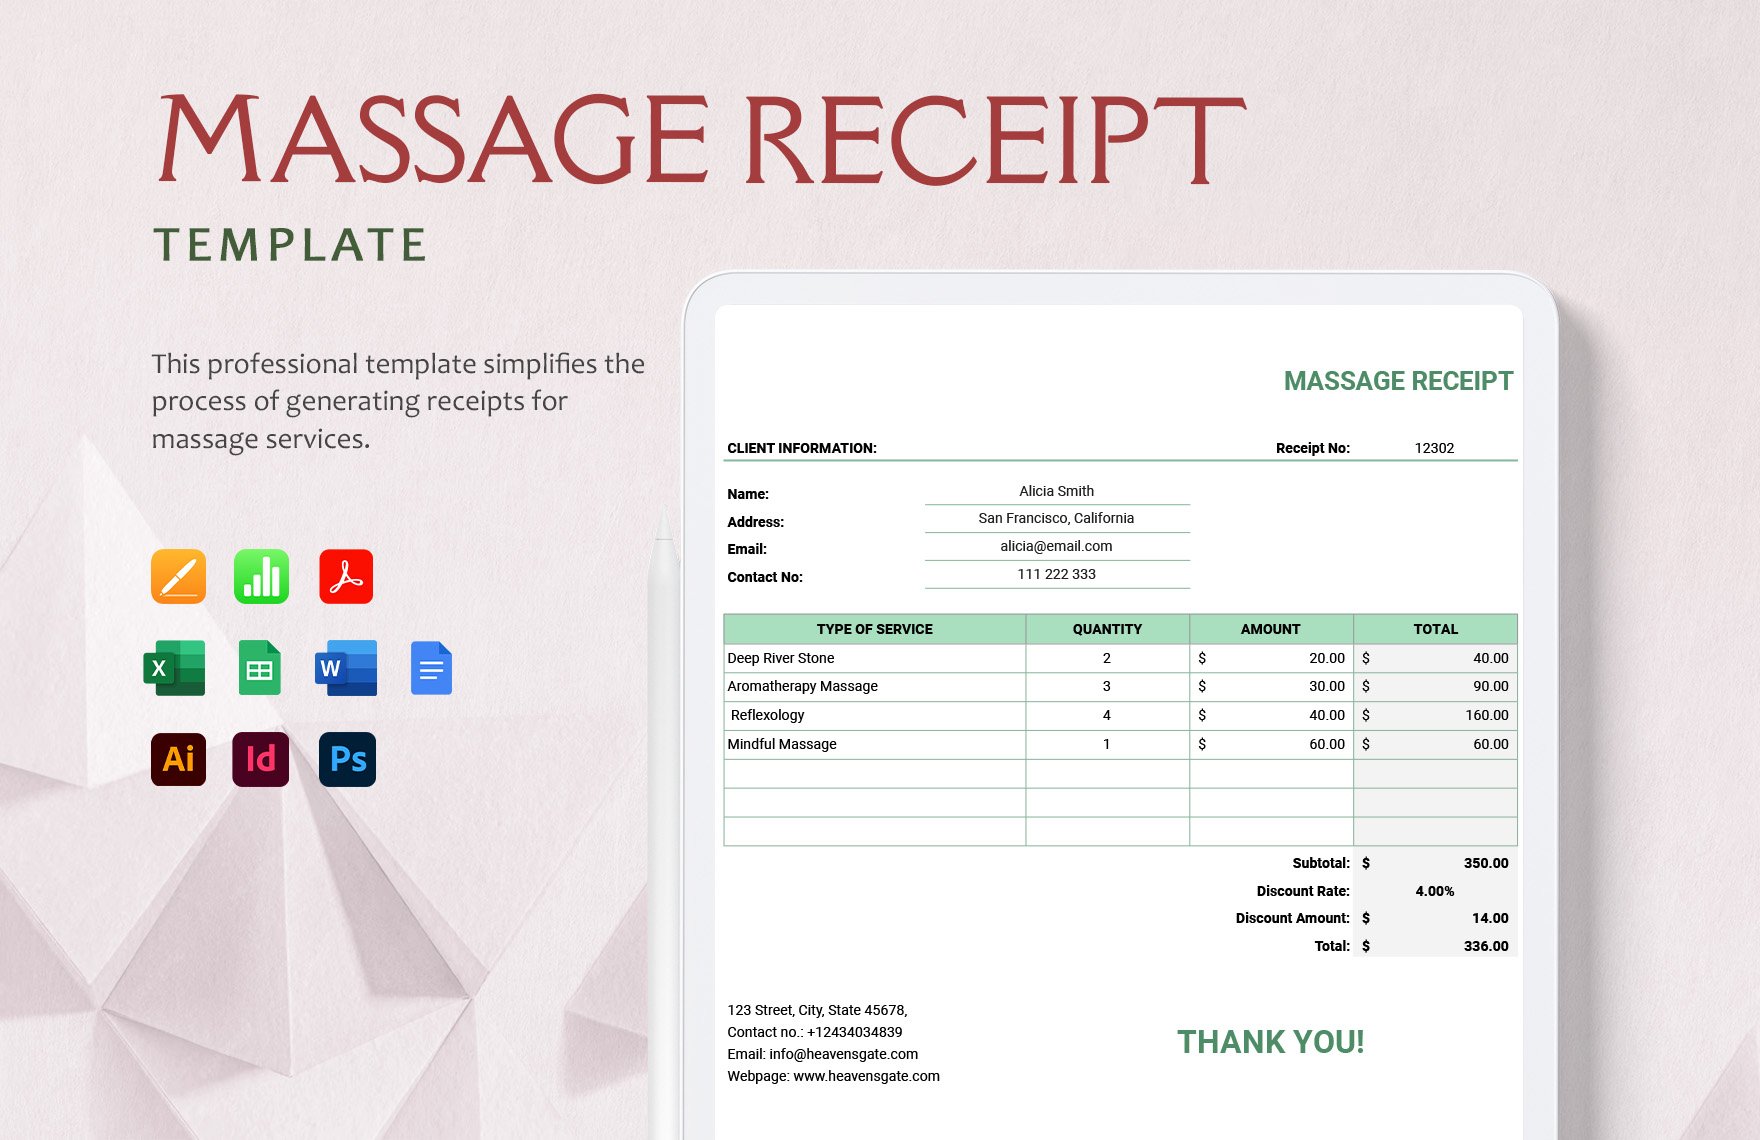
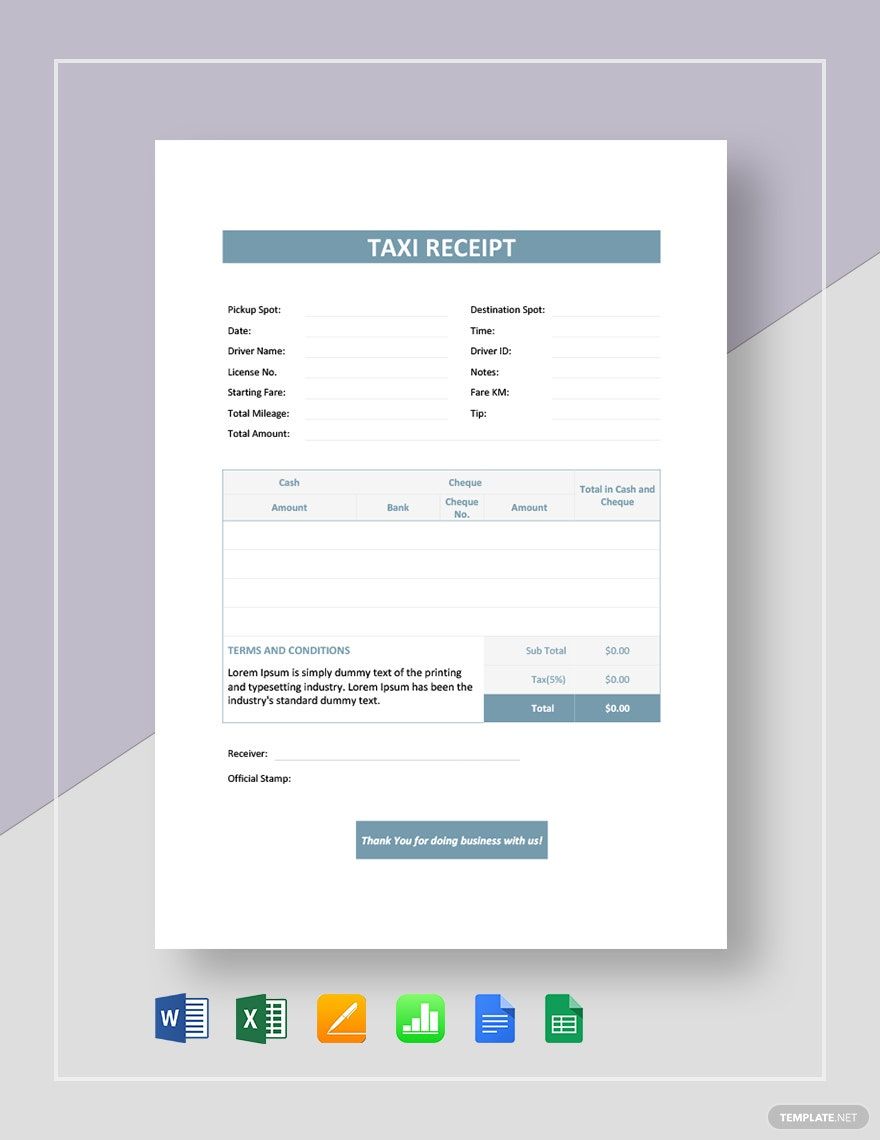
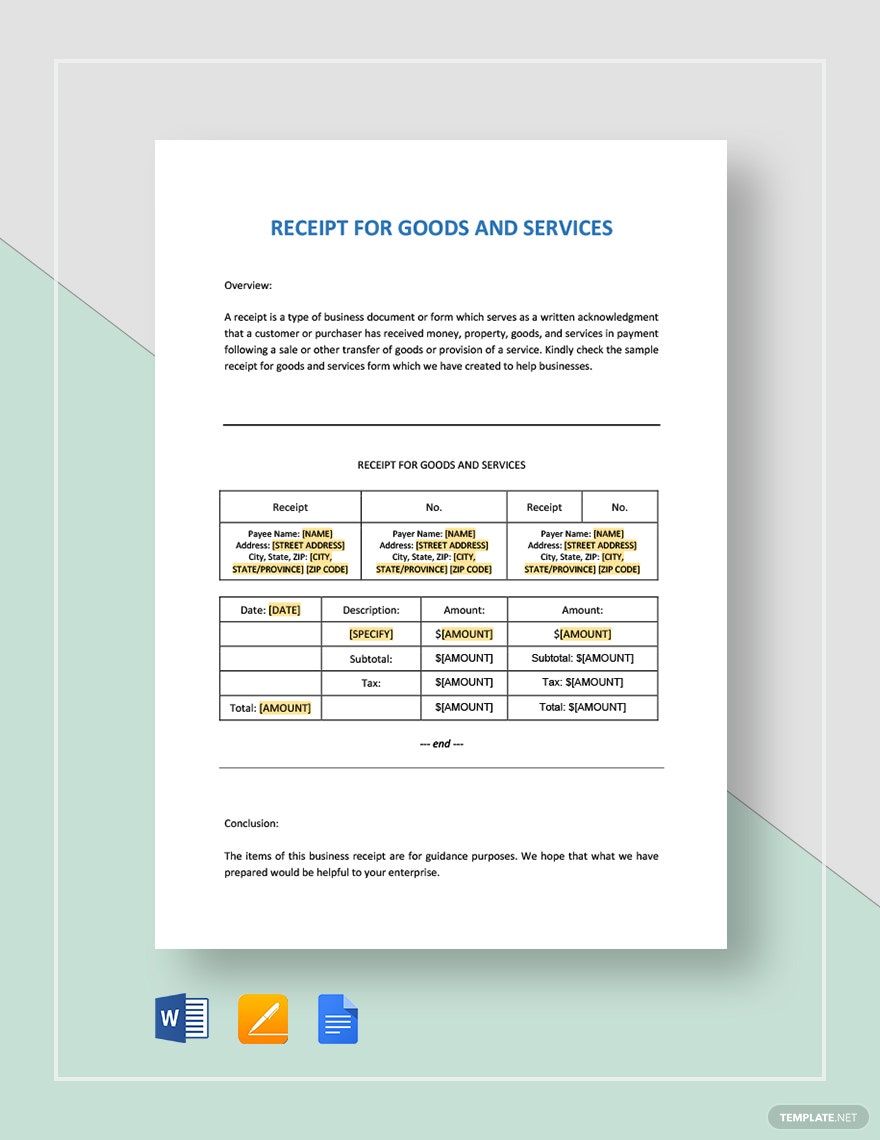
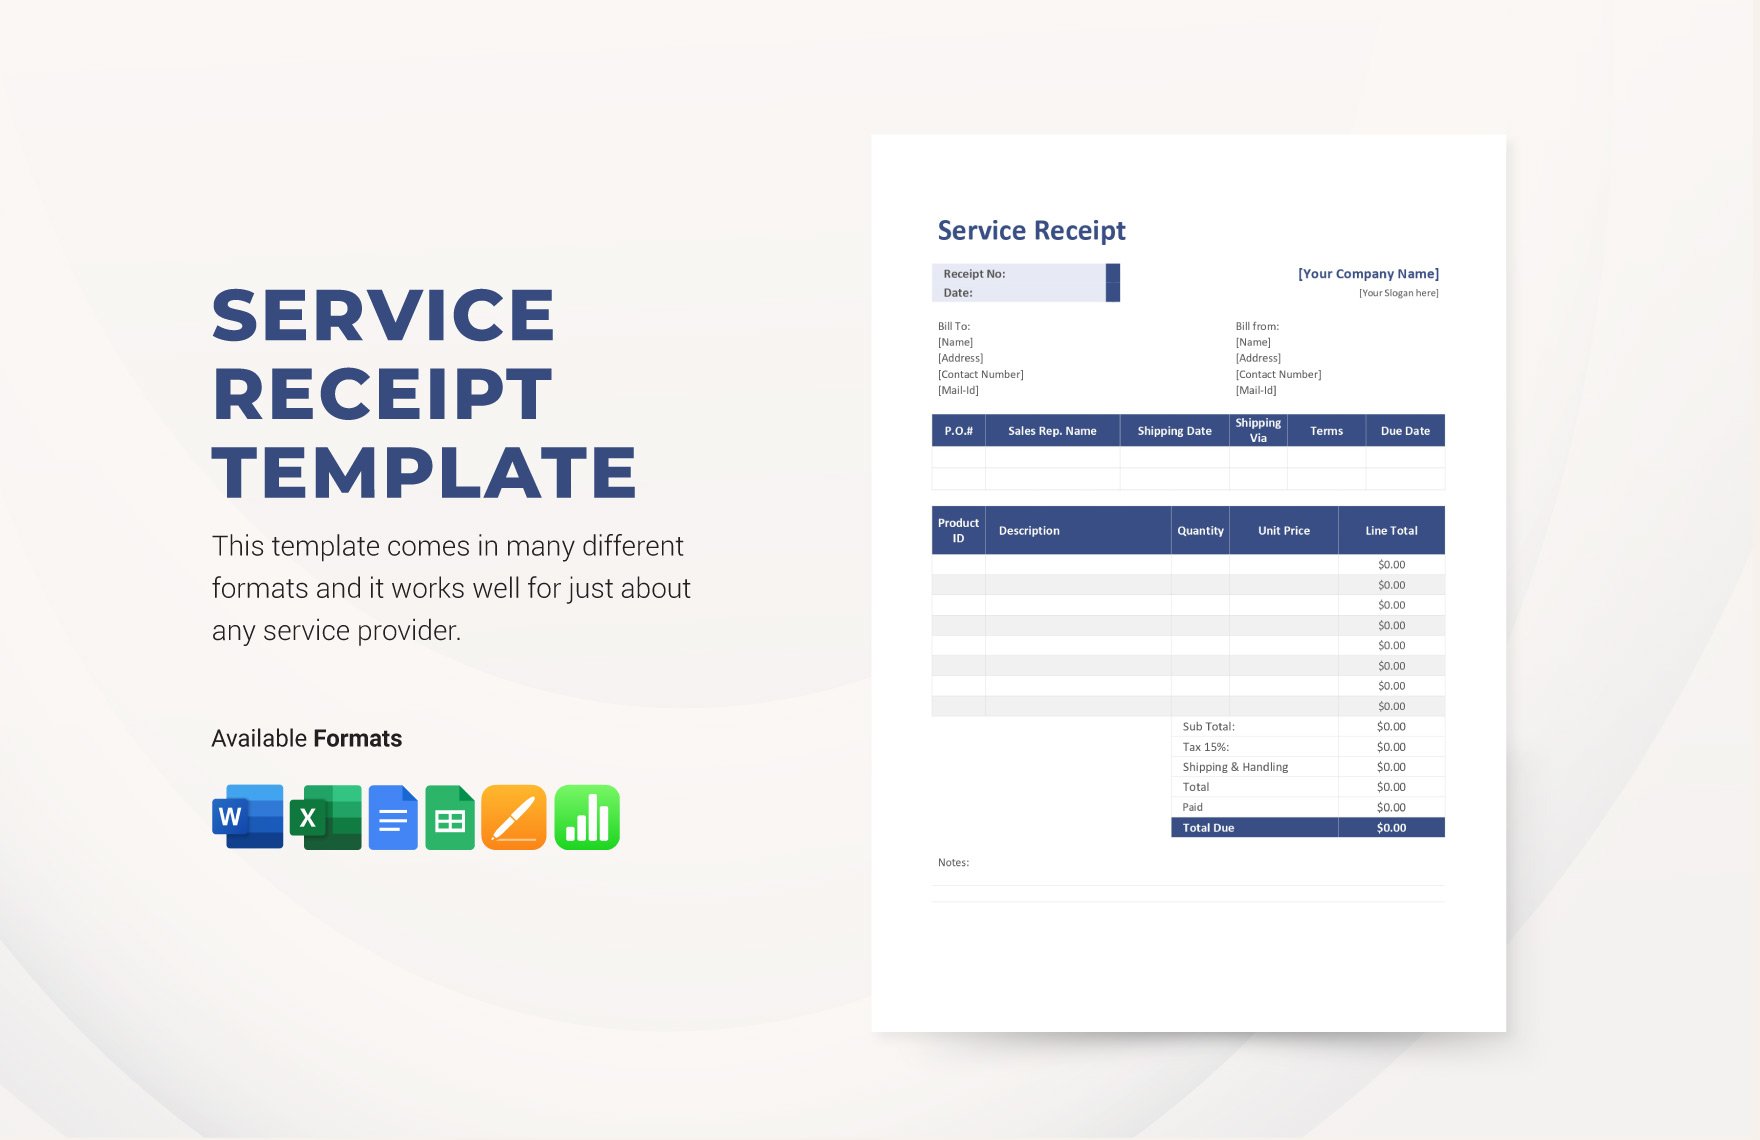
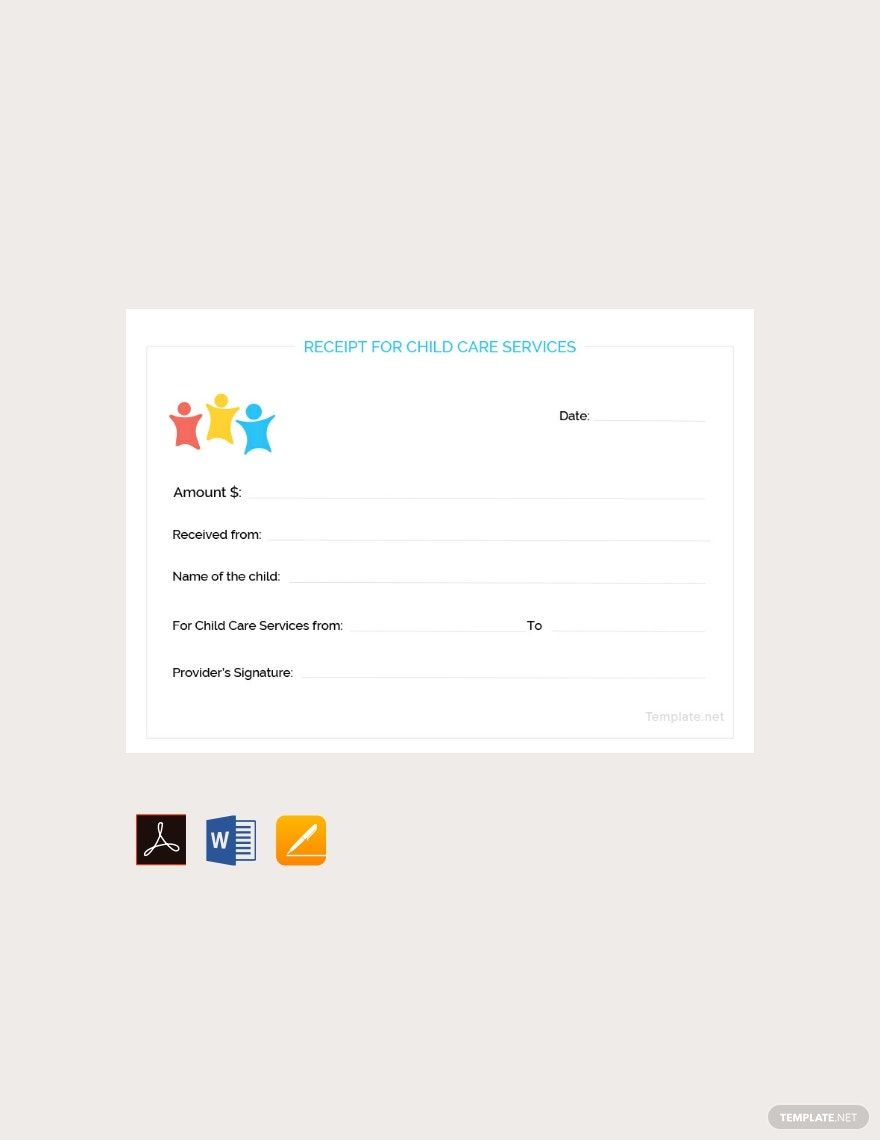
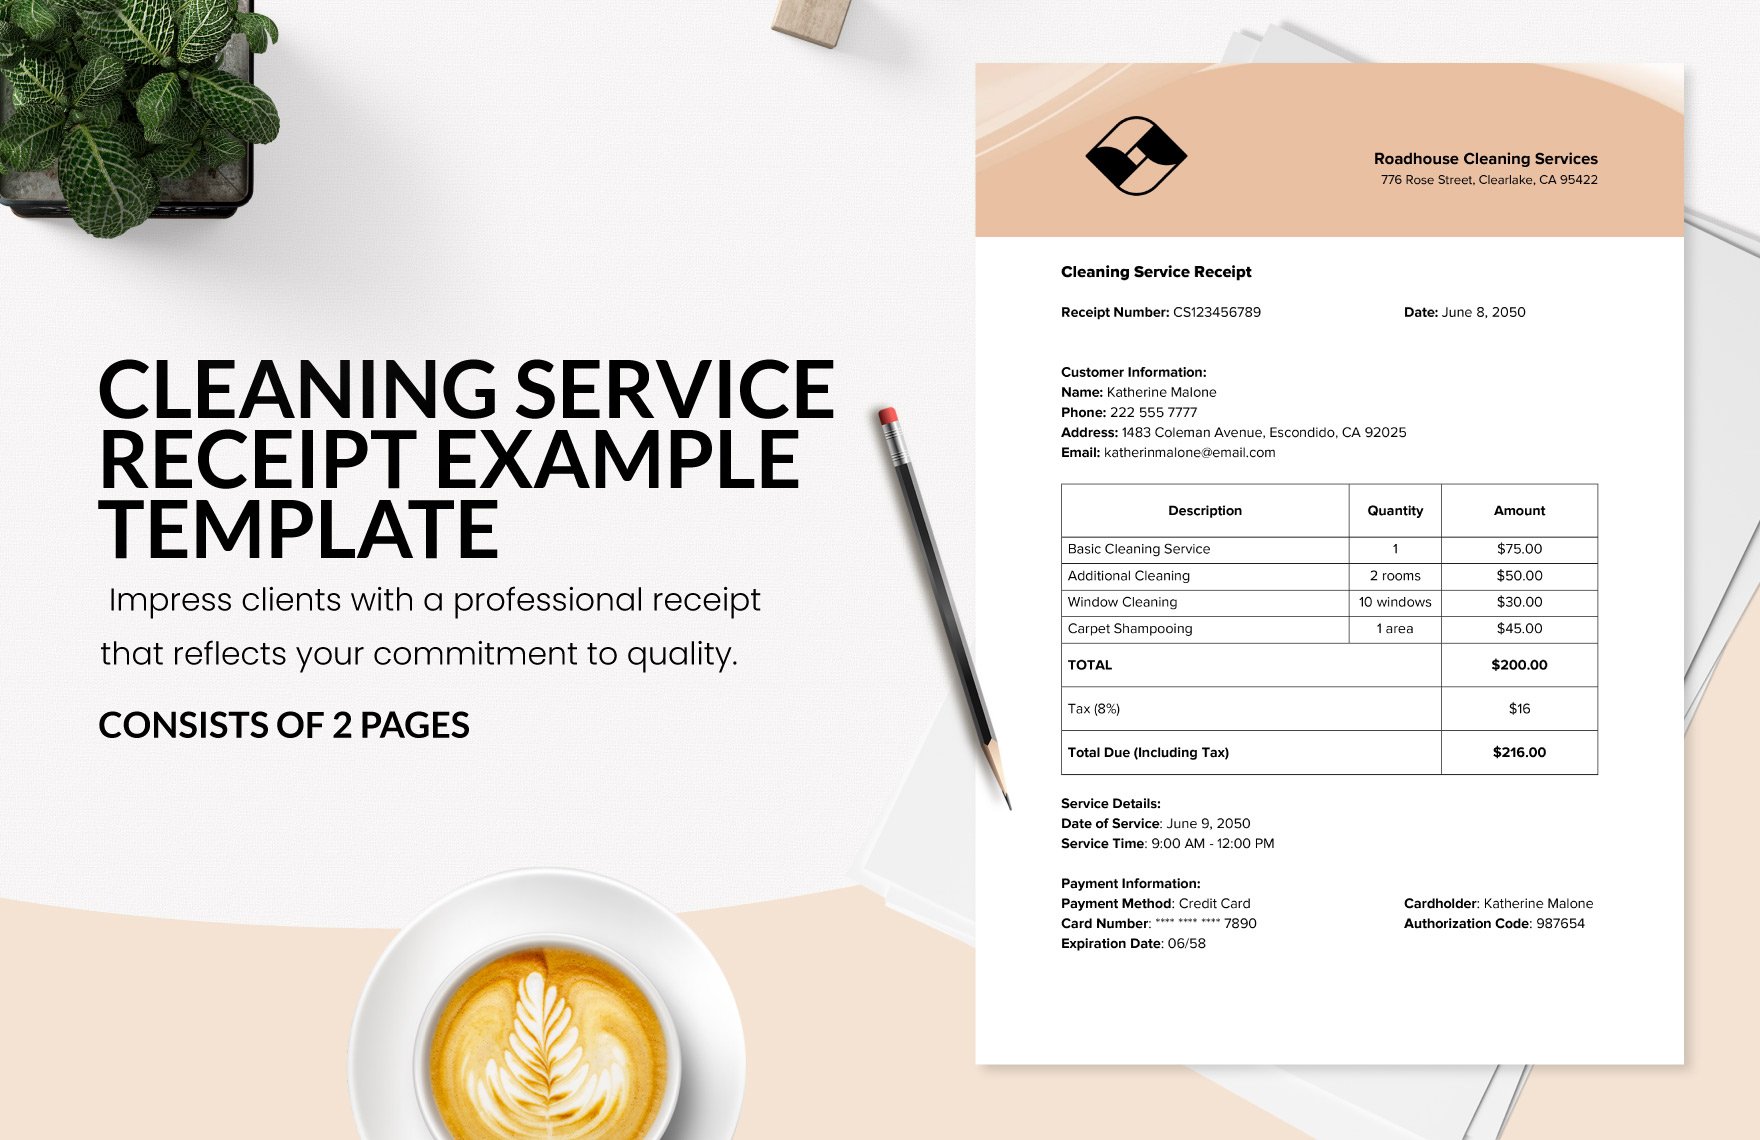
Keep your business transactions transparent, your clients satisfied, and your operations seamless with Service Receipt Templates from Template.net. These templates are perfect for business owners, freelancers, and professional service providers looking to maintain meticulous financial records and provide clients with clear, organized receipts. Whether you're looking to formalize the purchase of services or need to generate a professional receipt after a successful client meeting, these templates have you covered. Each template includes customizable fields for time, date, service details, and payment information, ensuring all your essential data is neatly organized. No design skills are required; simply choose a professional-grade design, edit it with your specific details, and you're ready to go, saving both time and effort.
Discover the many Service Receipt Templates we have on hand to elevate your business's professionalism. Select a template that suits your style, swap in your company logo and contact information, and tweak the colors and fonts to align with your brand image. For added flair, drag and drop icons or graphics, incorporate animated effects for digital receipts, and utilize AI-powered text tools for perfect phrasing. The possibilities are endless and skill-free, making it fun and easy to create the ideal receipt for any transaction. With our regularly updated templates, new designs are added weekly to keep your options fresh. When you’re finished, download or share the receipt via print, email, or digital export, making it ideal for multiple channels. Collaborate in real-time with team members to ensure every detail is perfectly tailored to your business needs.
