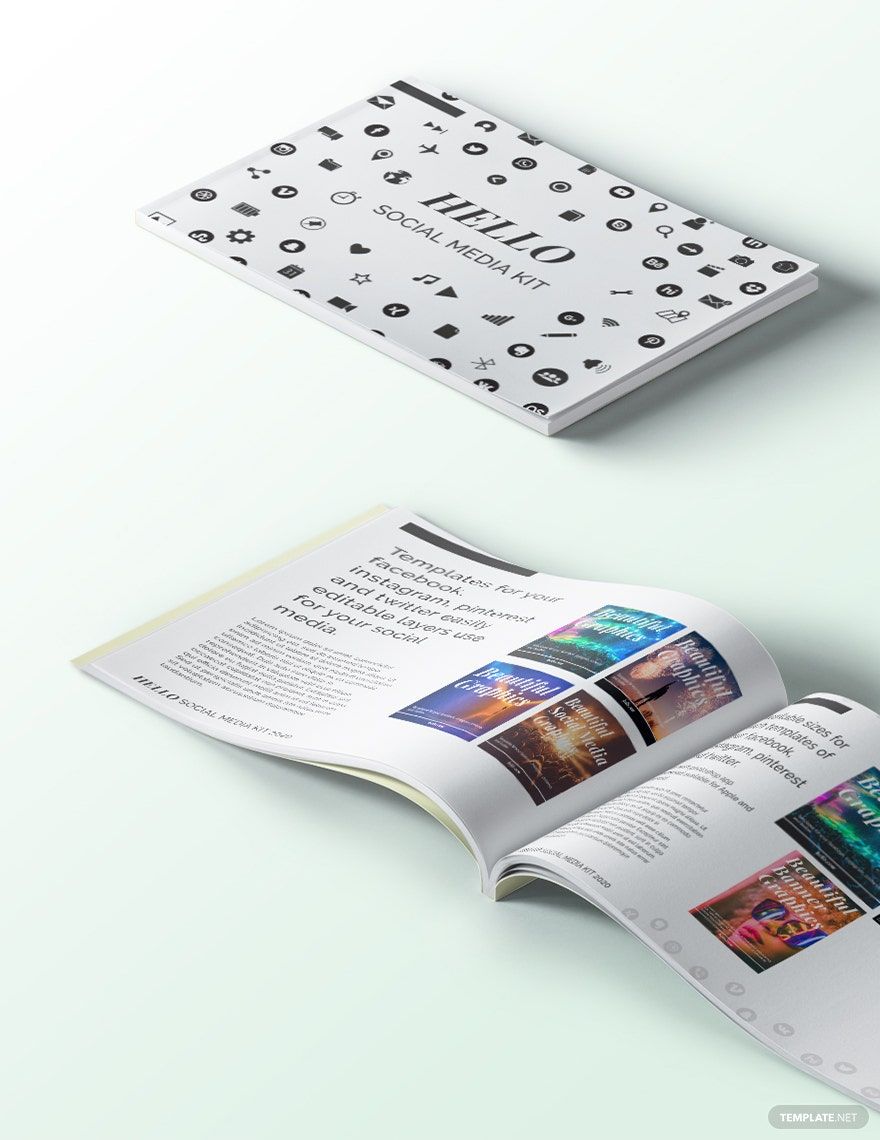
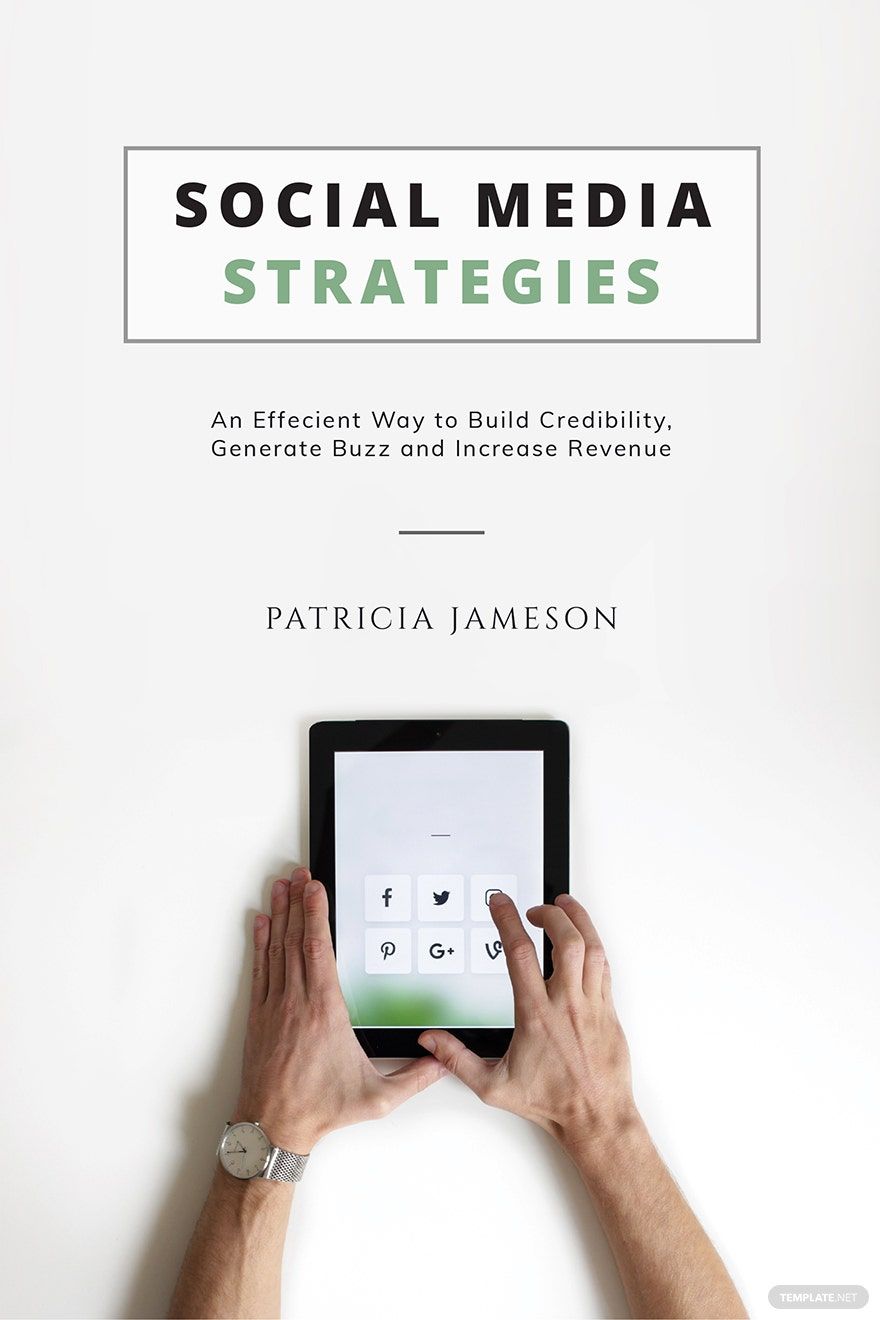
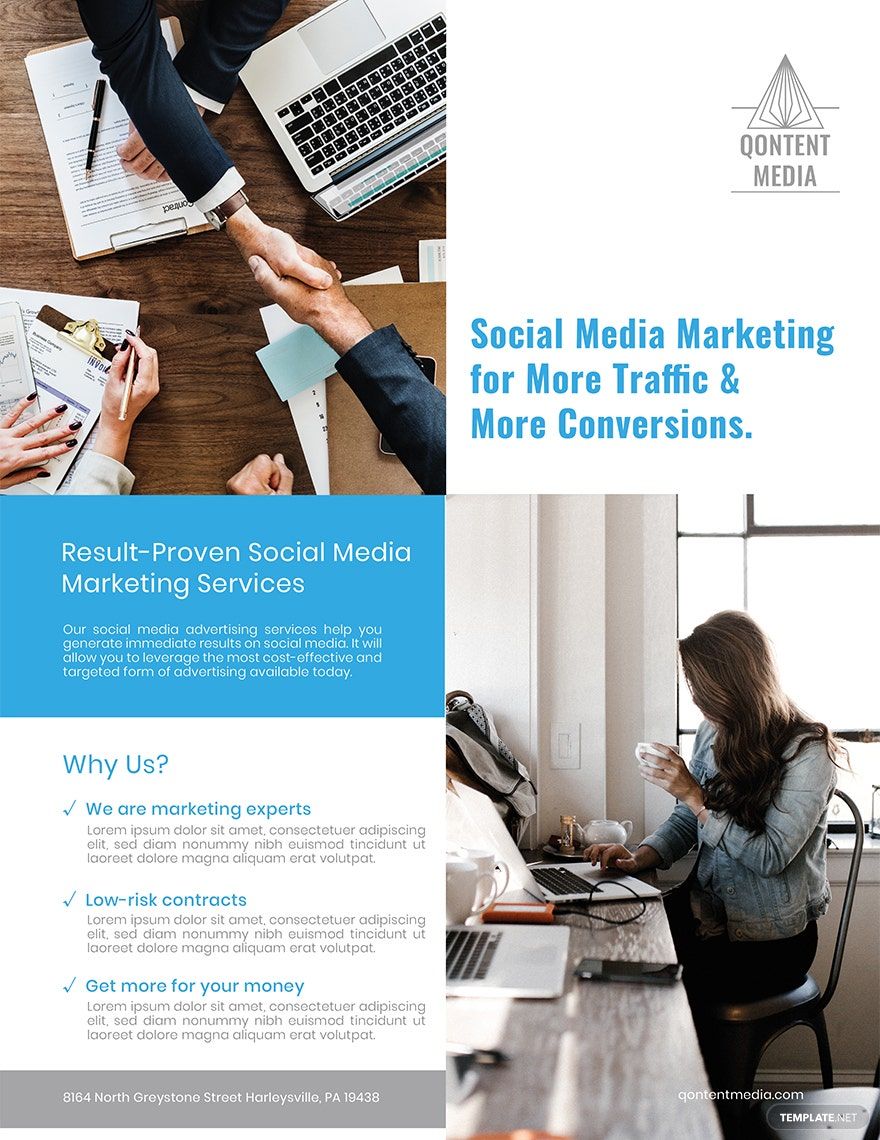
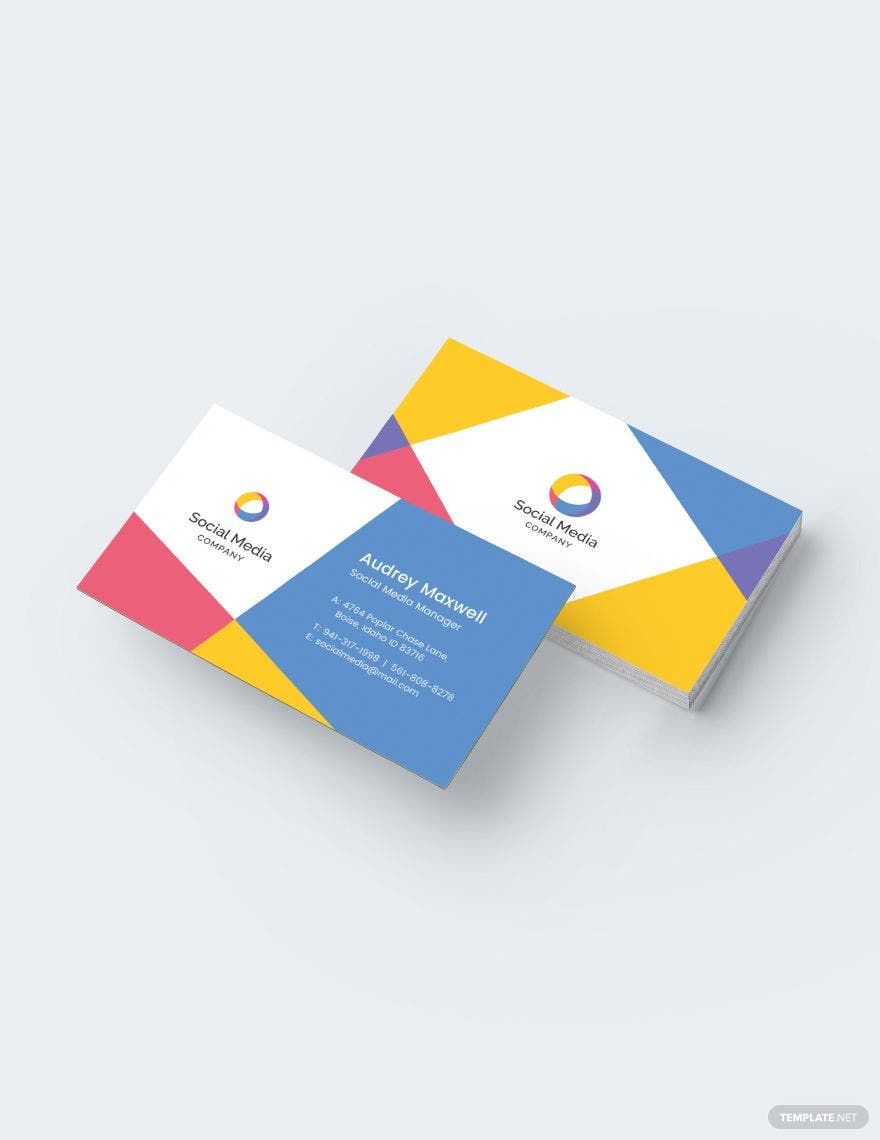
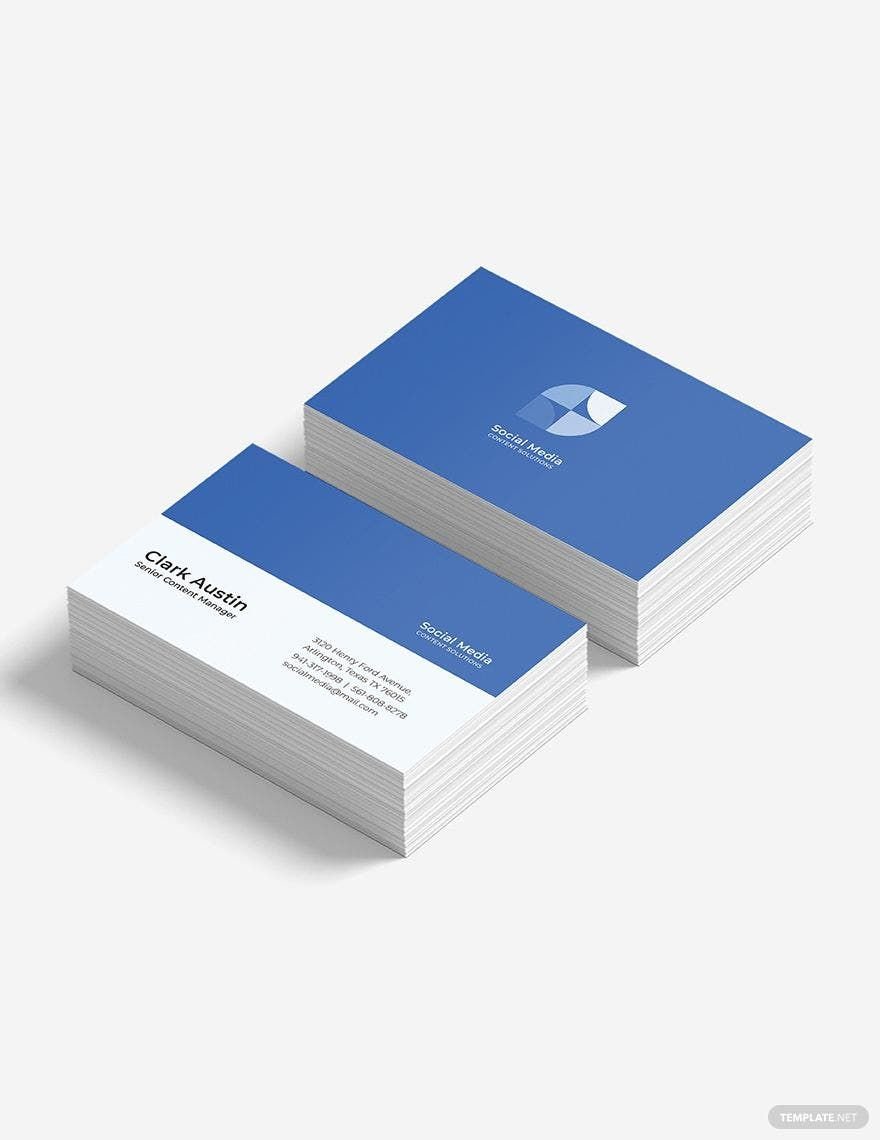
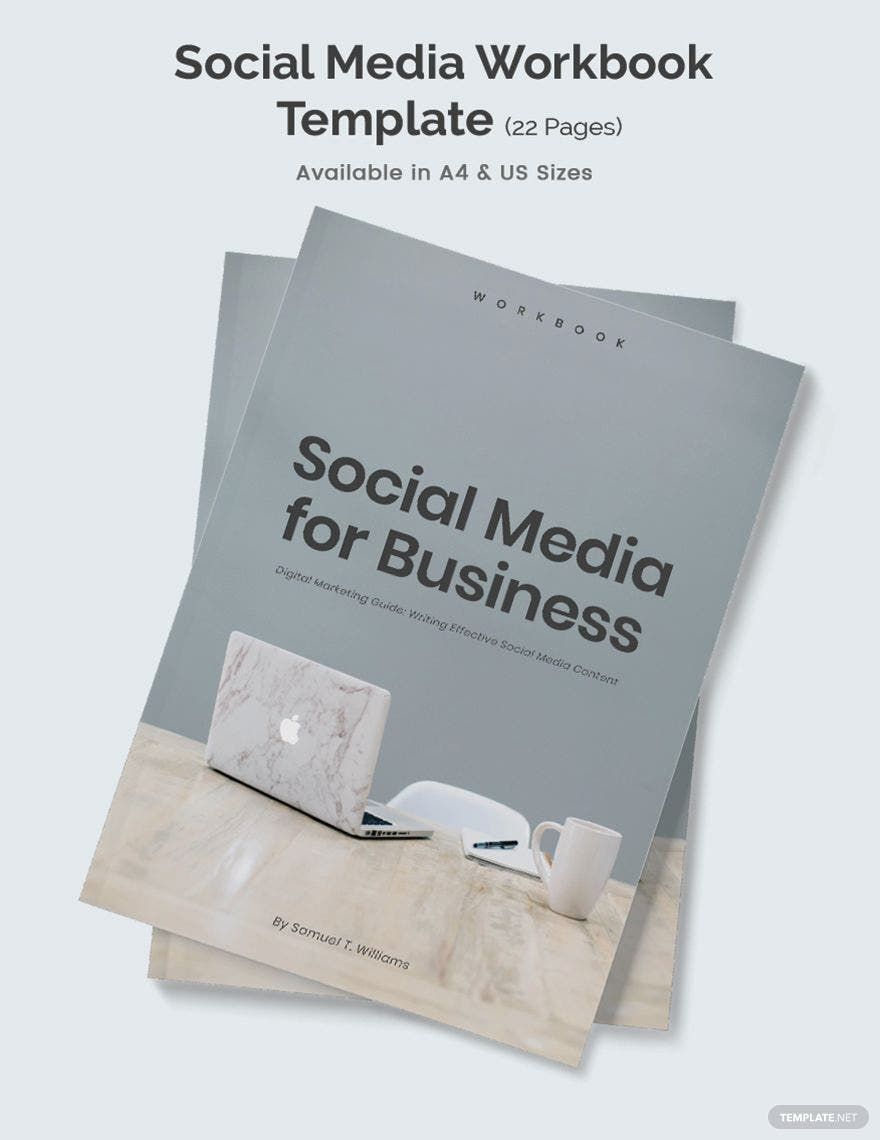
If you have work or tasks involving social media, there are all kinds of distributable materials to help you get things done. And we can help create what you need with our professional Social Media Templates. Use our content to help with your marketing, communication, management, and more. If you’re on Windows, then you can implement our samples in Microsoft Publisher without any problems. Go ahead and download today—take advantage of our digital content for your creative prints!
Social Media Templates in Publisher
Explore professionally designed social media templates in Publisher that are free, customizable, and printable. Elevate your posts now!
Amplify Your Online Presence with Ready-to-Deploy Social Media Templates in Microsoft Publisher by Template.net
Achieve professional visibility effortlessly with our specially curated Social Media Templates by Template.net. Designed for entrepreneurs, marketers, and small business owners, these templates allow you to craft visually compelling posts and advertisements with just a few clicks—no graphic design degree required. Whether you're looking to promote an event or showcase product features, our pre-designed templates have got you covered. The best part? They are available in easy-to-use formats like Microsoft Publisher, offering both downloadable and printable options. Our collection of Free templates means beautiful designs are just a click away, enabling rapid creation without the hassle or cost of hiring a designer.
Discover the treasure trove of possibilities with our vast array of Social Media Templates, from free pre-designed standards to exclusive Premium selections. Keep your content fresh and engaging with regularly updated designs that reflect the latest trends and aesthetics. Share your stunning creations in various formats; download them for print or share directly via email for broader reach. By mixing Free and Premium templates, you gain maximum flexibility, ensuring your social media presence is as dynamic and unique as your brand. Start crafting today and let your visuals do the talking.
Frequently Asked Questions
What are some examples of social media types?
Some types are:
- Microblogging
- Social networking
- Video sharing
What are some of the top social media apps?
The following are a few examples:
- TikTok
How many social media templates can I get from Template.net?
You can get over 1,000 social media unique social media templates from Template.net.
Which software applications can I use to edit Template.net’s social media templates?
You can use:
- Adobe Illustrator
- Adobe Photoshop
- Apple Pages
- Google Docs
- Google Slides
- Microsoft Publisher
- Microsoft Word
How many of Template.net’s social media templates are compatible with Microsoft Publisher?
There are over 10 that are compatible with Microsoft Publisher.
