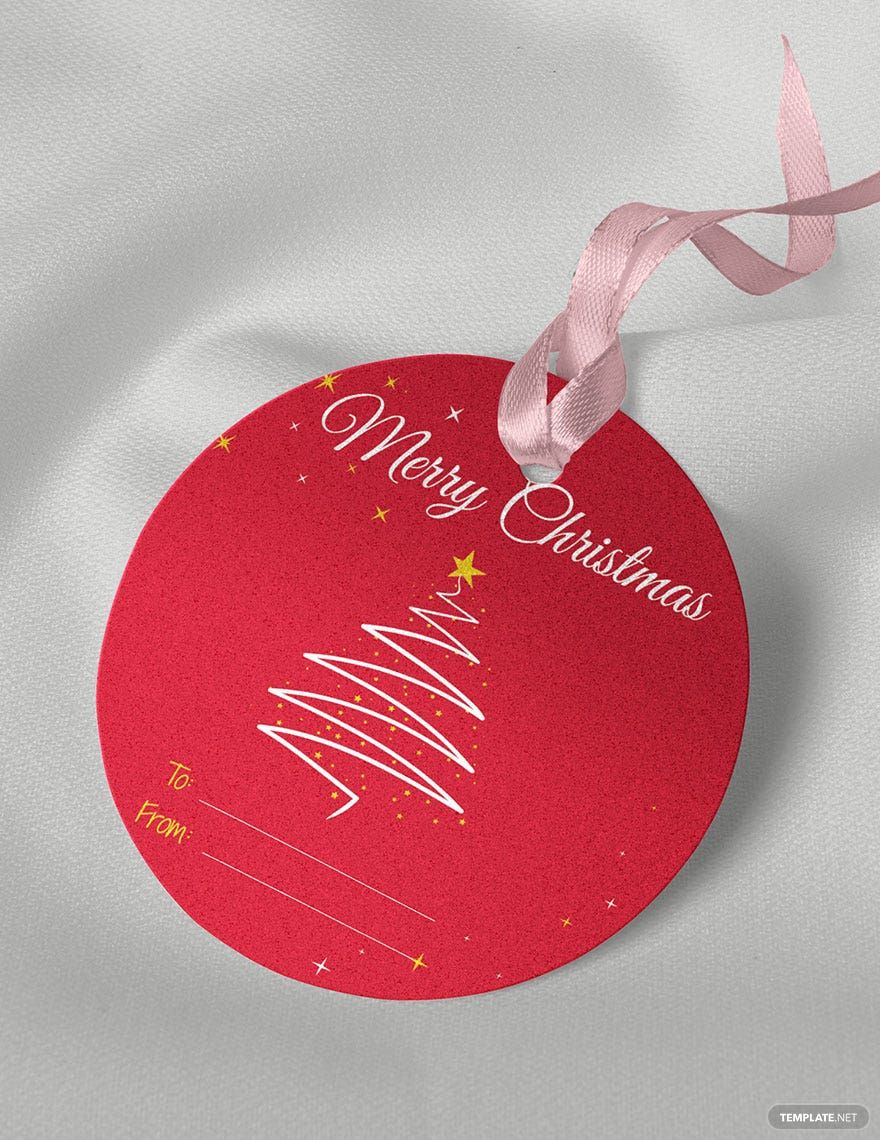
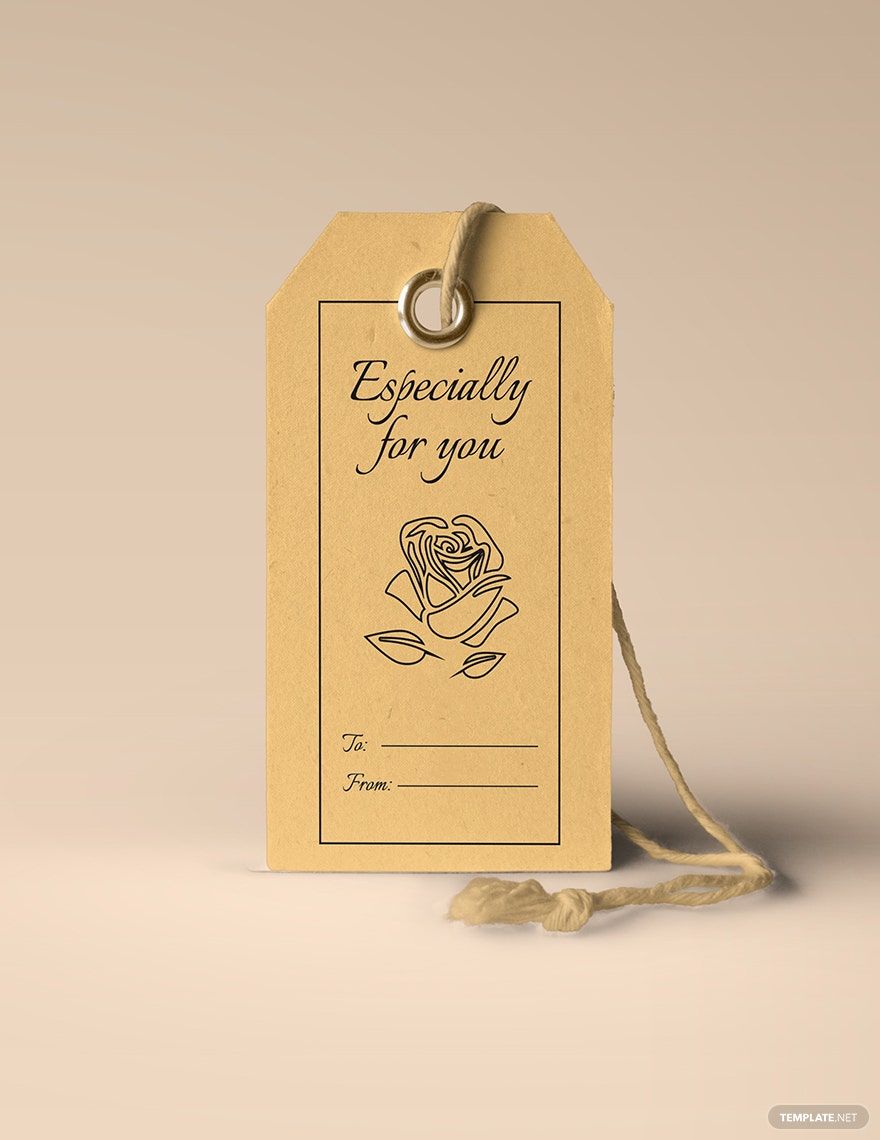
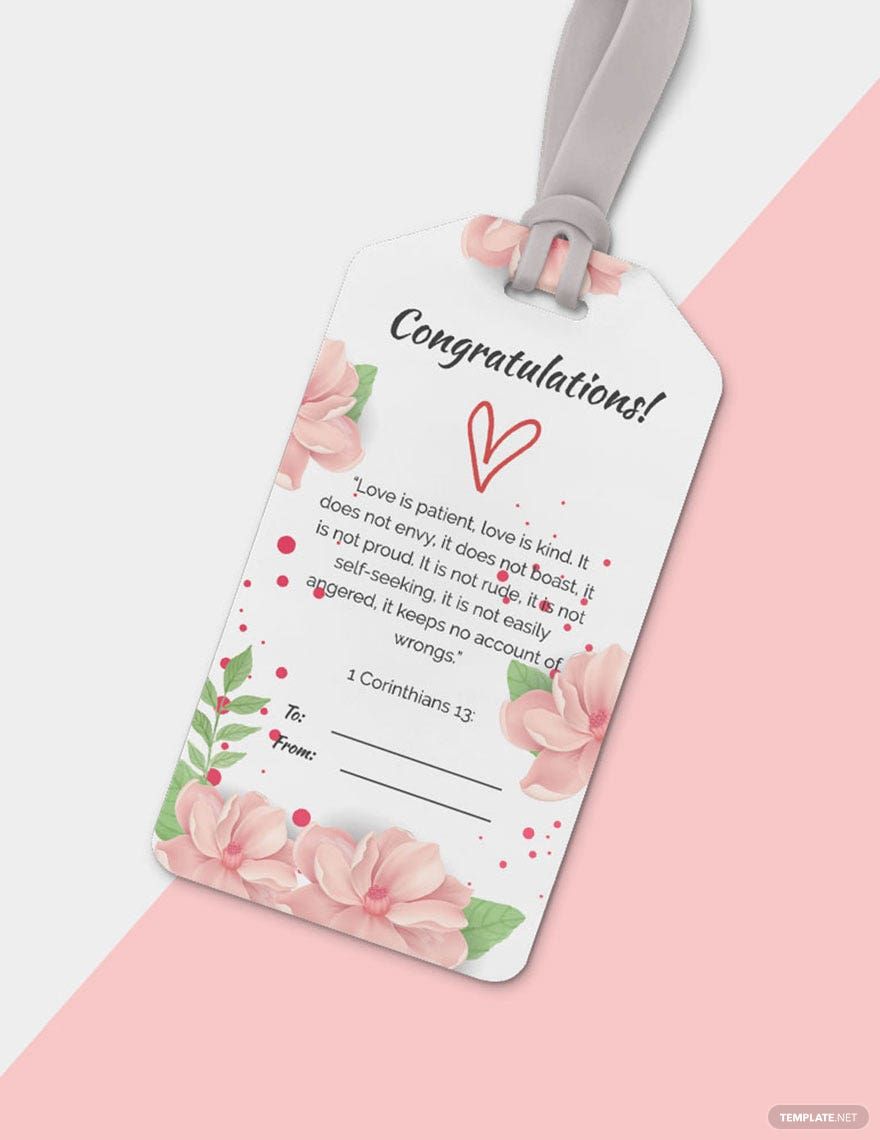
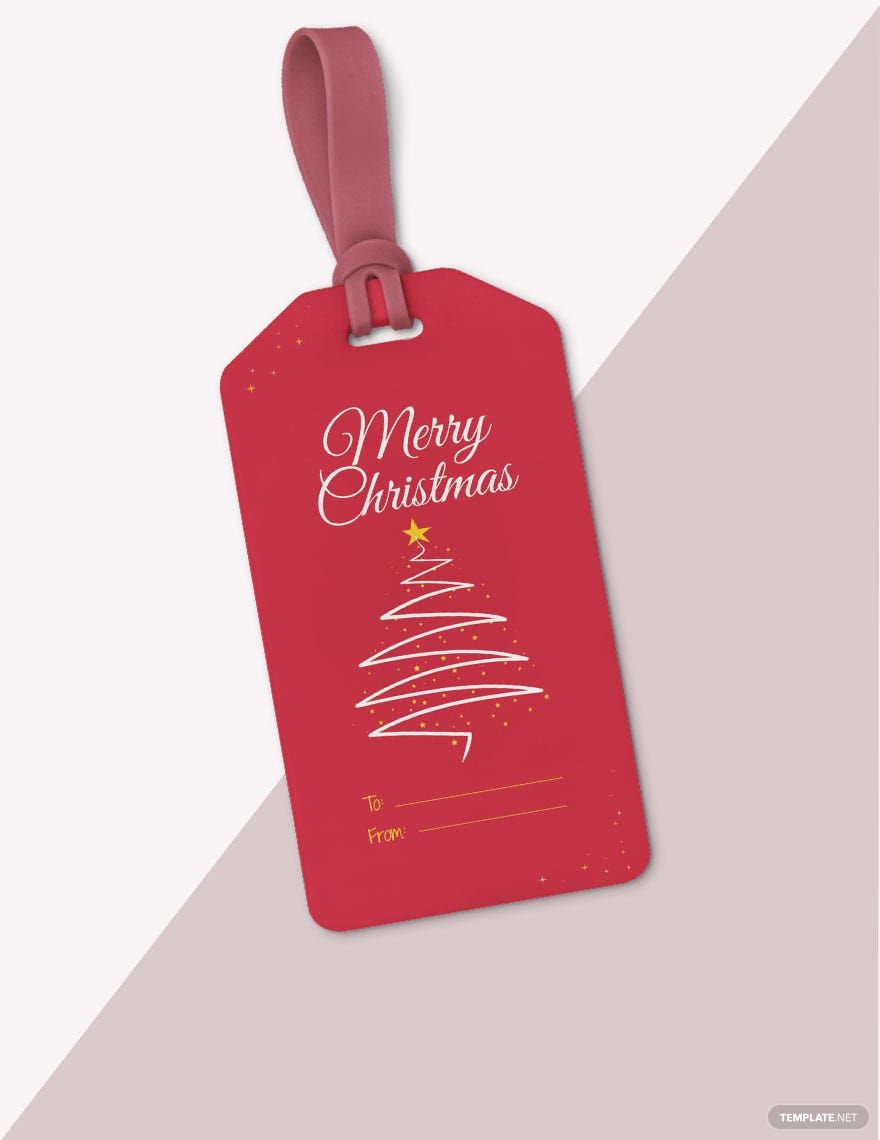
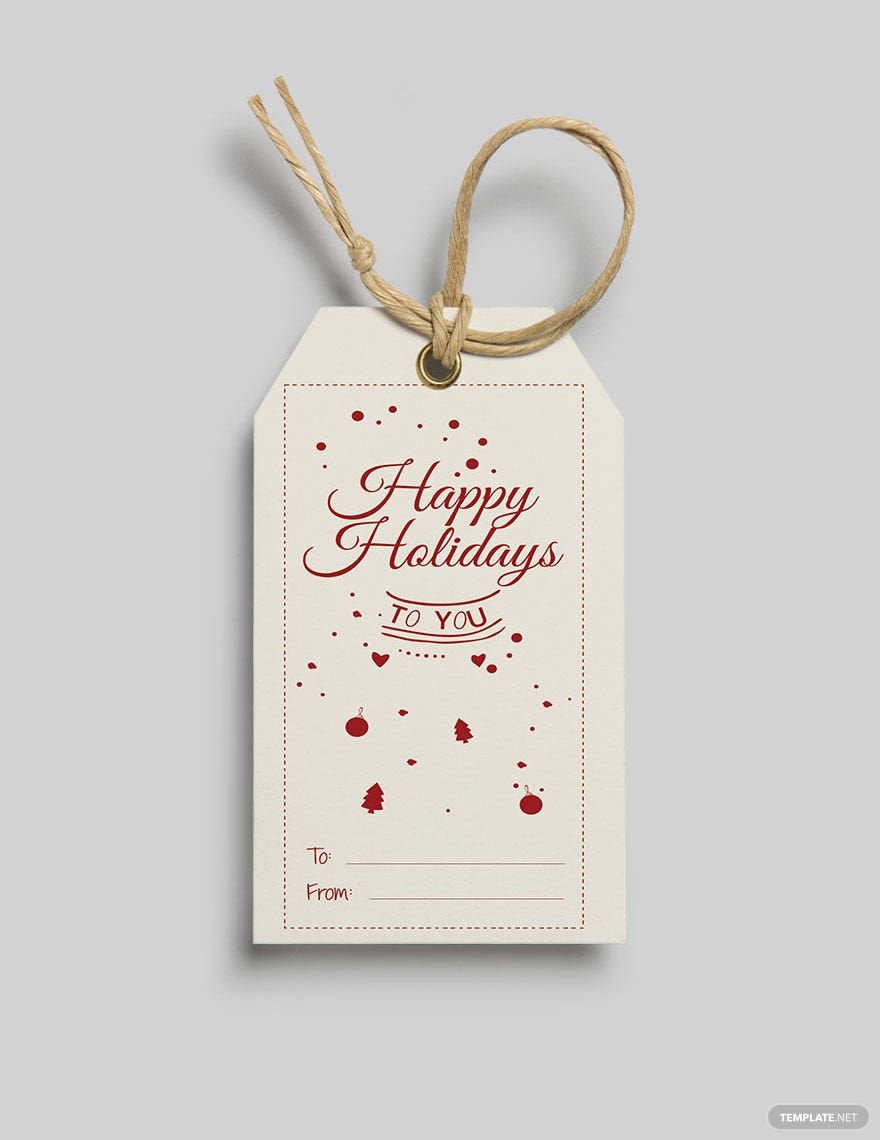
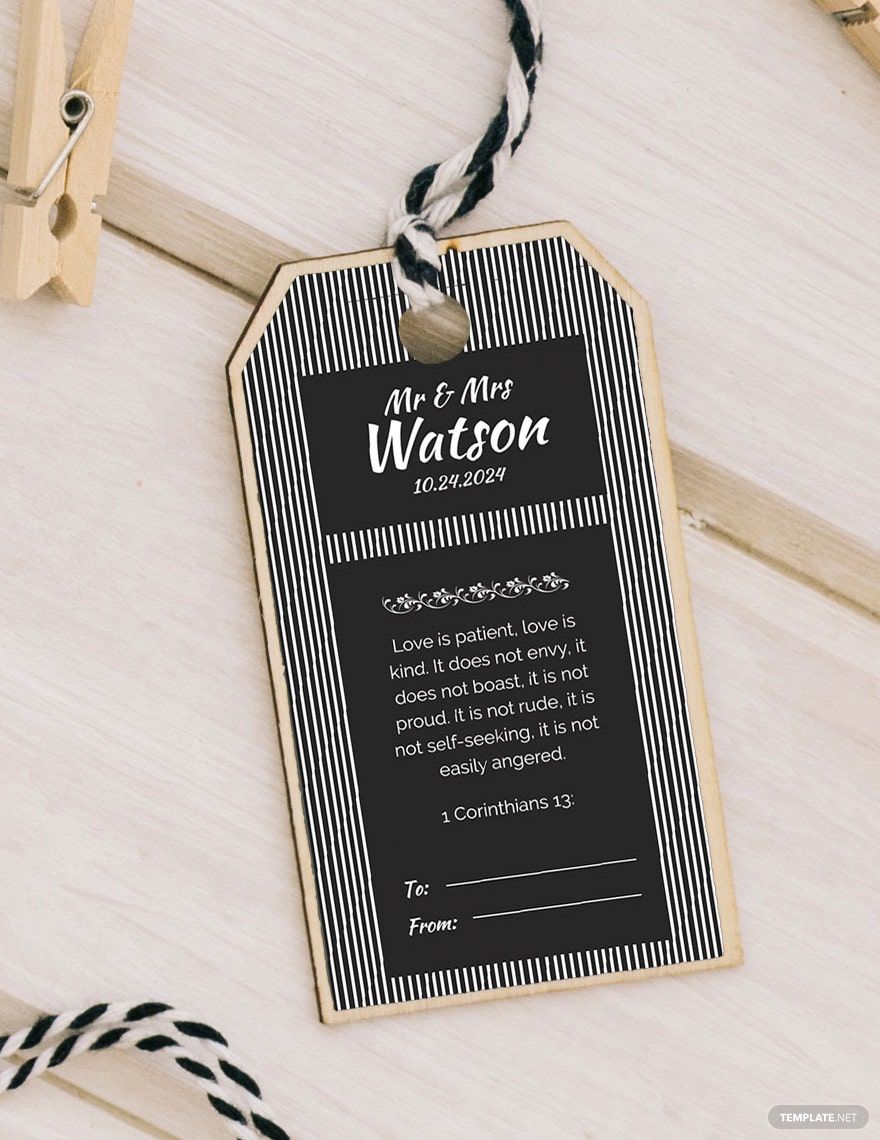
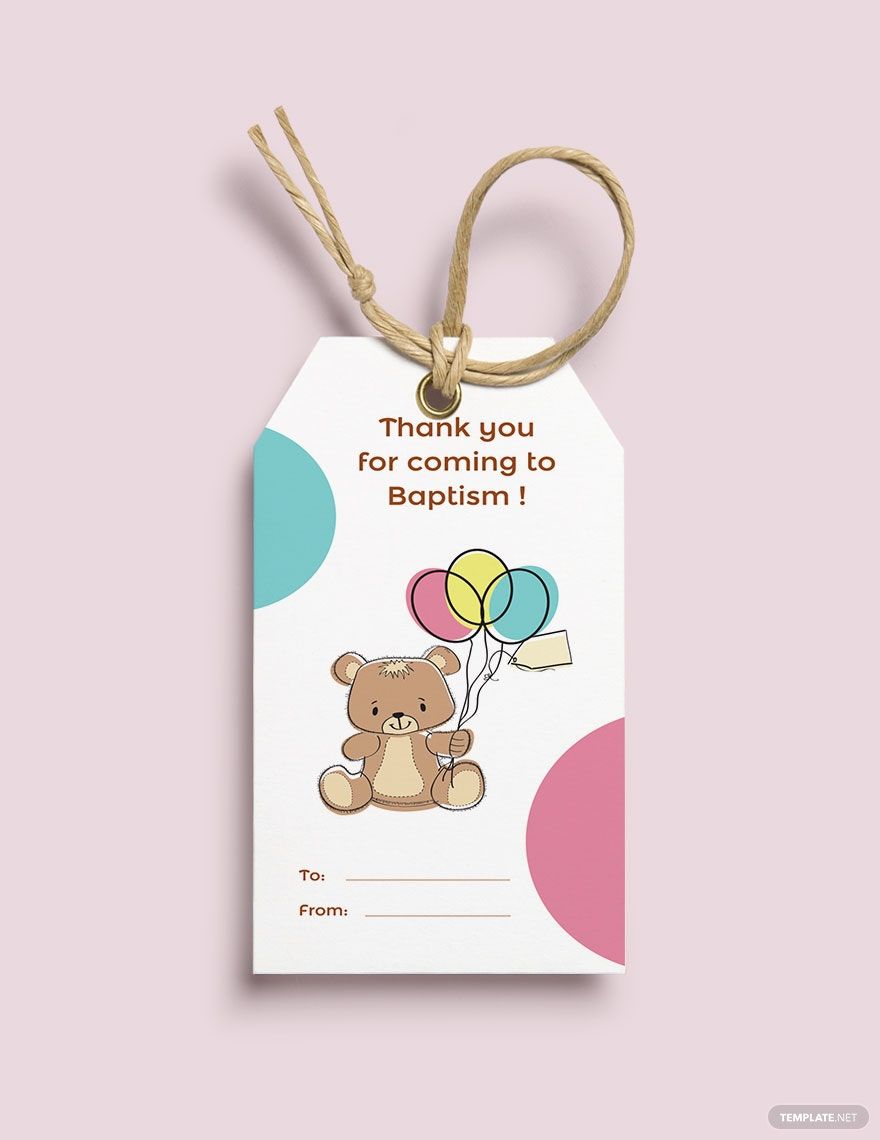
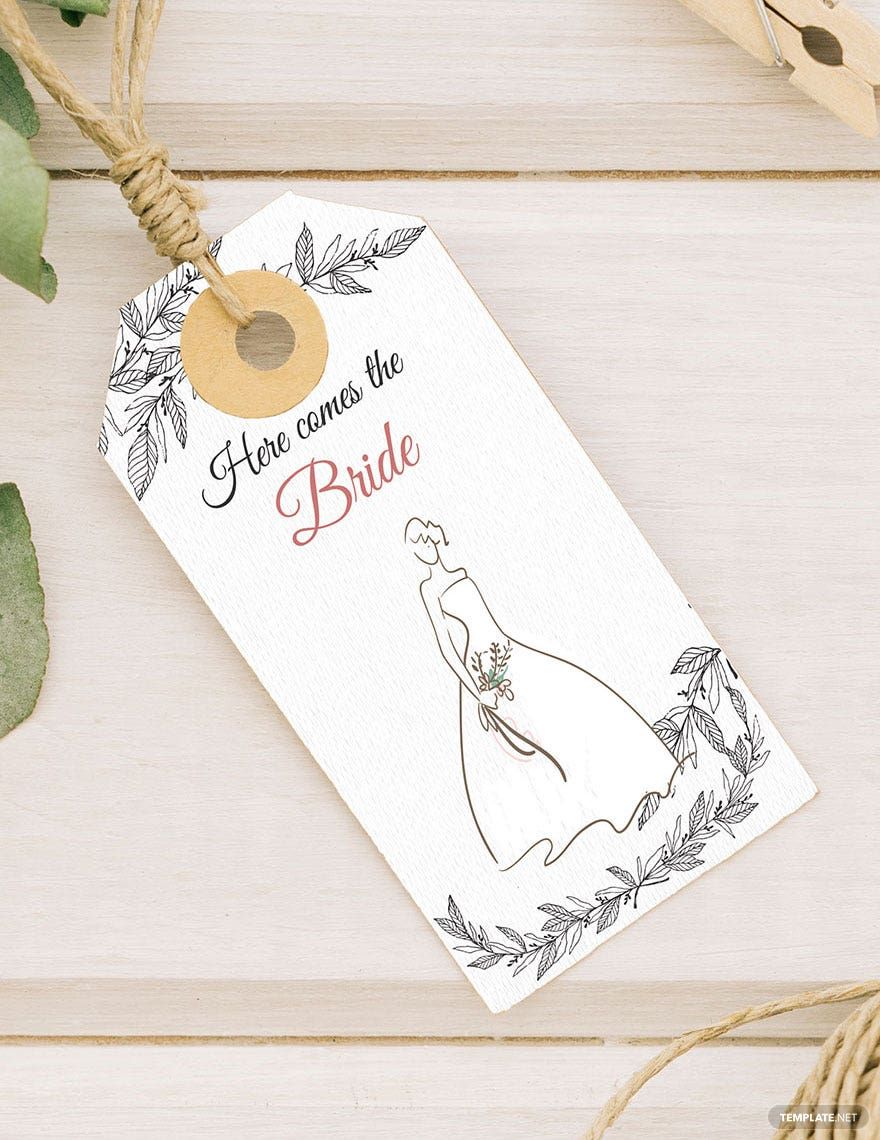
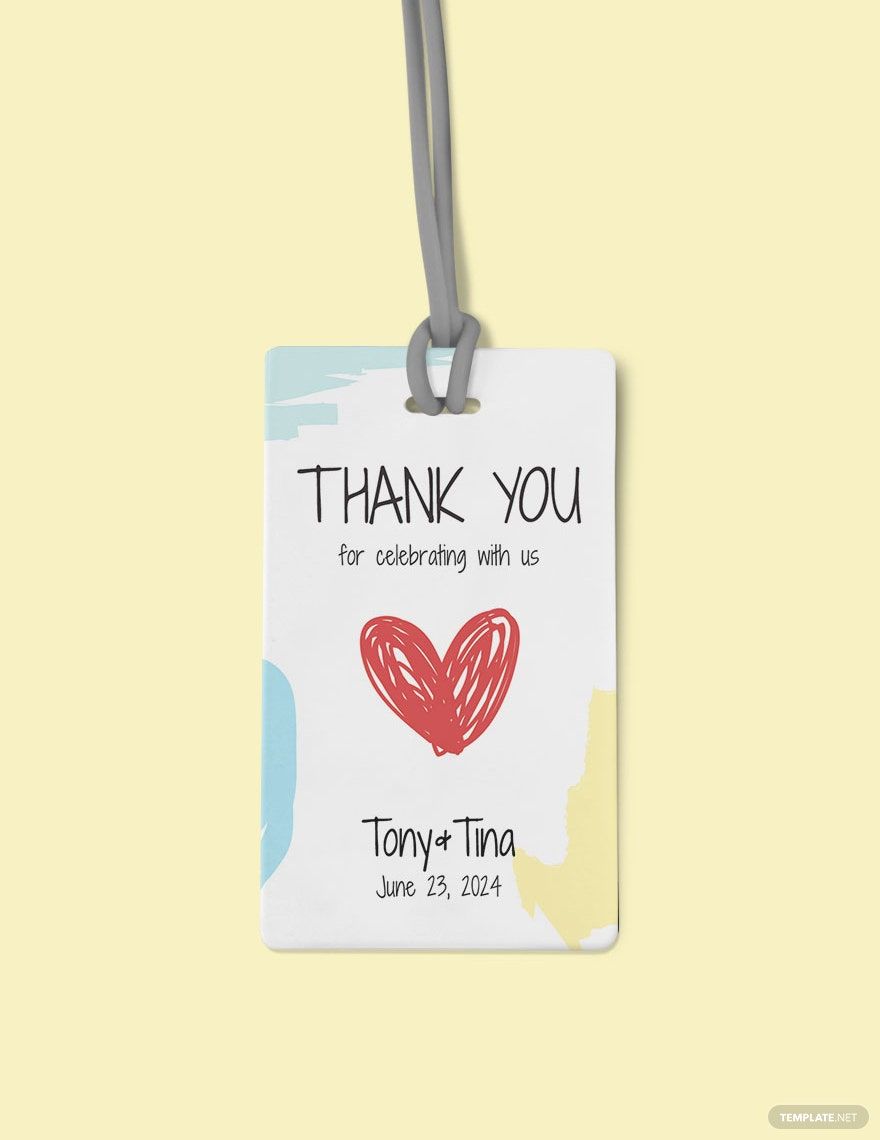
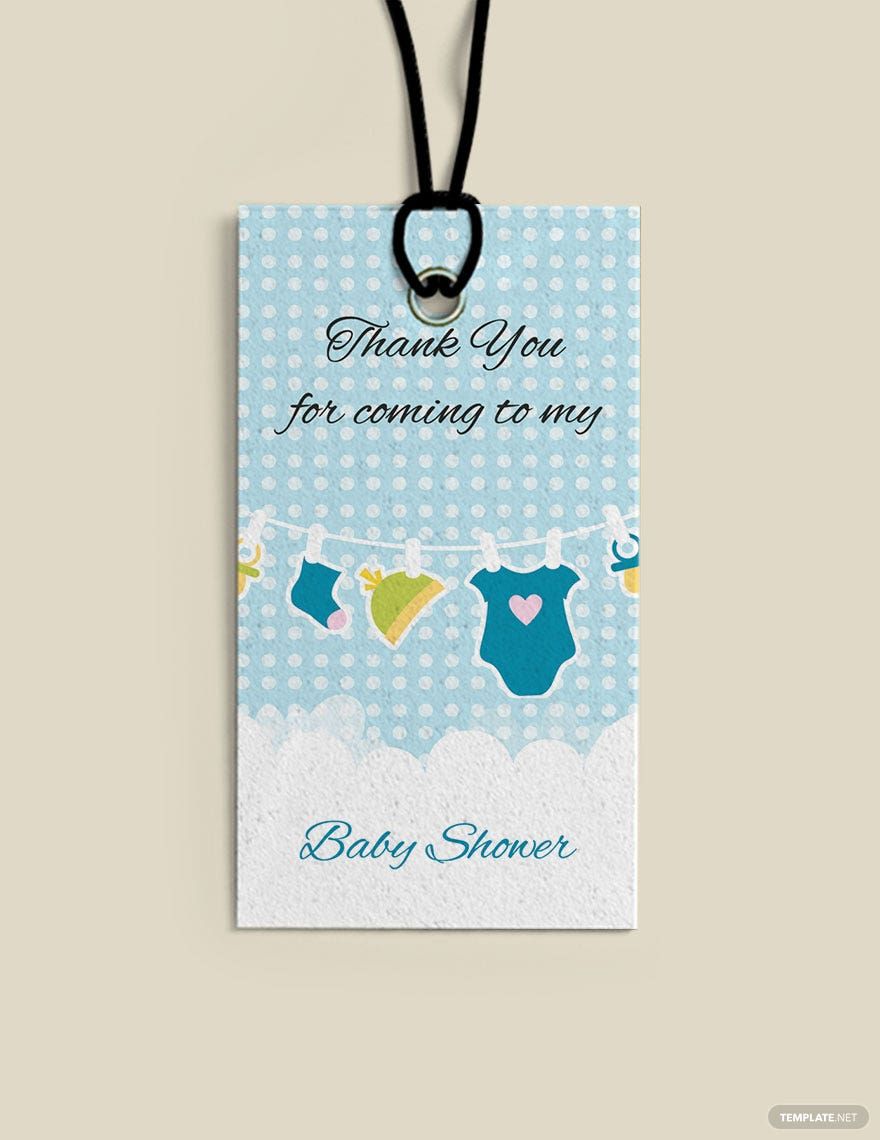
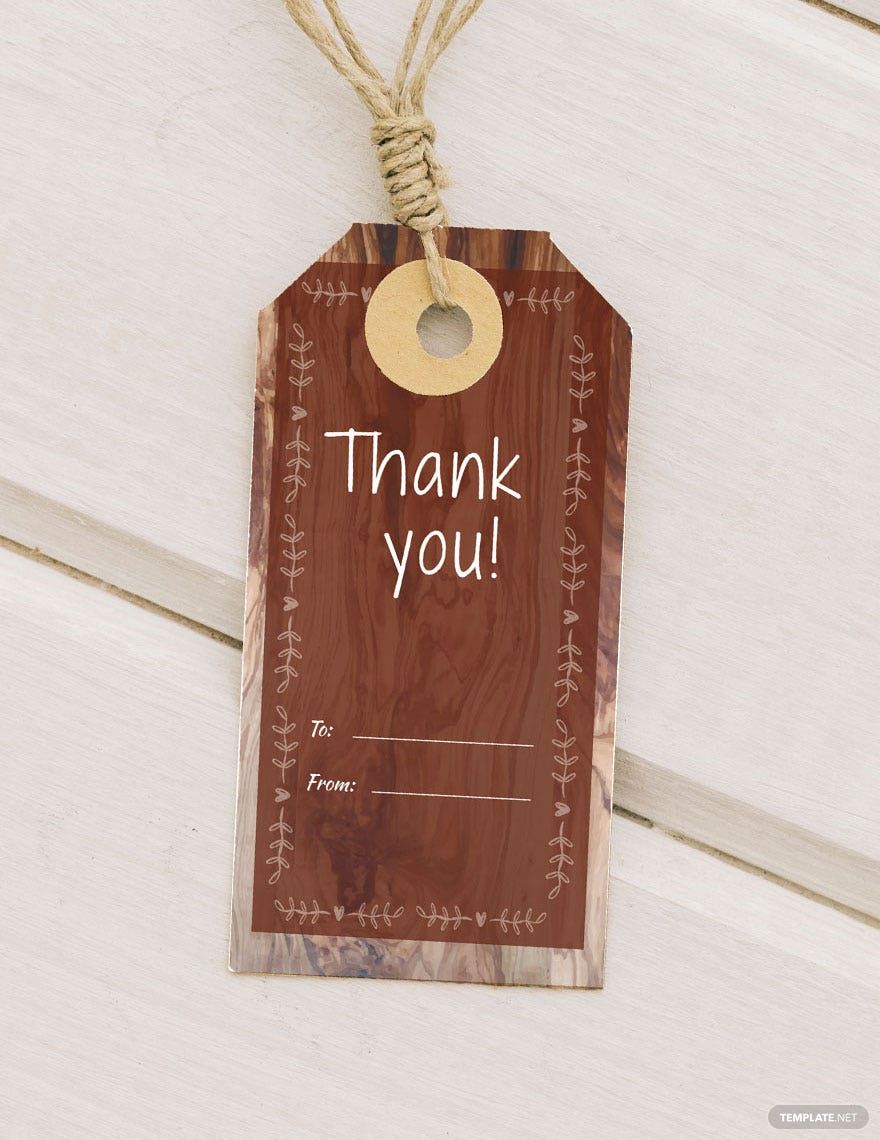
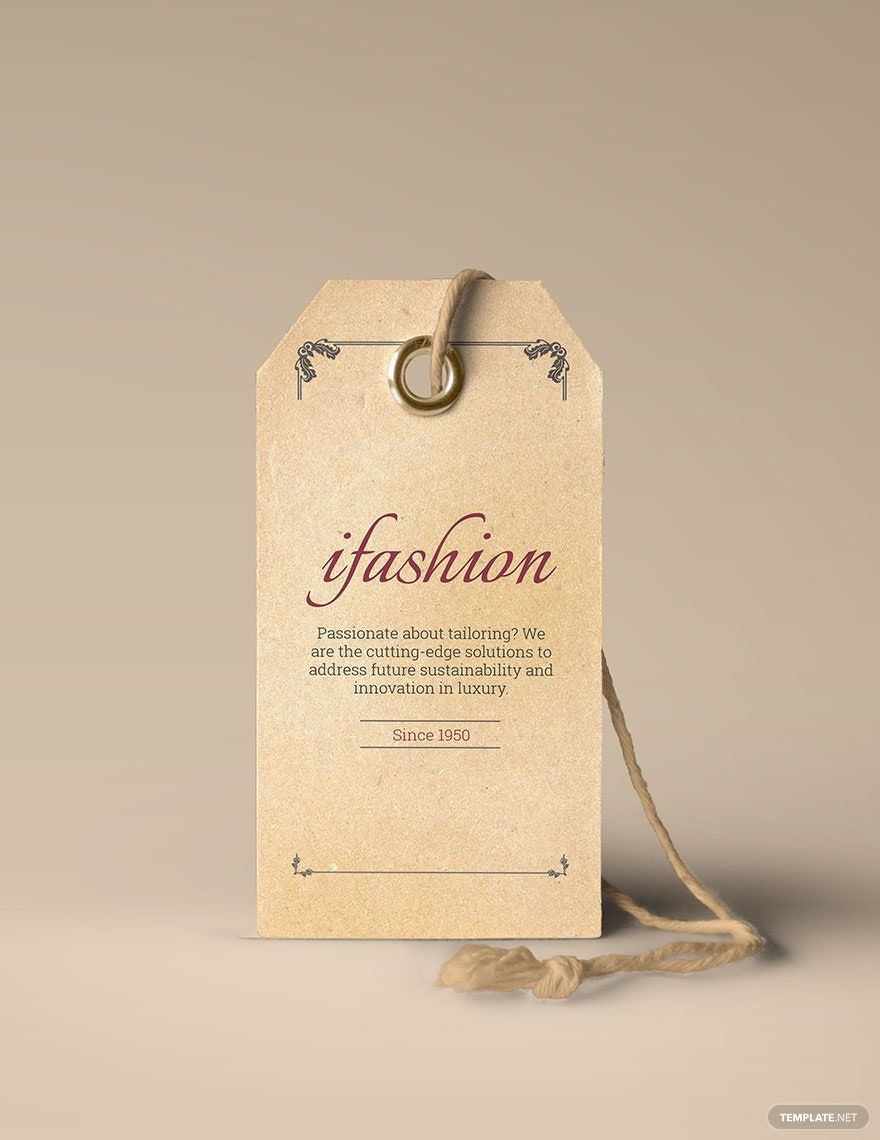
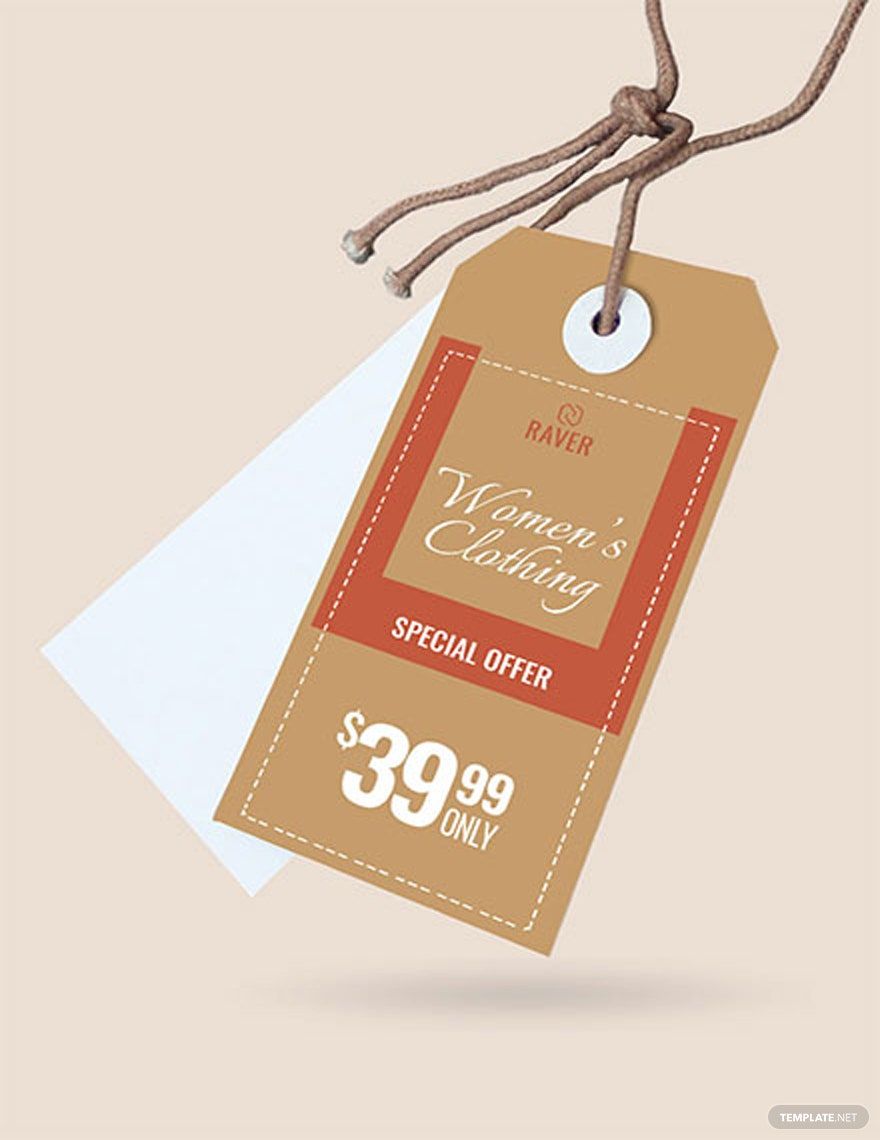
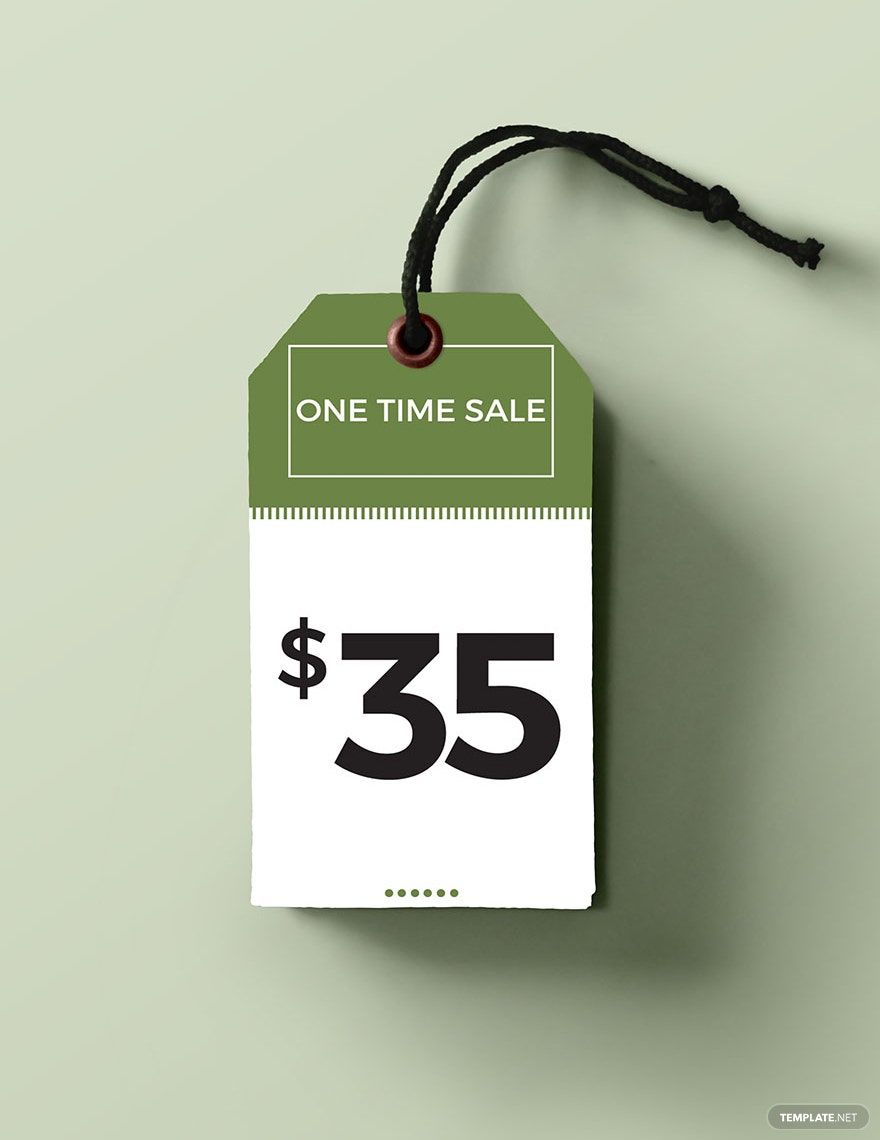
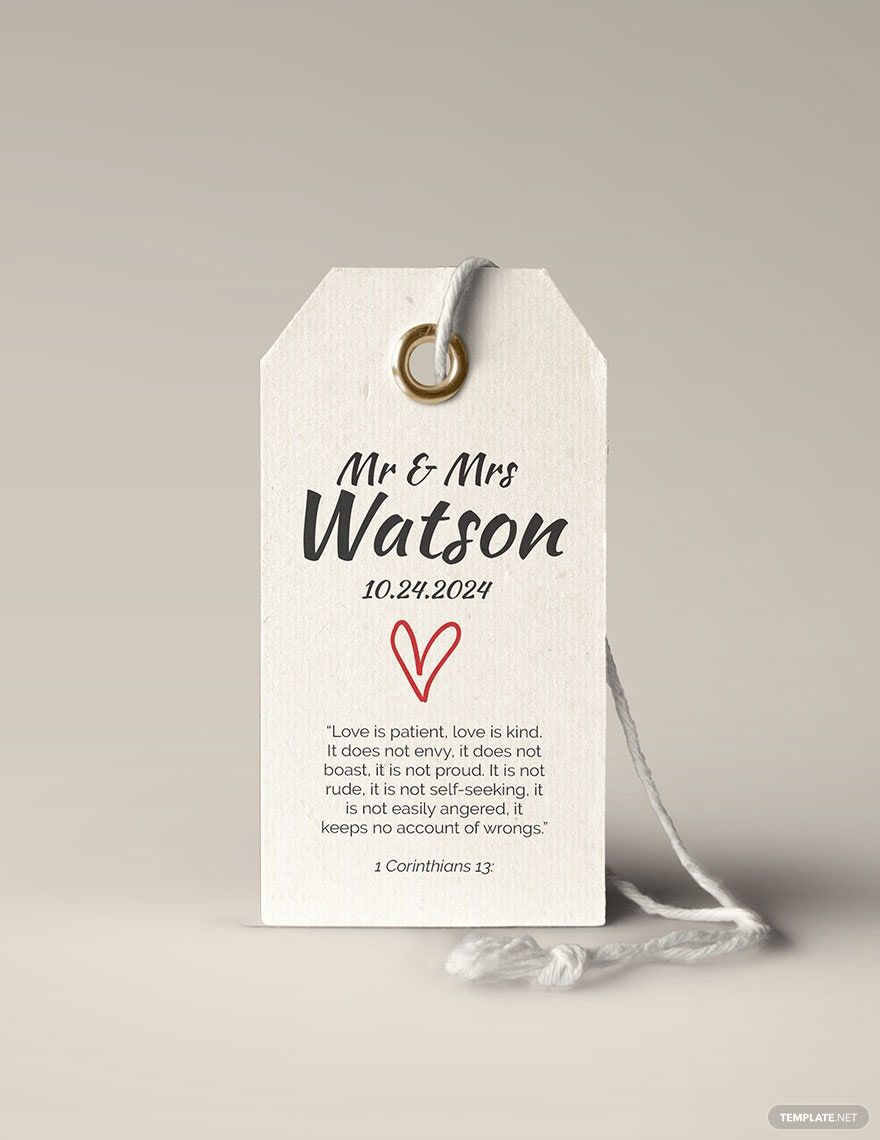
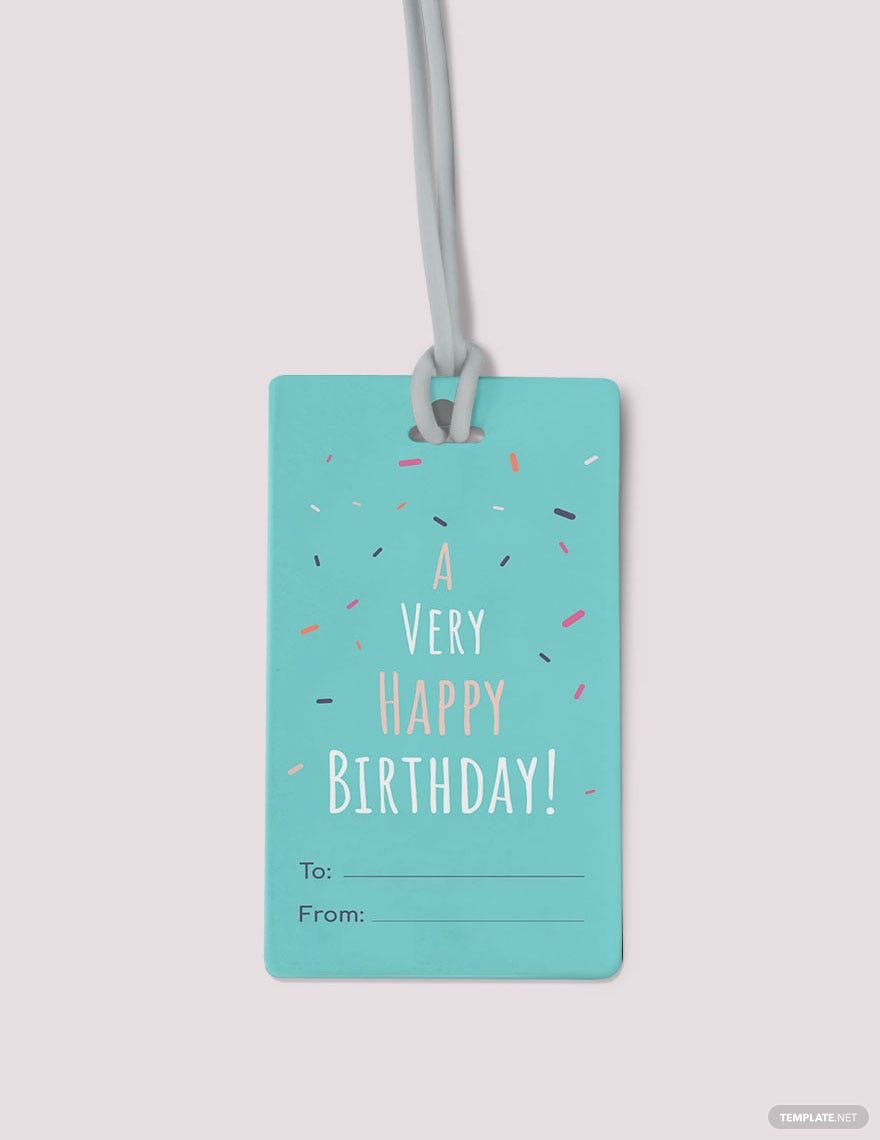
You bought a gift, wrapped it with a special paper, and topped it with a decorative bow. It’s almost perfect. Now, what should you add to come up with a unique presentation of the gift? A personalized gift tag. Complement your present by designing a gift tag with the help of our beautifully designed Gift Tag Templates. Browse through our 100% customizable, printable, and high-quality templates; then download a file which will best suit your needs. These Christmas, thank you, holiday, and other gift tag templates are easily editable in Microsoft Publisher and several other applications. Get yours for free!
How to Create a Gift Tag in Publisher?
Gifts—however big or small can make a person’s heart as happy as it can be. Gift givers wrap their presents to hide the identity of the gift and add a surprise factor. Aside from gift wraps and ribbons, a gift also comes along with a gift tags. It is a lovely way to label your gifts and send a short greeting to the recipient. If you’ve got the perfect gift wrapped with the finest paper, then maybe you should add a gift tag to complete the look. Create a personalized gift tag for a birthday, wedding, or Christmas present by following the steps provided below.
1. Create a New File in Microsoft Publisher
There are several applications that would allow you to design a gift tag; however, Microsoft Publisher would be the best choice. It is a desktop publishing application ideal for designing print materials for both business and personal use. With its various features, you can surely create an aesthetically pleasing gift tag that would add style to your presents. If you don’t want to design a gift label from scratch though, check our editable and beautifully designed gift tag templates.
2. Choose a Shape
Gift tags or thank you tags don’t have to be rectangular in shape. You may opt for circles and other unique shapes for it to stand out from the rest. It is essential that you start with the shape outline so that you will have a clearer picture of the available space you have when you start filling your blank tag with text and colors.
3. Integrate a Theme
The design of your gift tag should be related to the reason why you are giving a present to that particular person. You may also match the tag with the holiday celebration (e.g., Christmas, Valentines, father’s day, mother’s day, etc.). There are also other design styles you may like to incorporate in your design; these are floral, chalkboard, vintage, or modern. Bear in mind that your choice of fonts and colors should base on the theme you have chosen.
4. Add Graphic Elements
After choosing the theme, colors, and fonts to use, add a photo, clipart, or vector art in your design. If you are creating a birthday gift tag, you may attach a clipart of balloons and cakes on your design. For a Christmas-themed tag, insert a vector art of Santa Claus or a Christmas tree. In attaching graphic elements, leave room for the warm greetings you will add later on.
5. Type Greetings
Now, you have to insert the text you would like to convey to the giftee. It could just be a simple “happy birthday,” “thank you,” or “Merry Christmas.” Make sure to include your name and the name of the one your present to. Because of the limited space provided by a gift tag, you also have to limit the text you include on it. However, you may create a separate greeting card if you want to pour out your wishes to the recipient.
6. Wrap It Up
Lastly, finalize your design and print it on a high-quality card stock. Have you bought your birthday, Christmas, graduation, or wedding gift already? Then wrap it and attach your personalized gift tag. Talking about presents, a study revealed that on average, Americans spend $365 on shopping for gifts which they would give to other people.