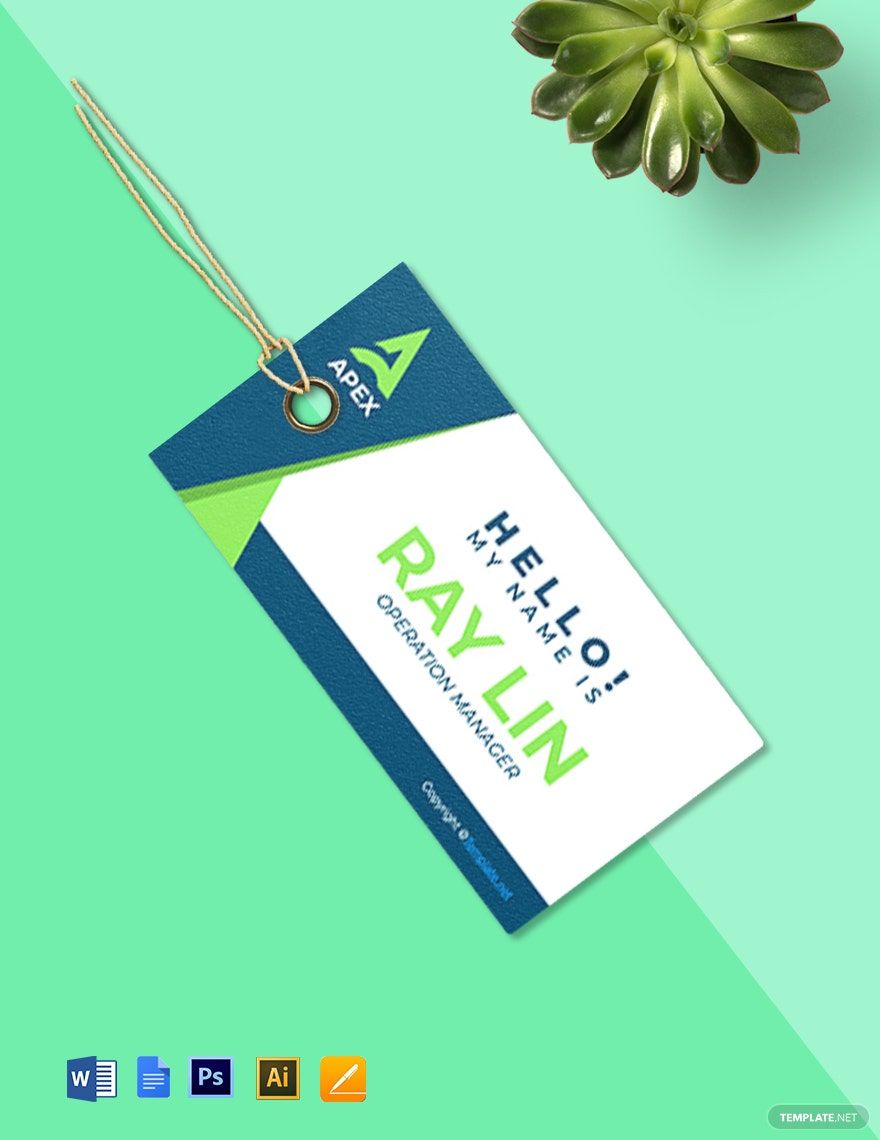
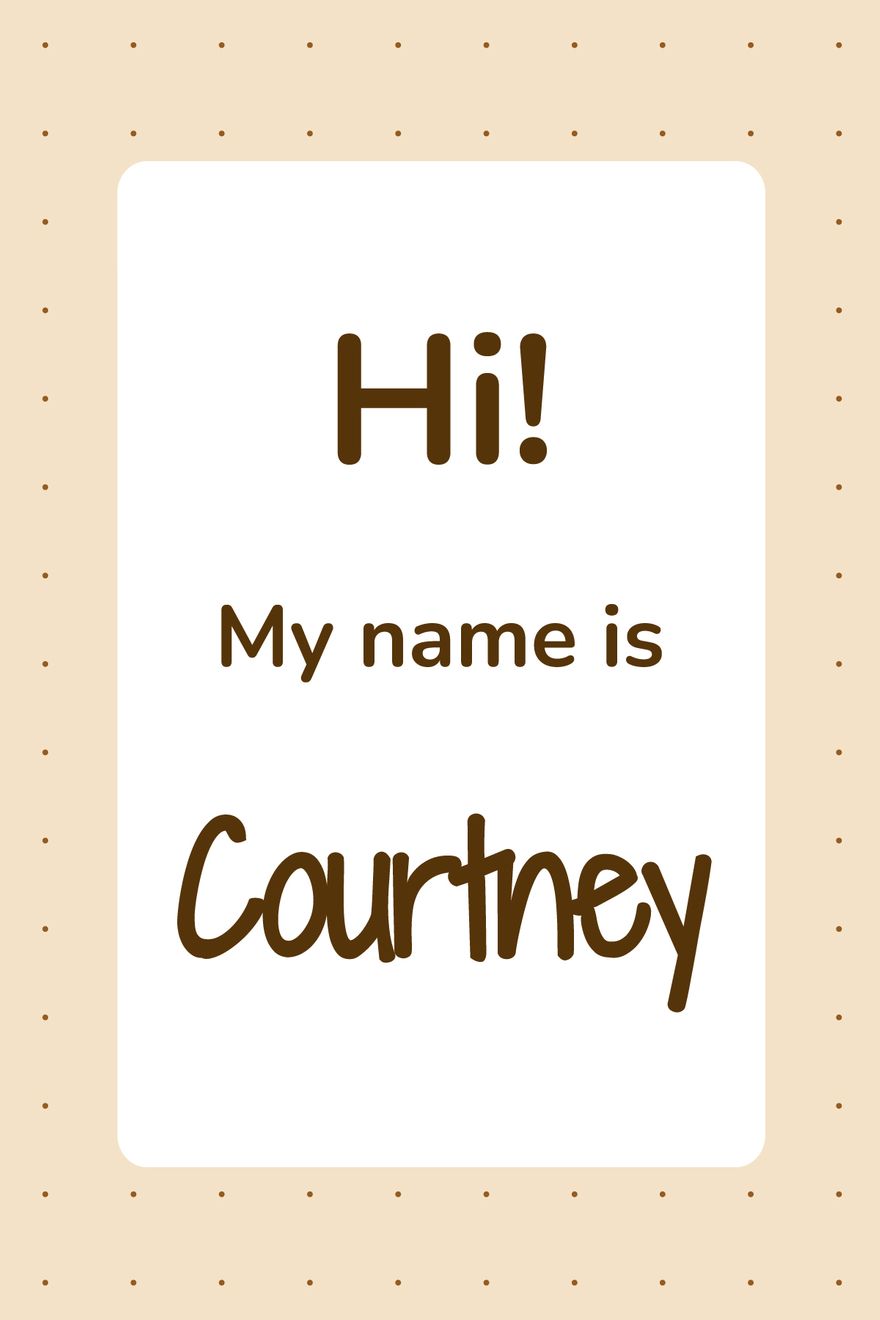
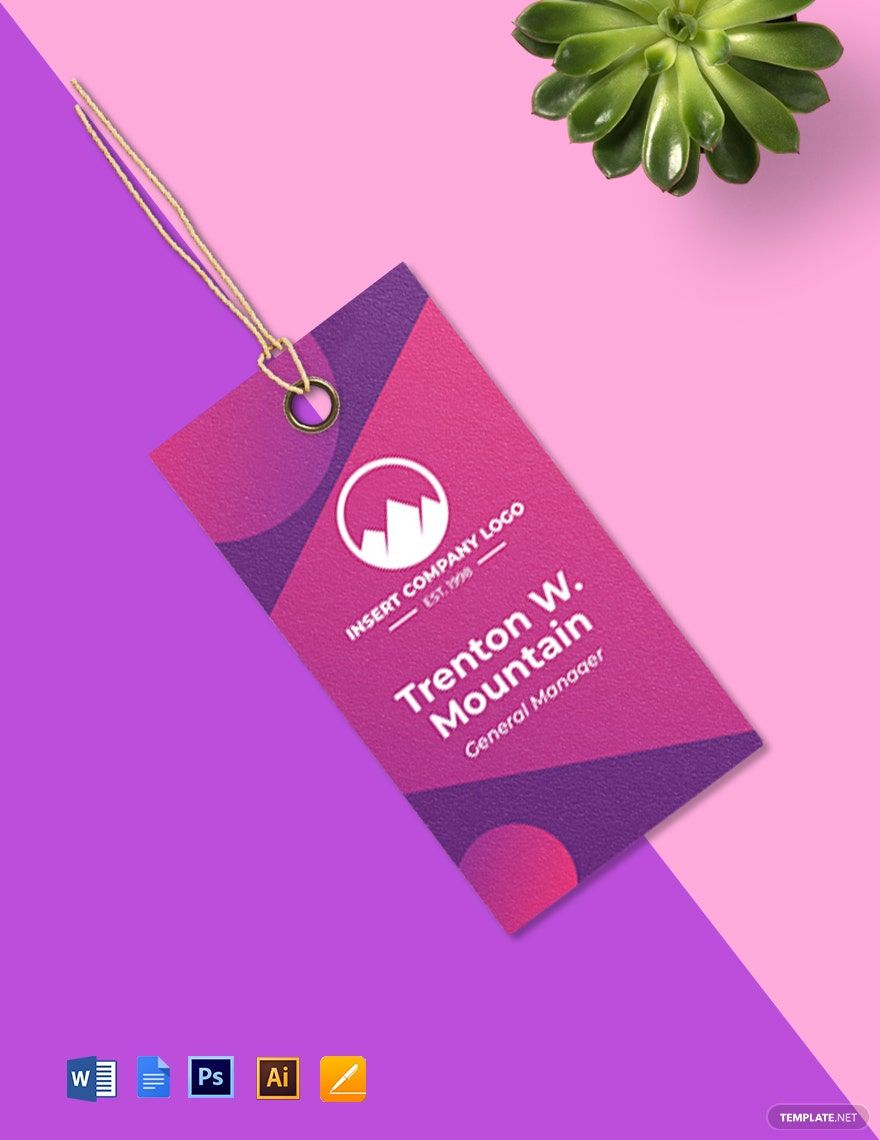
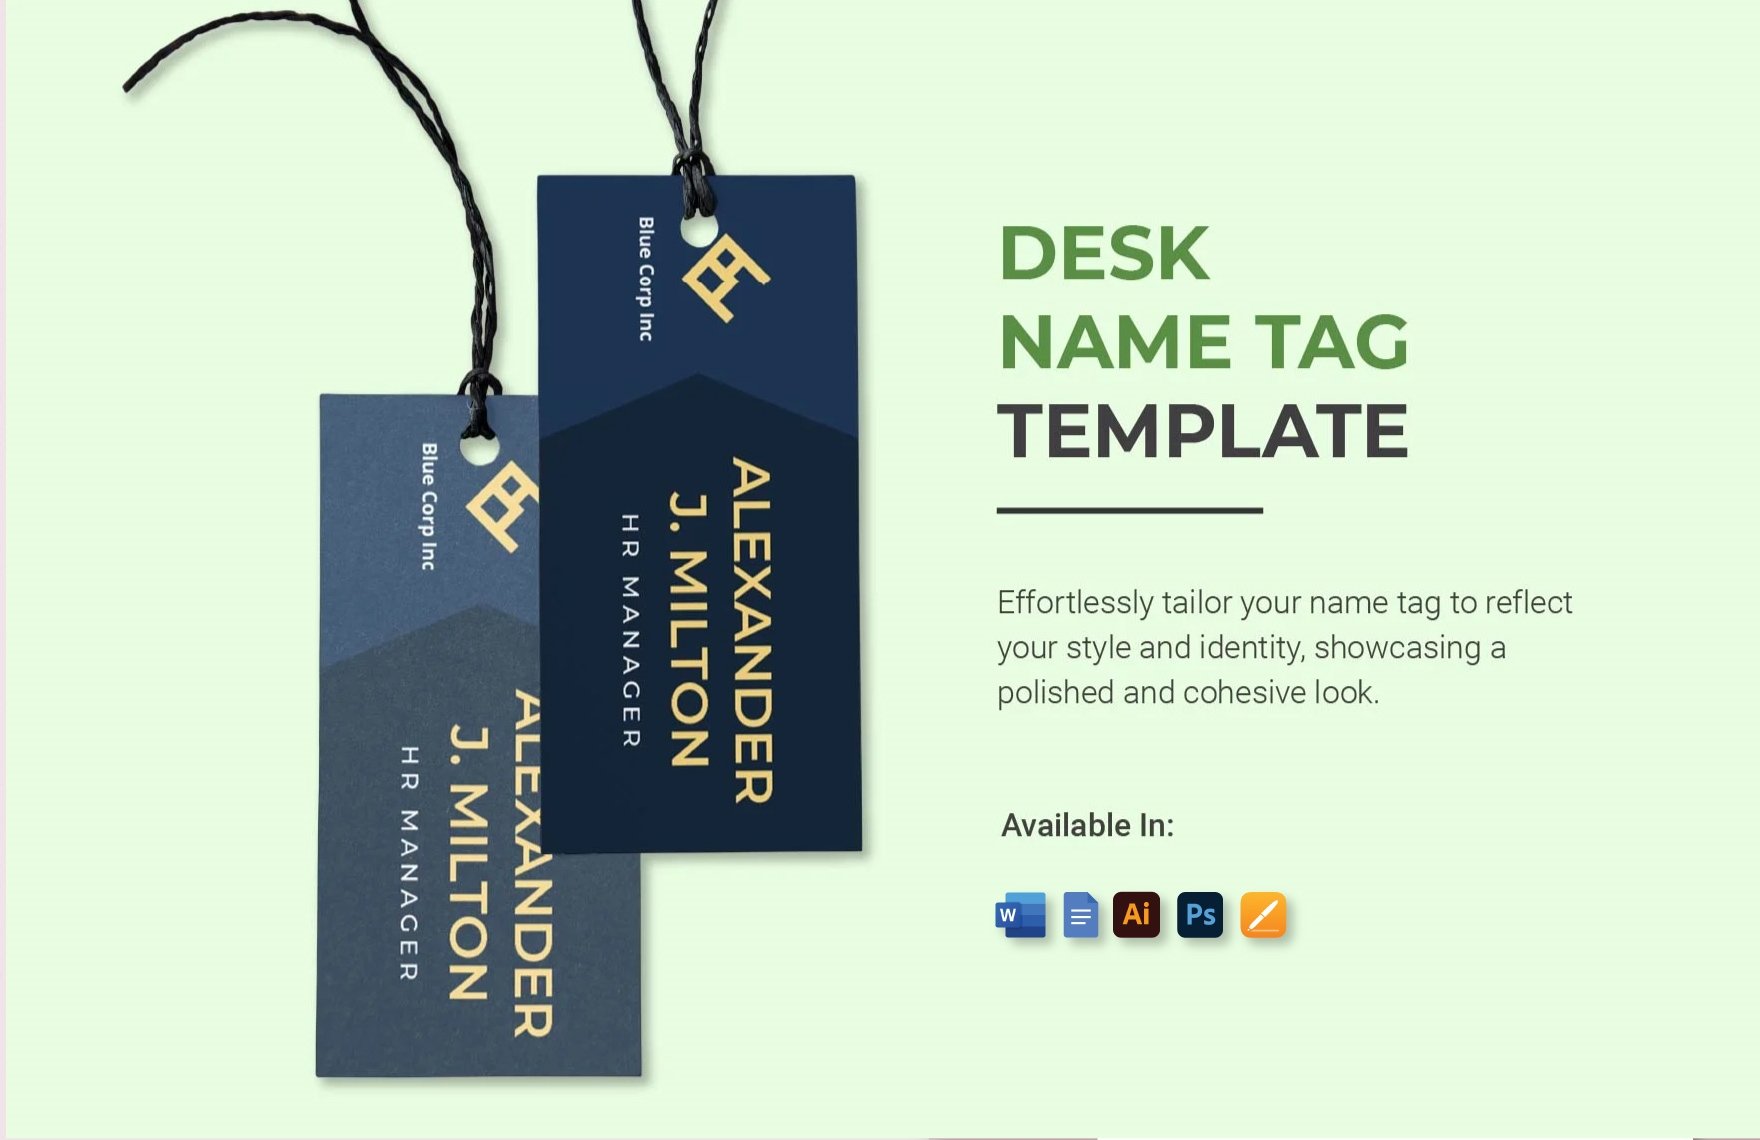
Whether it’s for travel luggage, wedding gifts, or product pricing, you can easily create tags that are both functional and appealing. Are you looking for editable resources to help with your design? Then allow us to help with our 100% customizable Tag Templates. By incorporating our professional content, you can quickly get your tags ready with minimal hassle. And if you need convenient editing software, then you can use our samples in Google Docs. So, download while you can and prepare creative tags in no time!
How to Make Tags in Google Docs
There are all kinds of tags with various functions. Price tags are one example, which can contain information besides the item’s price itself—such as the company, store, etc. (as an article from Chron explains).
Google Docs is a simple and convenient platform for designing tags that are fancy, cute, or however else you want them! Be sure to check out our tips (below) for advice on using Docs.
1. Use Google Docs’ Drawing Feature
Besides text documents, you can also use Docs for putting together your tag designs. To do so, you first need to access its Drawing window.
To open the Drawing window, go to Insert > Drawing before choosing New. A smaller interface will open up, which is where you’ll be designing.
2. Create a Simple Graphic Design
You don’t need a professional graphic designer to make a good-looking printable label. In Docs’ Drawing window, you can design simple yet appealing vector-style graphics by using basic shapes.
In the Drawing window’s upper toolbar, open the Shape menu. In the menu, select a shape and then click-drag across the desired area. Resize the shape by selecting it and click-dragging its blue squares; rotate it by click-dragging its blue circle. And to reposition, click-drag the shape itself to the preferred spot.
3. Add Your Tag’s Written Content
To add names, birthday messages, product prices, and so on, you need text boxes. Click the Text Box option in the toolbar and then click-drag across the preferred area to place a fresh text box. Select the object to type in your content.
Like with your shapes, select the text box and use the blue handles to make adjustments. To format the text, use the options that appear when selecting the text box.
4. Insert Image Files into Your Tag Design
If you need to add logos, photos, or other pictures, click the Image option in the toolbar and then select your desired insert method.
And that’s the end of our tips! You can now design tags for shirts, Christmas gifts, food containers, and more!


