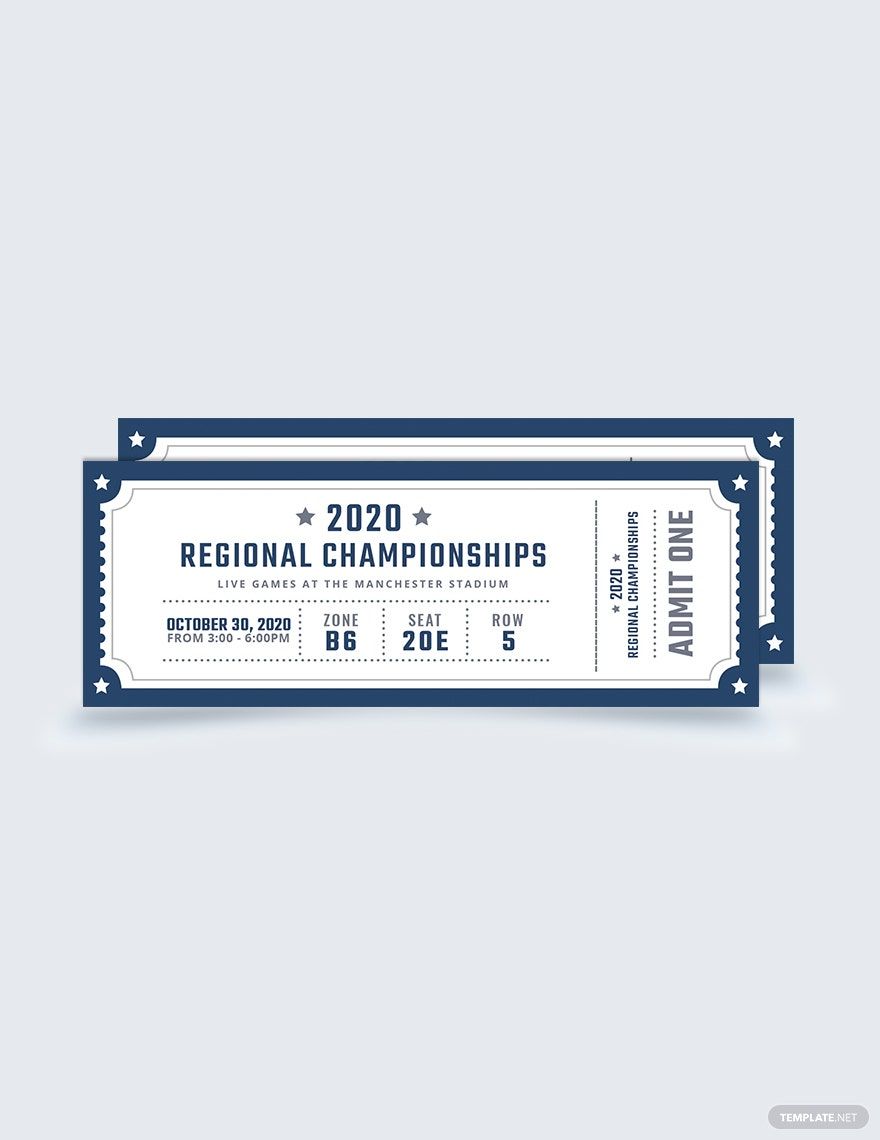
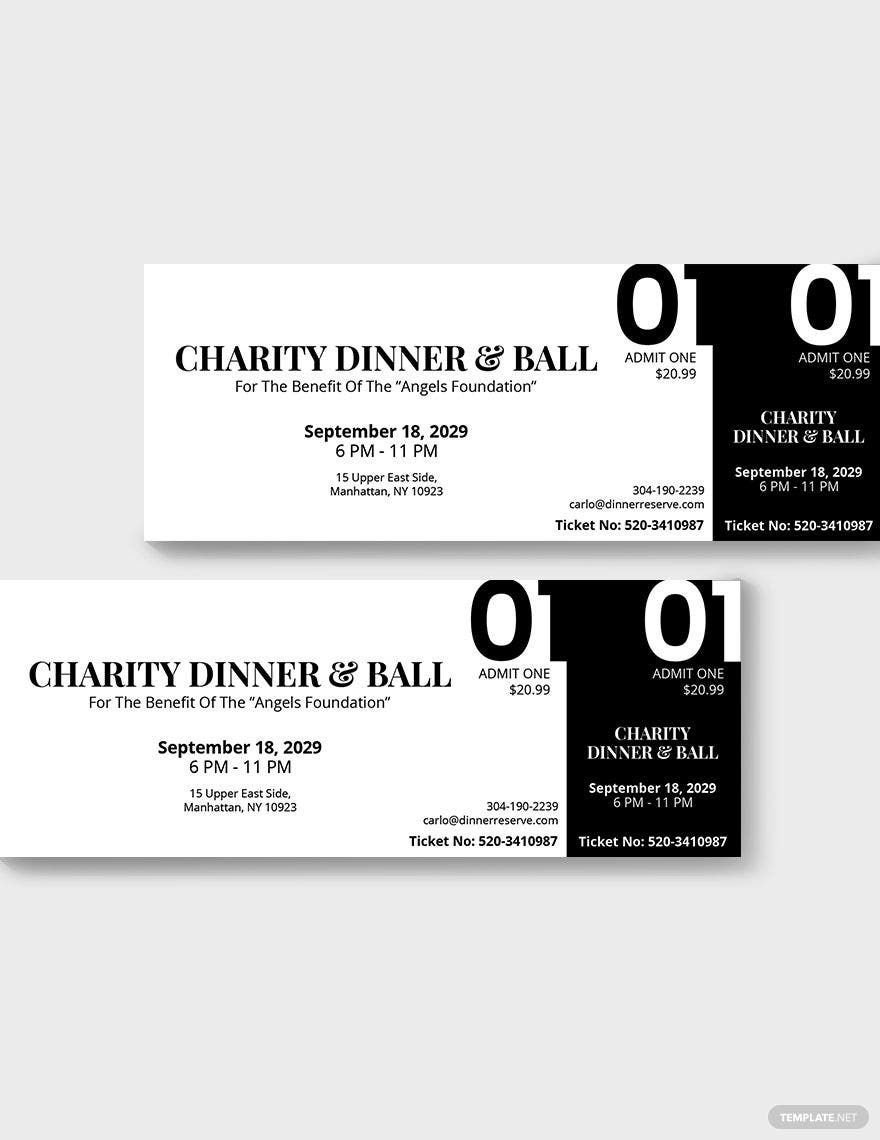
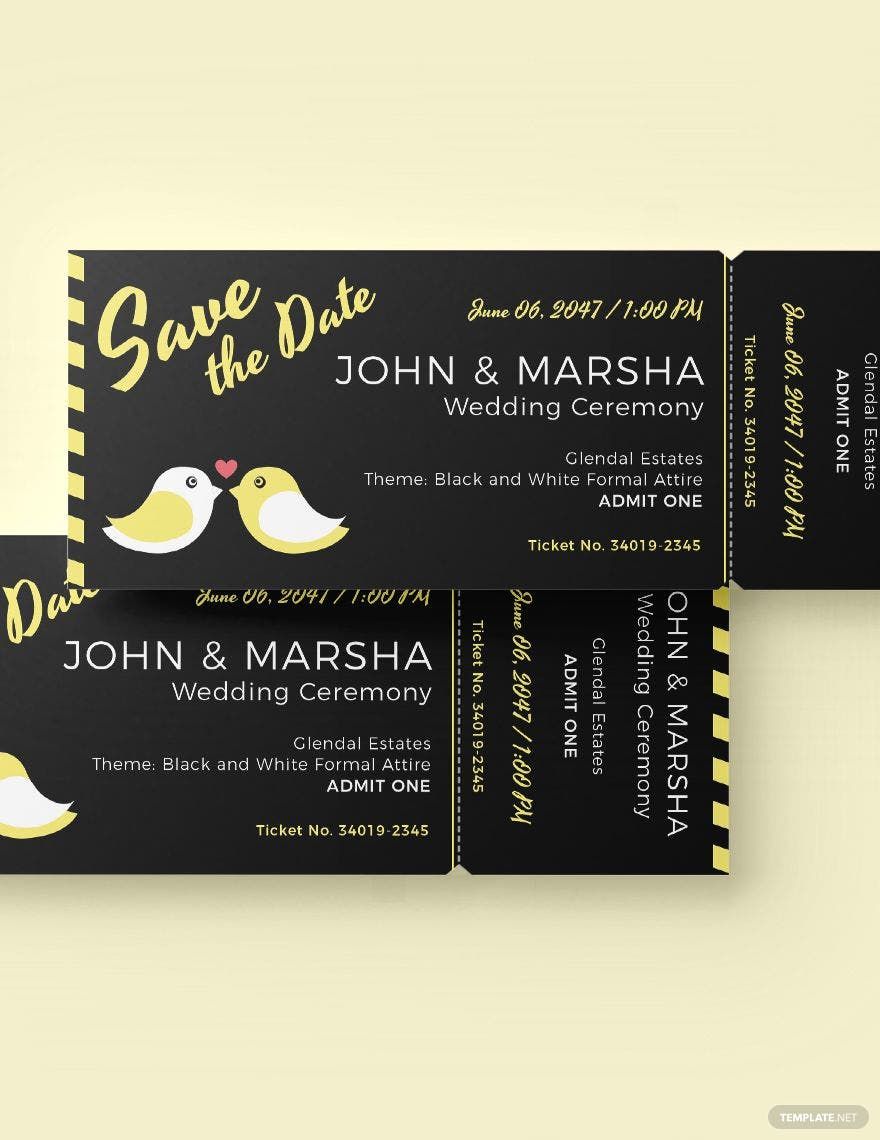
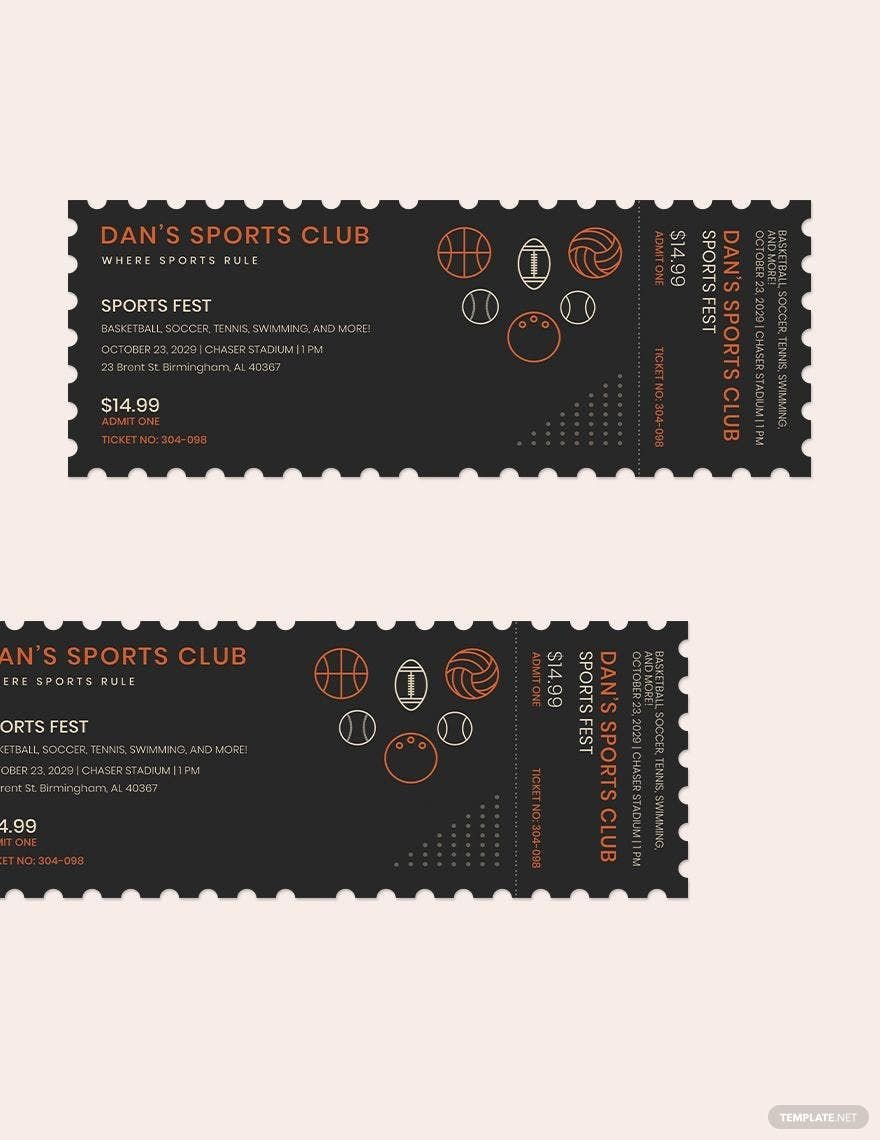
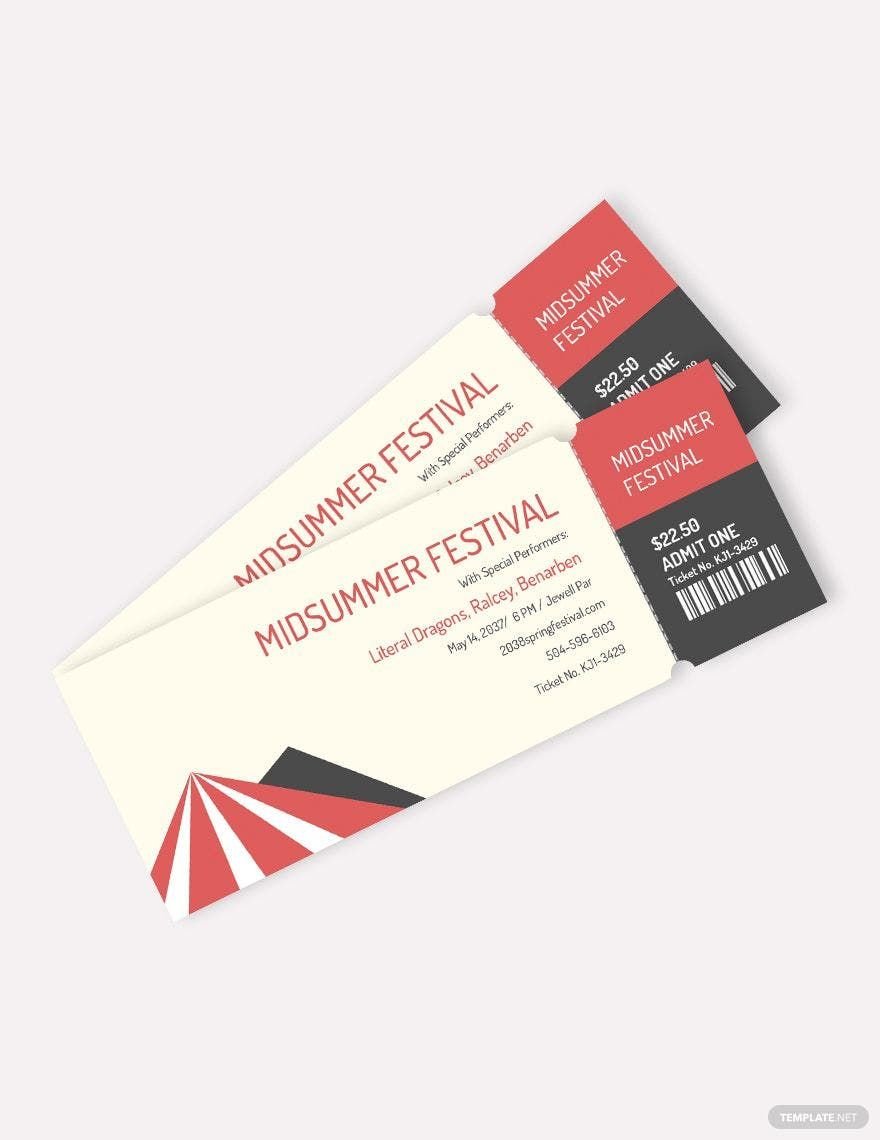
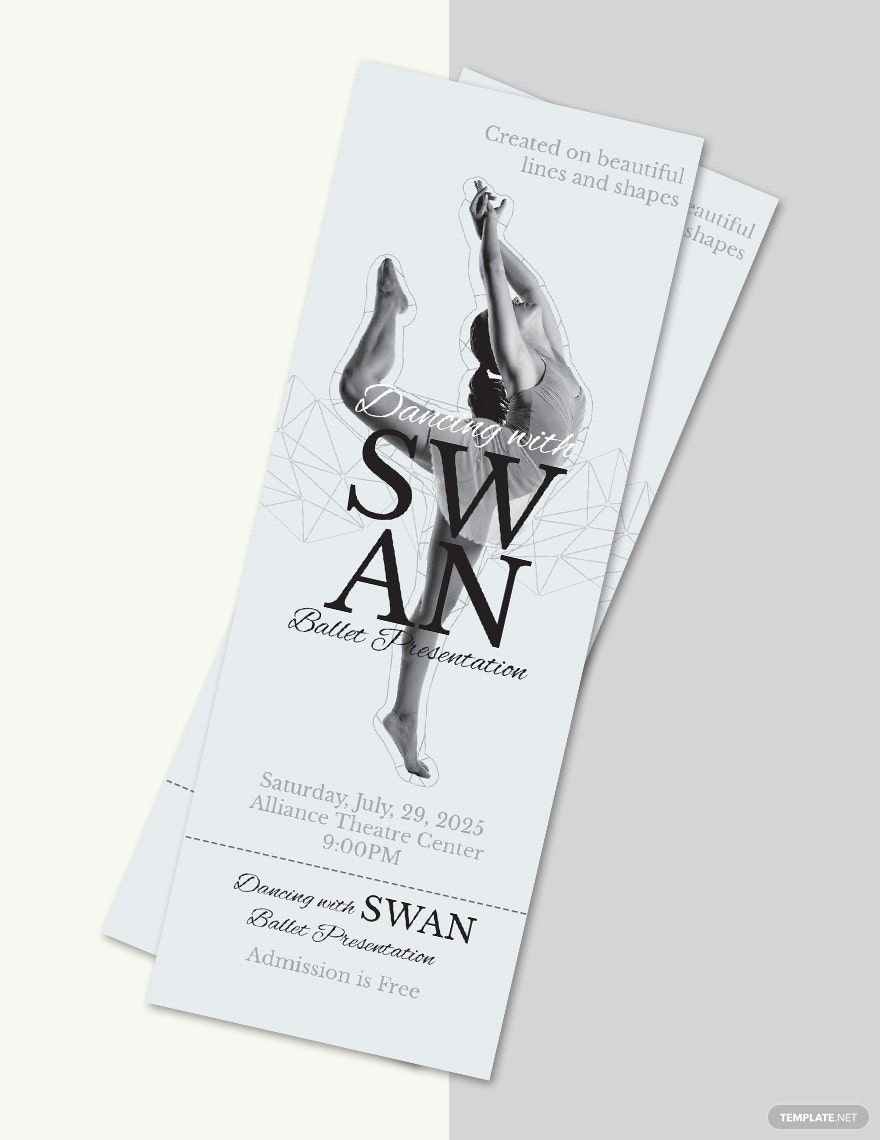
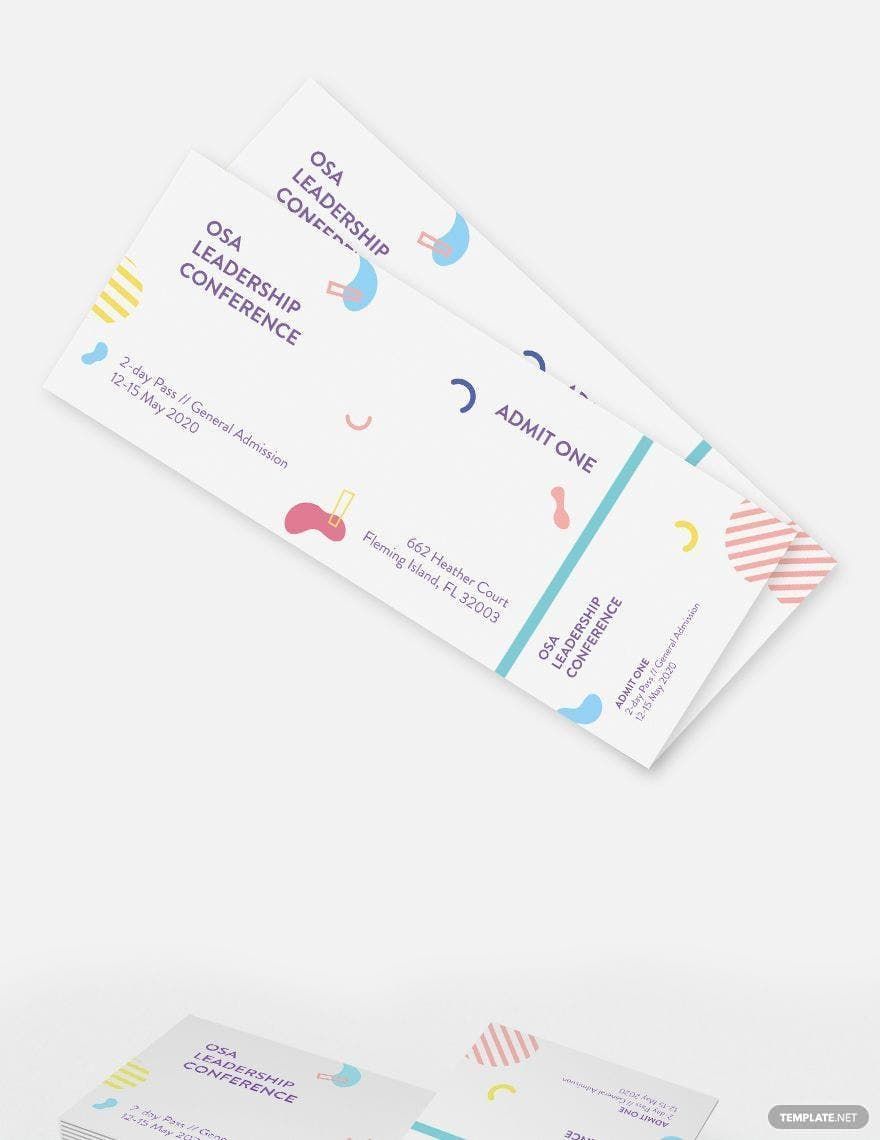
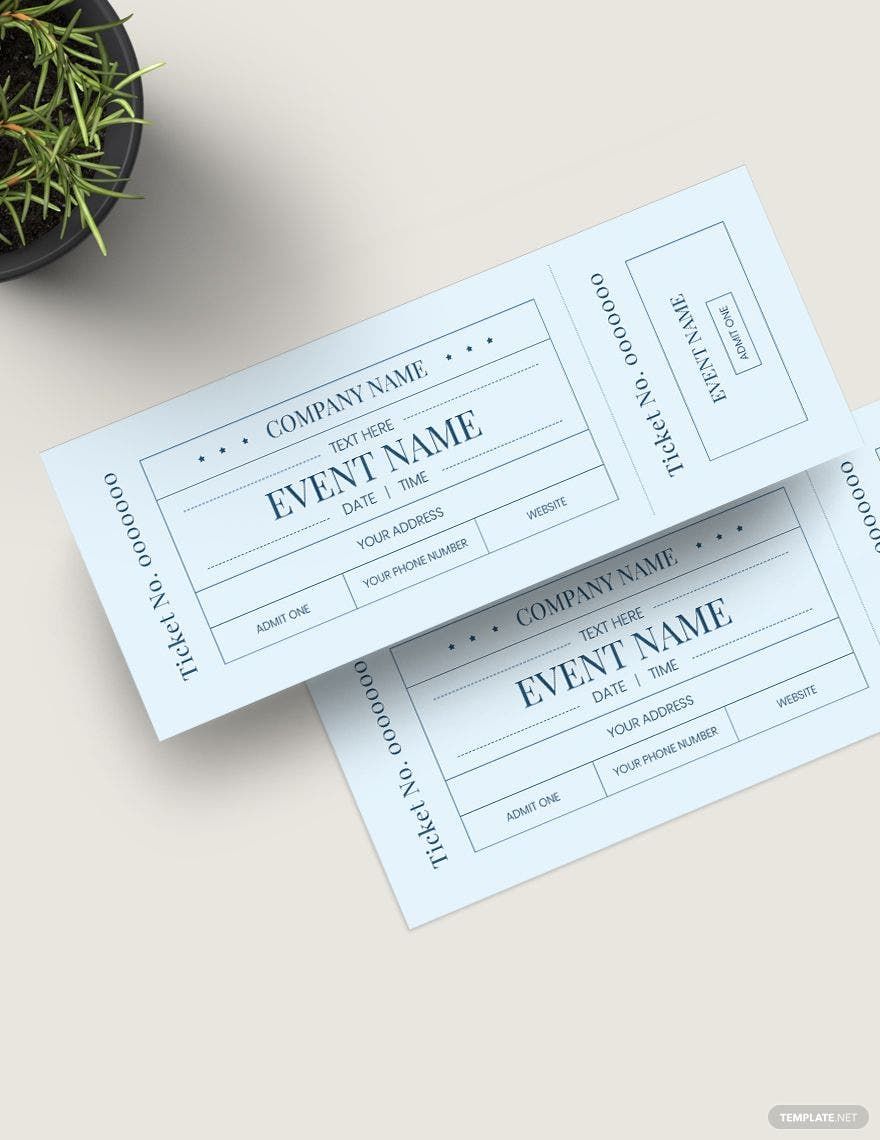
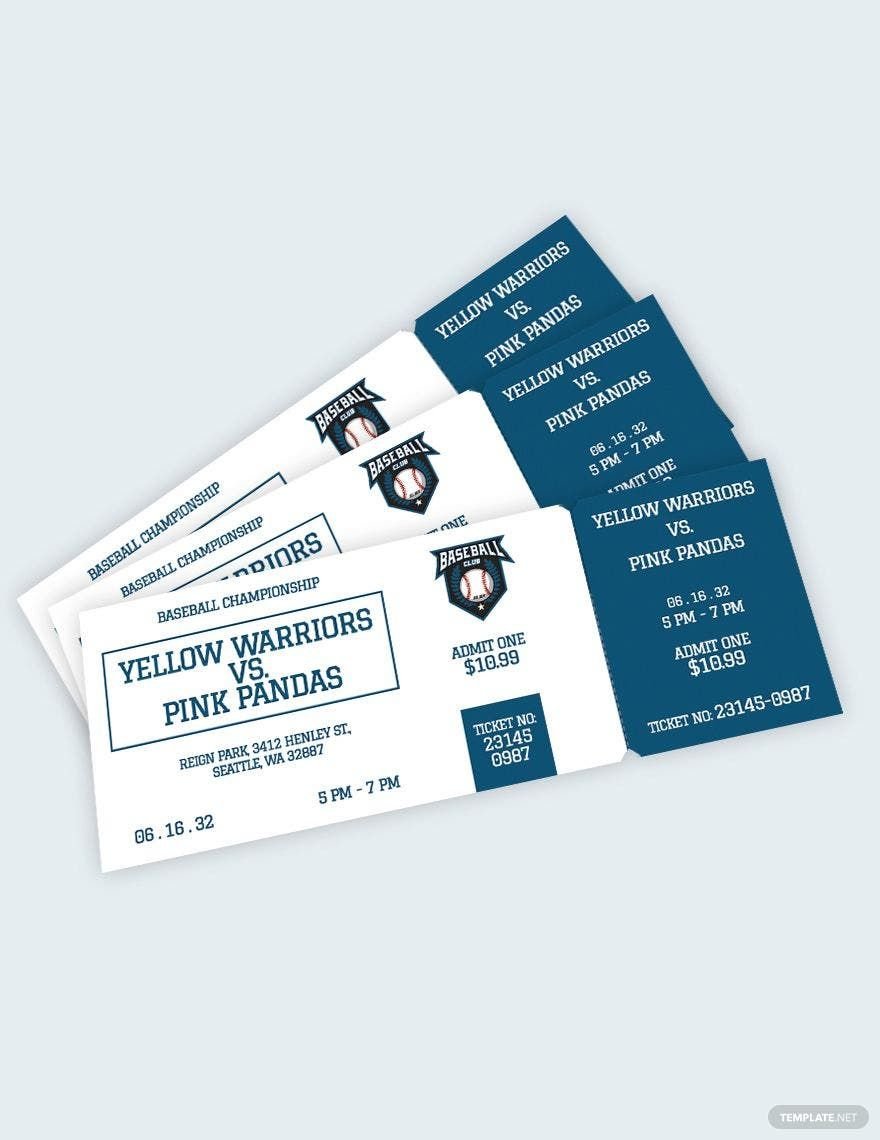
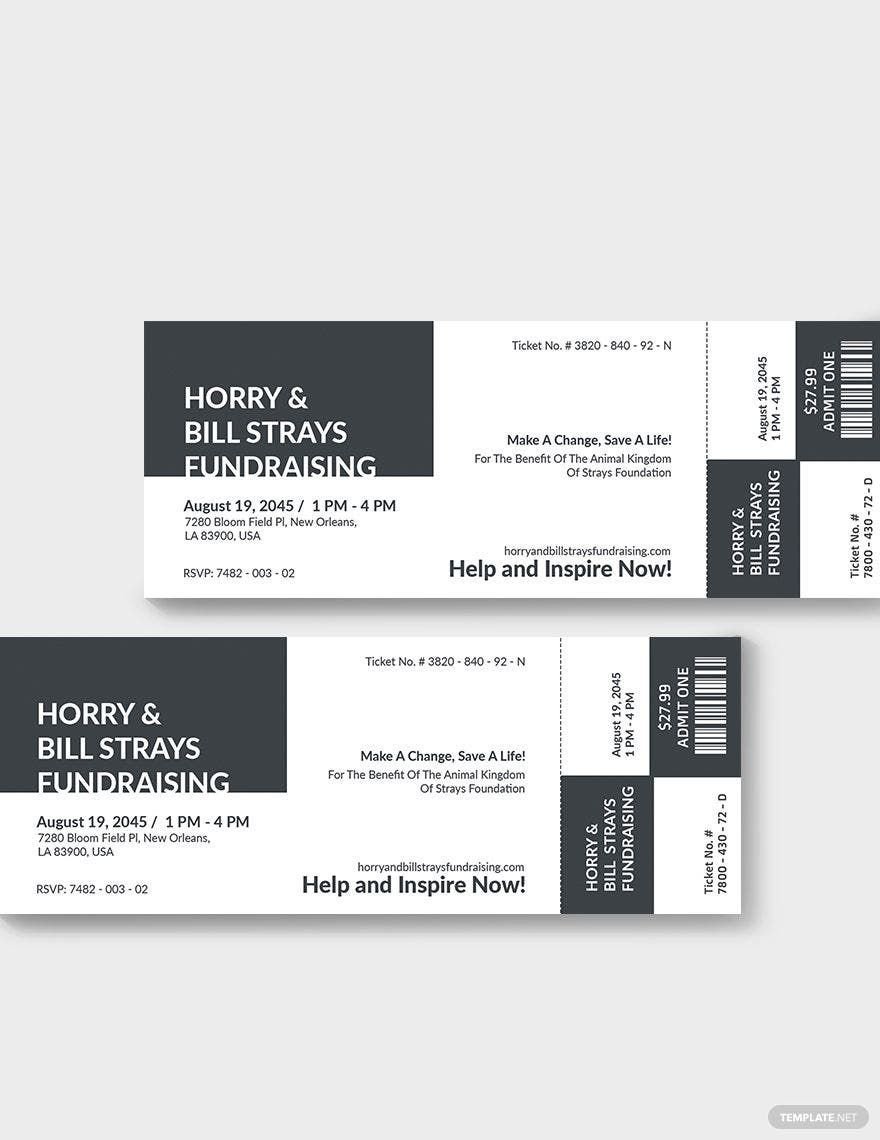
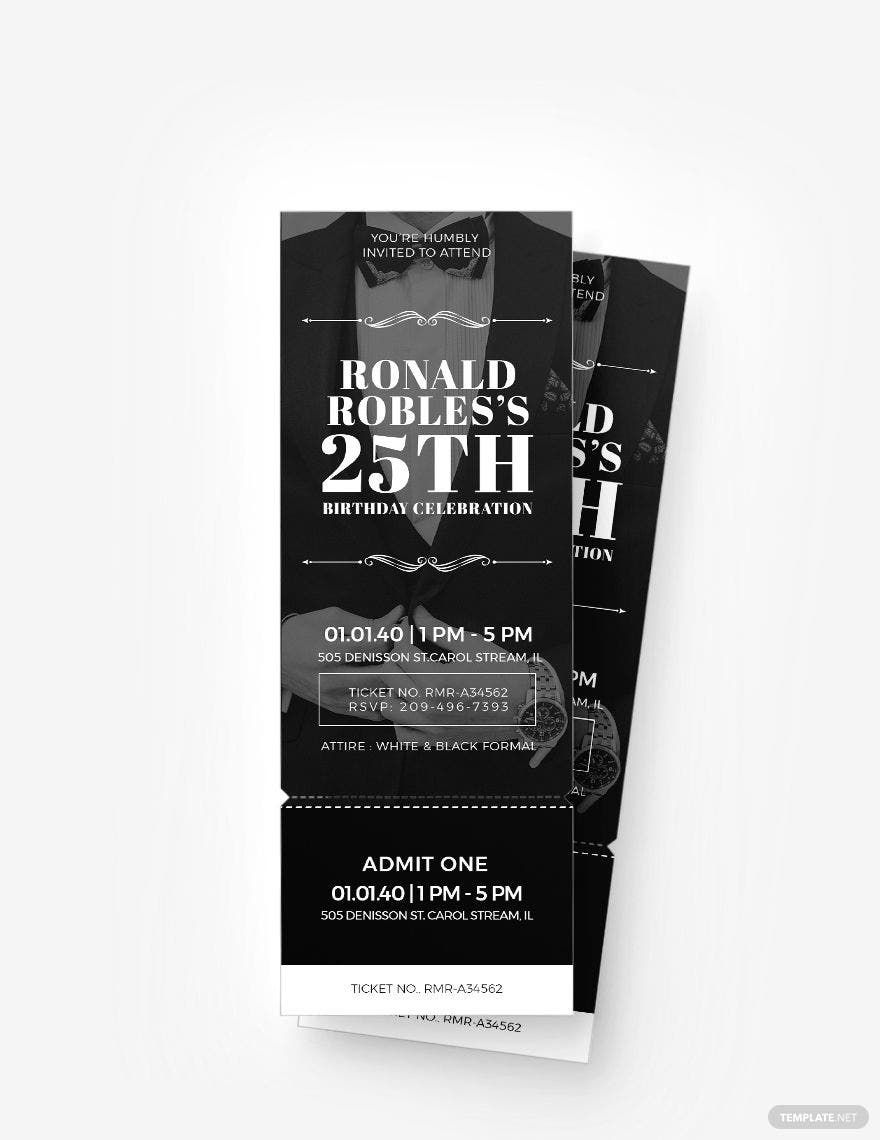
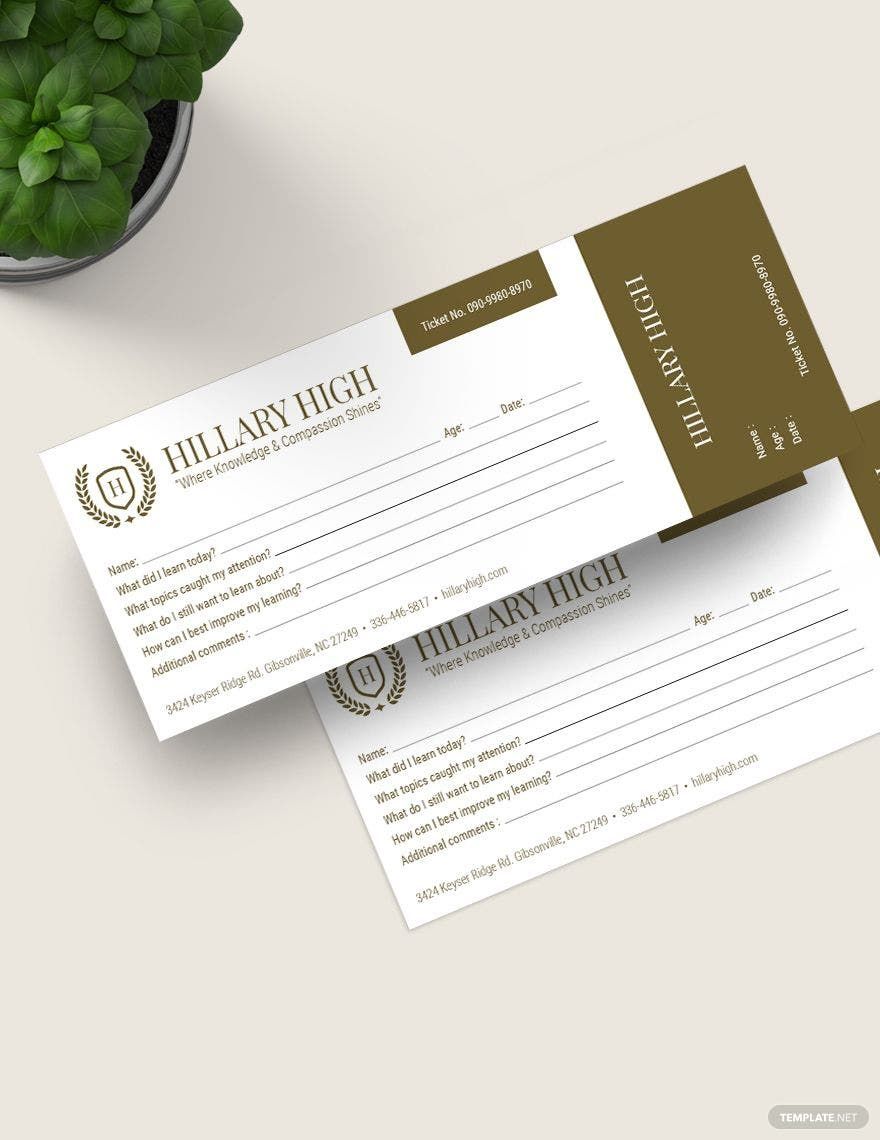
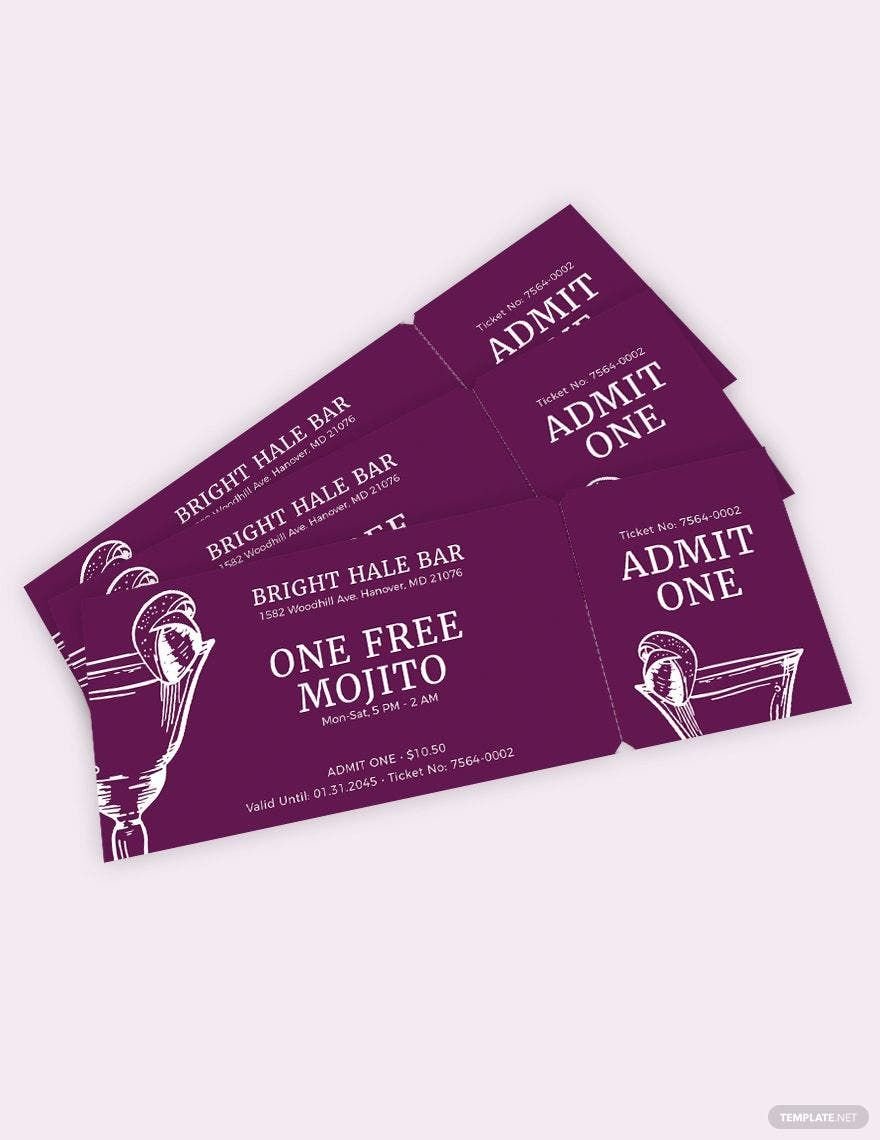
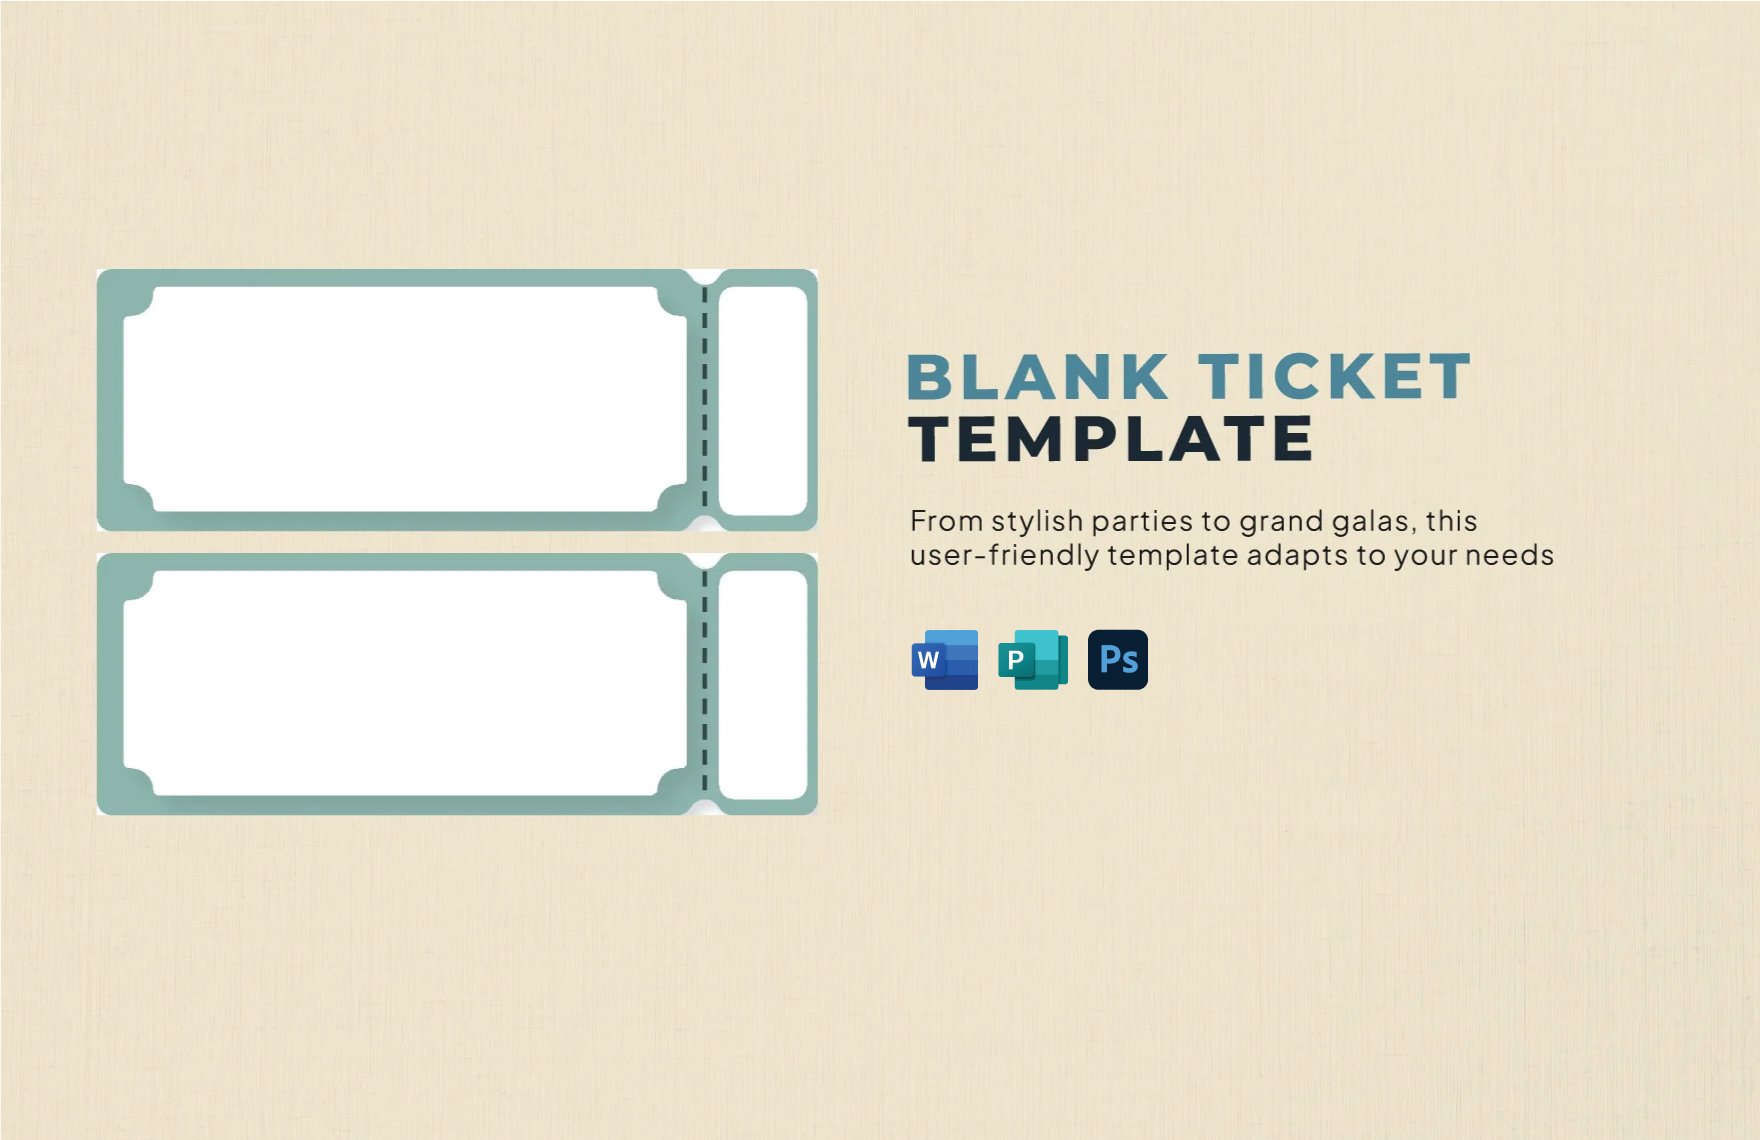
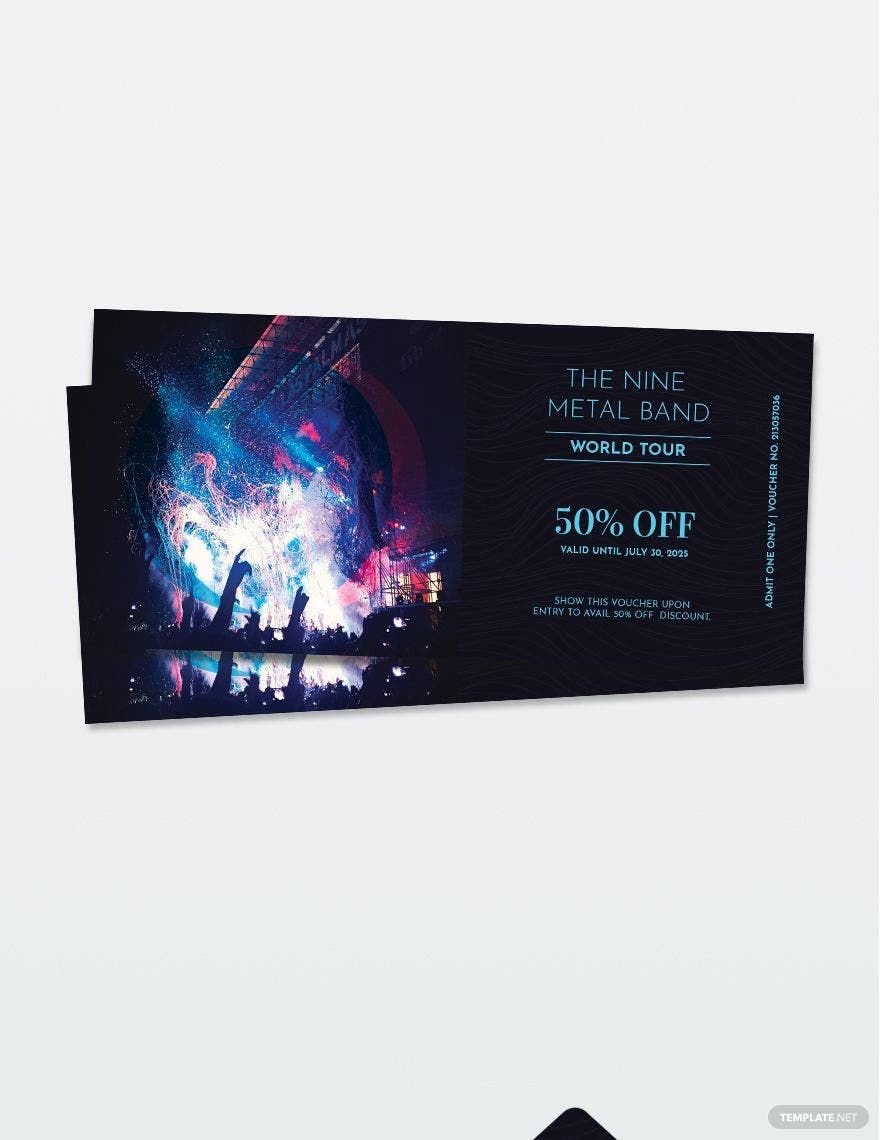
Tickets are what are used by certain individuals to gain access to certain services or to participate in events. So if you were to hold any kind of event, it's best for you to create tickets to keep track of the number of participants that will take part in it. If you're going to make them, then take a look at our Ready-Made Blank Ticket Templates. These highly customizable and easily editable templates can be opened with all versions of Microsoft Word using any device anytime, anywhere. Boost your sales and come up with the best-looking tickets by downloading these templates now!
How to Create a Blank Ticket in Microsoft Word
According to Statista, the United States ticket revenue in events have a total share of $22,811m in 2020, and it is expected to report a 6.5% increase a year that will result in a market volume of more than $29,367 million in 2024. Considering the amount it increases per year, you may want to consider promoting and selling tickets for any of your planned events. Tickets are a great way to invite people to attend an event and they're the best way of keeping track of how many people are participating while also boosting your profits.
The short guide below will teach you the basic steps on how to craft a ticket that will help you gain more participants for your hosted event or organization.
1. Determine the Need for a Ticket
First off, ask yourself why you need tickets. Do you need it for an upcoming party? Are you planning to craft an admission ticket for a movie, circus, or a music event? Identifying the need for a ticket will help you focus on different aspects such as its design and what its contents should be.
2. Put In All the Essential Details
After you have determined the purpose of your ticket, write down all the required ticket details. Tickets commonly contain the same information like the name or purpose of the event, venue, exact date and time, a short message, etc.
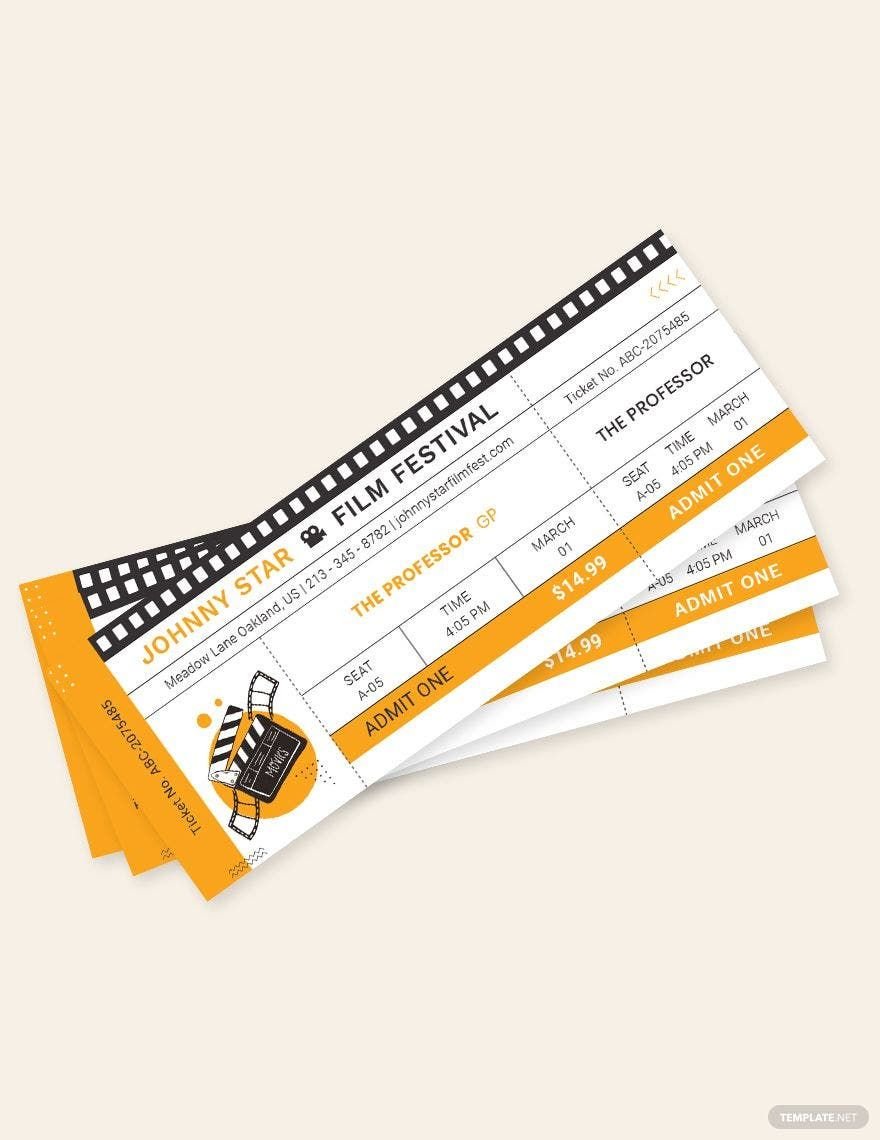
For instance, when creating a movie ticket, include primary details such as the movie title, ticket number, seat number, date, time, location, contact information, and ticket price if it's for sale. Do not put too much information to the point where everything will look disorganized. Keep it brief and easy-to-follow. You will also need to consider the spacing as you want to make sure that the ticket buyers have a comfortable reading experience.
3. Arrange and Design Your Blank Ticket
Professionally designed tickets attract more people to buy them. Make it more appealing by organizing its design elements. Opt for a ticket size that's best for your needs. You may follow the 2.125" x 5.5 standard ticket size, although this is entirely up to you. Make it have a portrait orientation if you think it's going to display only a little information and opt for landscape if it's going to be a lot. If you want to create modern tickets, pick elegant color schemes and typefaces. Observe balance and simplicity; it helps your ticket easy to scan for verification. Additionally, add shapes, lines, and borders to classify other details.
4. Add Security Features
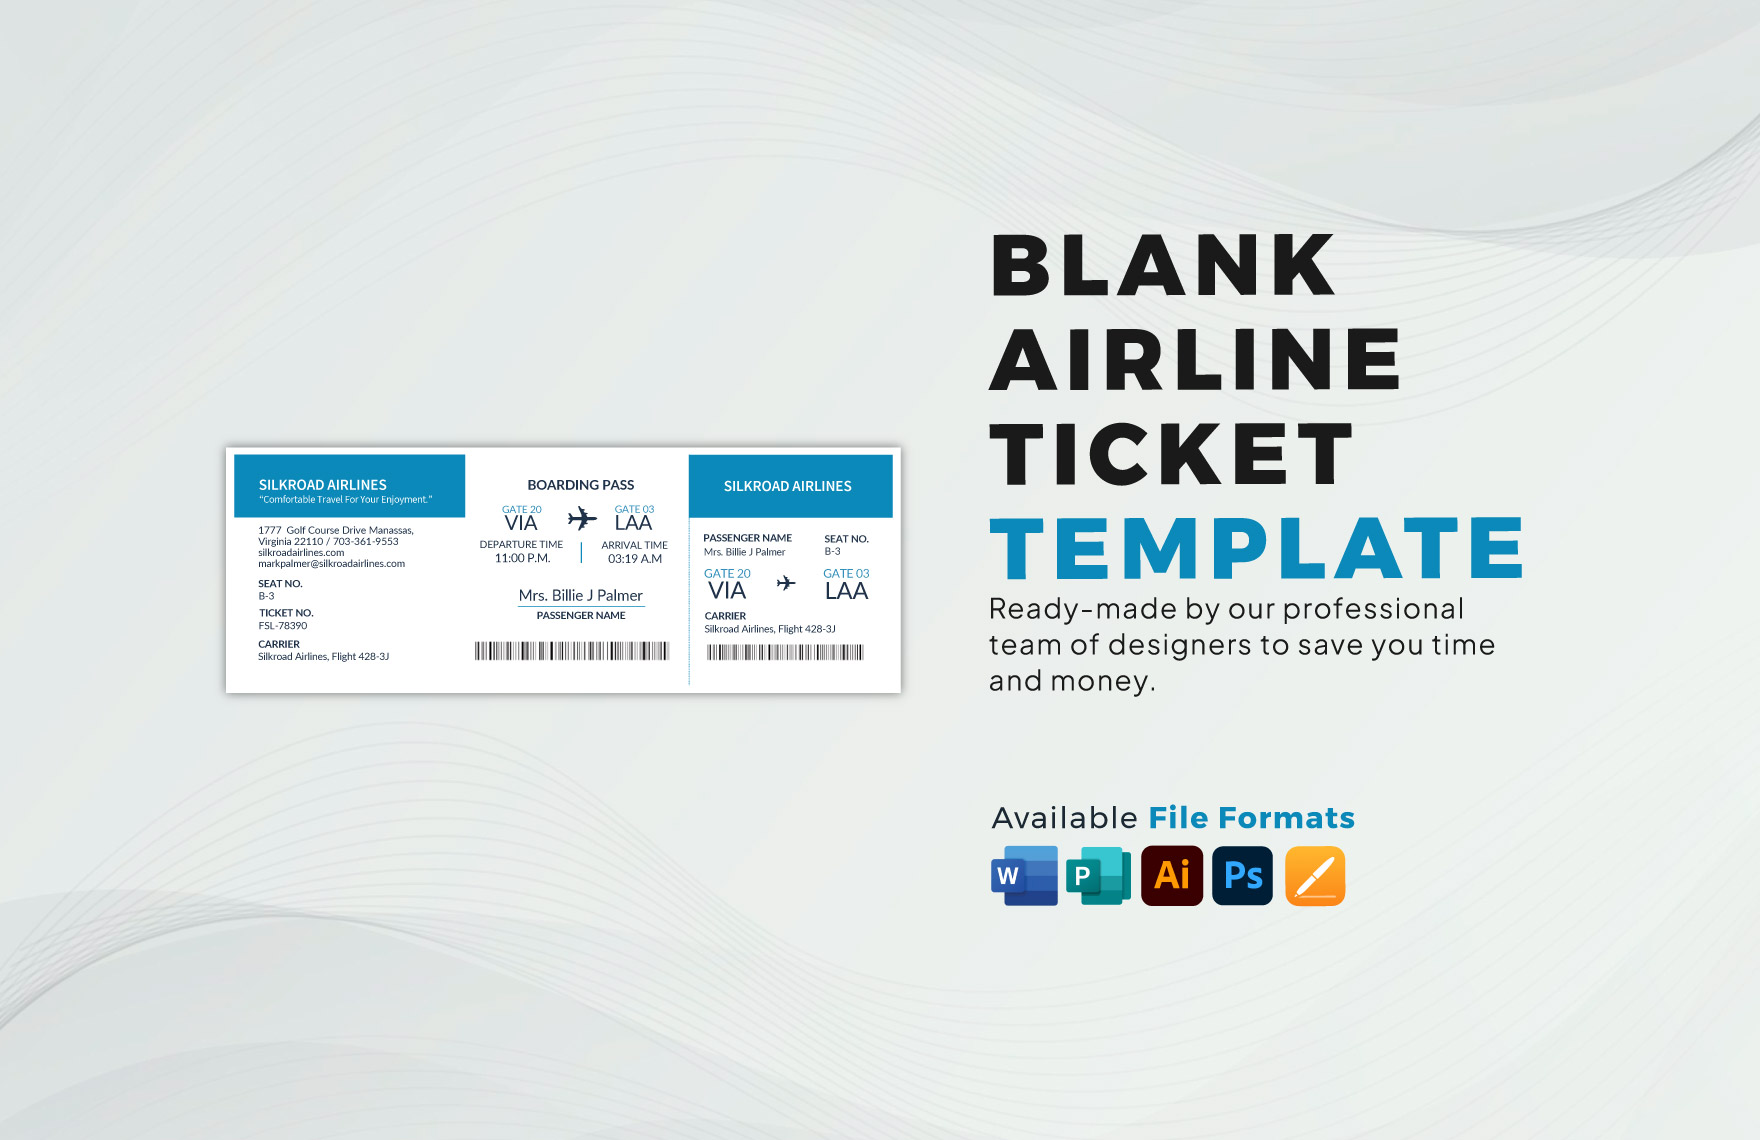
Did you know that over five million people are scammed by fake tickets annually? According to Digital Music News, these are usually due to people purchasing counterfeit tickets for concerts and sporting events. To help you prevent this devastating situation, incorporate ticket security features. How? Add unique barcodes. Doing so others from producing fake tickets. You may also opt for alternatives like UV security, gloss marks, etc.
5. Download a Ready-Made Blank Ticket Template
Creating a ticket design from scratch is a doable task, but doing so results in you consuming more of your time; this is something that you want to avoid if you need to make them as soon as possible. Don't worry as we got your back! Check out our sample ticket templates to make tickets as soon as you need them. Know that the ones we have available are all downloadable and customizable in all versions of Microsoft Word to suit your preferences. Once you're done, verify the ticket to avoid errors. Print them with sturdy and thick card stock to ensure that they're of high quality.