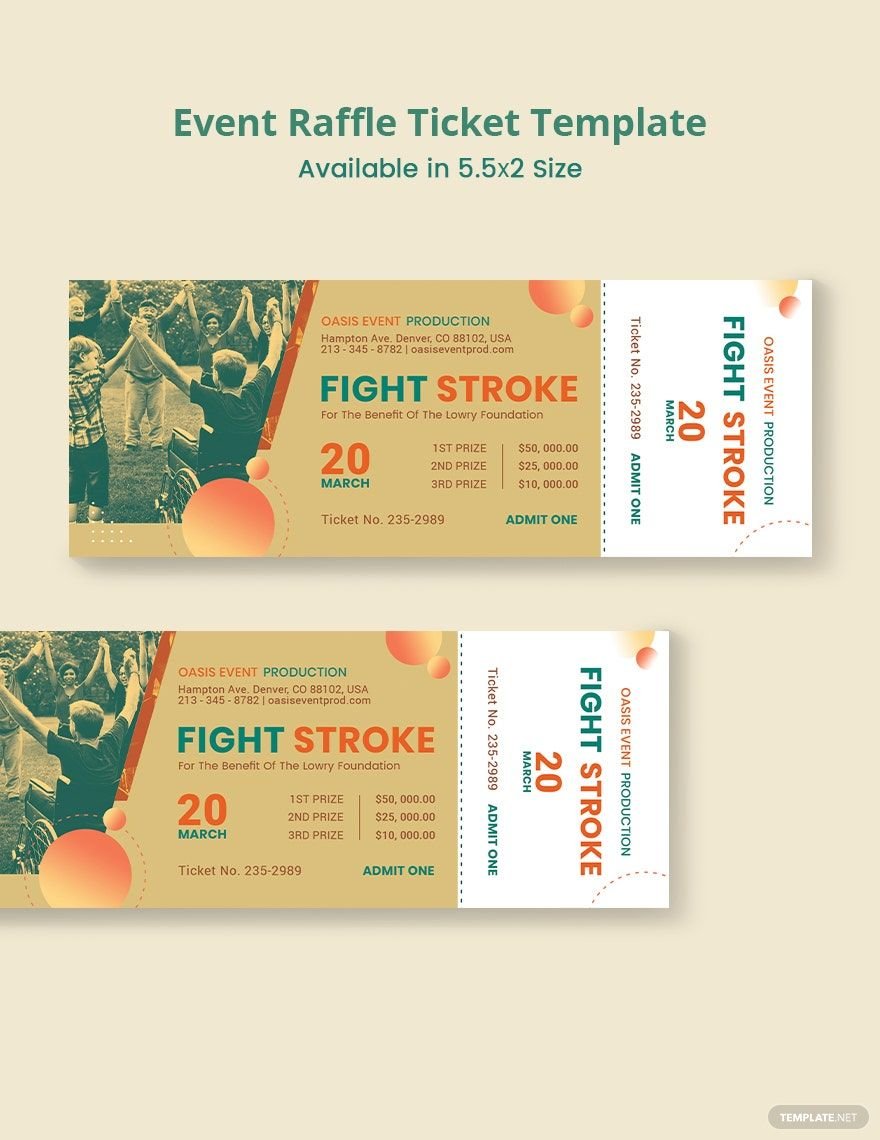
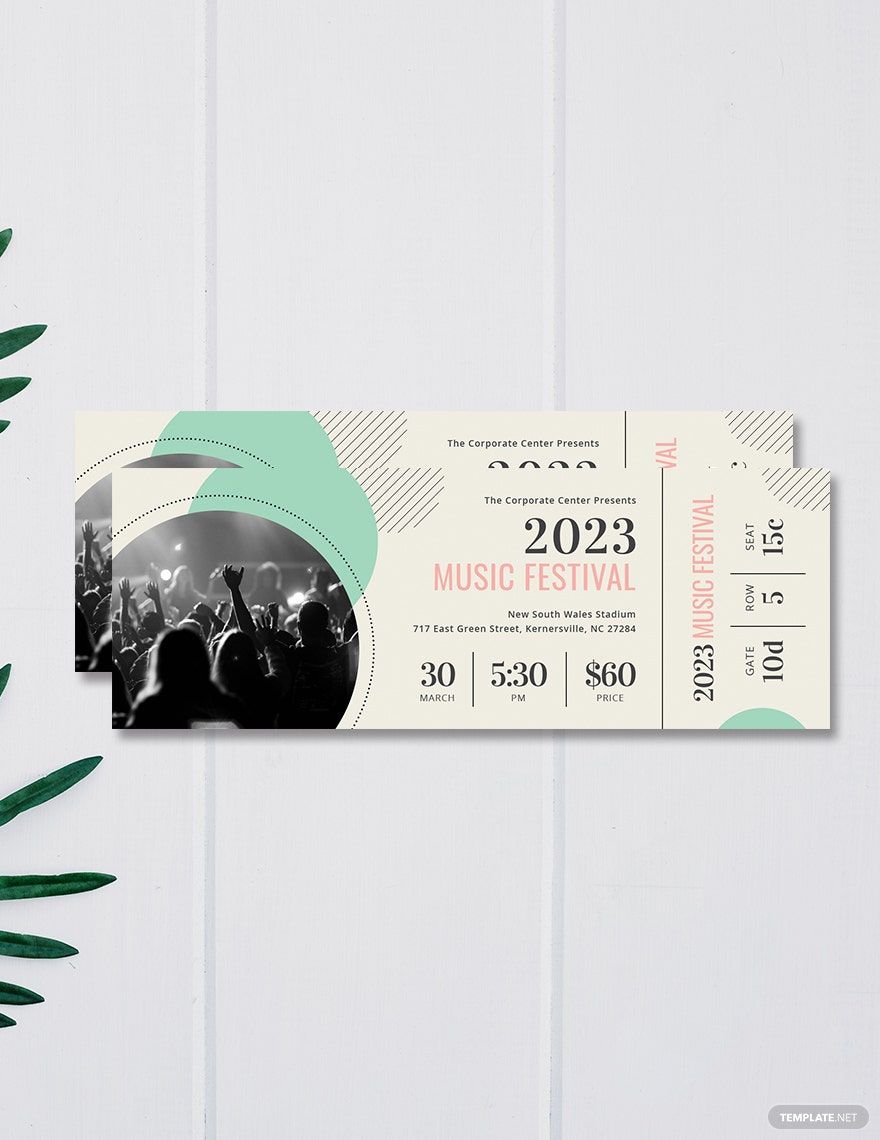
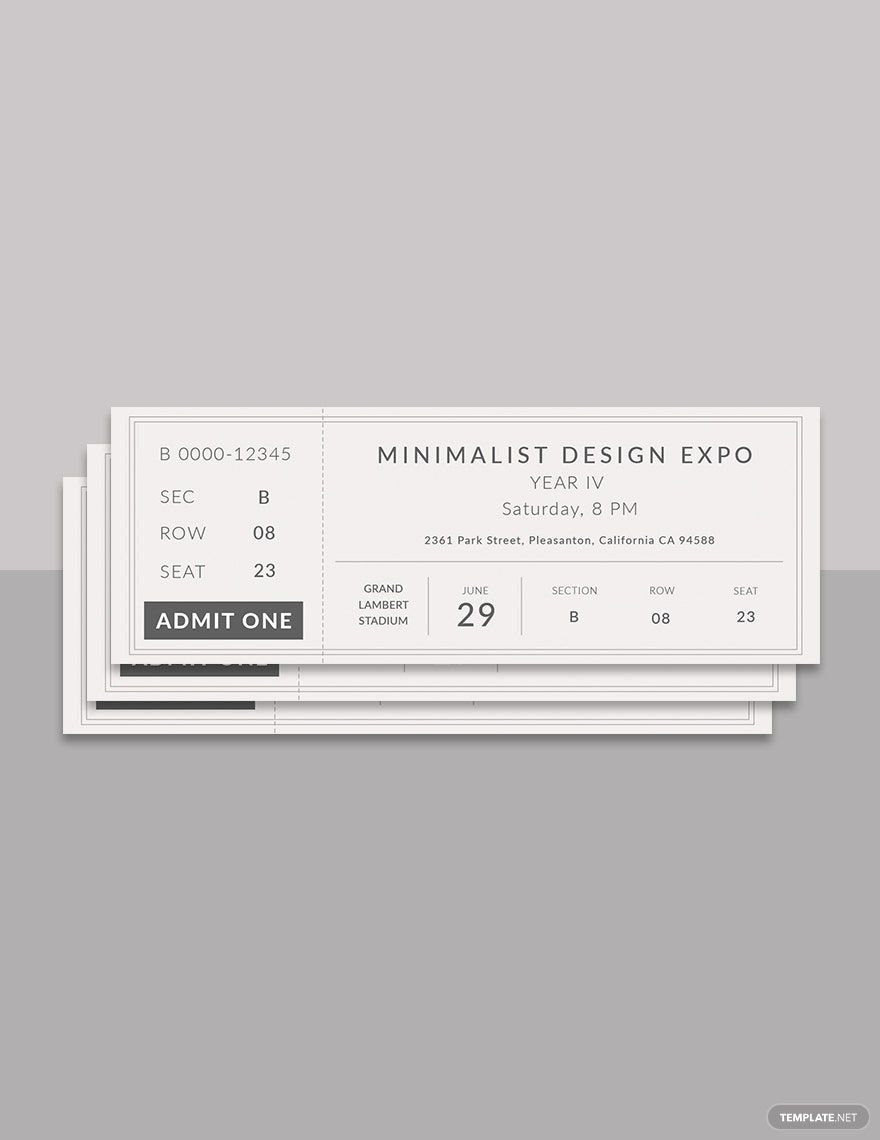
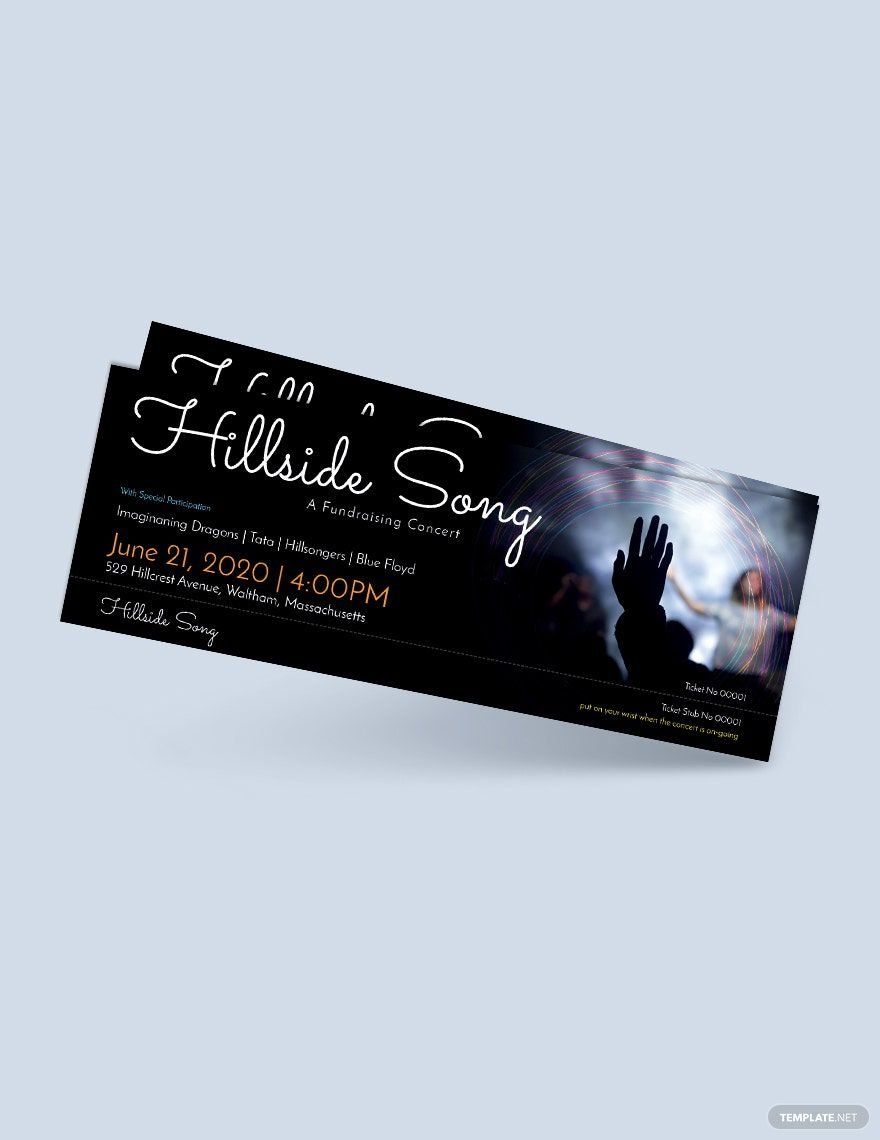
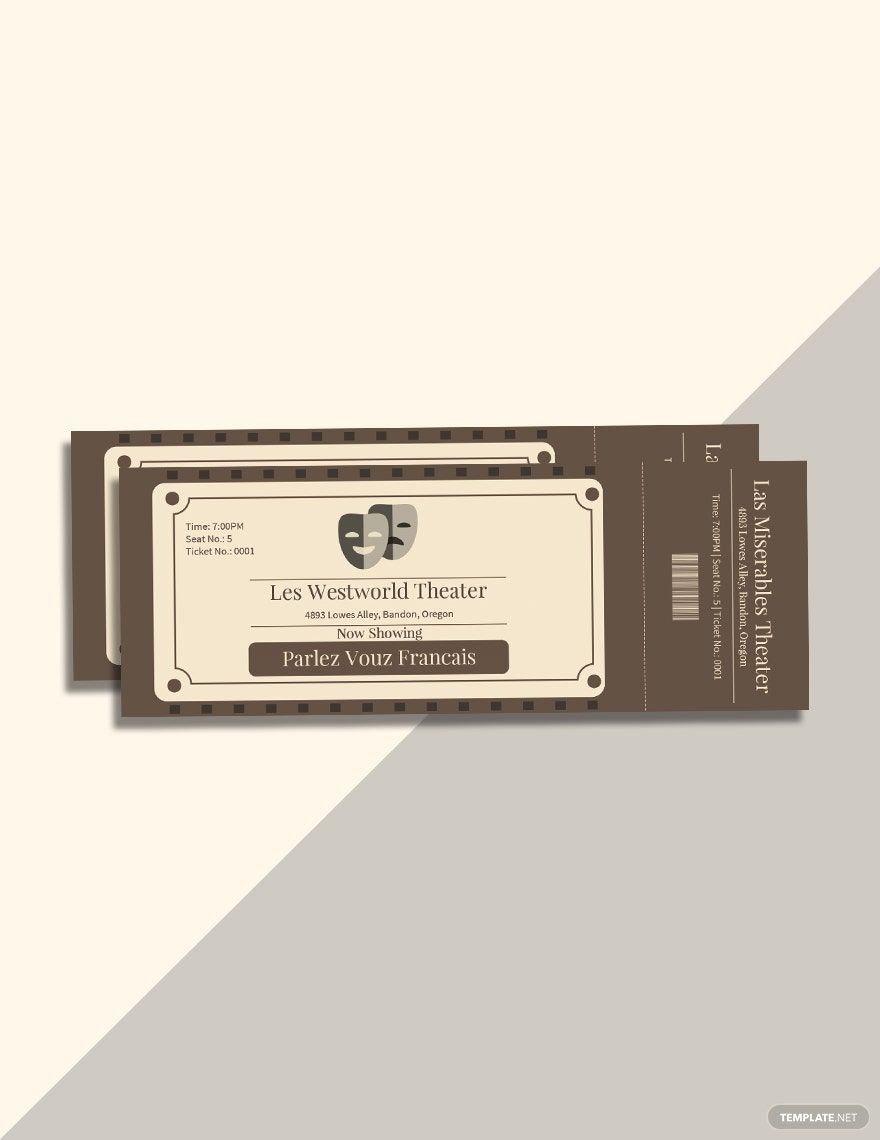
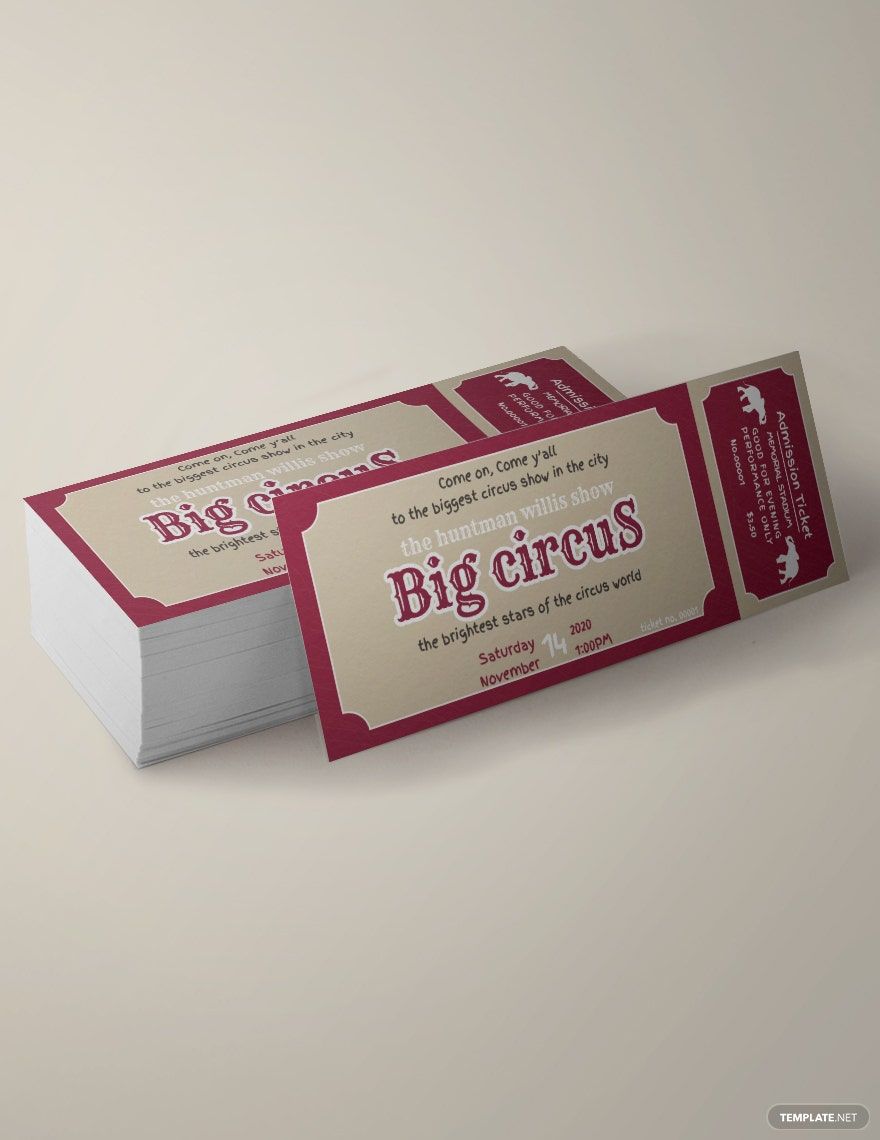
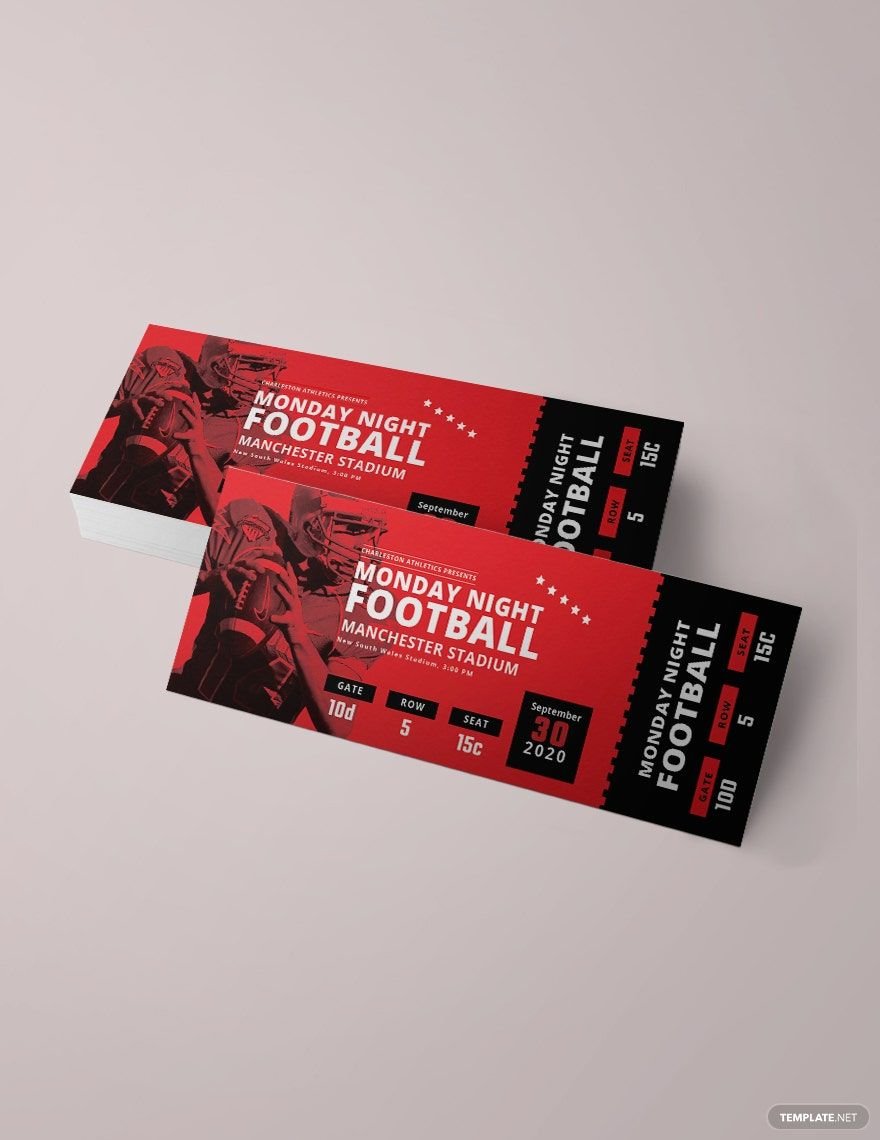
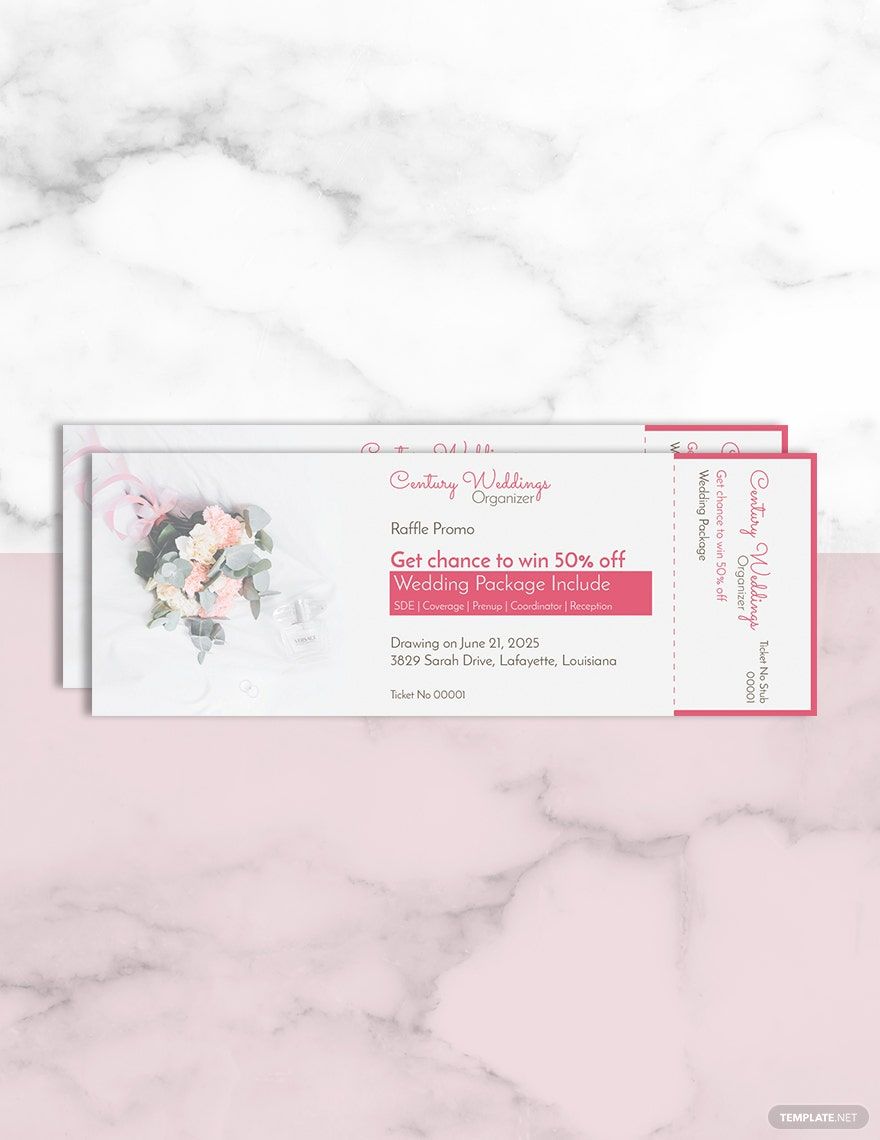
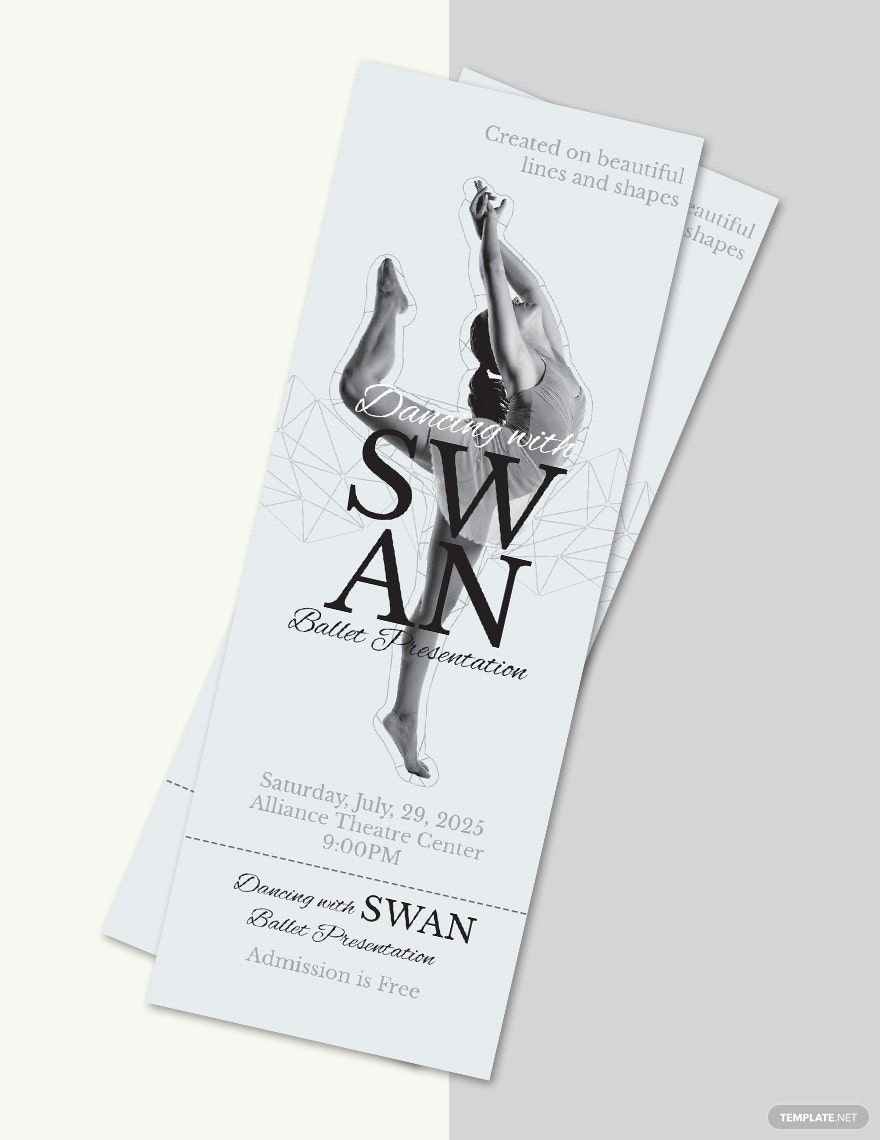
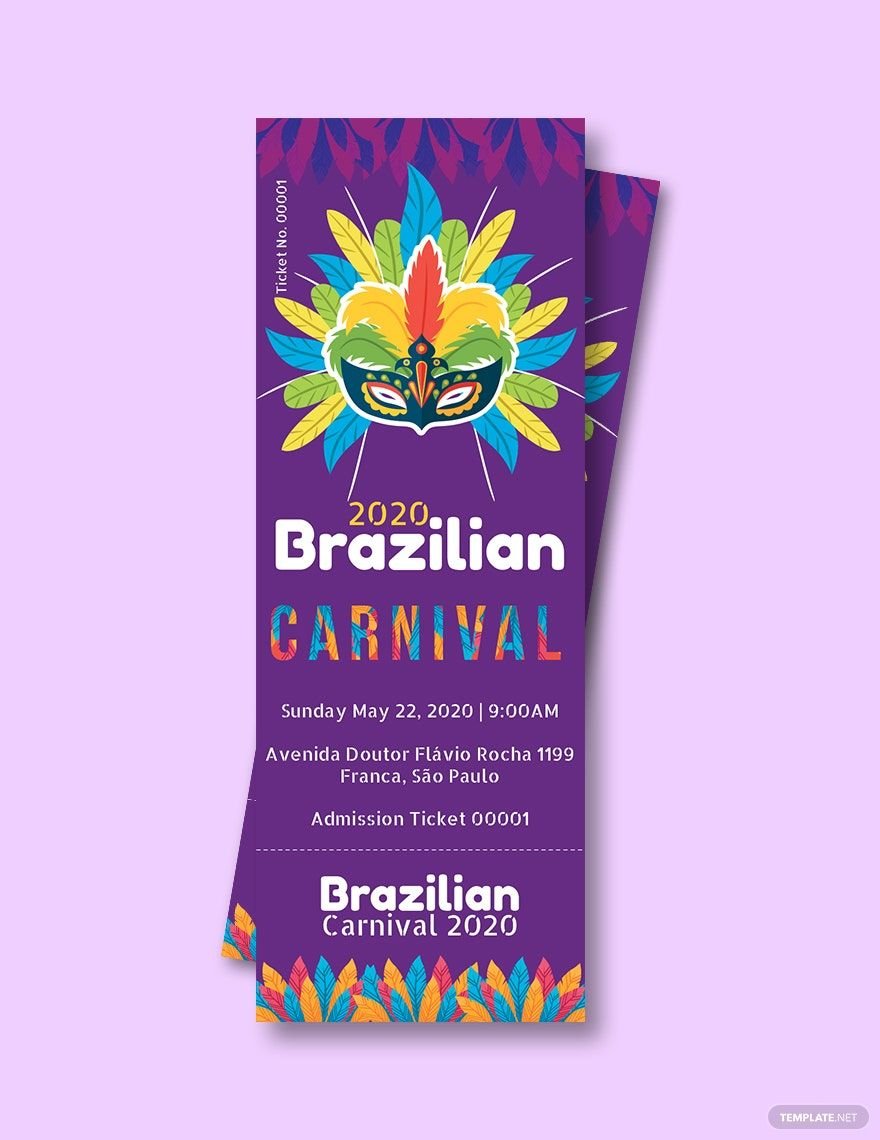
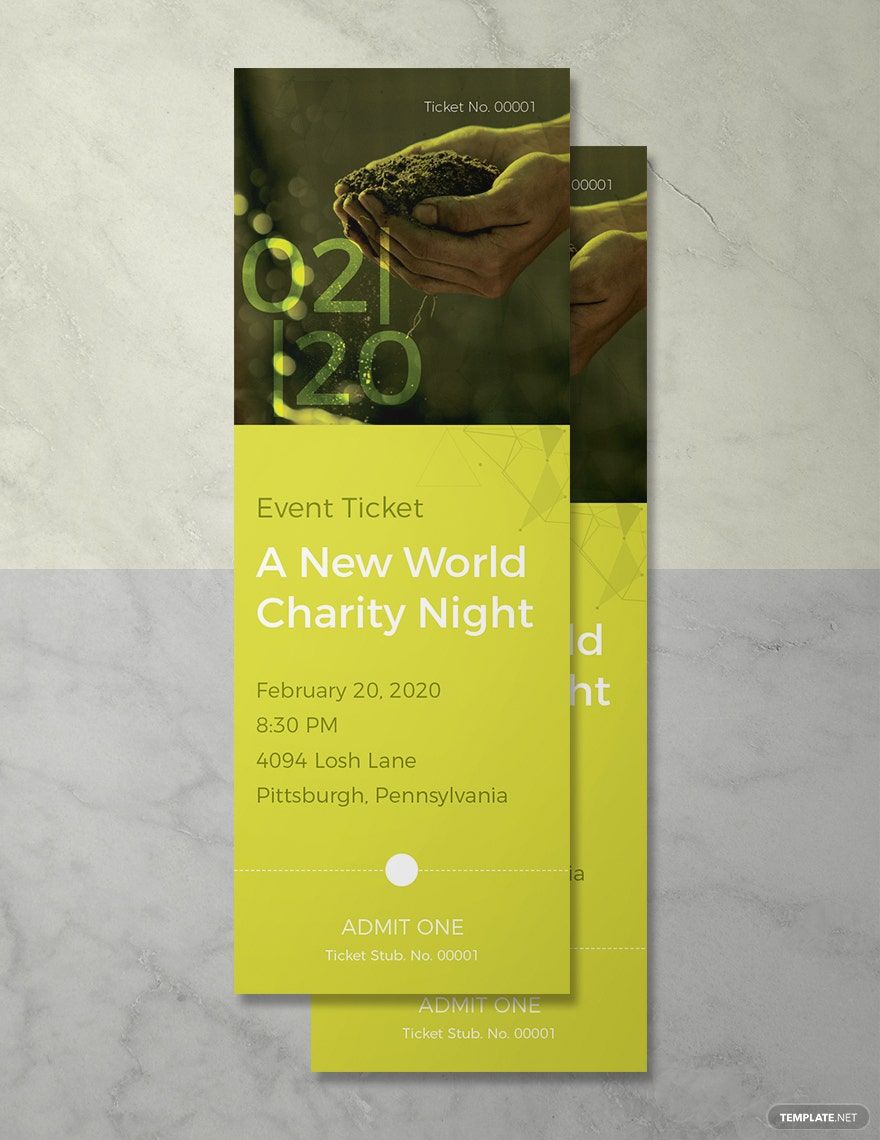
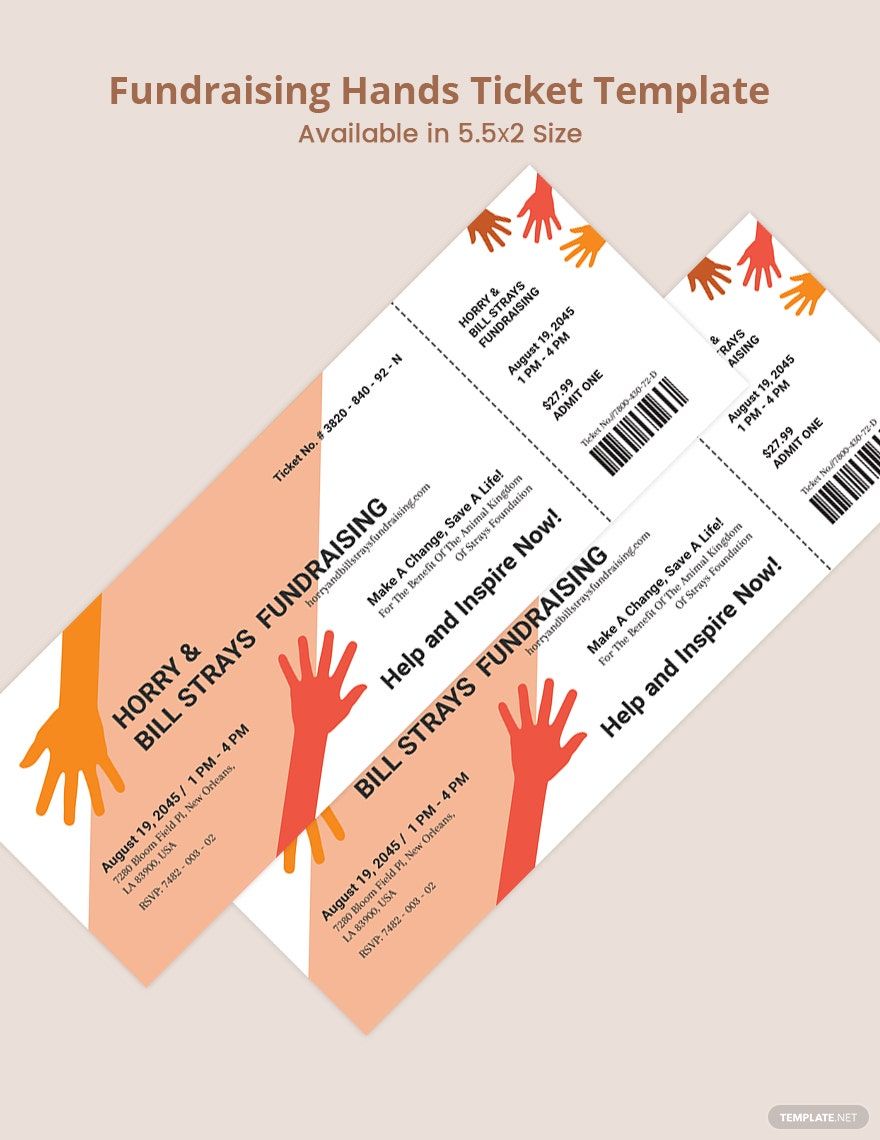
Whatever events you have lined up, make sure that everyone gets a beautifully designed ticket. Make that possible with the use of our Ready-Made Word Printable Templates which you can conveniently avail for free. You can use this compilation of well-made printable templates that comprise various ticket template designs used for multiple occasions and events such as Charity Ticket, Game Ticket, Minimalist Ticket, and a whole lot more. Each of these ticket templates includes features like royalty-free images, graphics, artworks, and suggestive texts that you can conveniently customize to suit your design and business needs. These templates are all compatible and easily editable with Microsoft Word. Hurry and get your hands on our 100% customizable printable ticket templates in Word today!
Printable Ticket Templates in Word
- Ticket
- Quotation
- Receipt
- Recipe Card
- Proposal
- Contract
- Statement
- Newsletter
- Coupon
- Bill of Sale
- Agreement
- Affidavit
- Memo
- White Paper
- Itinerary
- Email Signature
- Postcard
- Plan
- Planner
- Program
- Note
- Cover Page
- ID Card
- Banner
- Form
- Envelope
- CV
- Ebook
- Manual
- Notice
- Magazine
- Thesis
- Bookmark
- Lesson Plan
- APA
- Job Description
- Cover Letter
- Sign In Sign Out
- Poster
- Chart
- List
- Time Sheet
- To-Do List
- Log
- Assessment
- Teacher
- Business
- HR
- Marketing
- Sale
- Advertising
- Finance
- Accounting
- Legal
- Administration
- Operations
- Health Safety
- Bookkeeping
Bring your event promotions to life with pre-designed Printable Ticket Templates in Microsoft Word by Template.net
Take your event planning to the next level with Template.net's Printable Ticket Templates in Microsoft Word. Designed for event organizers, marketers, and small business owners, these templates allow you to create professional-grade tickets quickly and easily with no design experience needed. Use them to promote an event or to showcase product features seamlessly. Enjoy the convenience of free pre-designed templates that are both downloadable and printable, making it simple to customize and distribute tickets for any occasion. With beautiful pre-designed layouts available, you can effortlessly tailor each ticket for social media promotion or print and digital distribution.
Explore more beautiful premium pre-designed templates in Microsoft Word that suit a variety of events and themes. With Template.net, you can discover a constantly updated library that ensures you're always equipped with fresh designs. Choose from a plethora of themes and styles to match any event vibe, from concerts to corporate gatherings. Every template offers the flexibility to download or share via link, print, email, or export, maximizing your event’s reach. For ultimate flexibility, mix and match both free and premium templates to find just the right fit for your needs.
