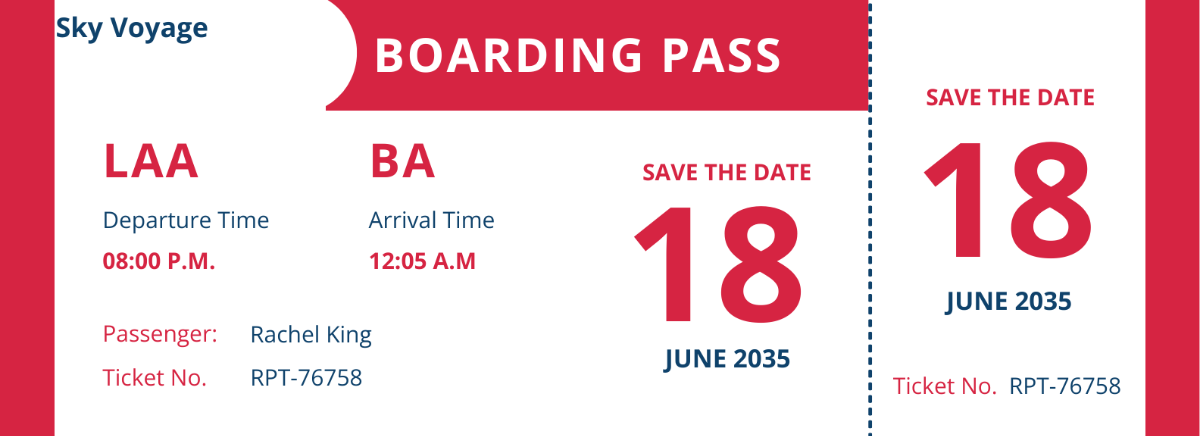
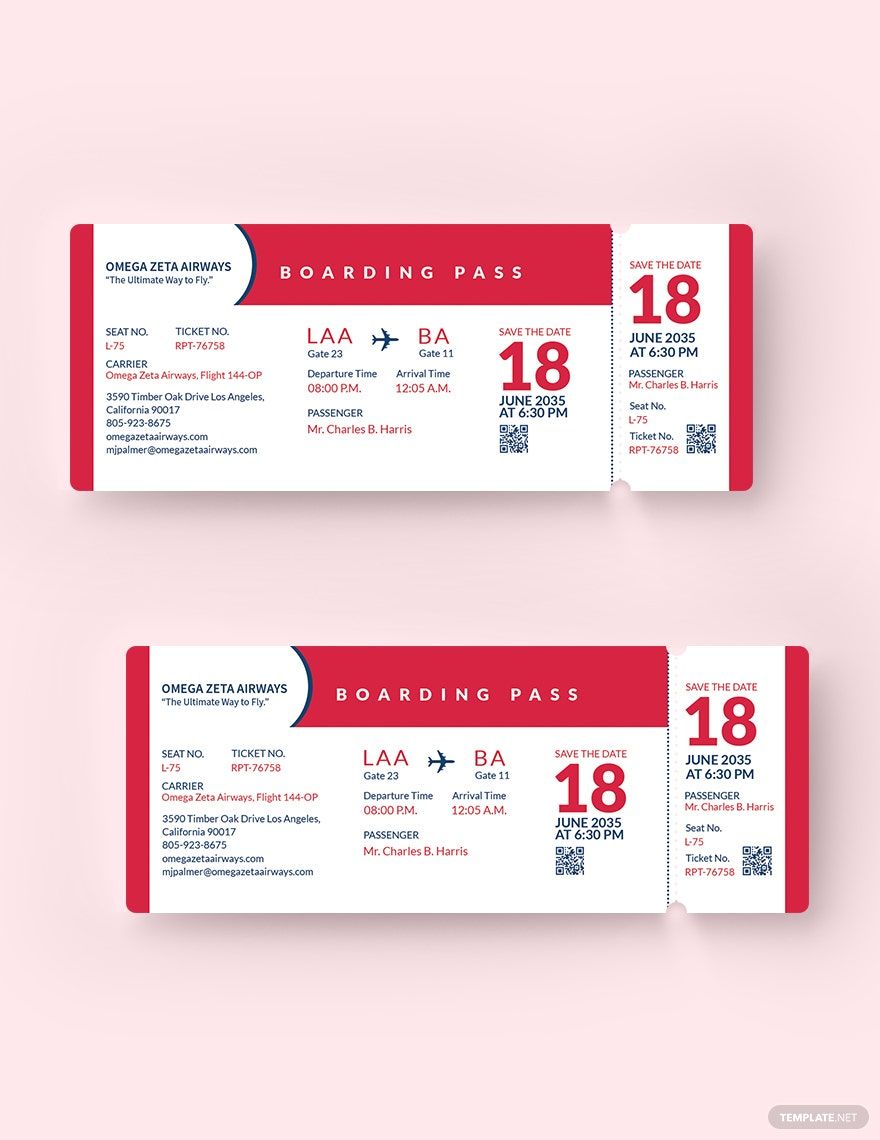
You’ve been having a long and tiresome year at work and you want to unwind with either your friends or family so you go ahead and purchase tickets to a movie, concert, or flight to someplace new. Only, you haven’t told them about it yet. So how do you tell them to save the date? By making your own save-the-date ticket of course! If you’re not sure about how to make one, then you can download this ticket template. It is perfectly customizable for you to modify and fit into personal needs. It isn’t just available for the computer, you can download a copy into your mobile devices so you can customize them anywhere and anytime you want. Get this Save-the-Date Ticket Template now!
What Is a Ticket?
A sample ticket is a commercial document that shows the holder is entitled to something, whether it’s to ride on public transportation or to enter a public entertainment. It proves that you’ve been paid for or invited. Of course, there are different types of tickets that serve different purposes. One can differentiate them based on how the ticket looks. Plane tickets are more rectangular in shape while movie tickets are more square-like.
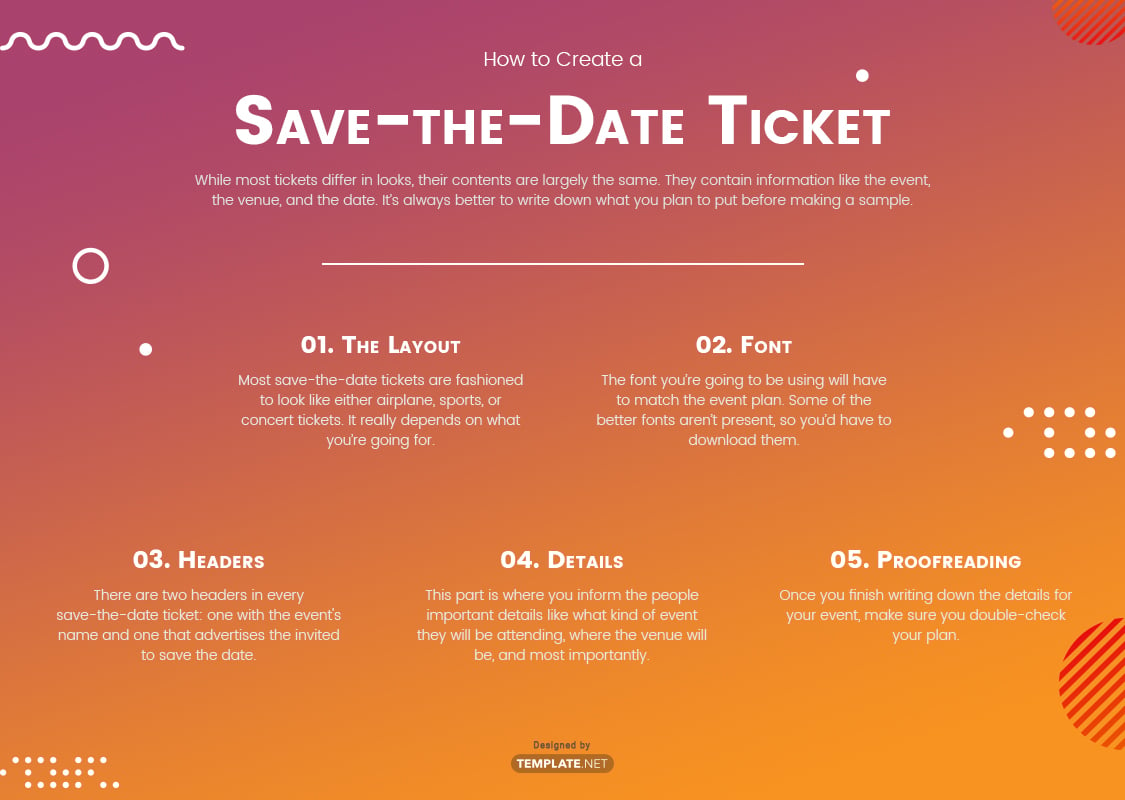
How to Create a Save-the-Date Ticket

While most tickets differ in looks, their contents are largely the same. They contain information like the event, the venue, and the date. It’s always better to write down what you plan to put before making a sample. Below are the steps to follow in creating a save-the-date ticket.
1. The Layout
Most save-the-date tickets are fashioned to look like either airplane, sports, or concert tickets. It really depends on what you’re going for. They’re usually measured from 2.5×6.5 inches to 5.5×2.25 inches. For horizontal designs, the pictures are presented on the left with the details set in the center or slightly to the right. Vertical cards set their images right in the center with the name of the event above it and the details below the image. Of course, this isn’t a rule you have to follow, so you can try to mix it up a bit.
2. Font
The font you’re going to be using will have to match the event plan. Some of the better fonts aren’t present, so you’d have to download them. For business-related events, you can use traditional fonts like Arial, Helvetica, or Times New Roman. Restaurant tickets can be a little more playful depending on the restaurant. Something formal can use Quesha or Forever Brush Script. Christmas tickets can use Vegan Style, Beautiful People, or Sweet Getaway. Most of these fonts can be found online.
3. Headers
There are two headers in every save-the-date ticket: one with the event's name and one that advertises the invited to save the date. In most tickets, both are grouped together. There are a few times this format isn’t followed. For example, if the train ticket is vertical, then people would place the “Save the date” 5 centimeters above the name of the event. Horizontally designed tickets usually ignore this rule for aesthetic purposes.
4. Details
This part is probably the most important in your save-the-date tickets. This part is where you inform the people important details like what kind of event they will be attending, where the venue will be, and most importantly, what time it will be held. You can include a specific dress code if you want to, but the header usually gives the reader an idea of what to expect.
5. Proofreading
Once you finish writing down the details for your event, make sure you double-check your plan. You might end up finding a minor error that could get your friends or family waiting at the wrong place. Also, check to see that the calendar you’re using is in the right year in the right month to avoid any possible confusion. Once you finish, your save-the-date ticket should be ready for print.


