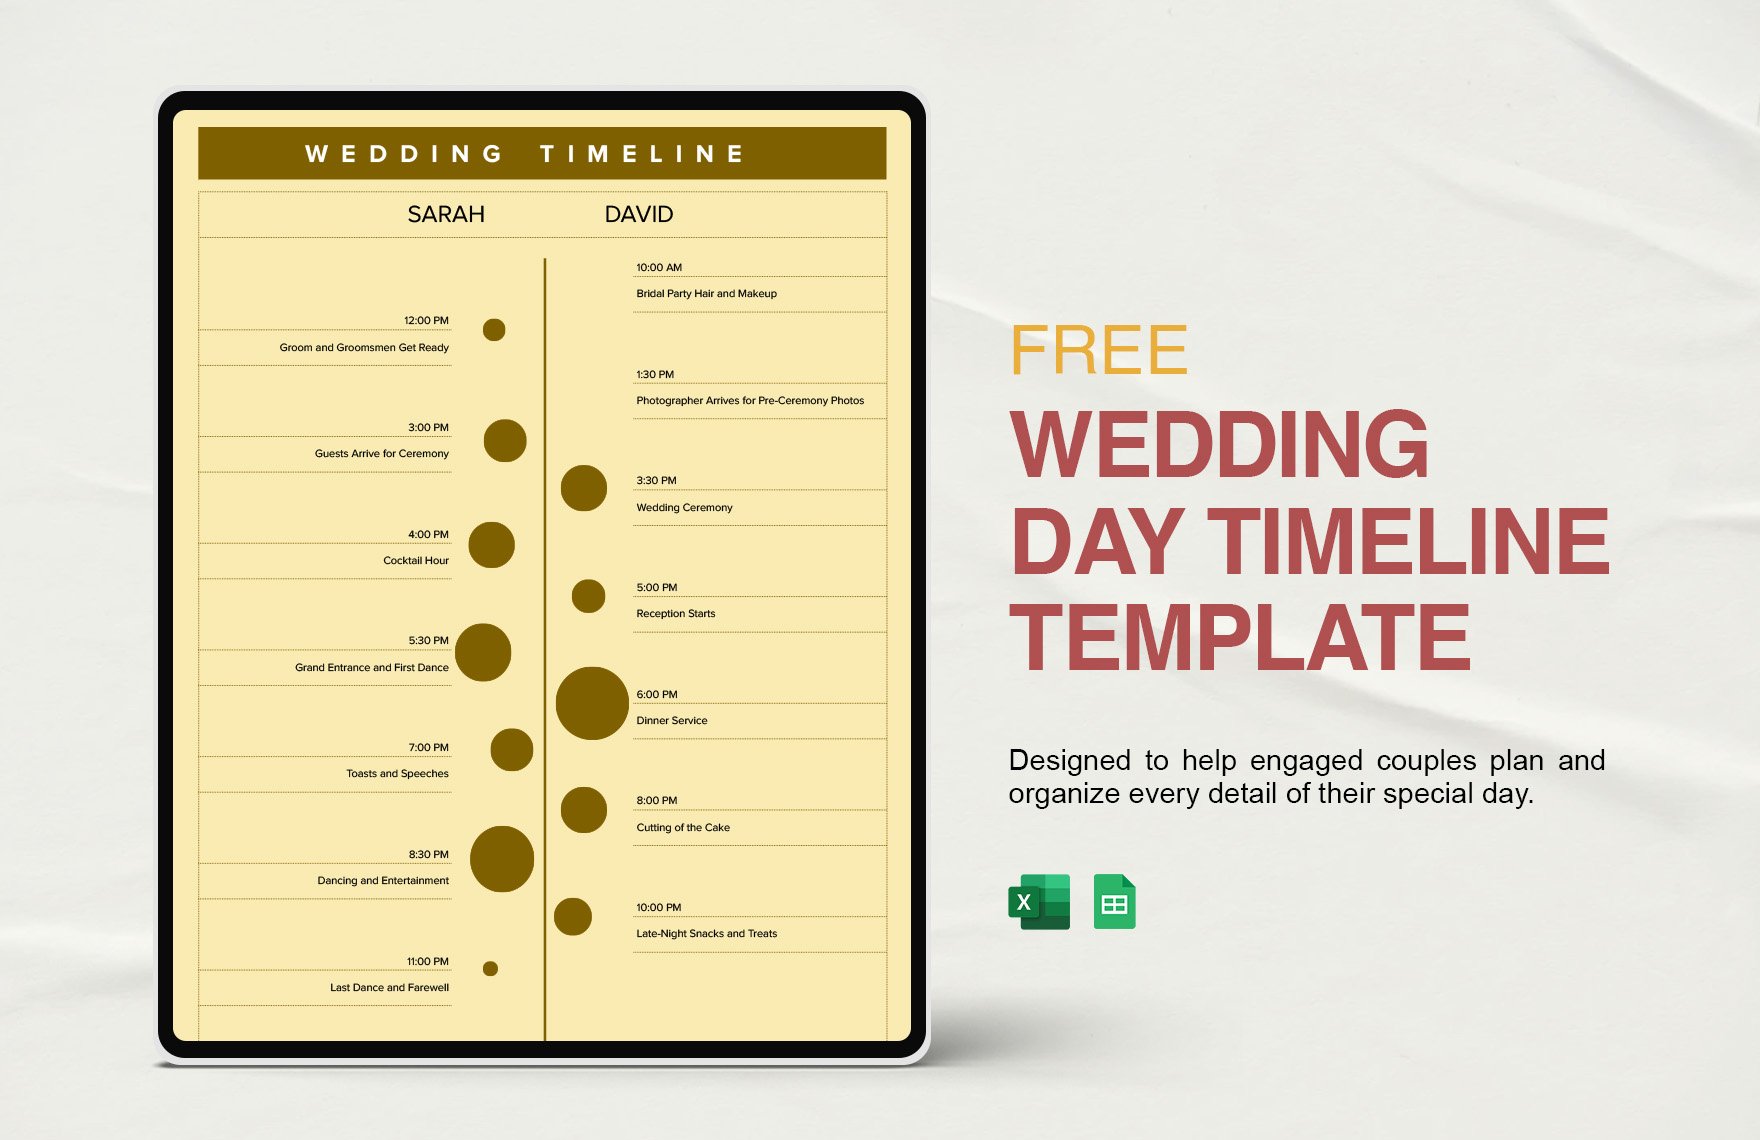
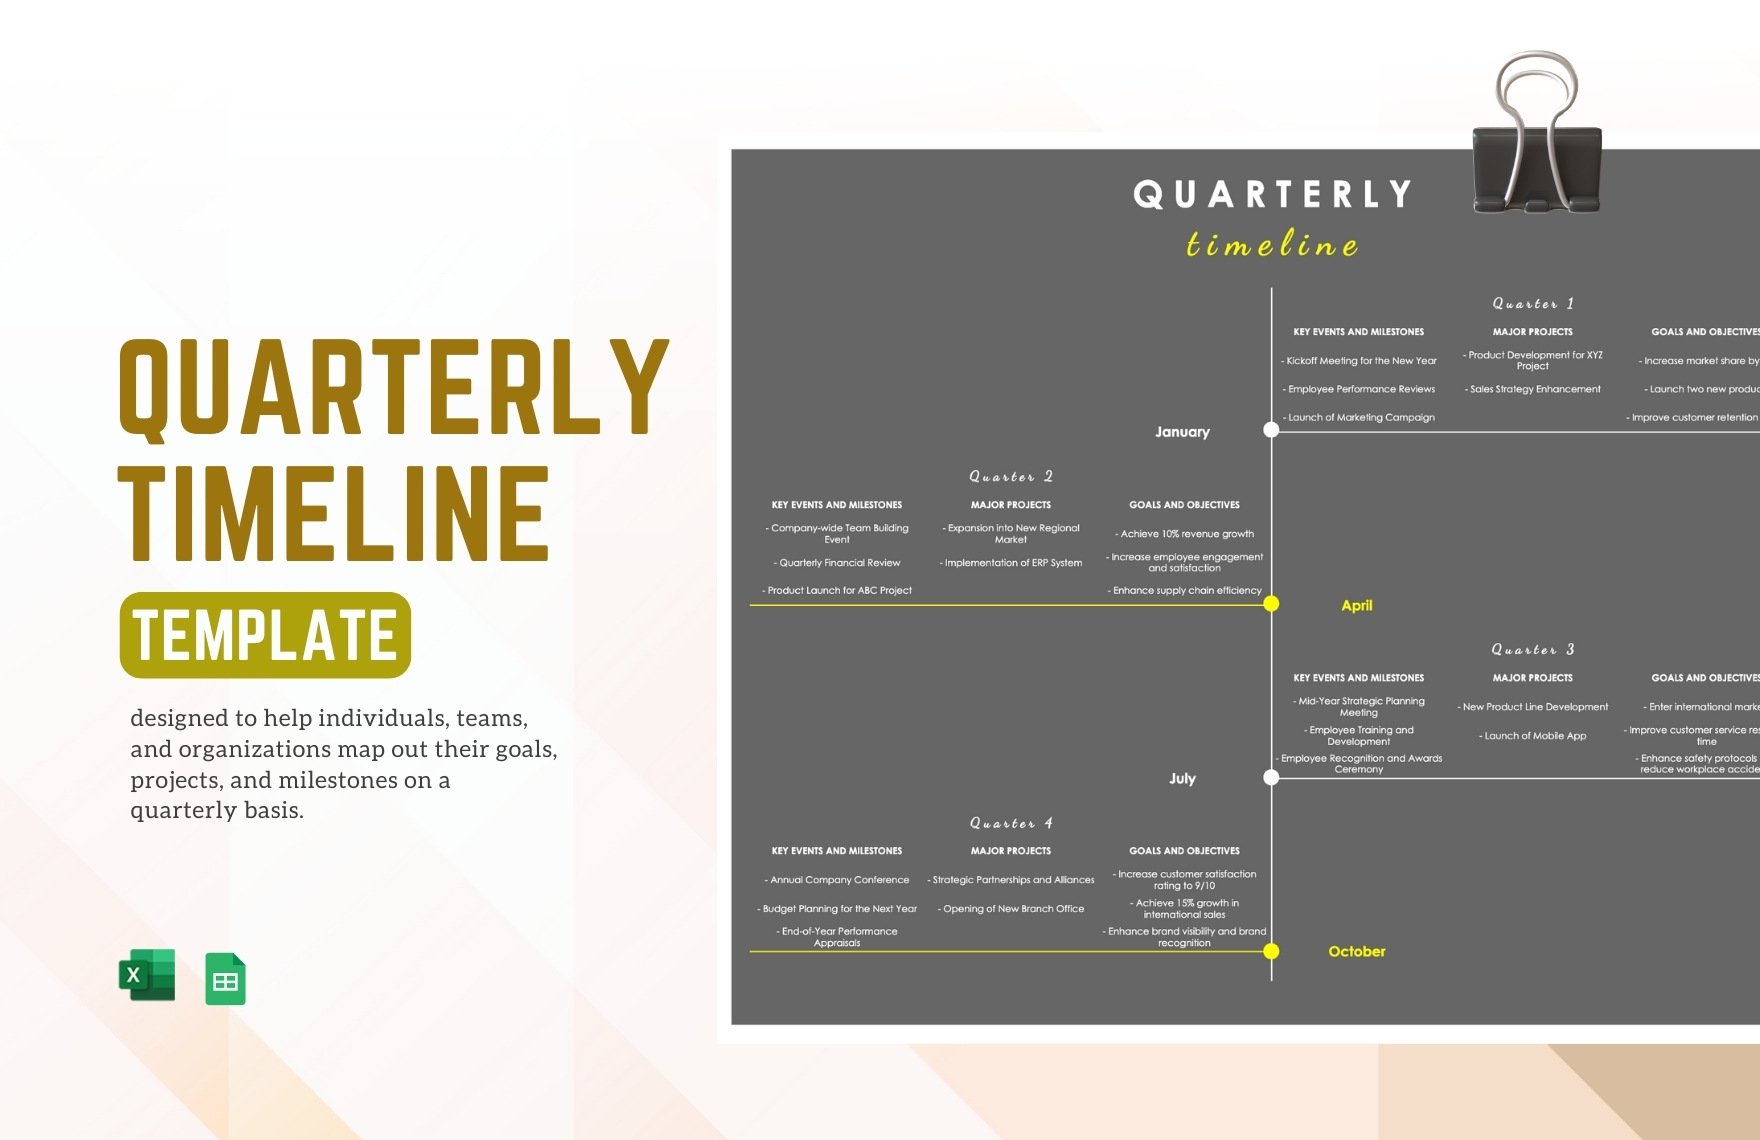
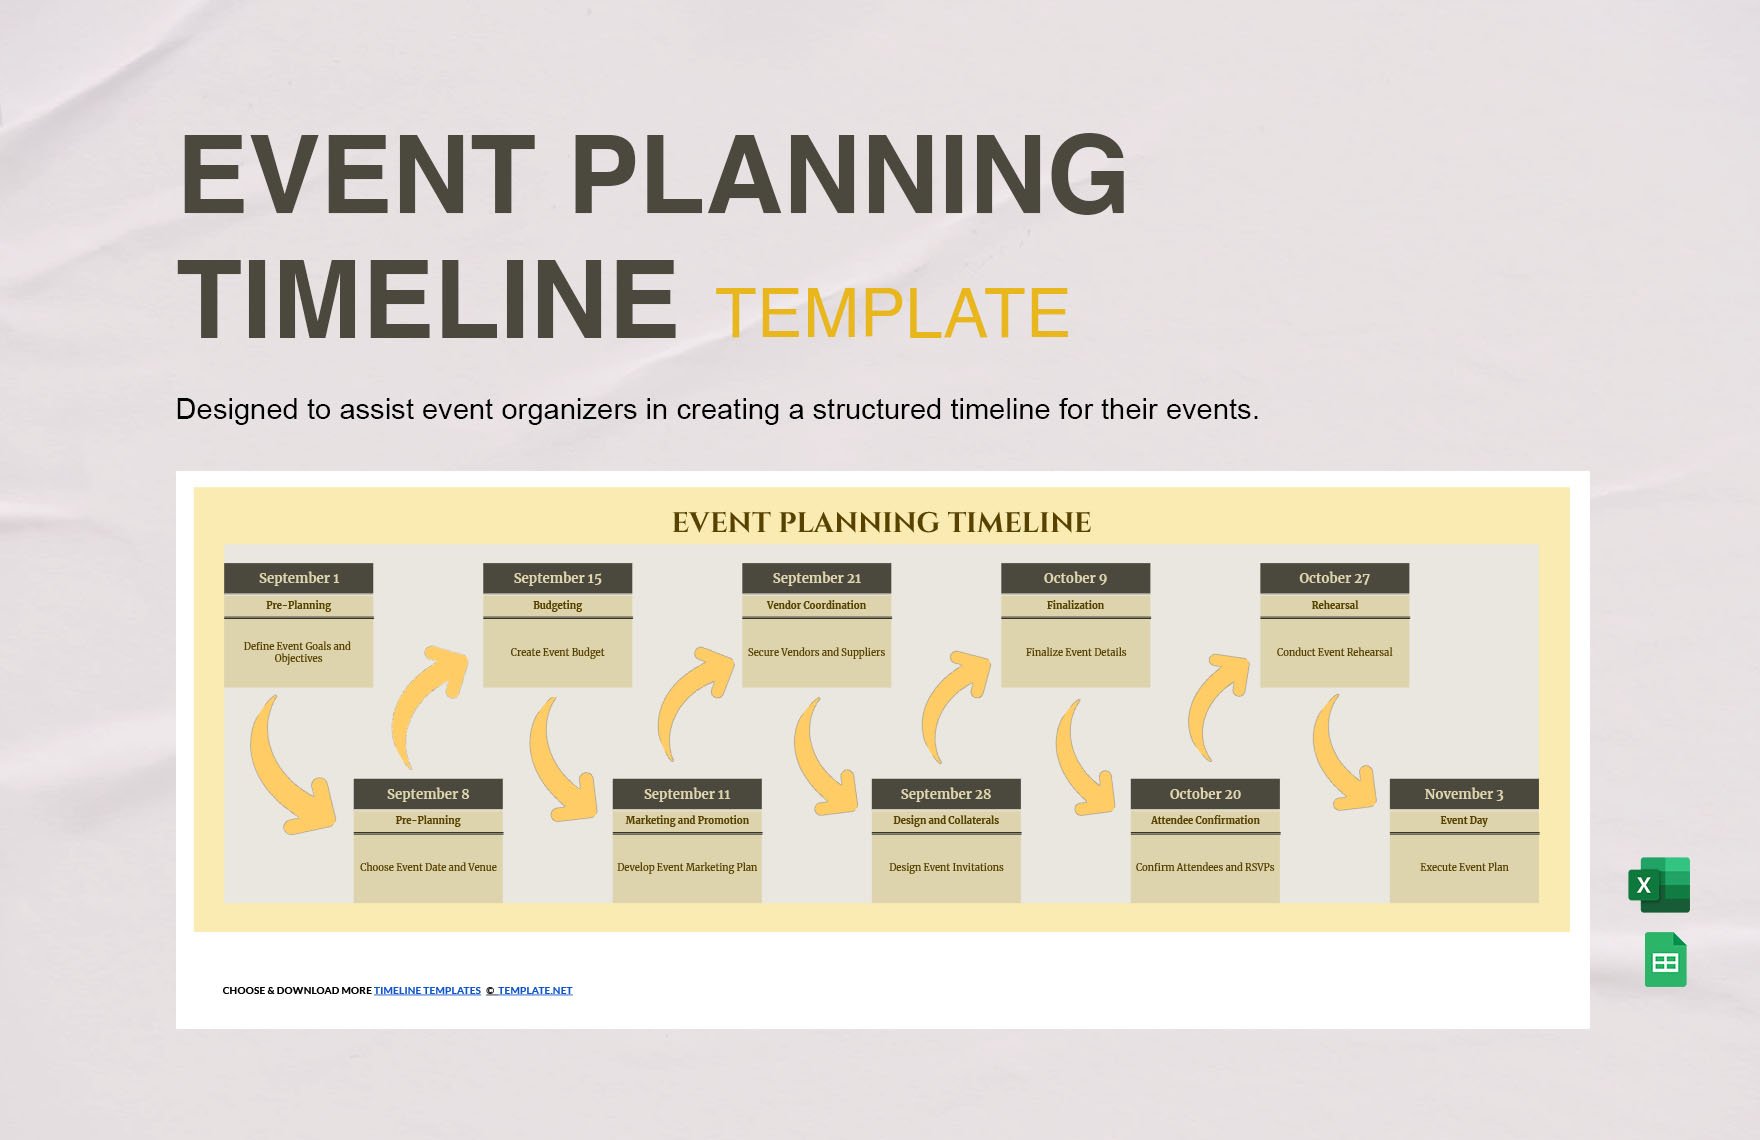
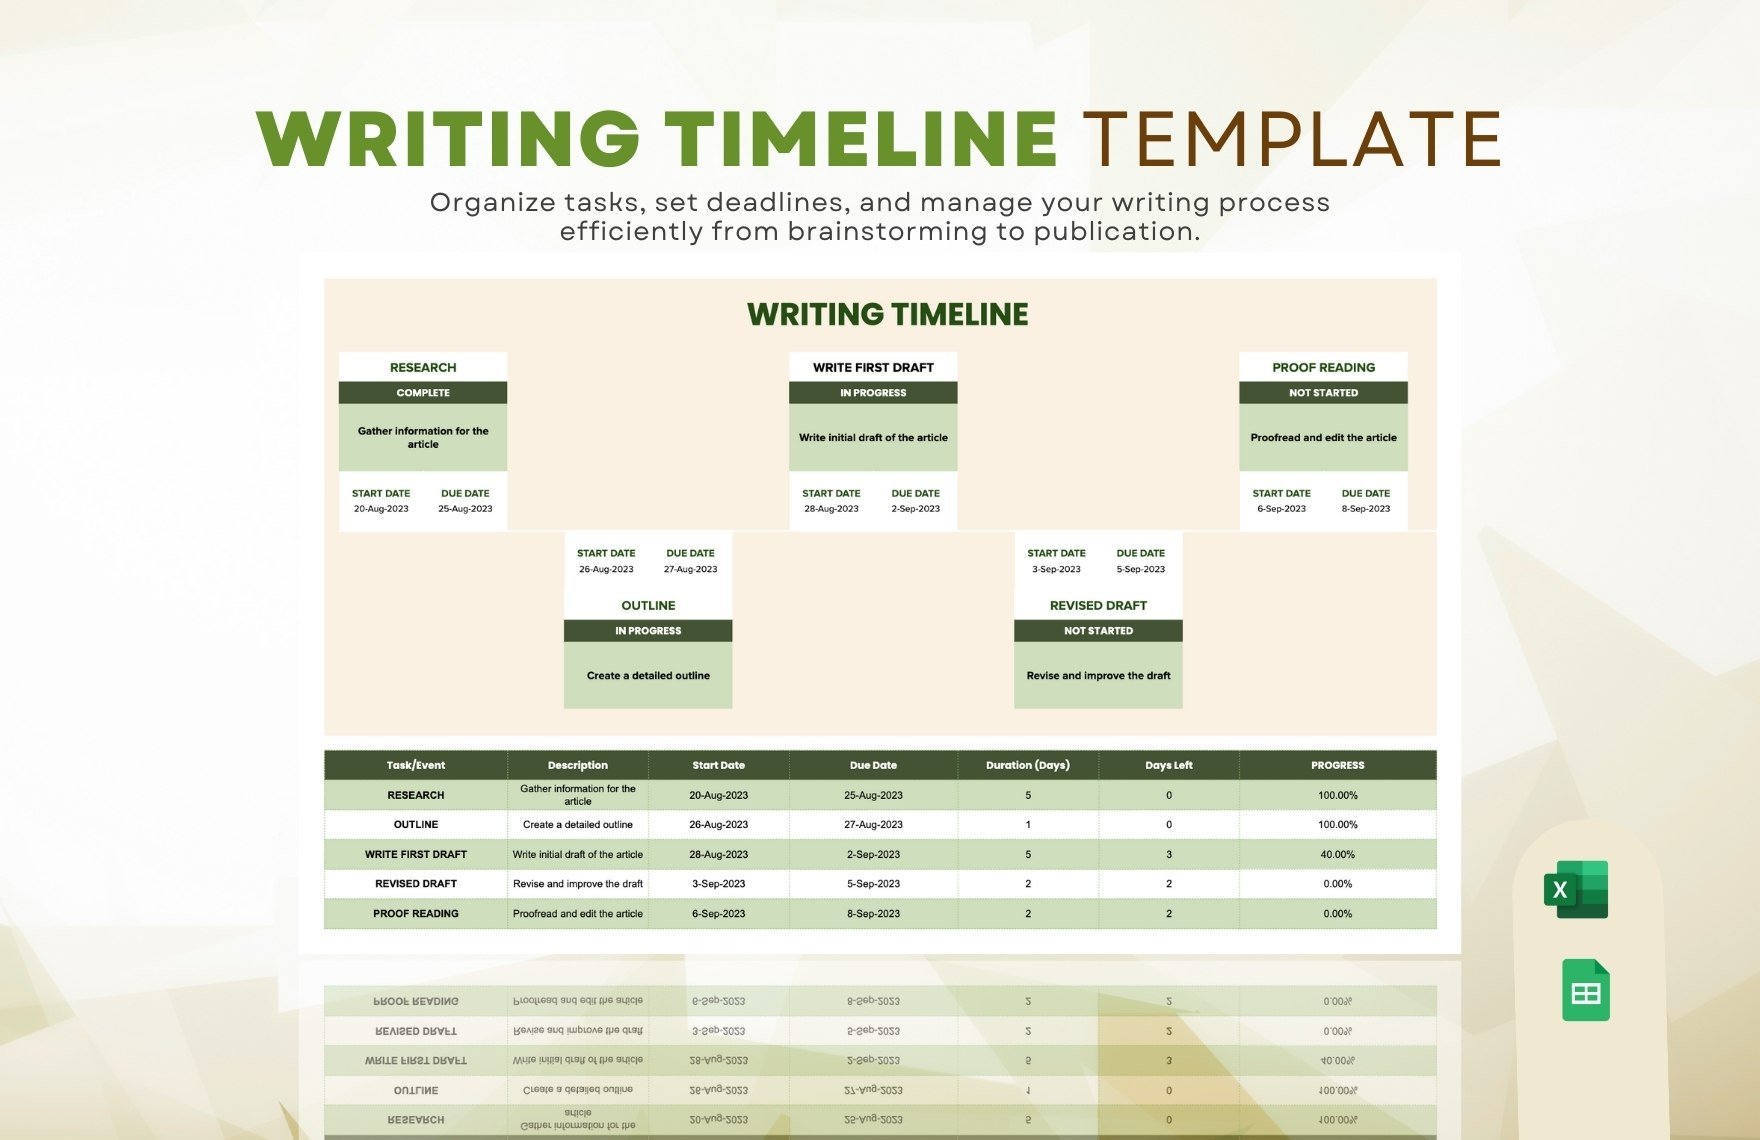
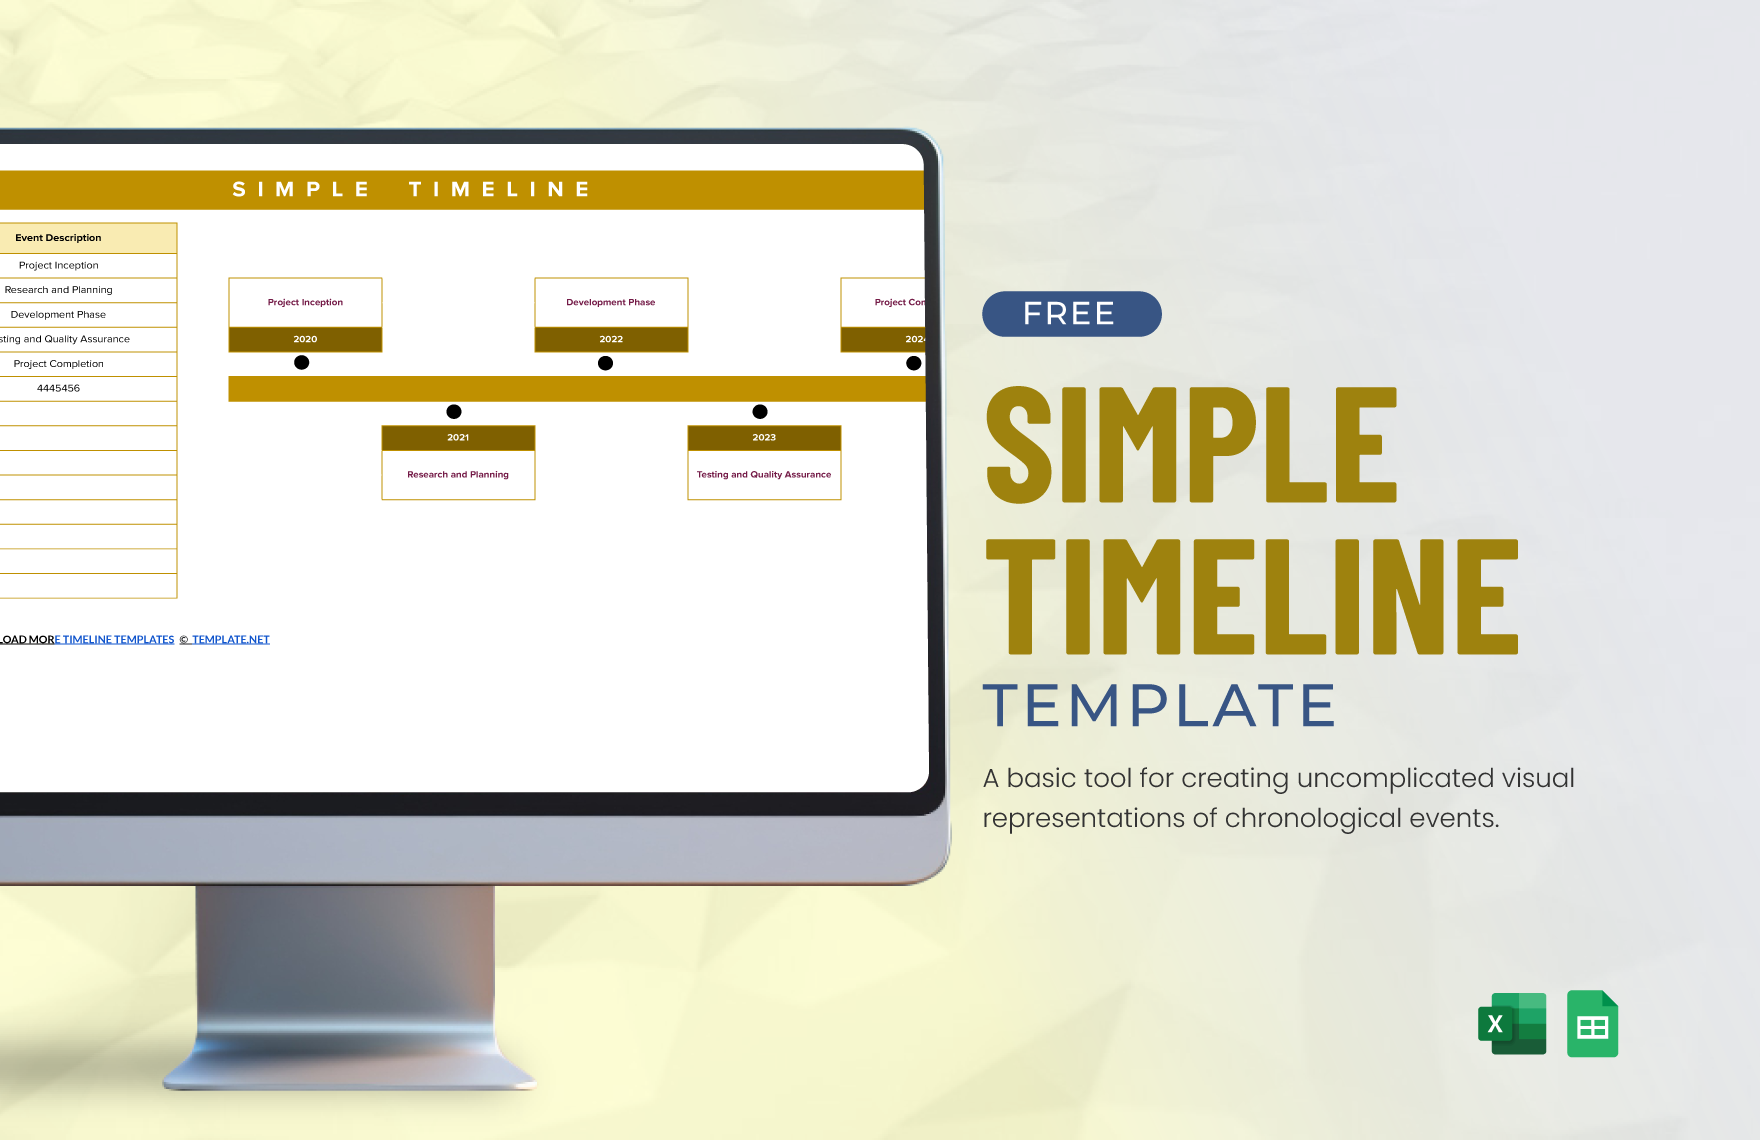
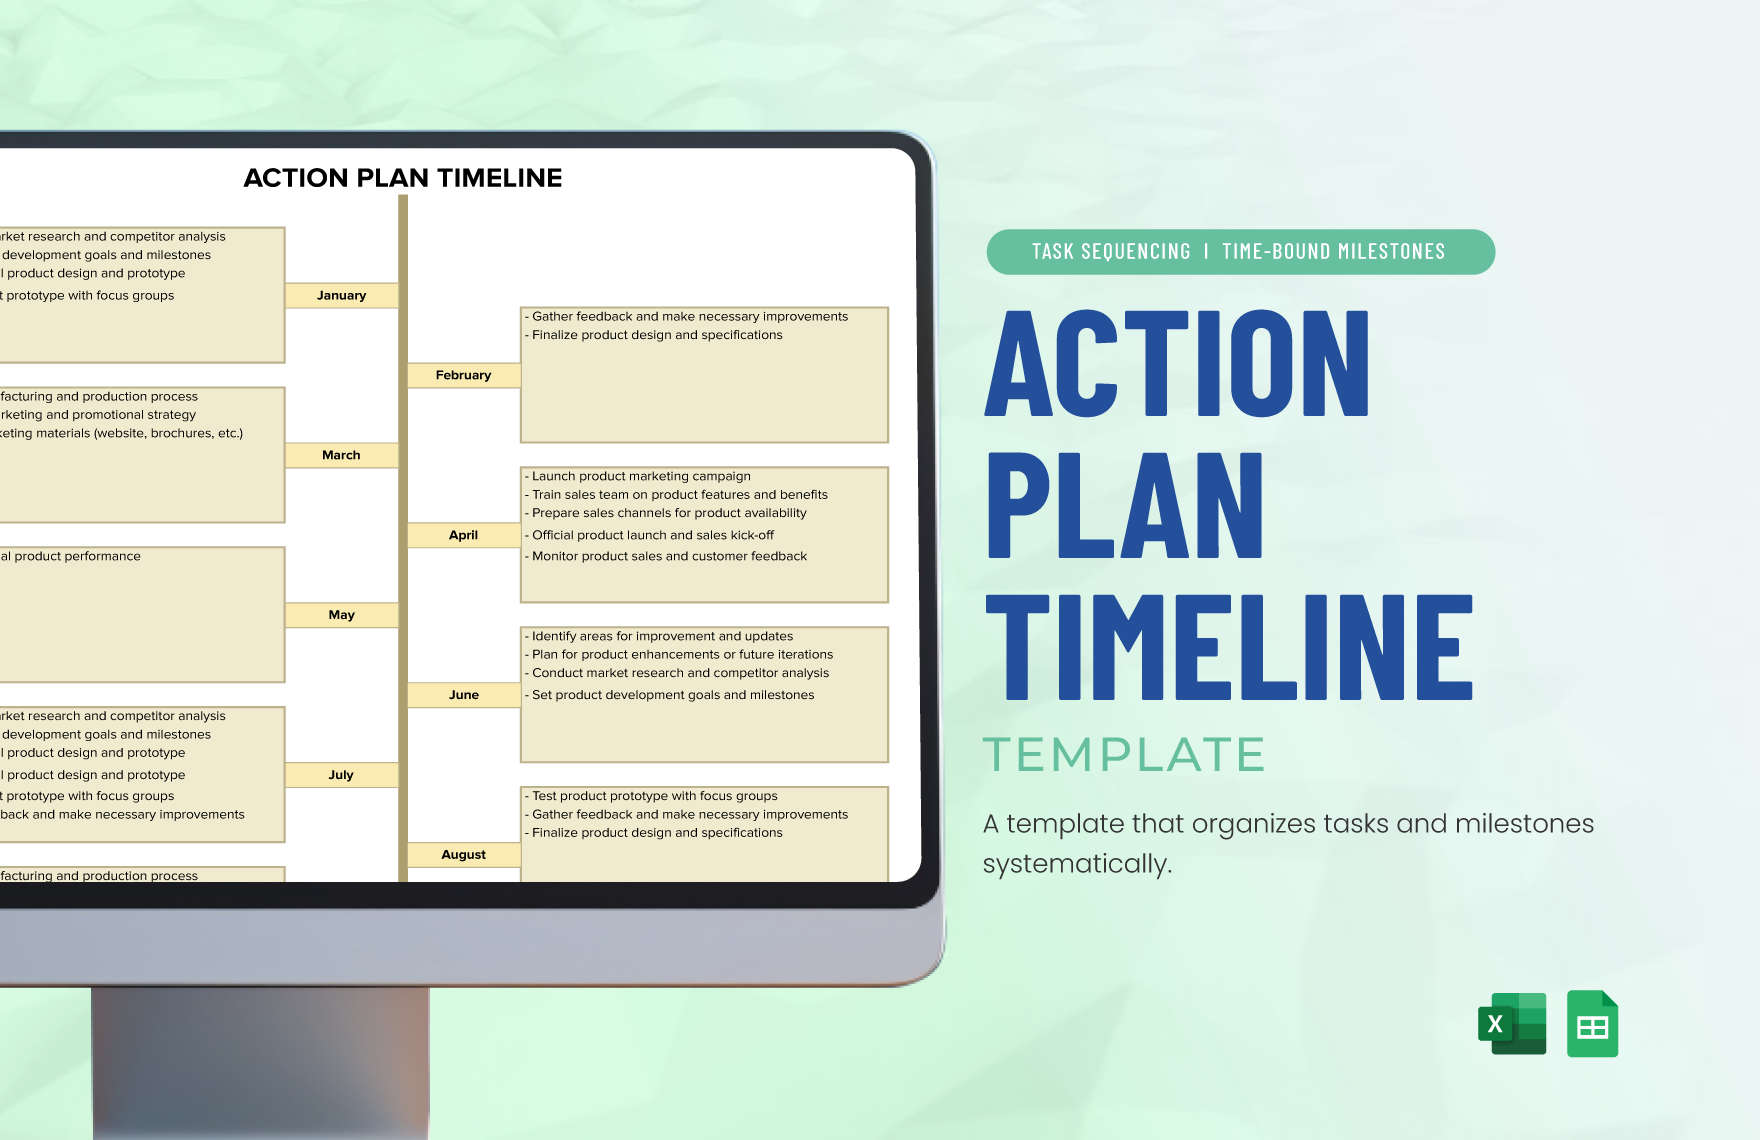
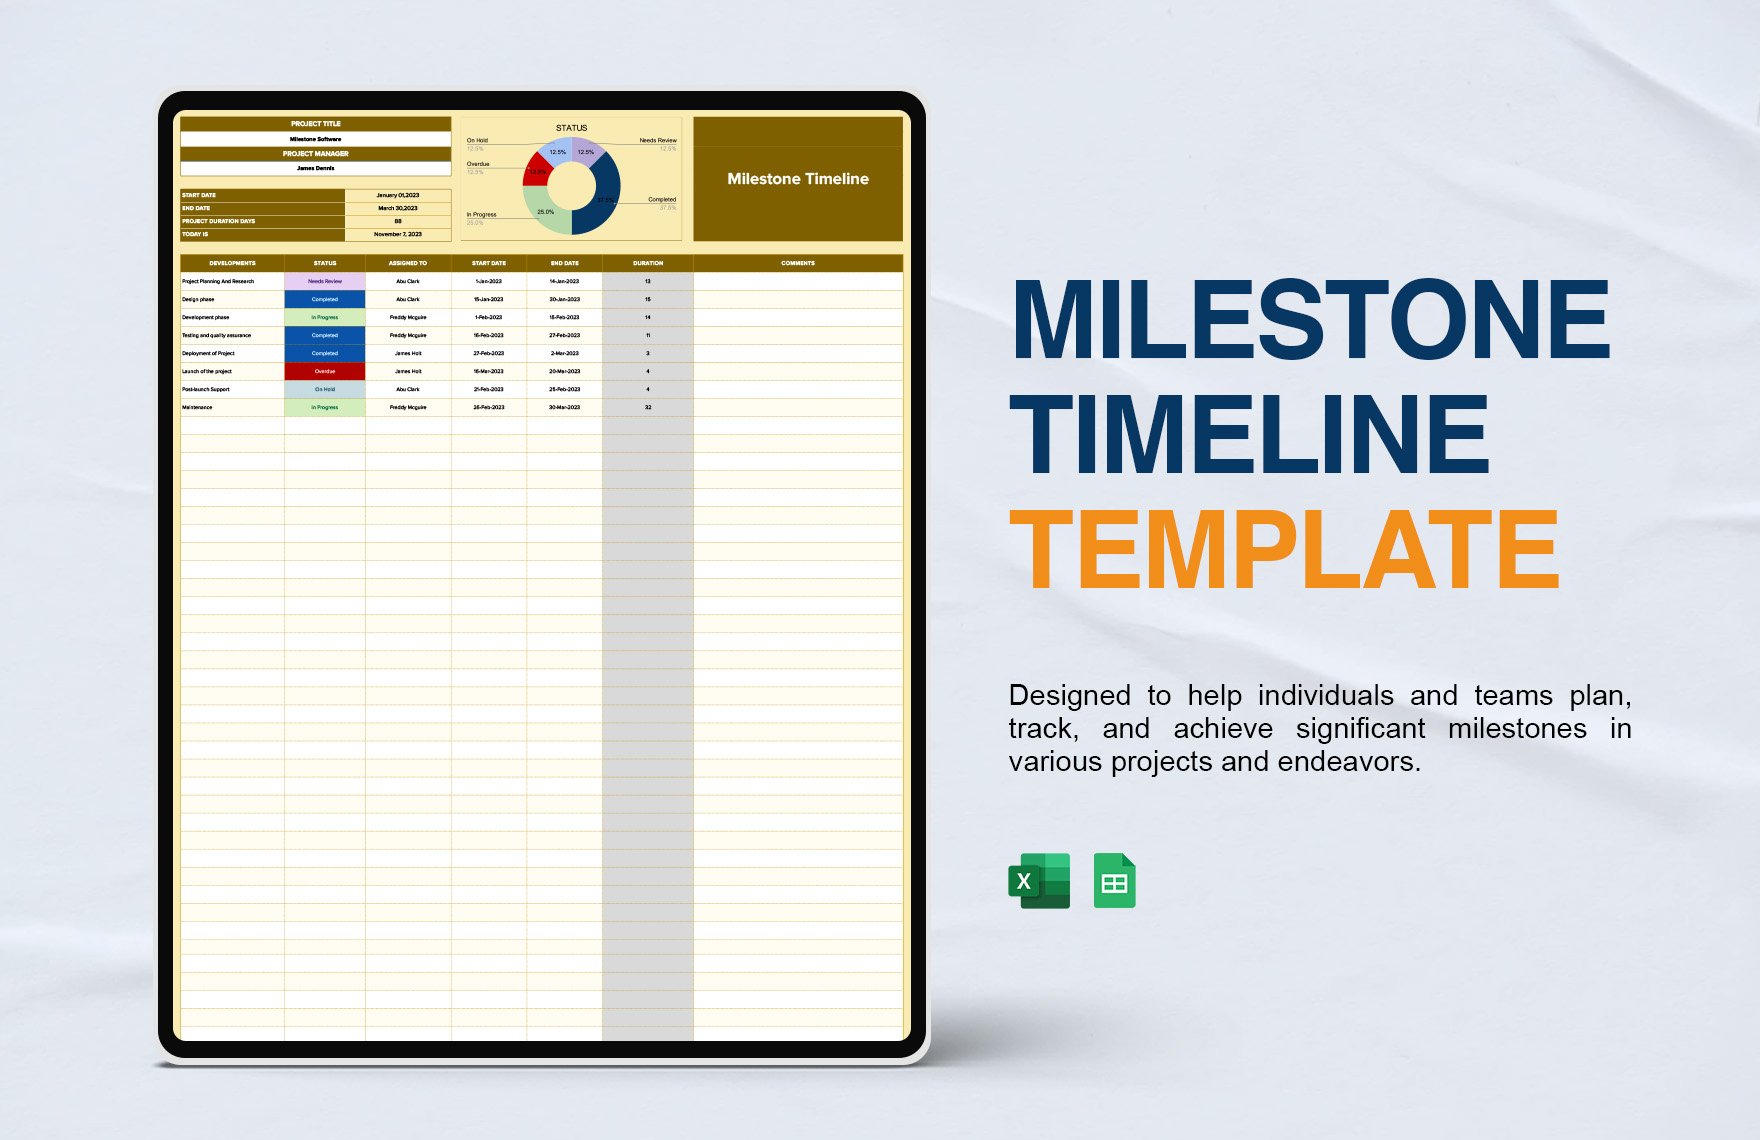
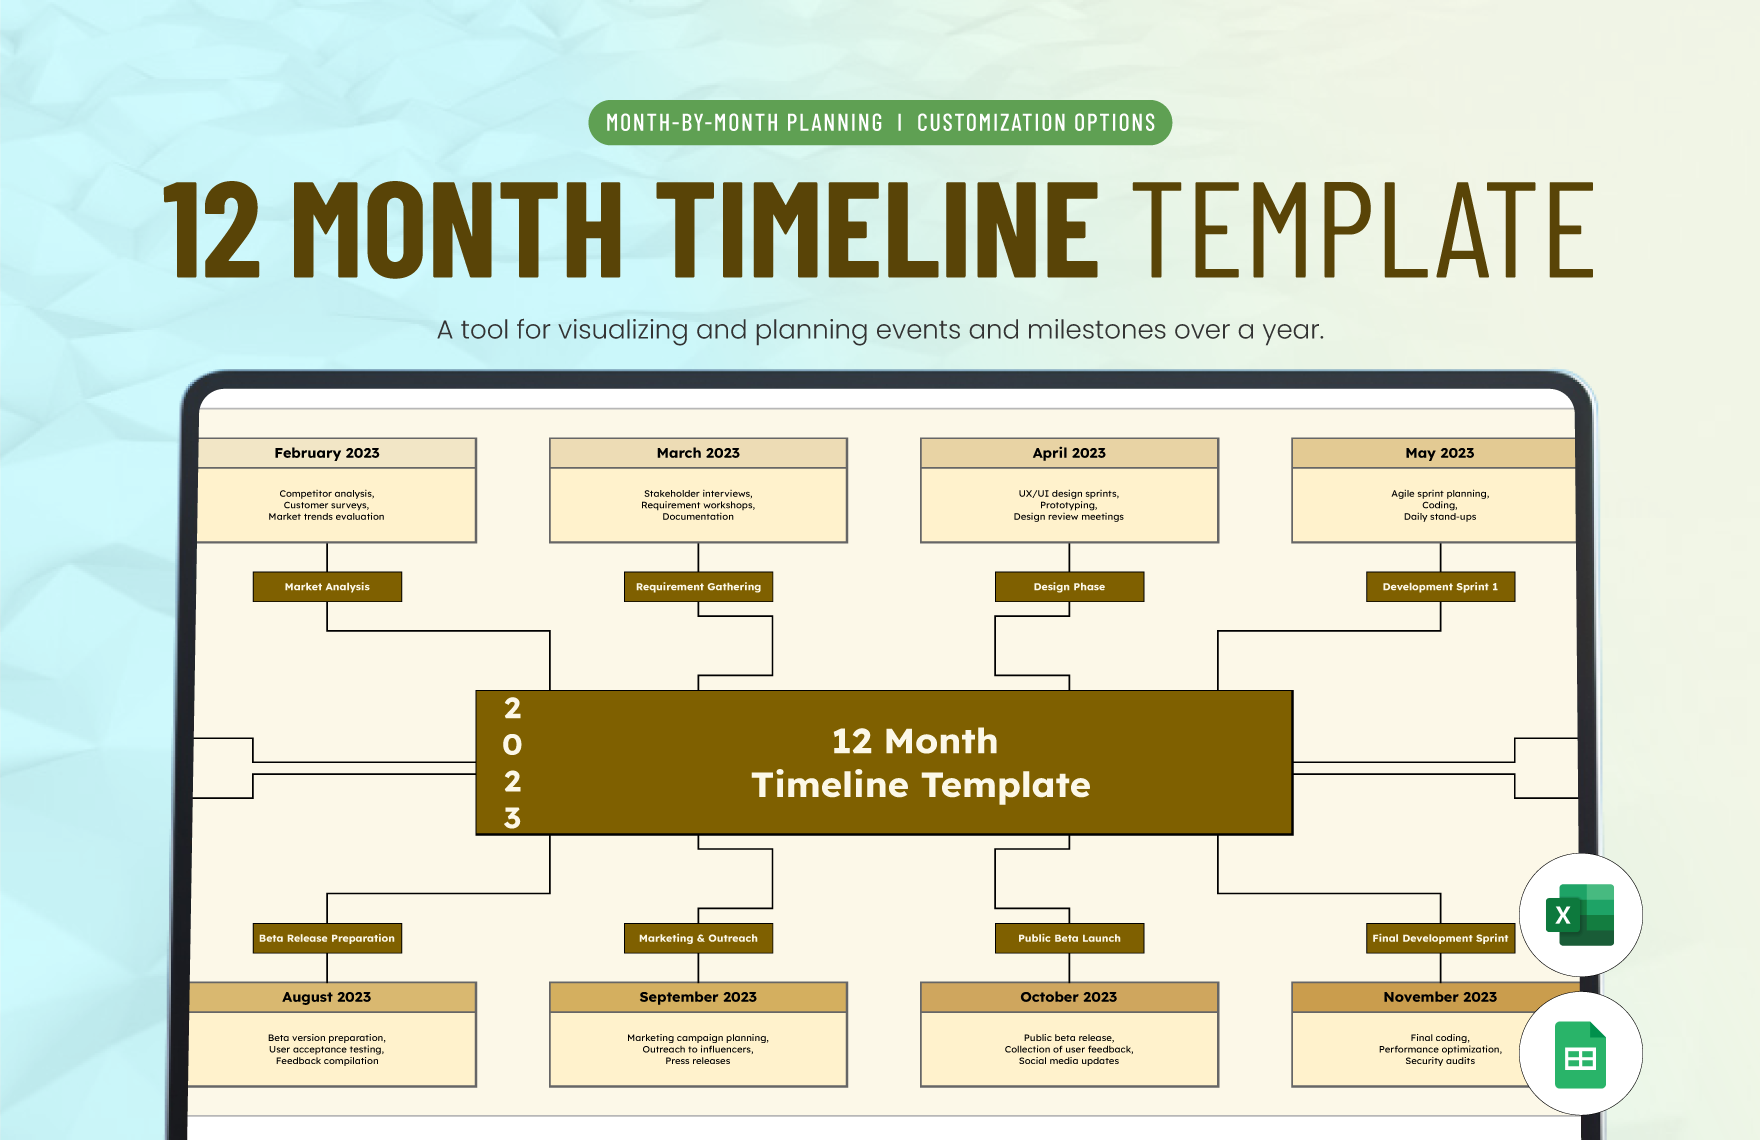
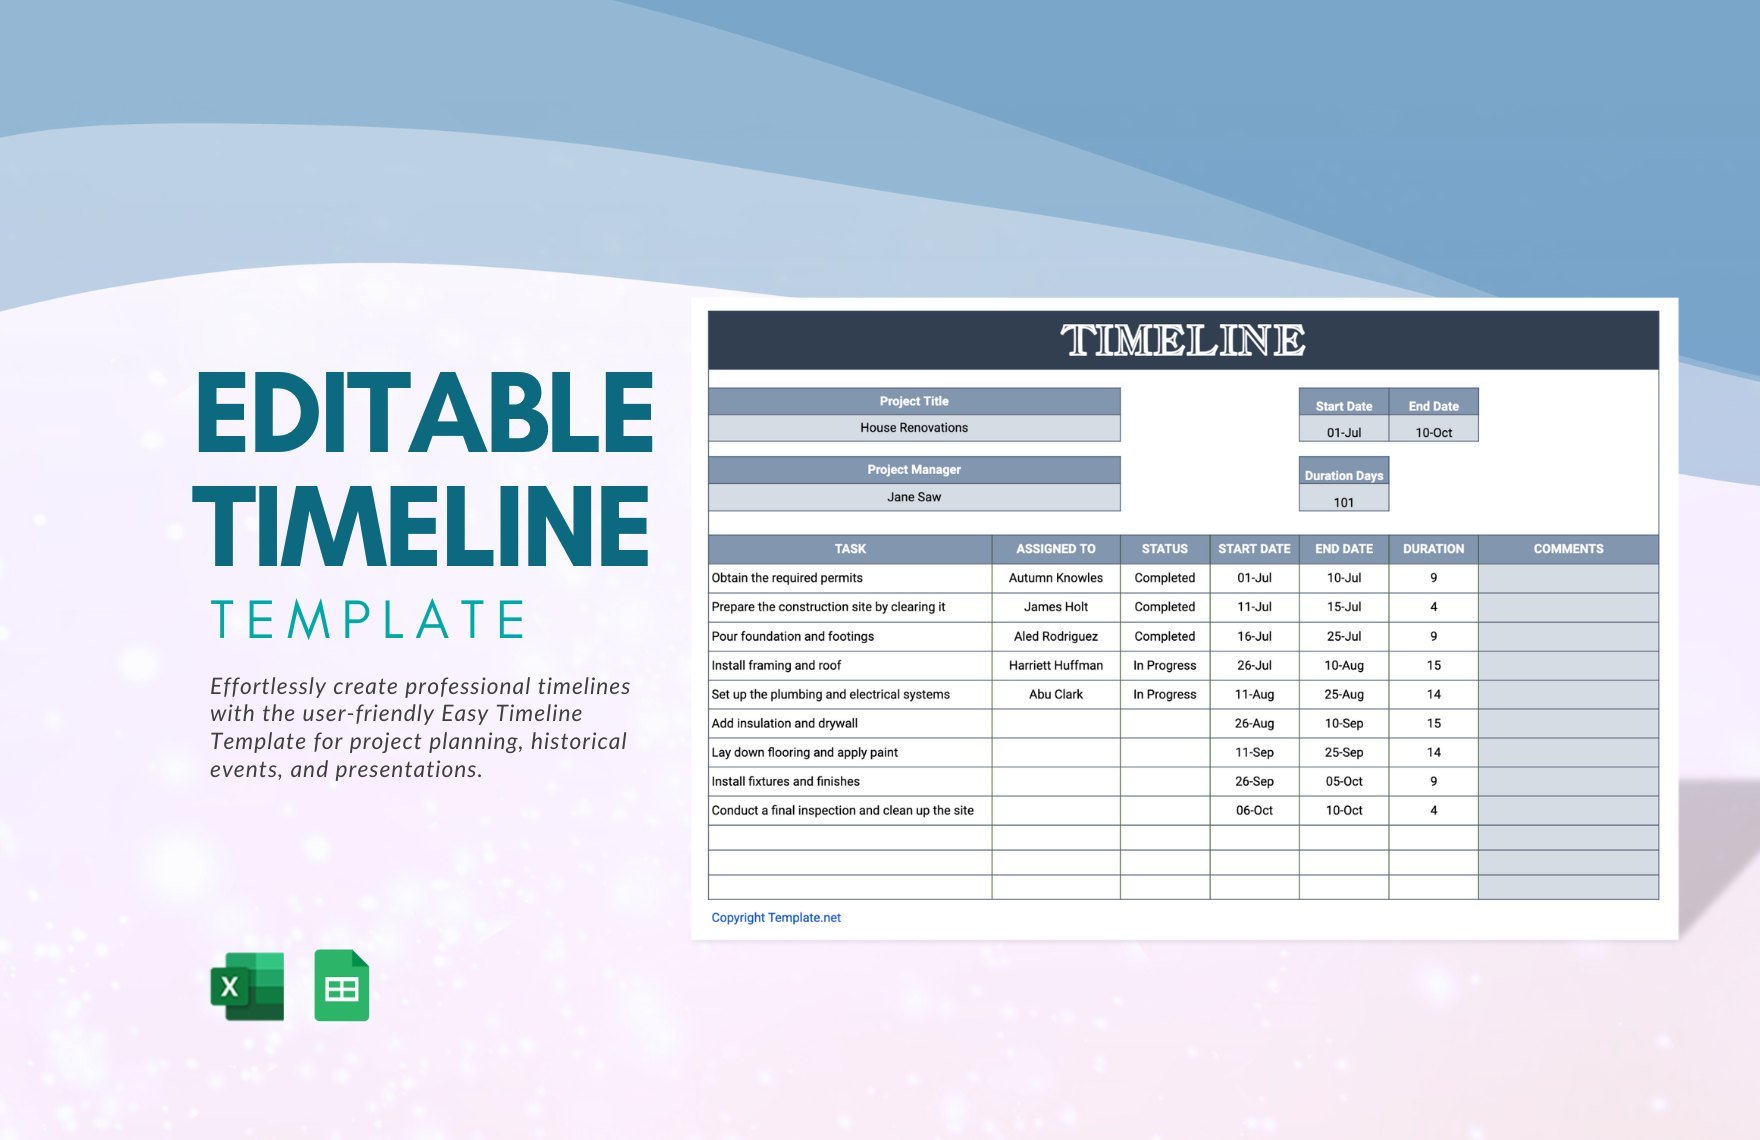
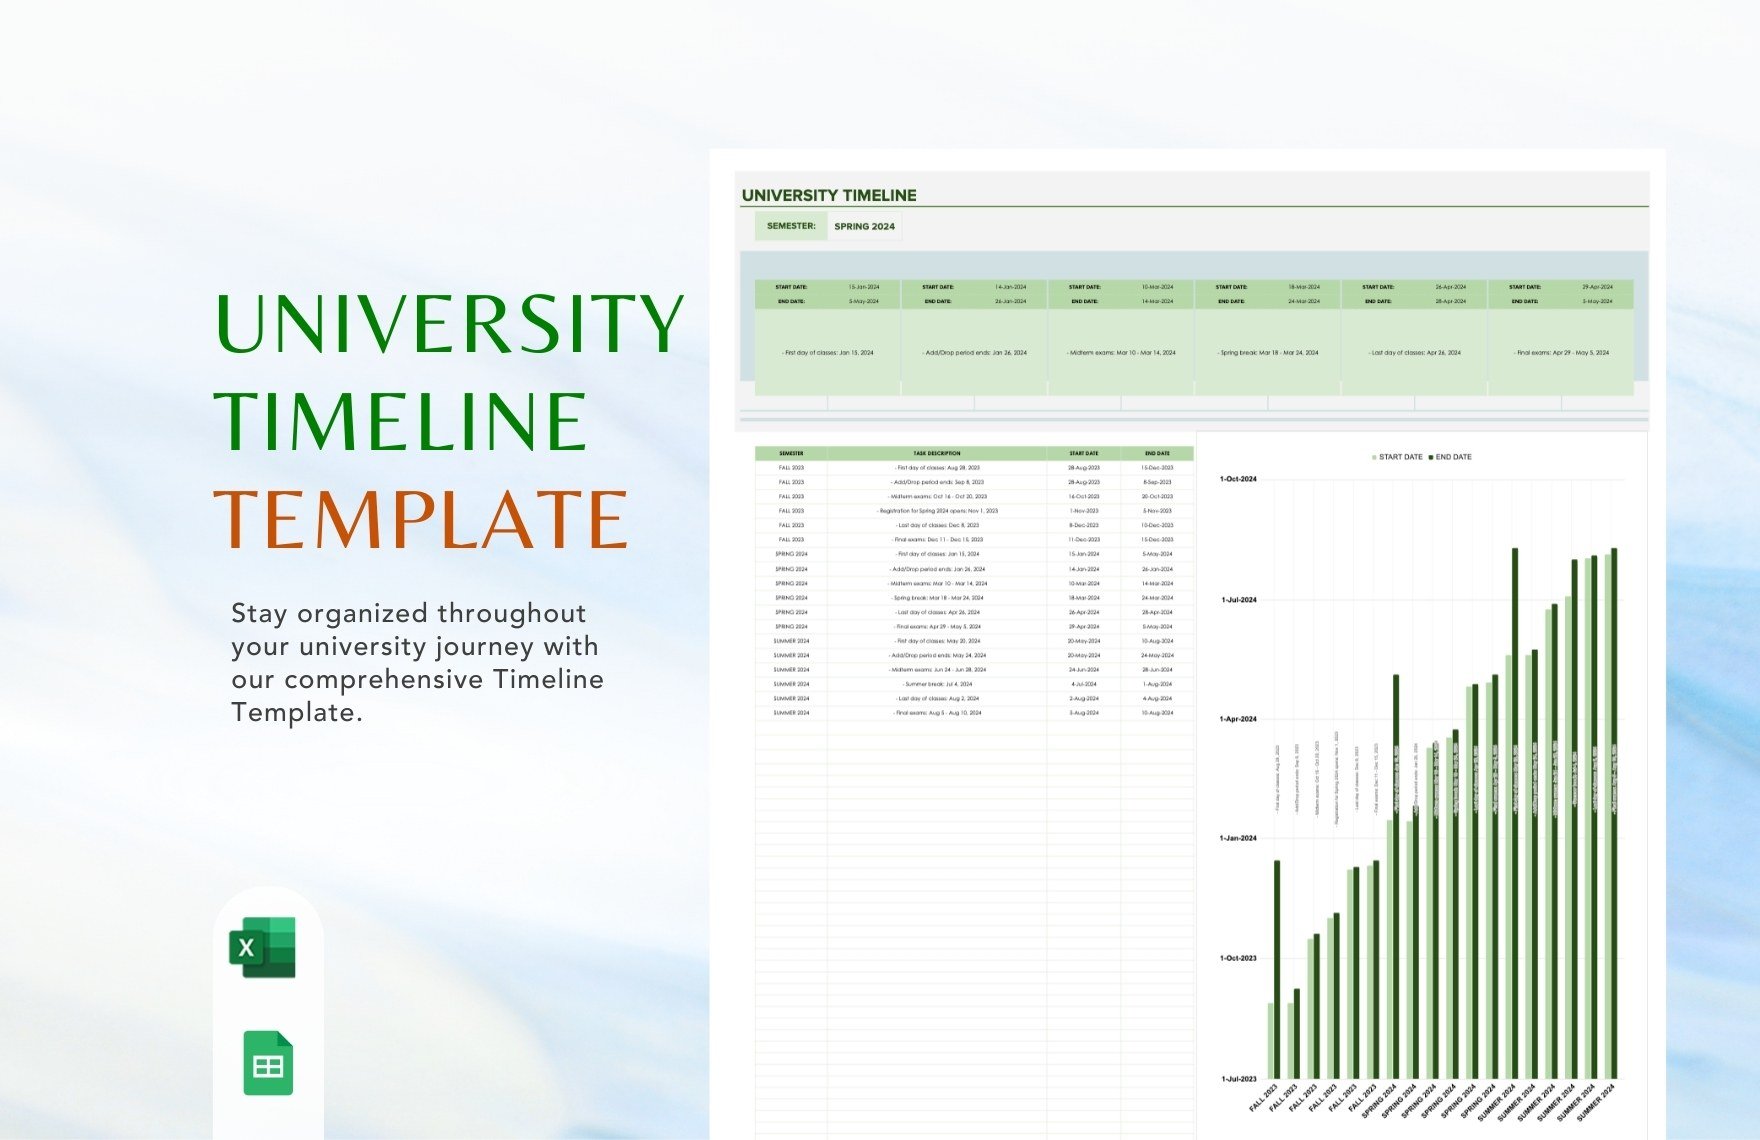
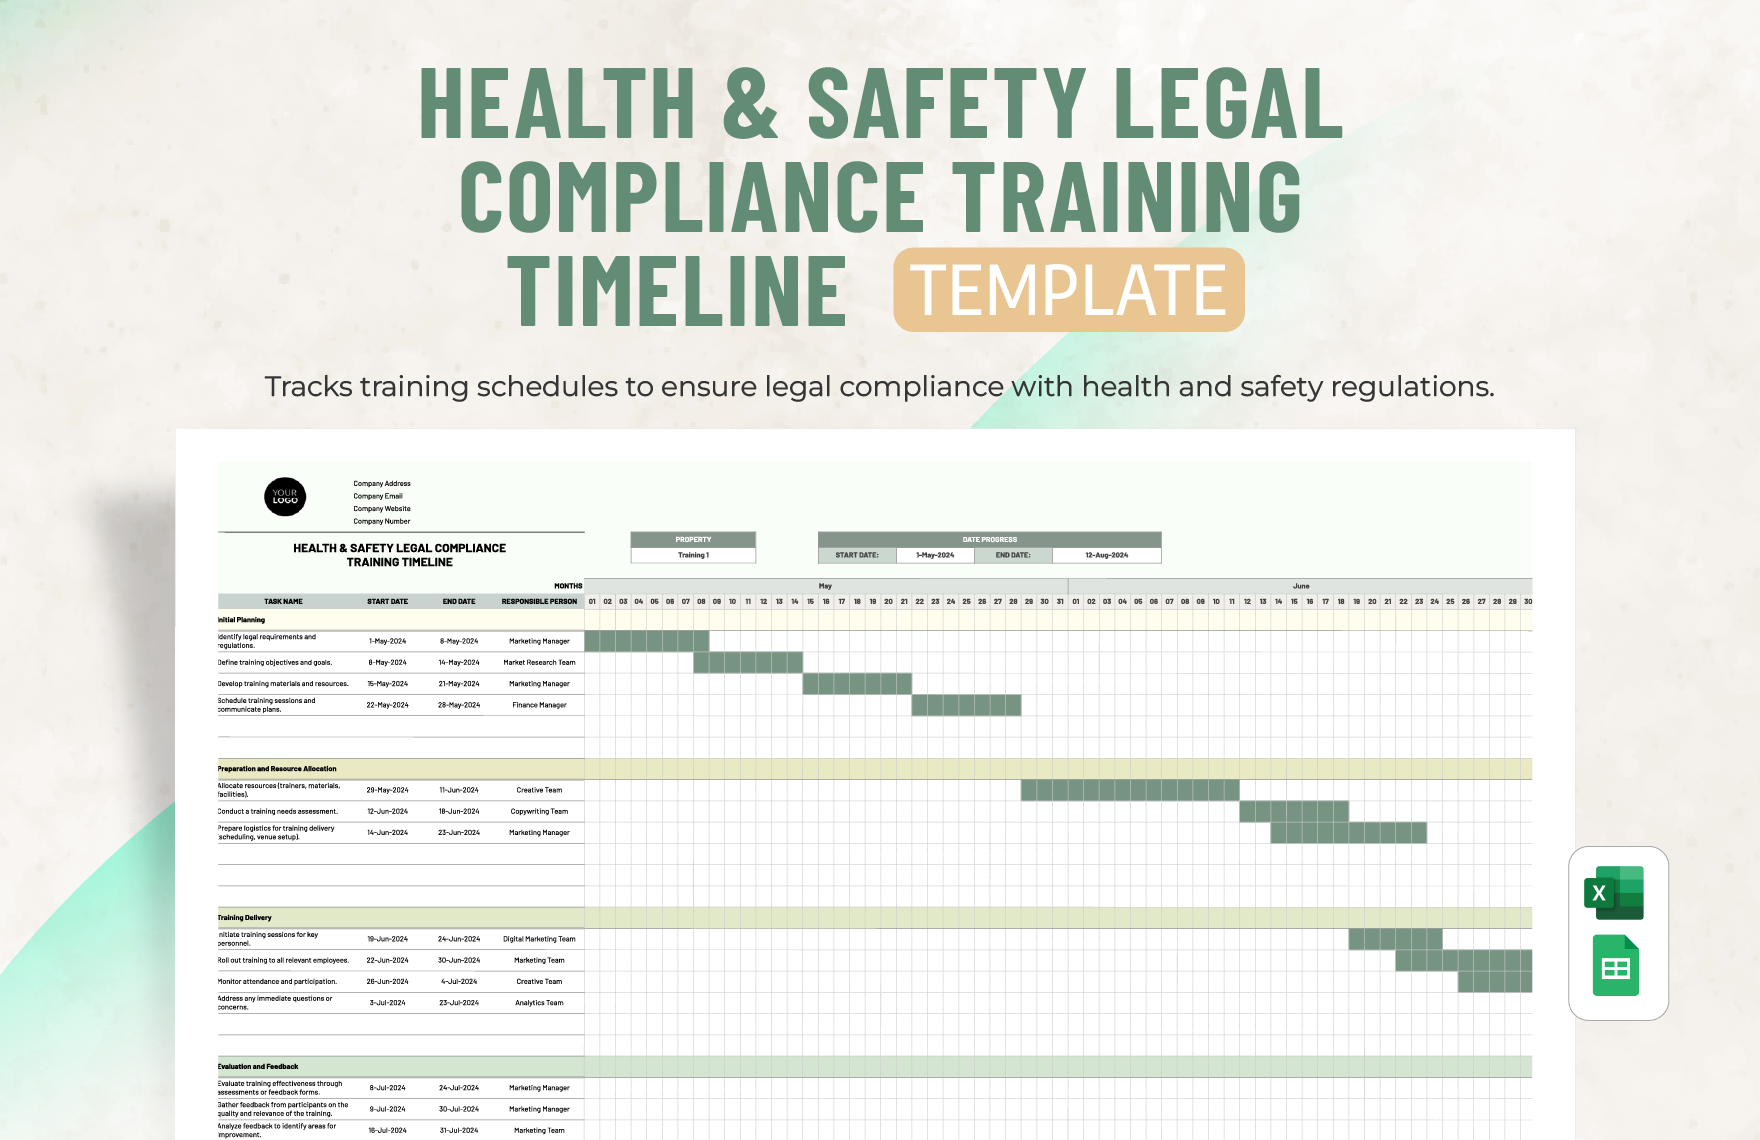
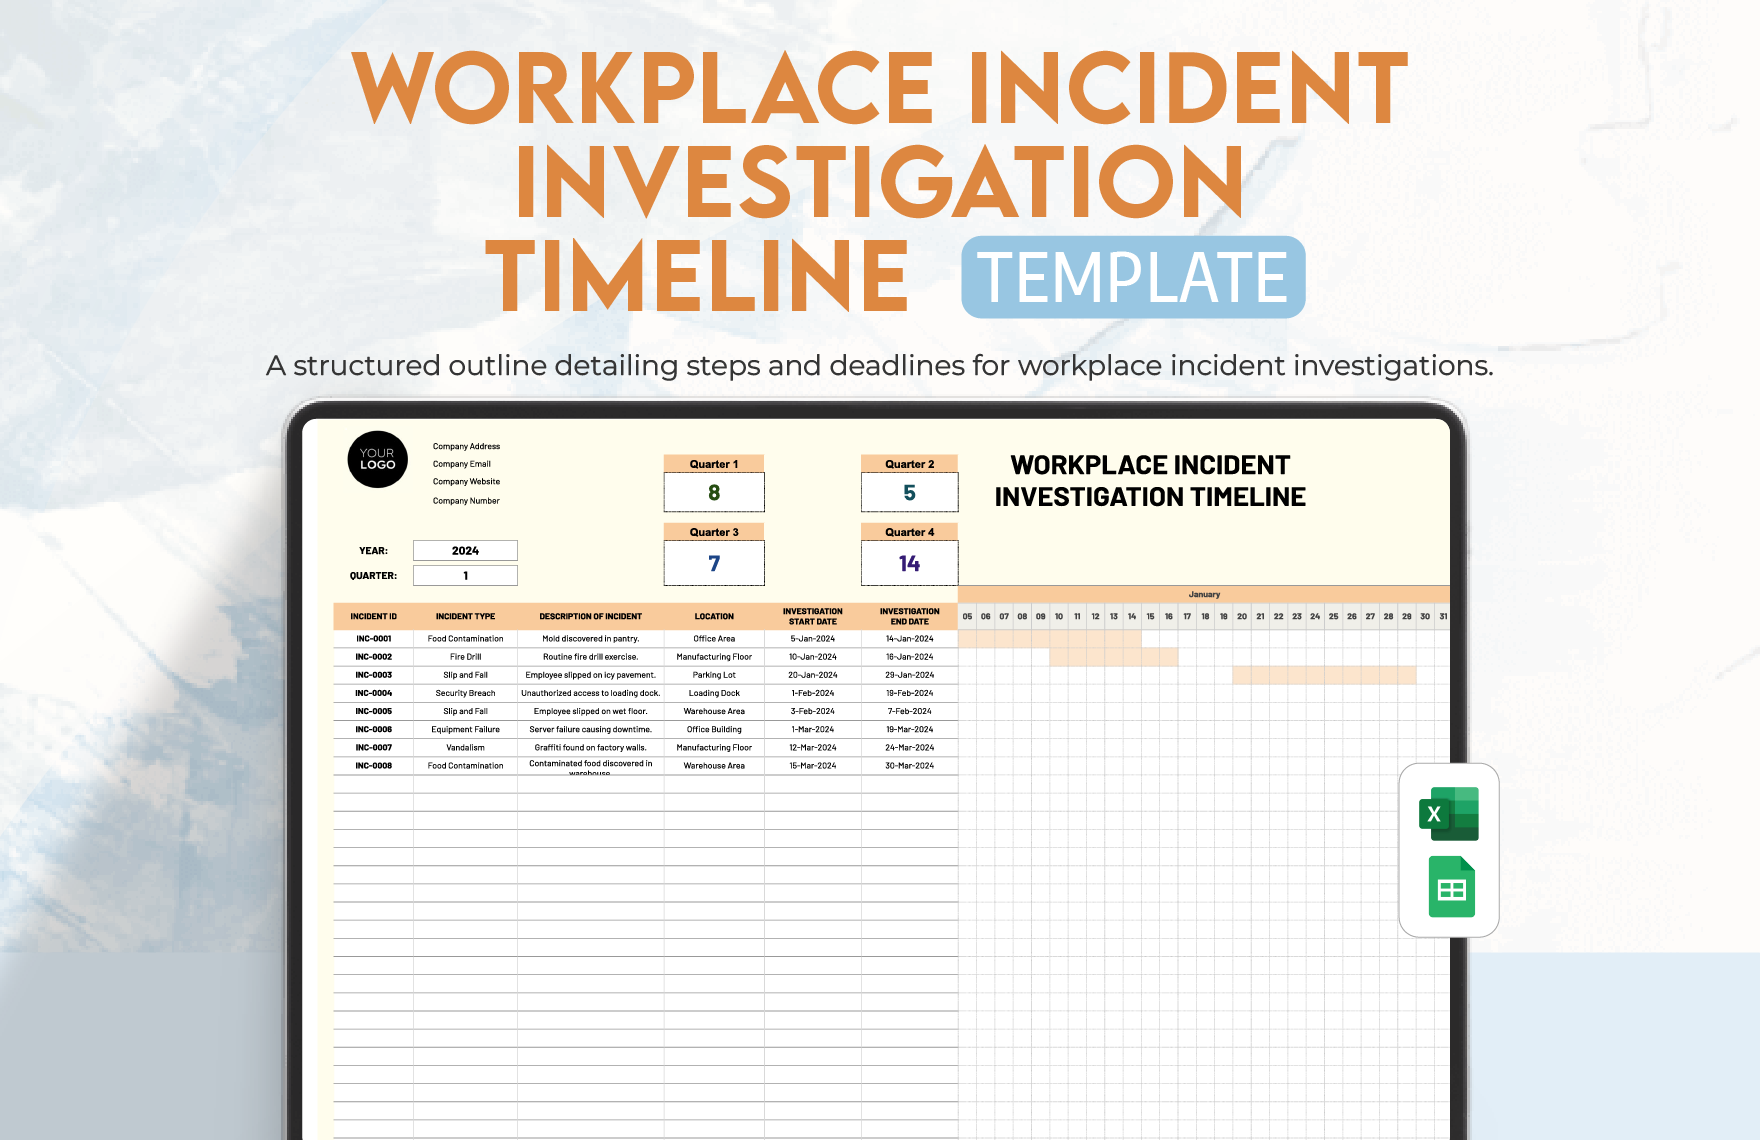
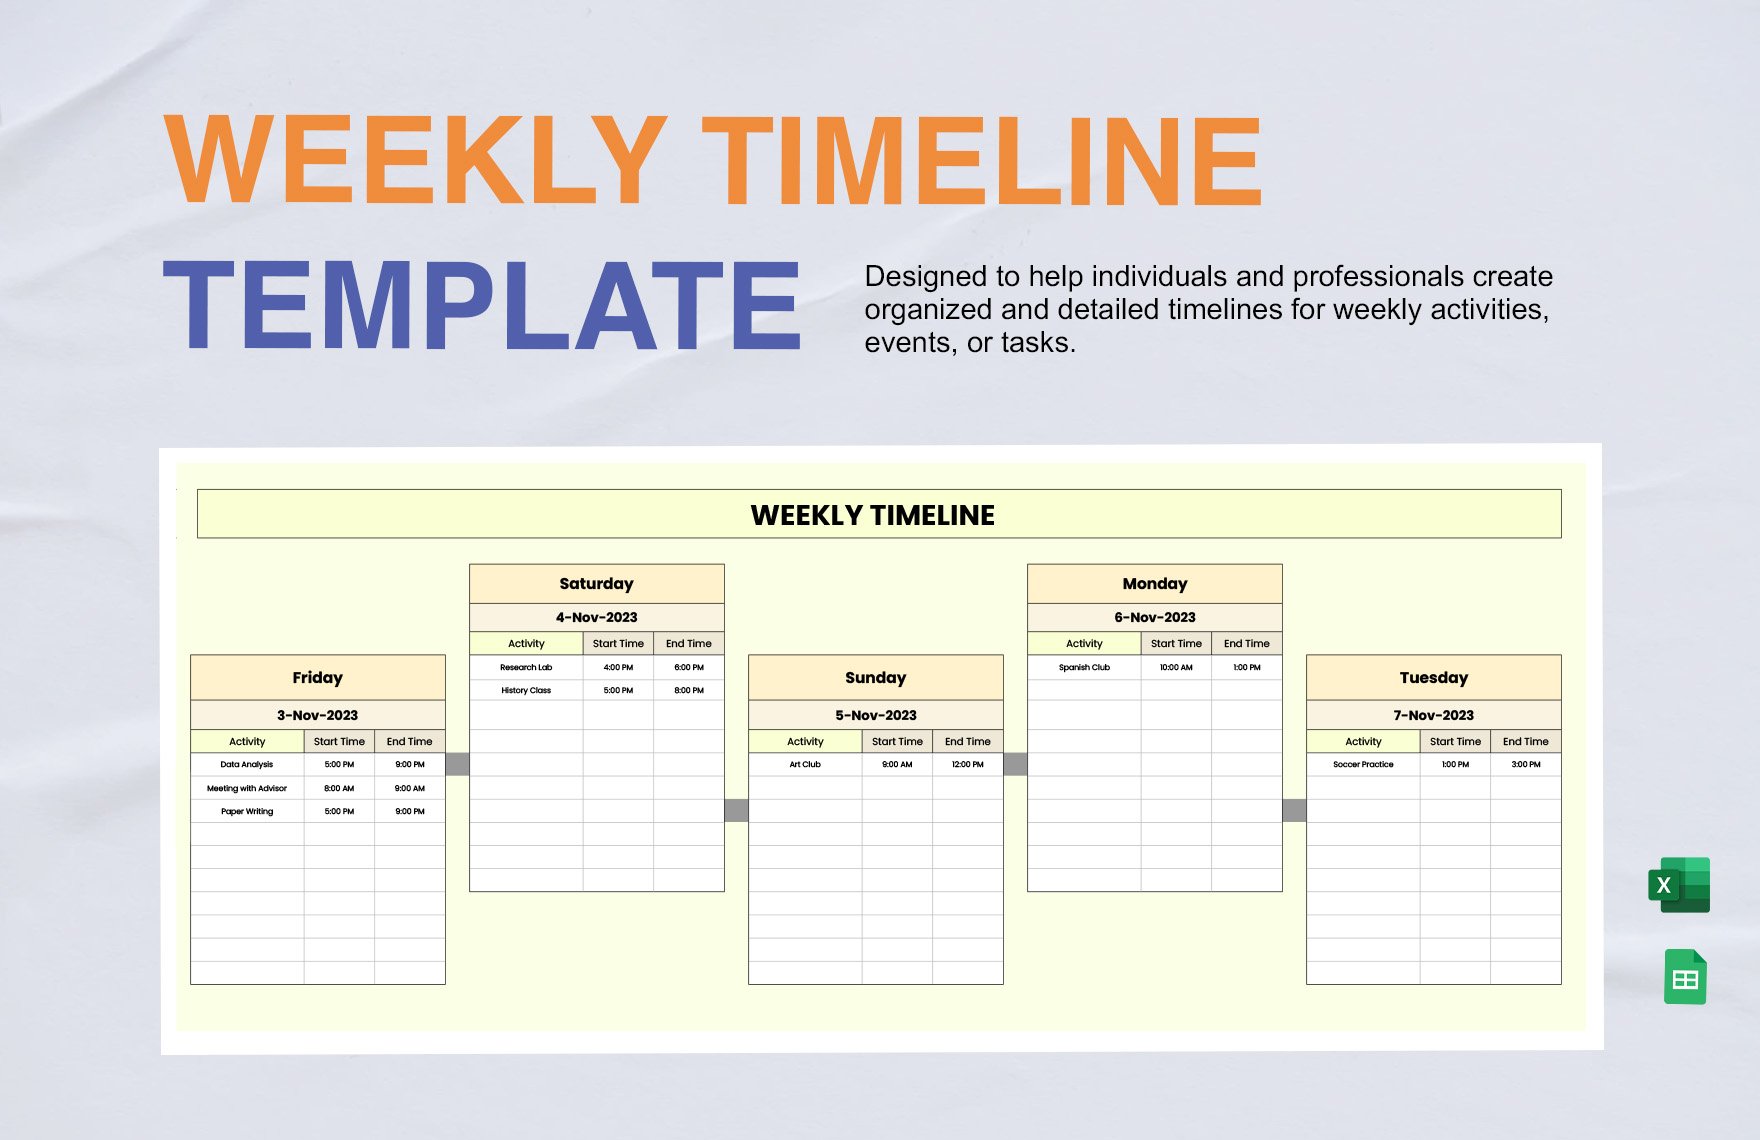
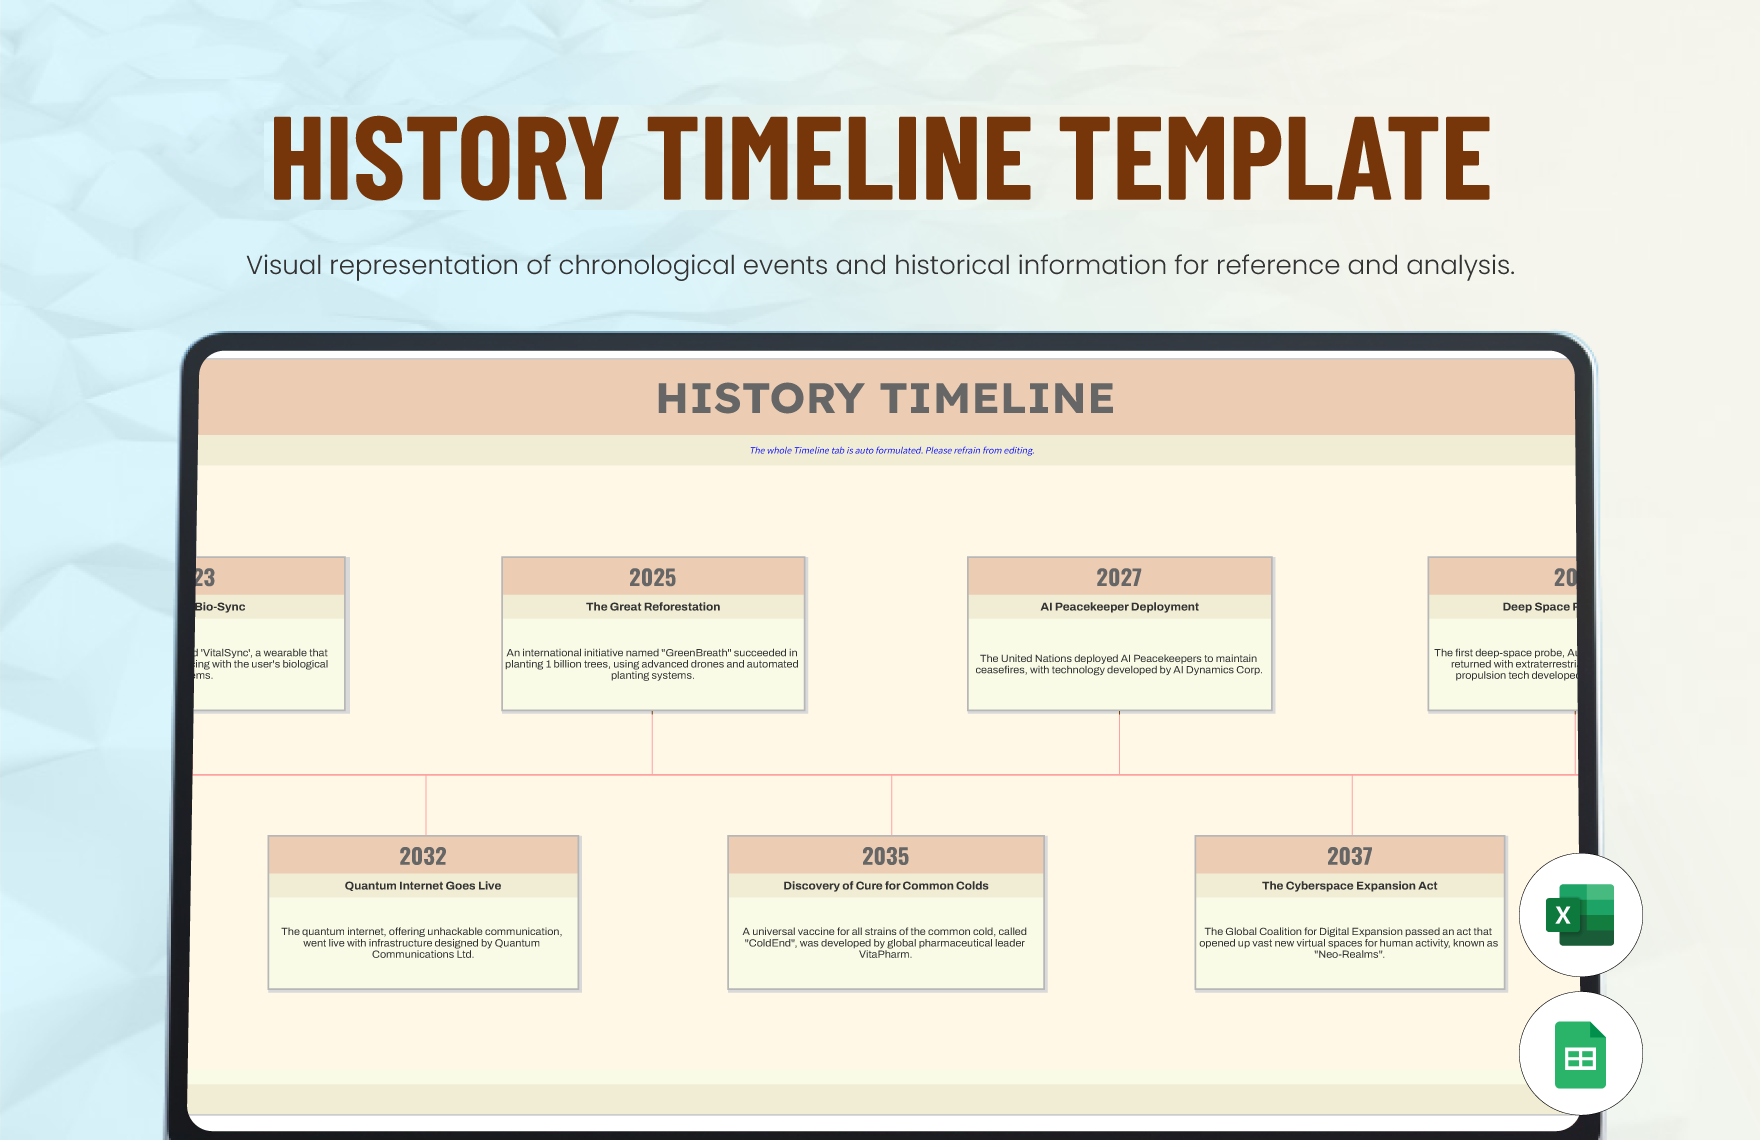
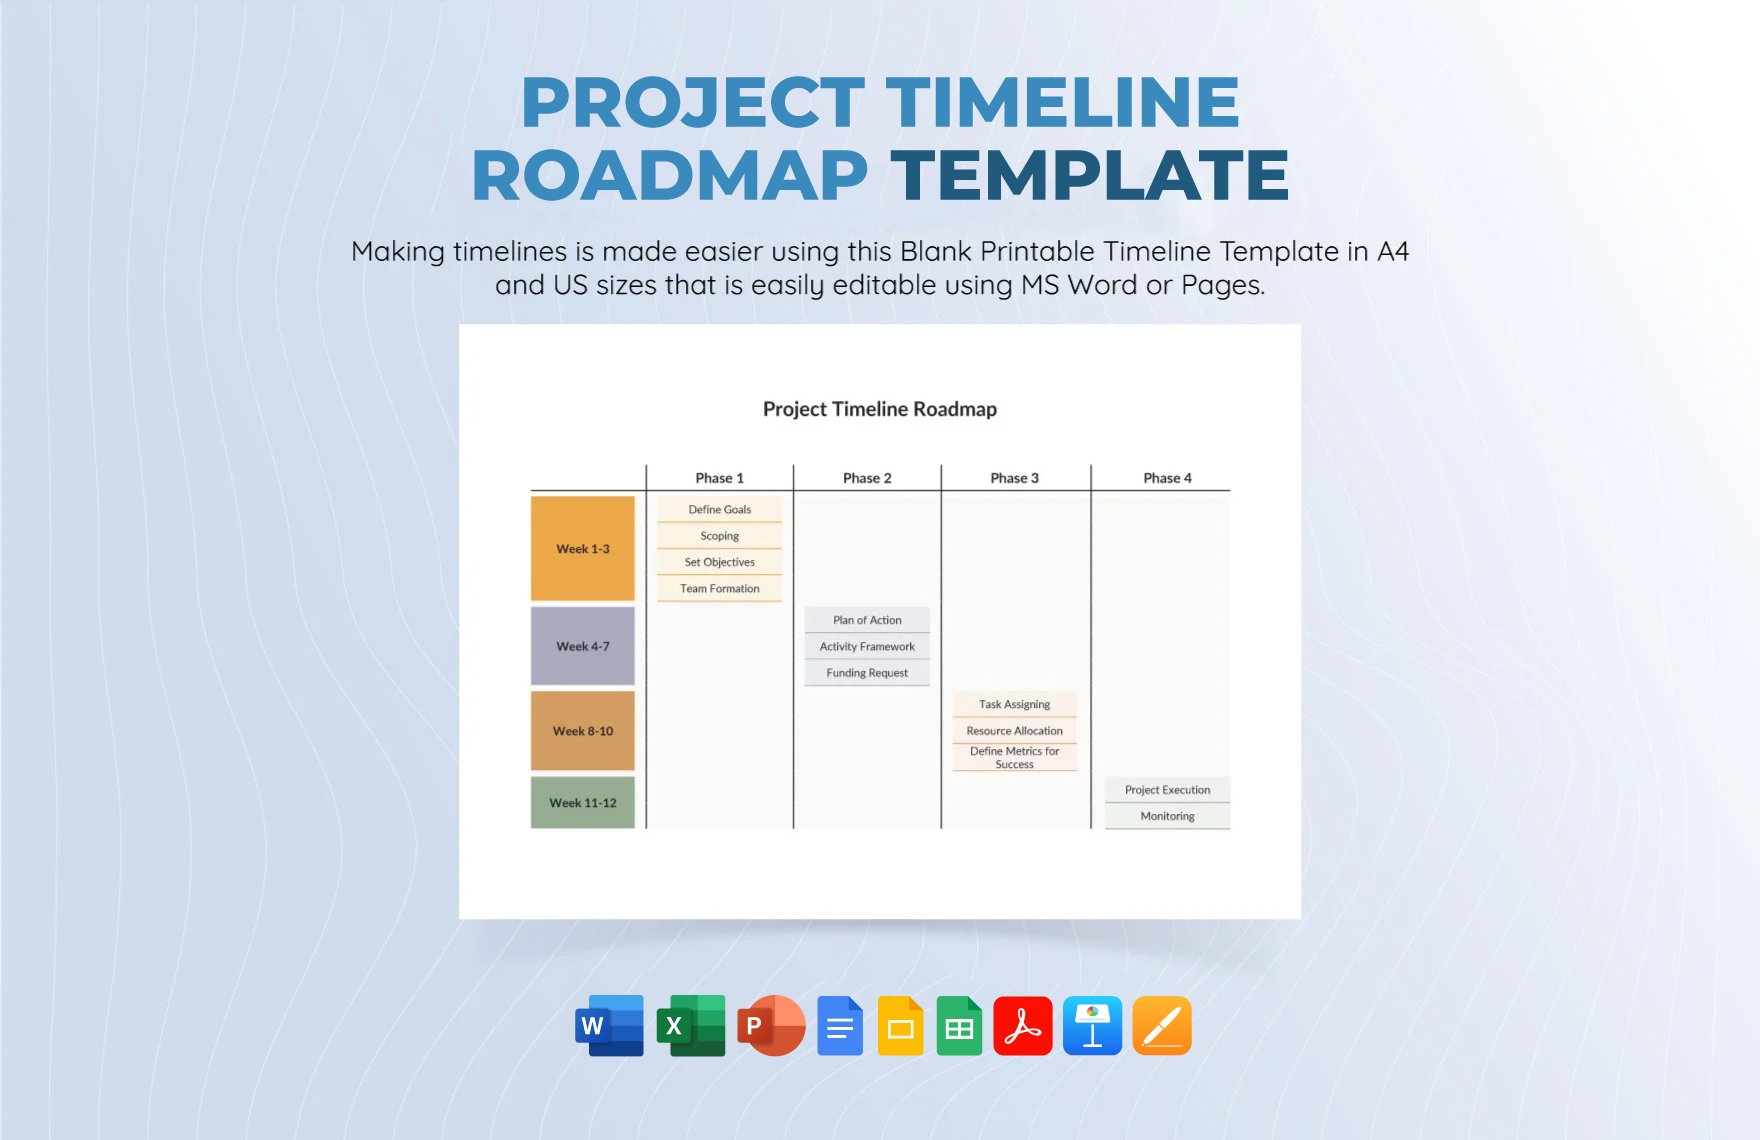
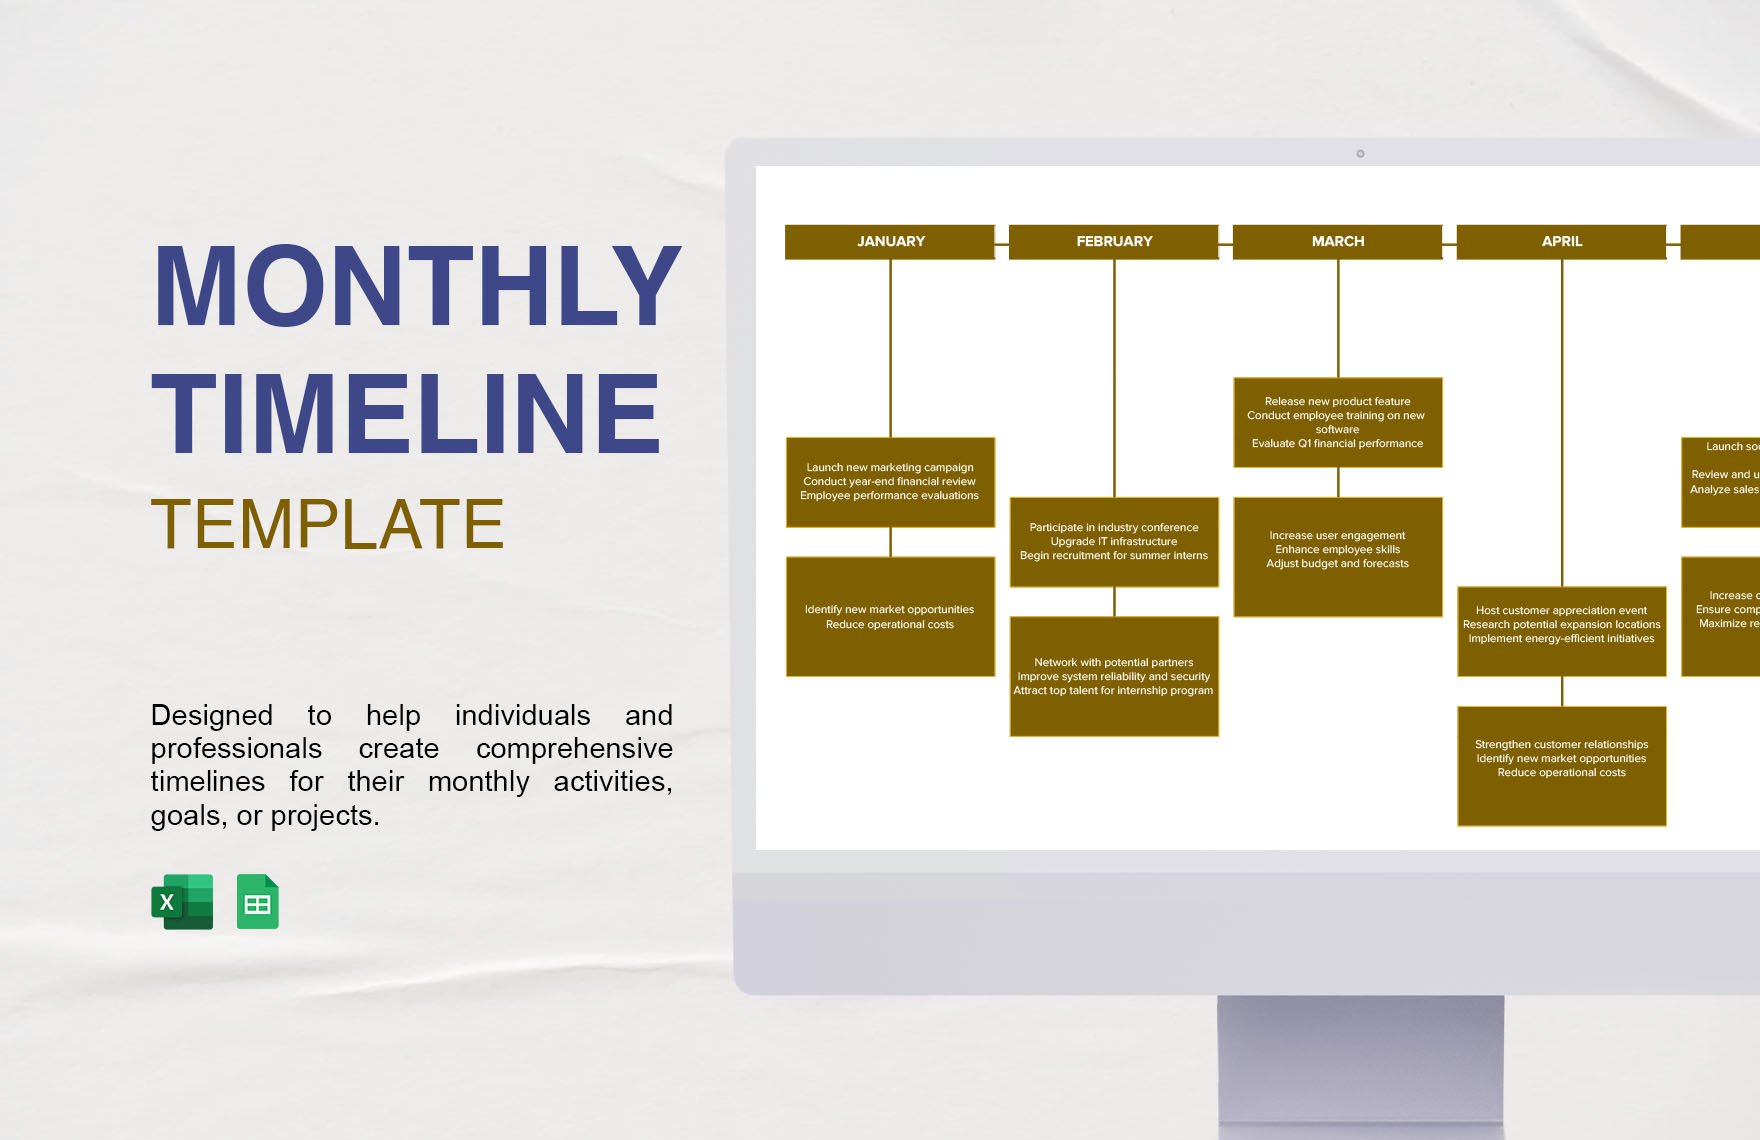
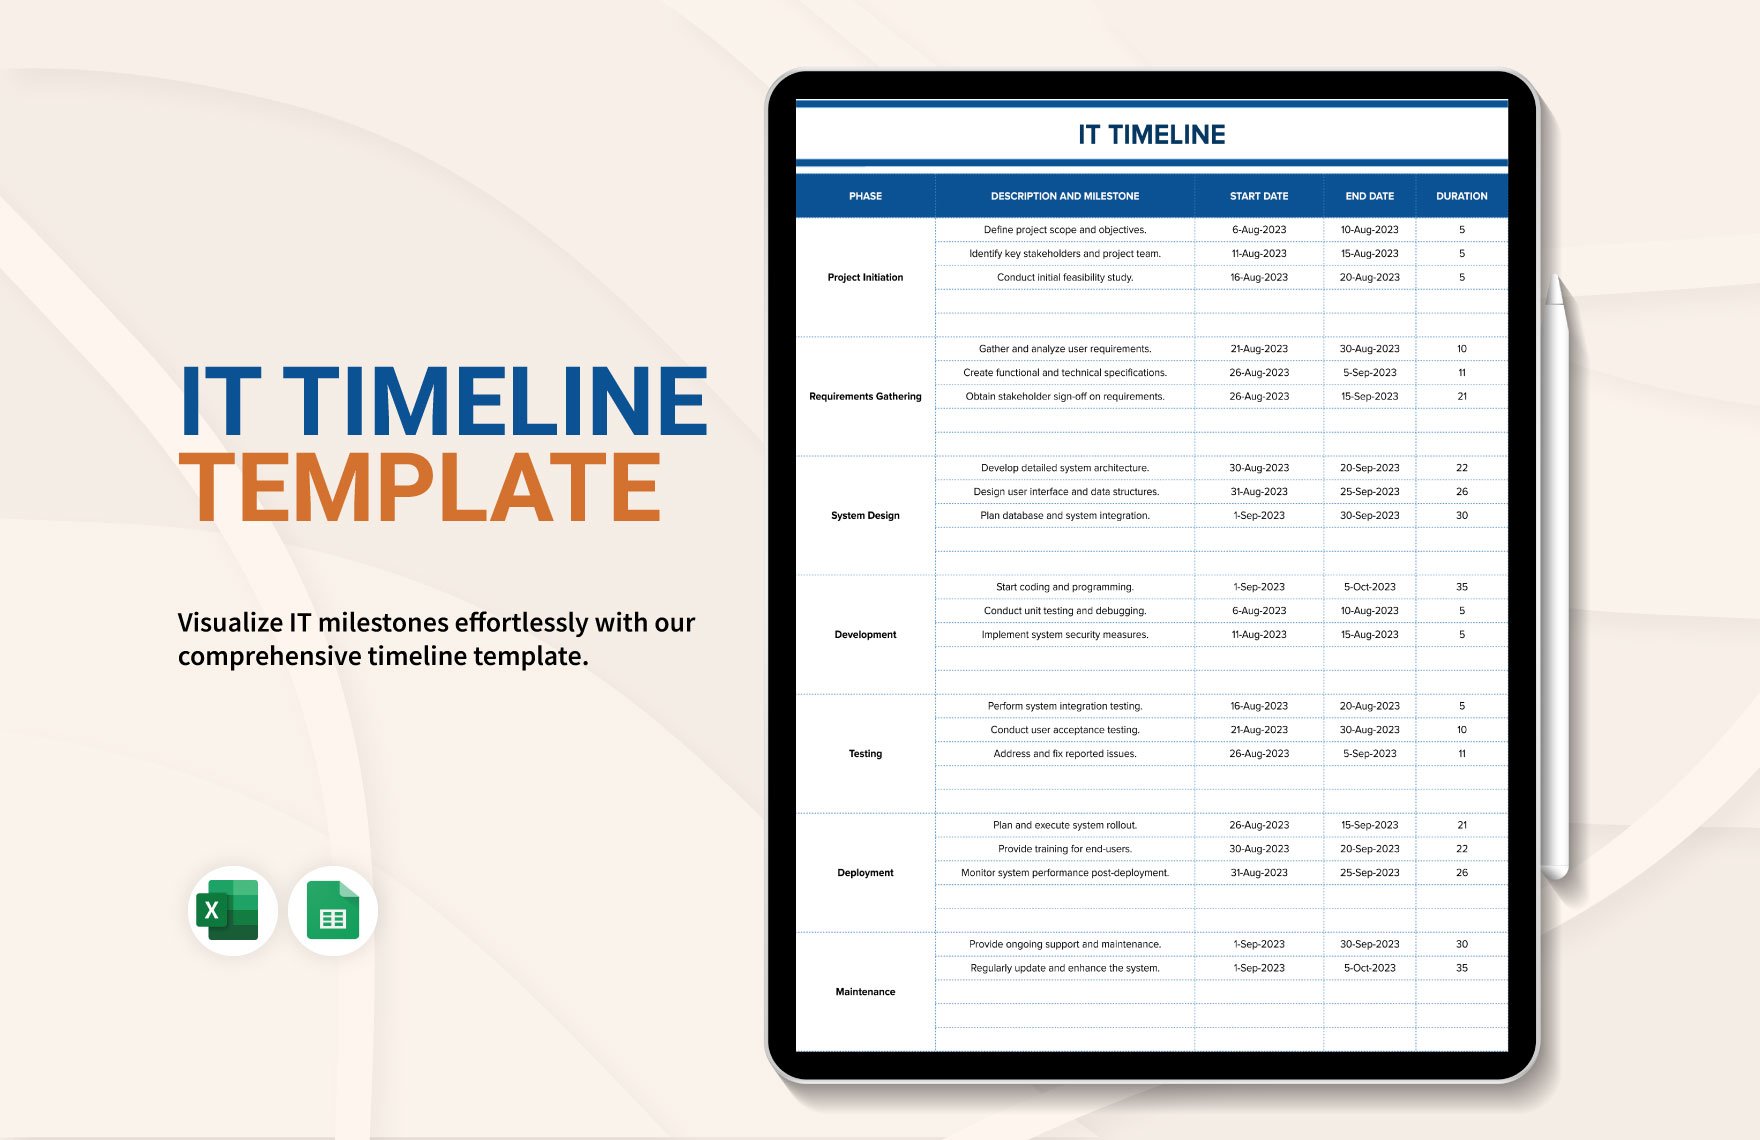
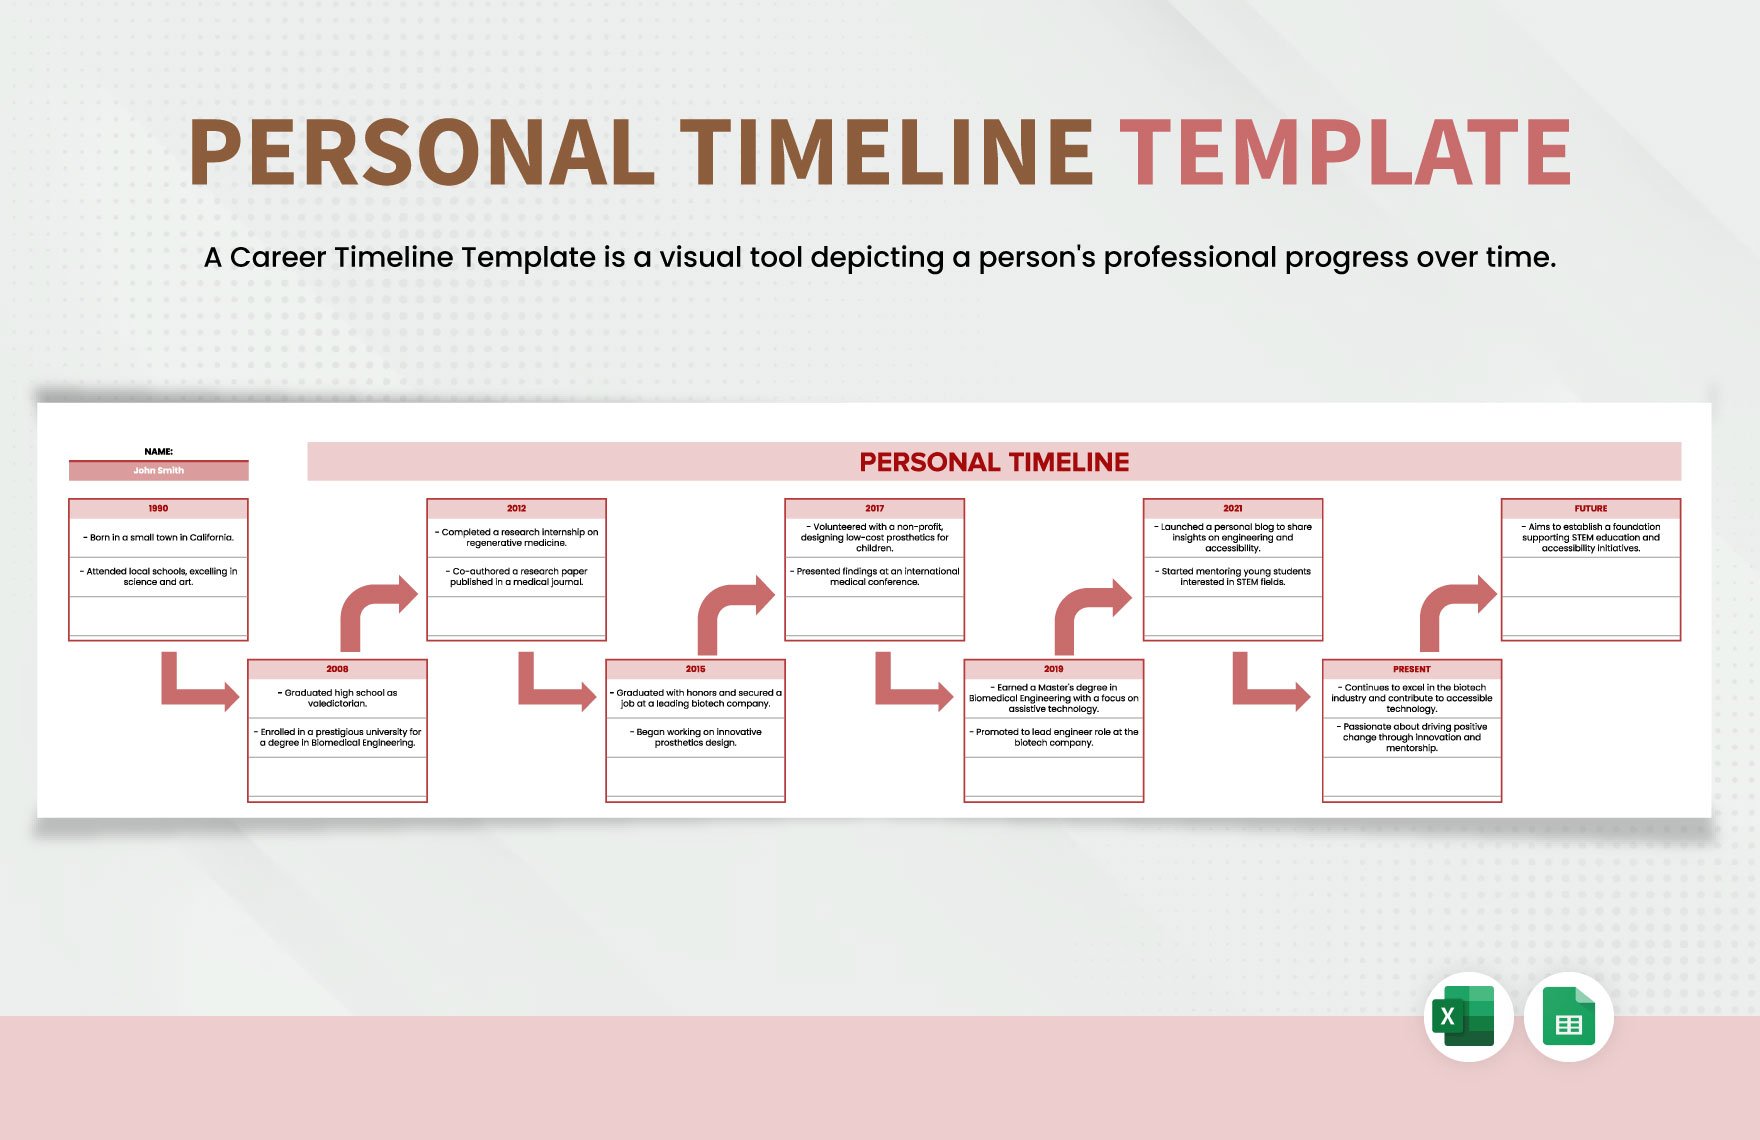
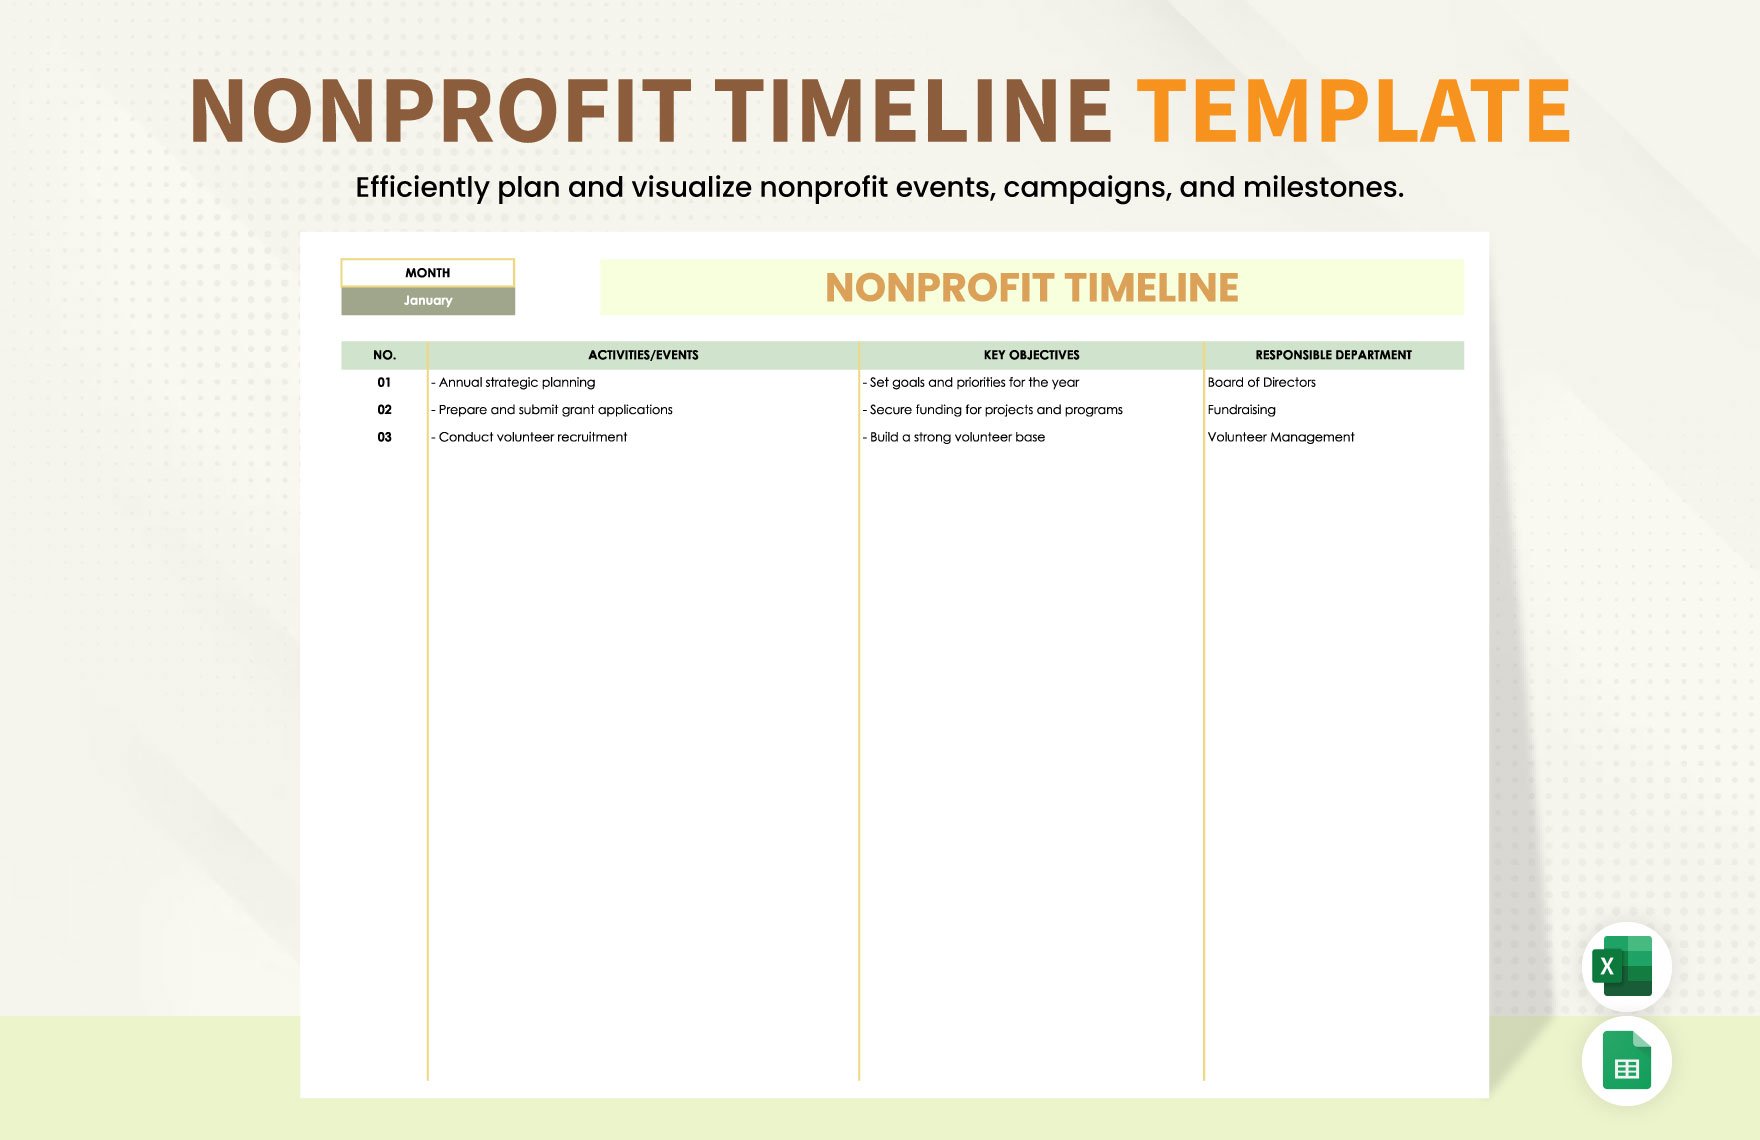
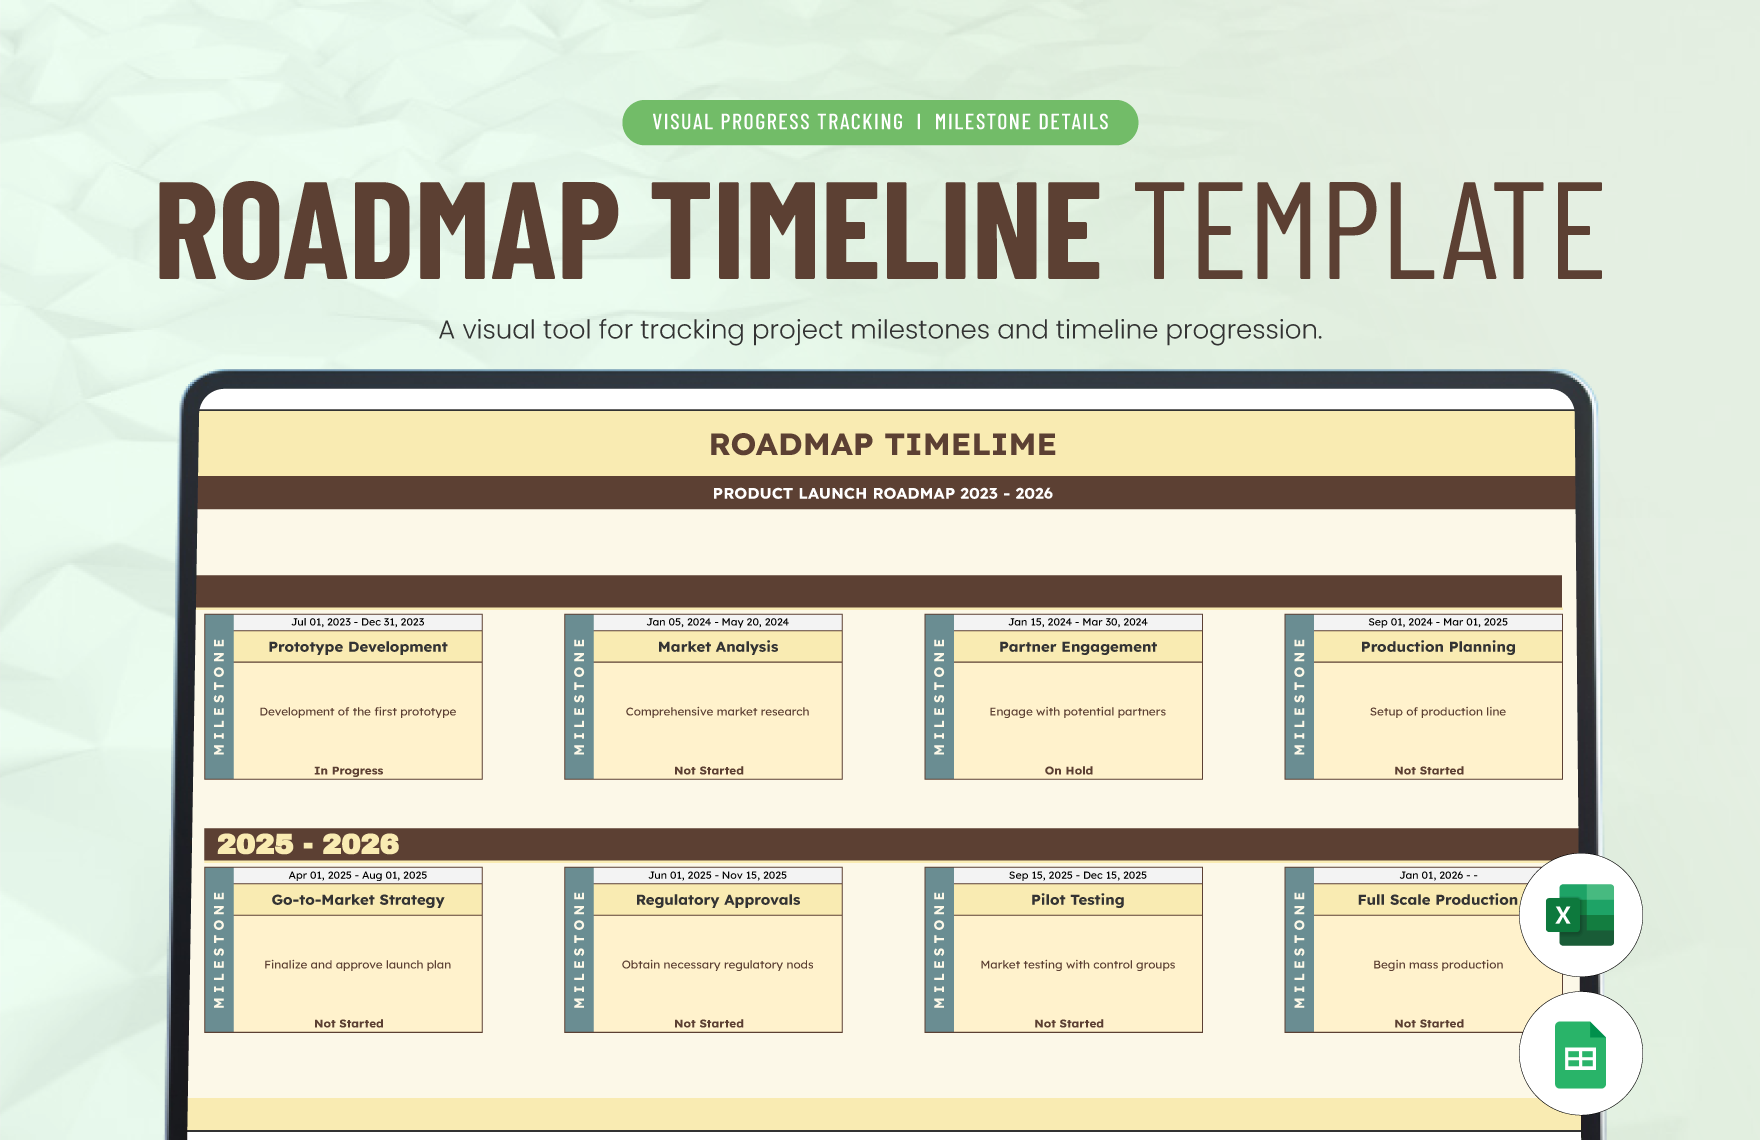
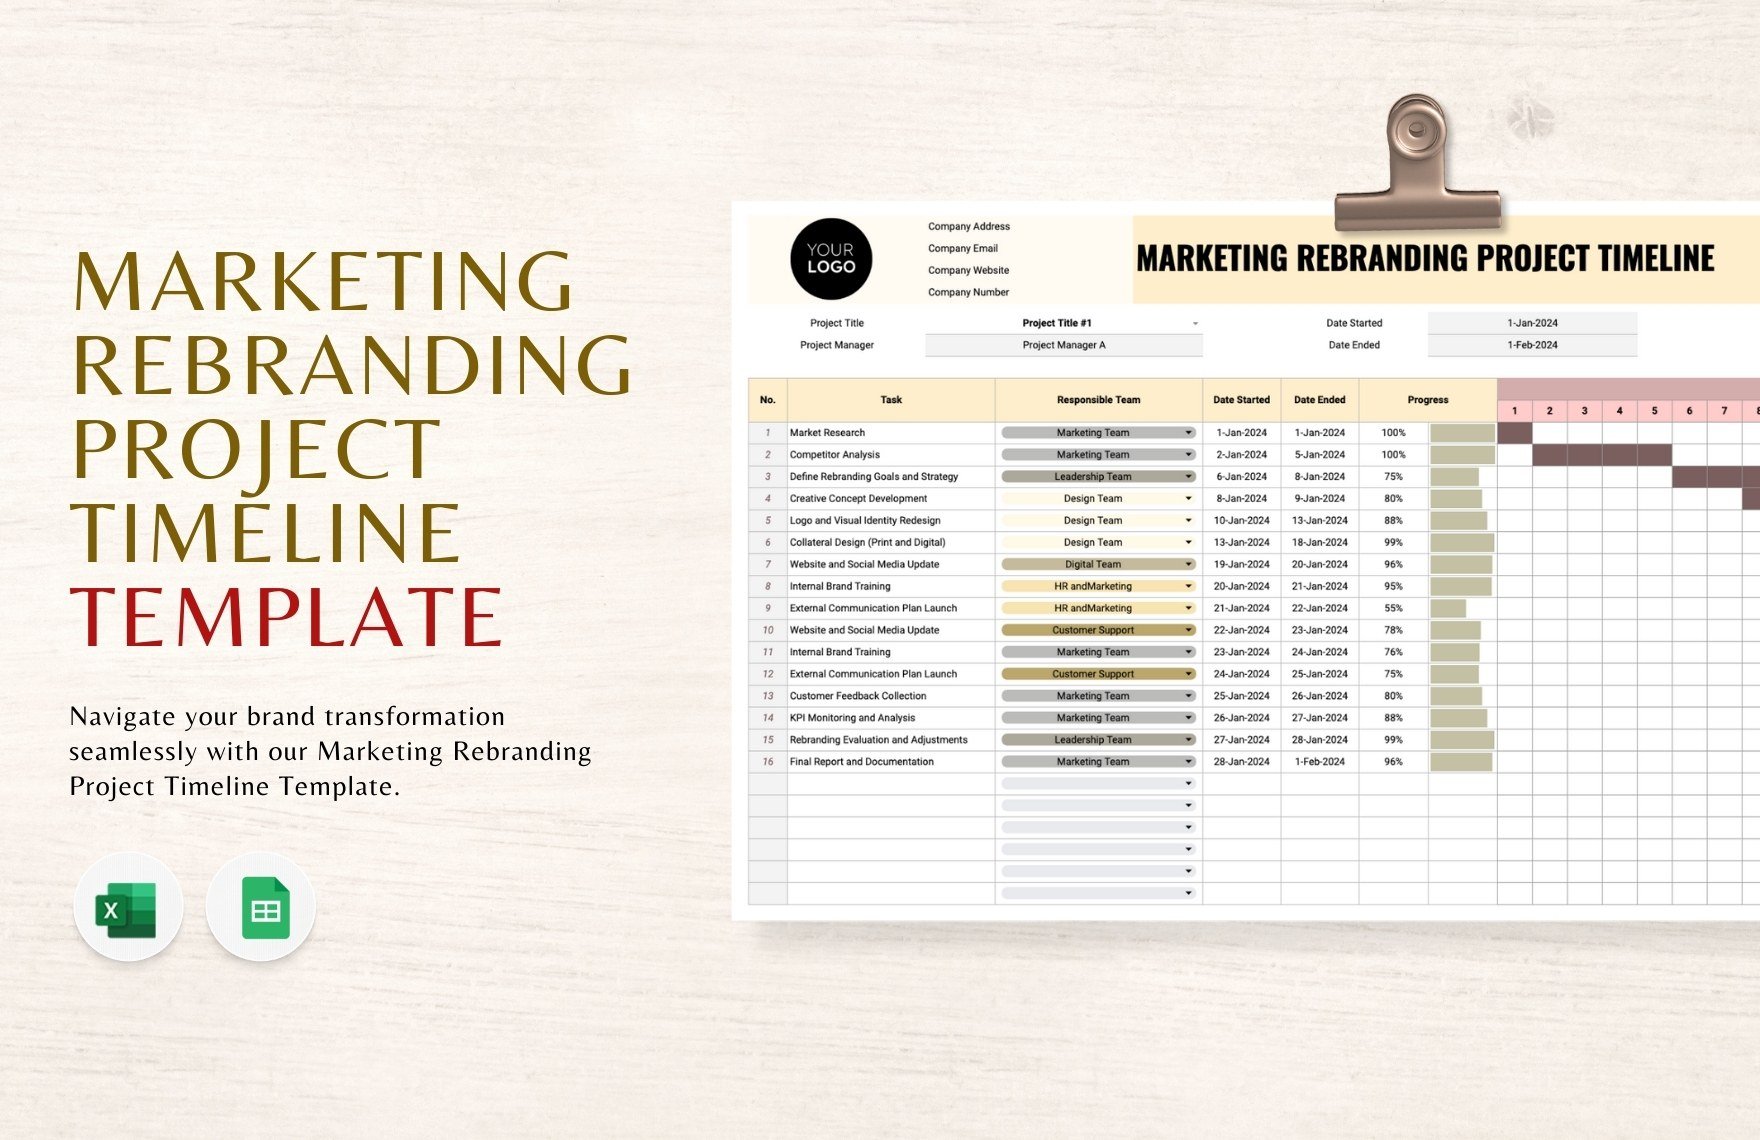
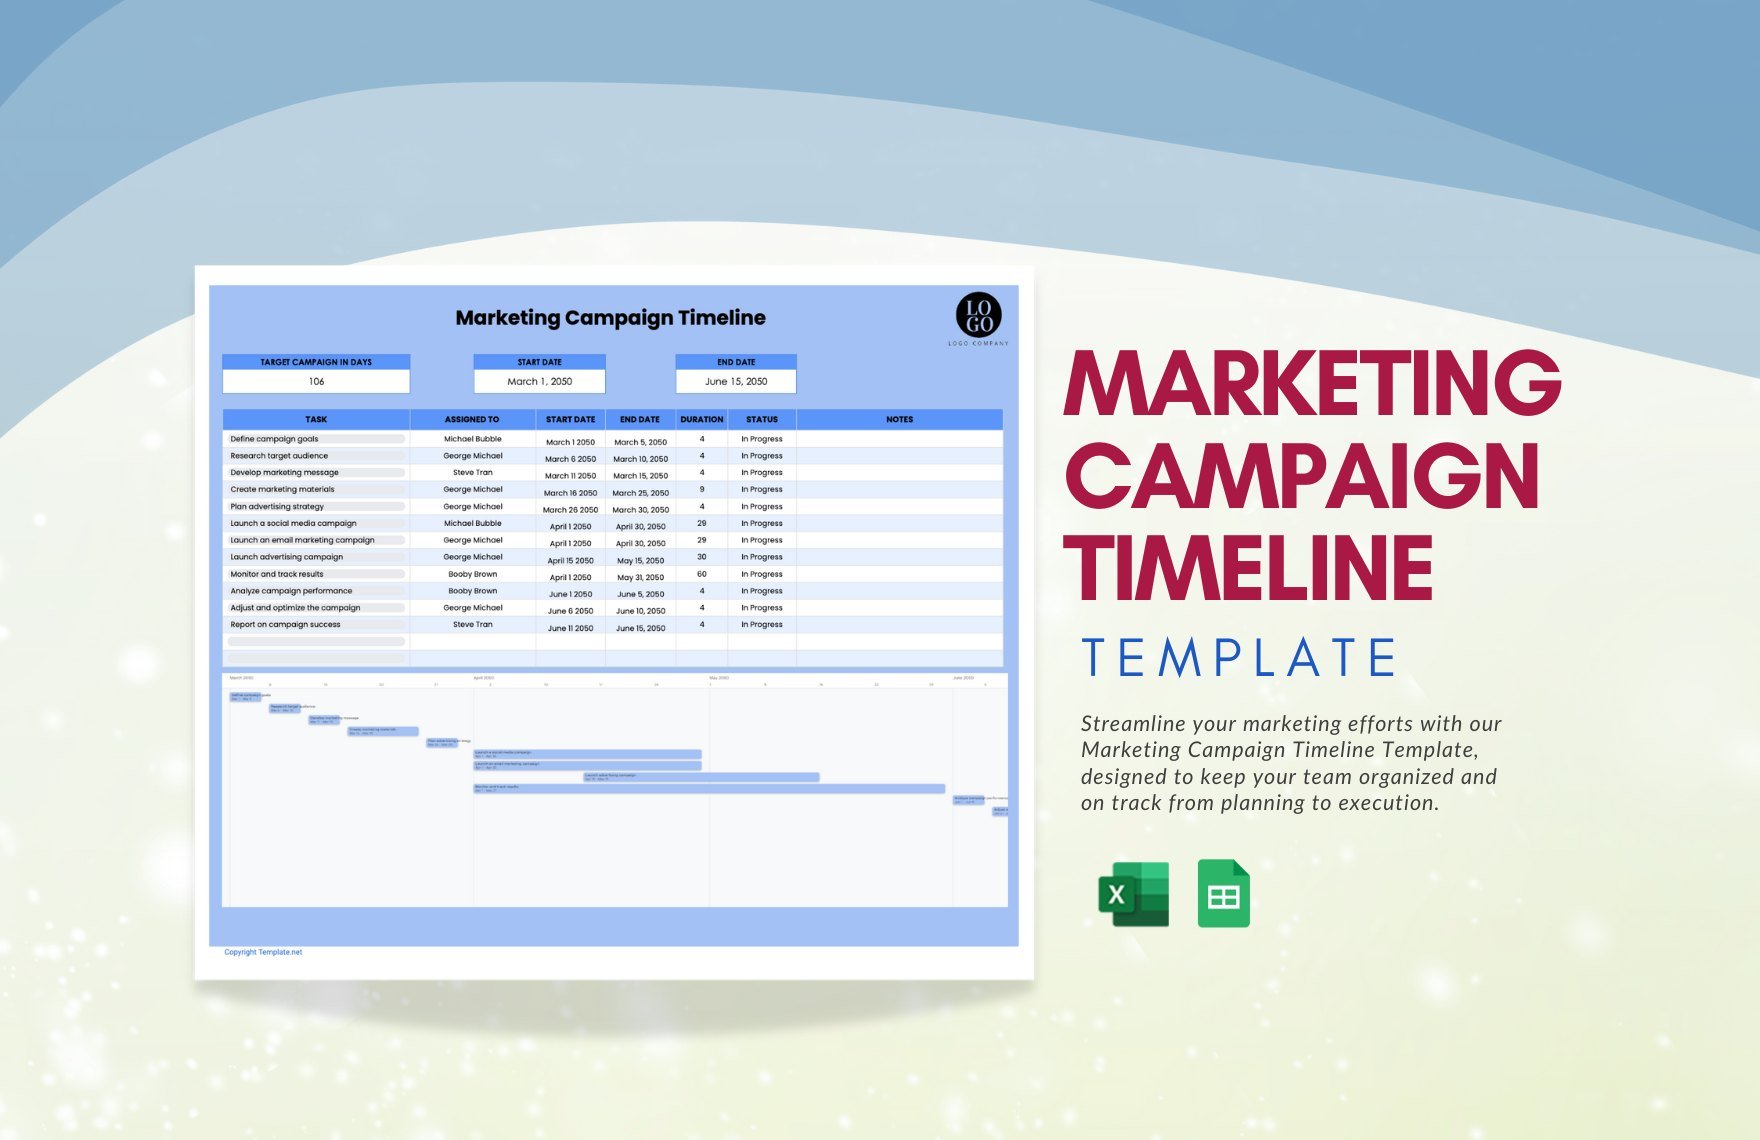
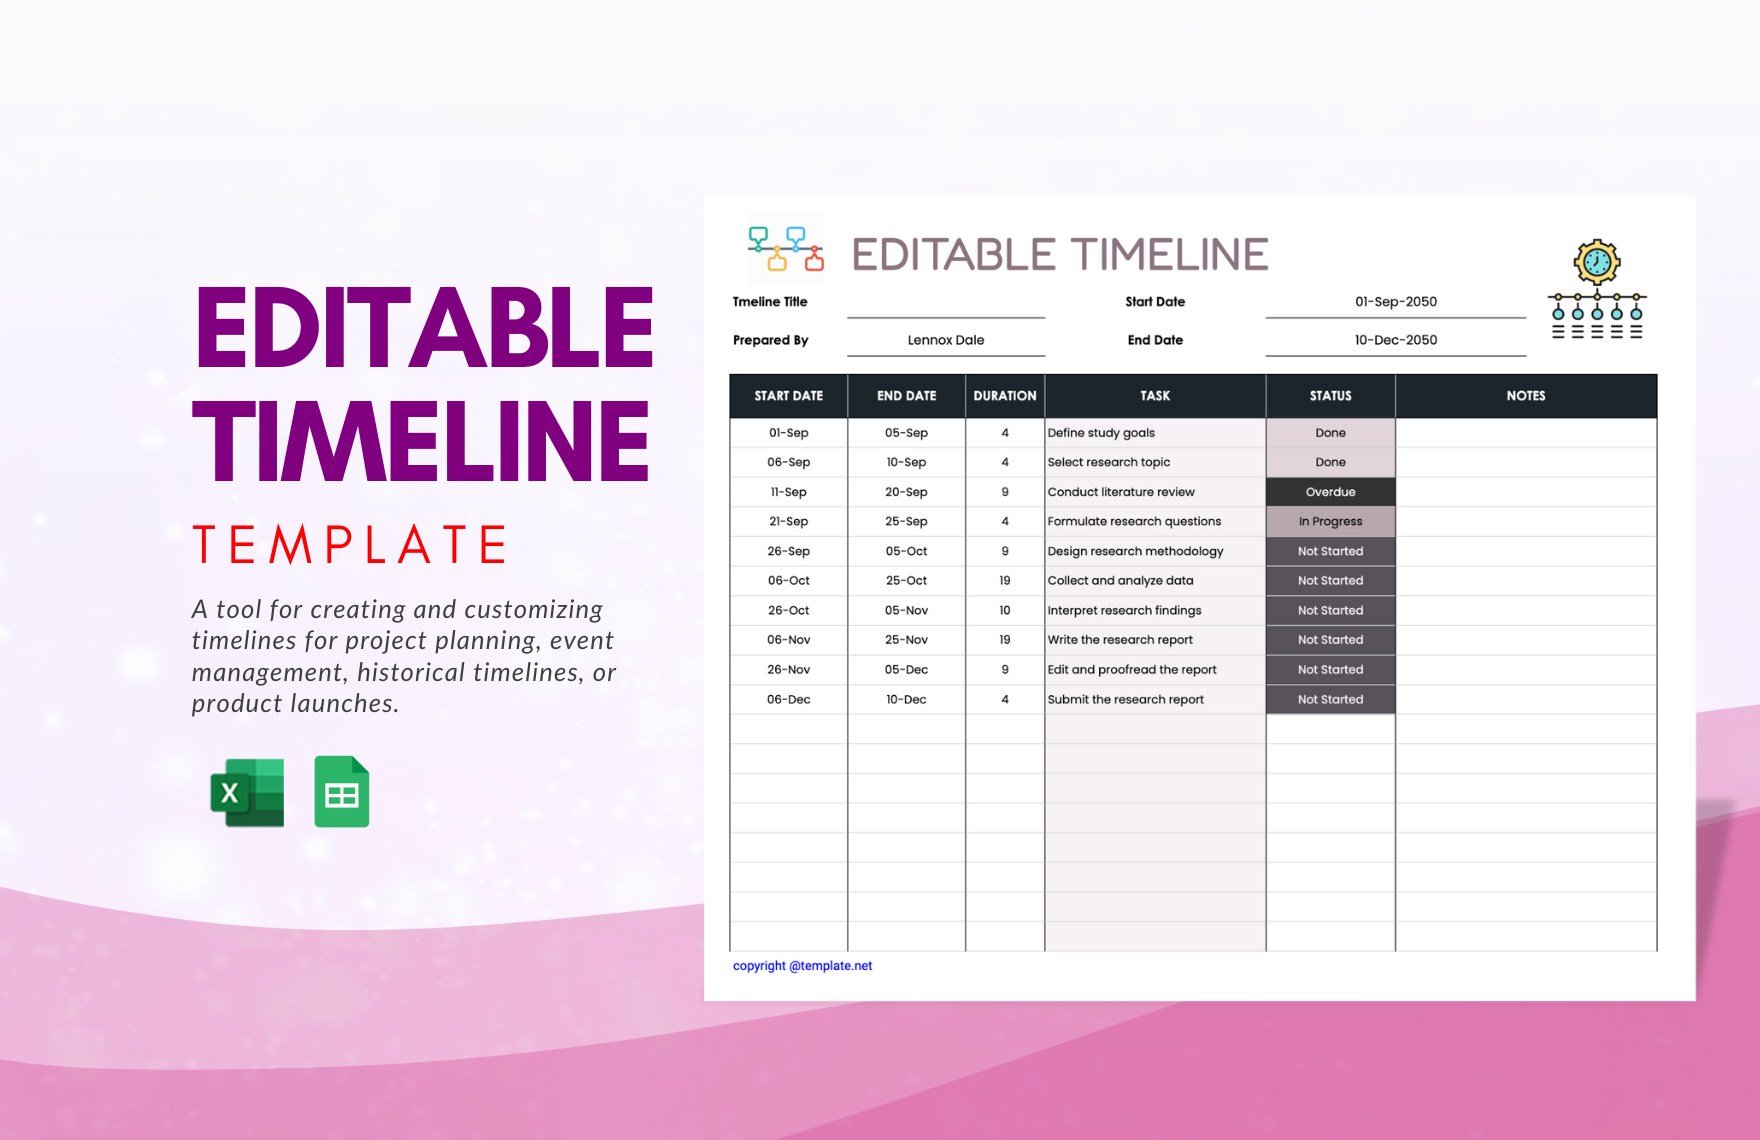
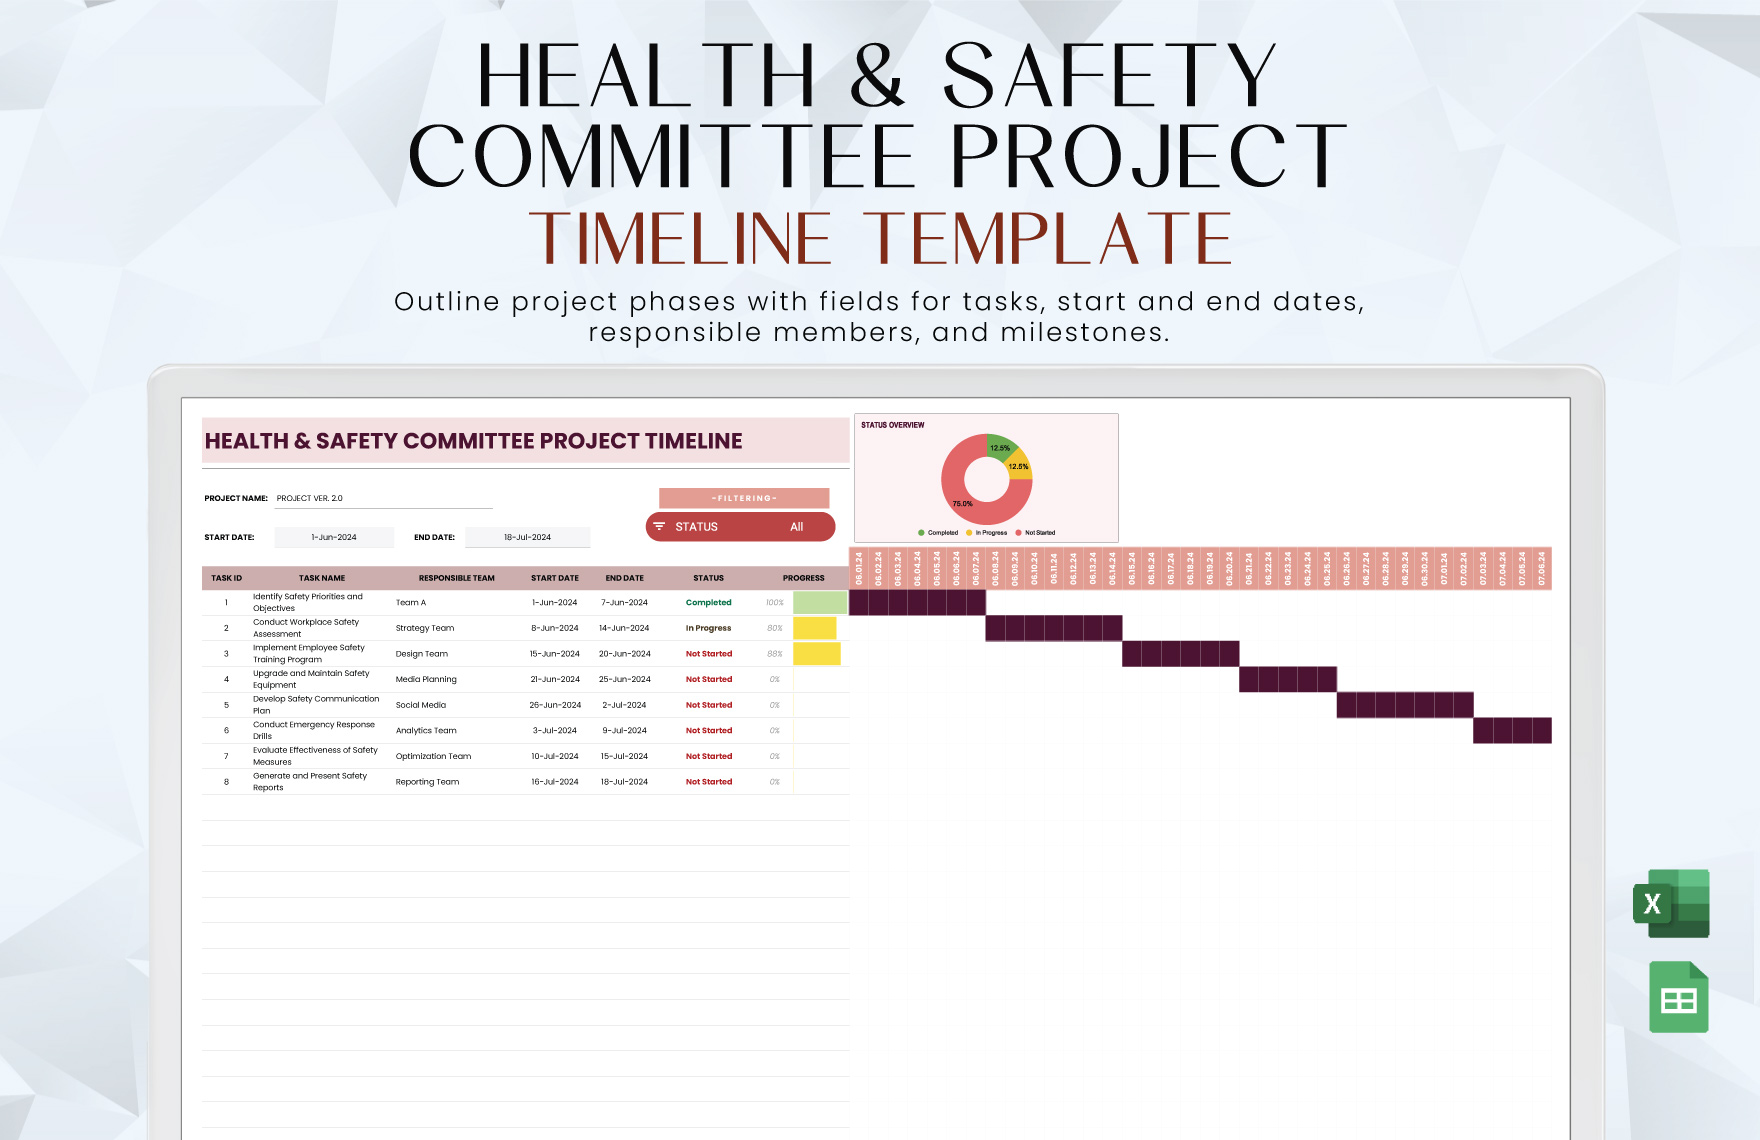
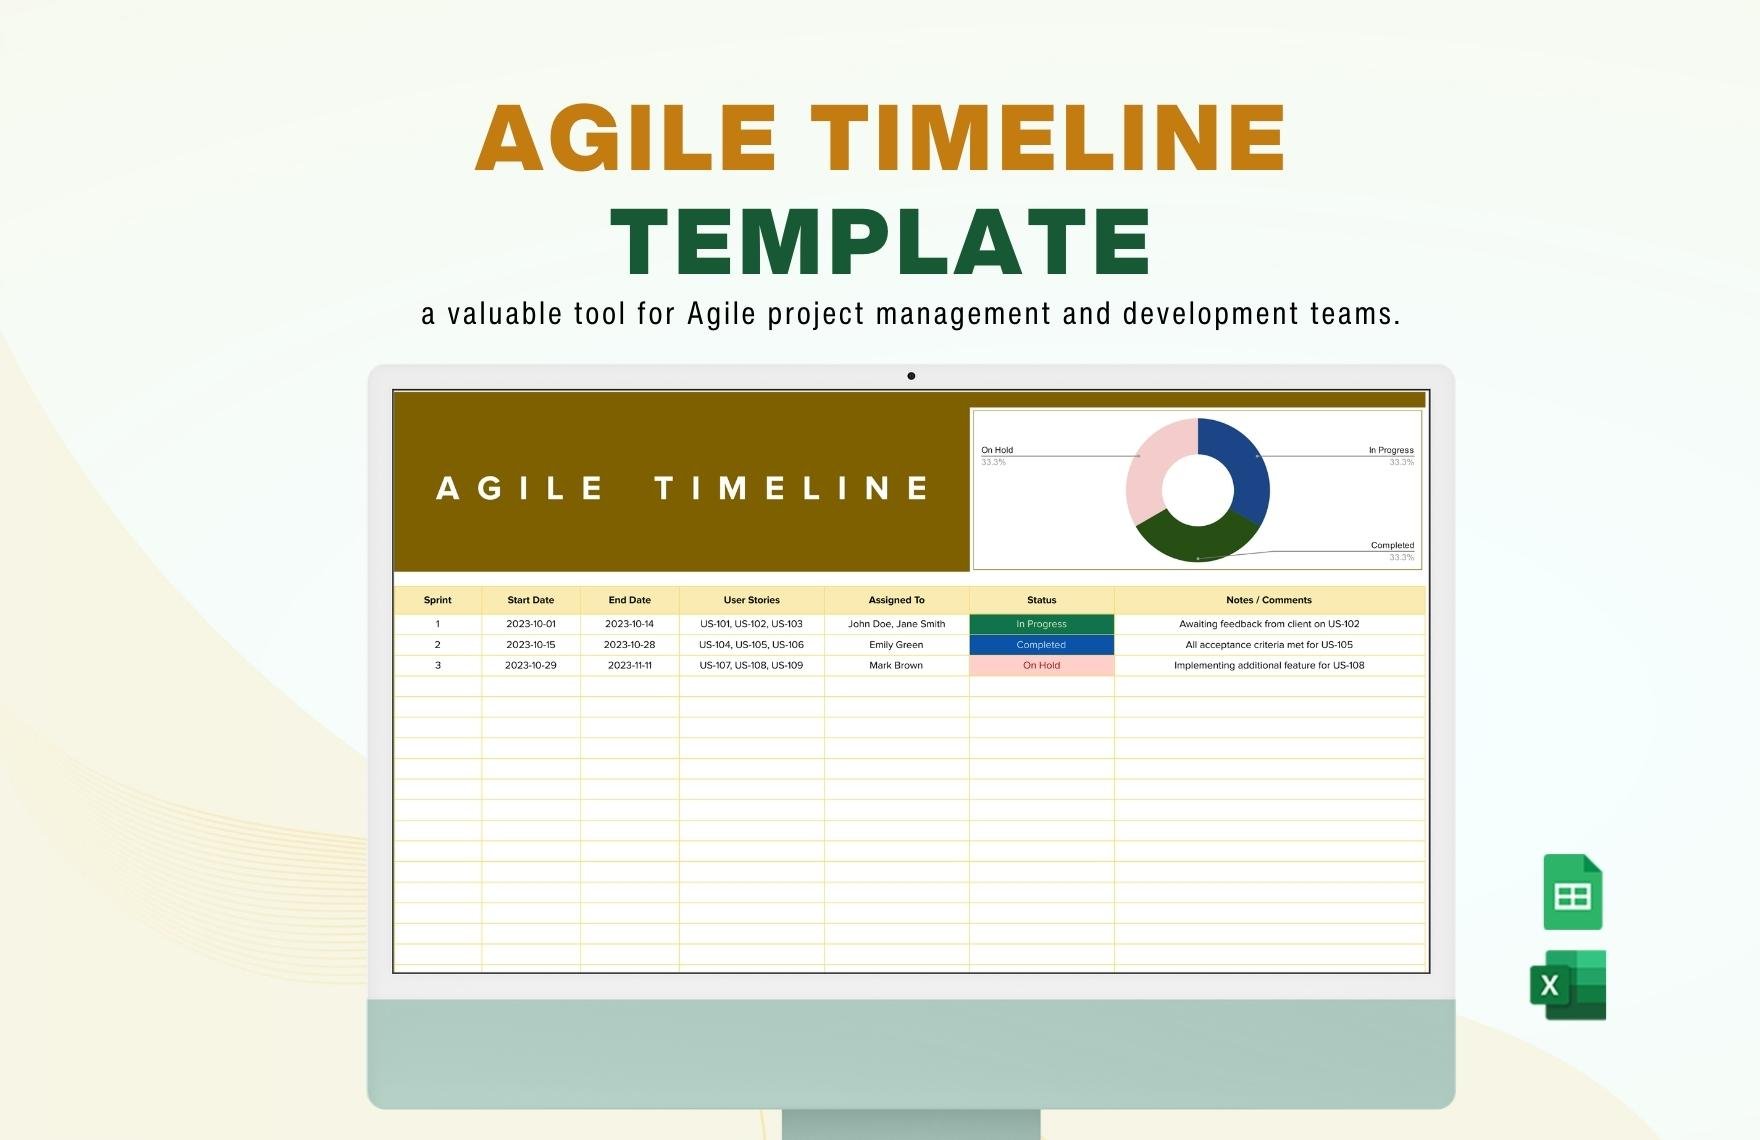
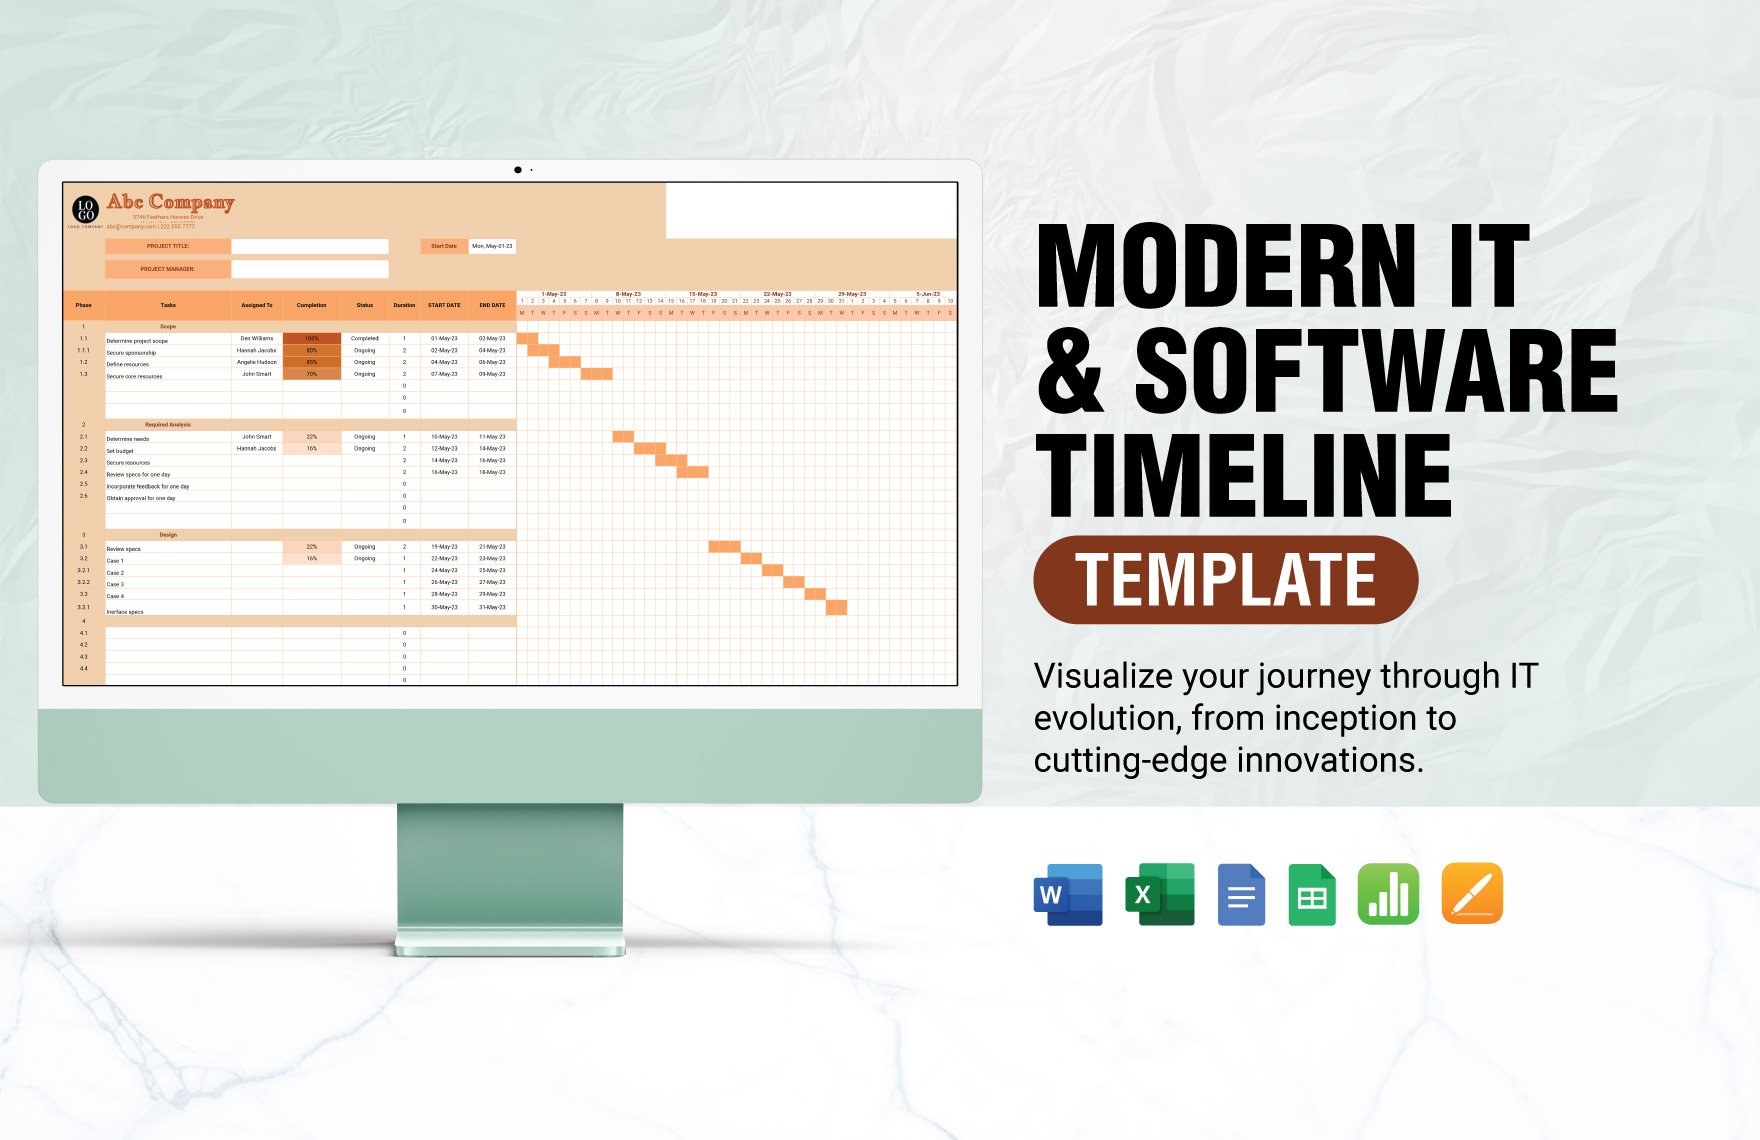
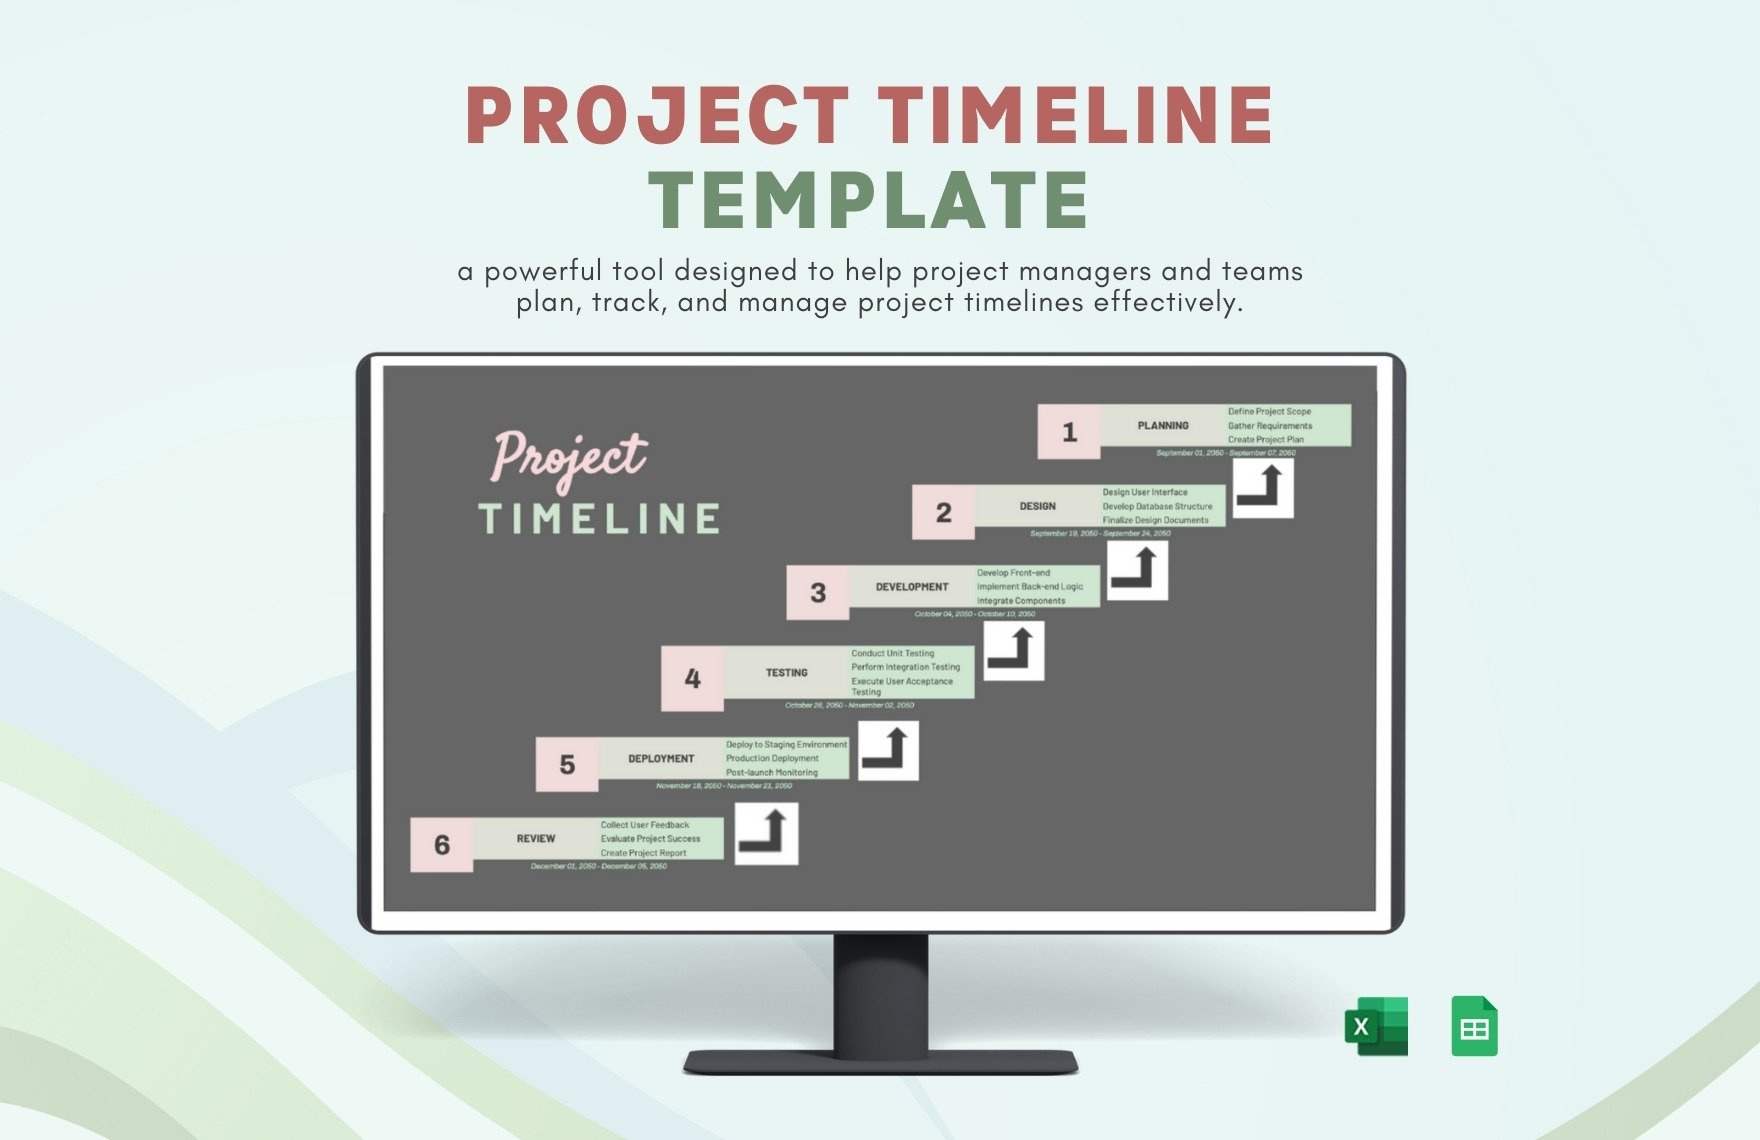
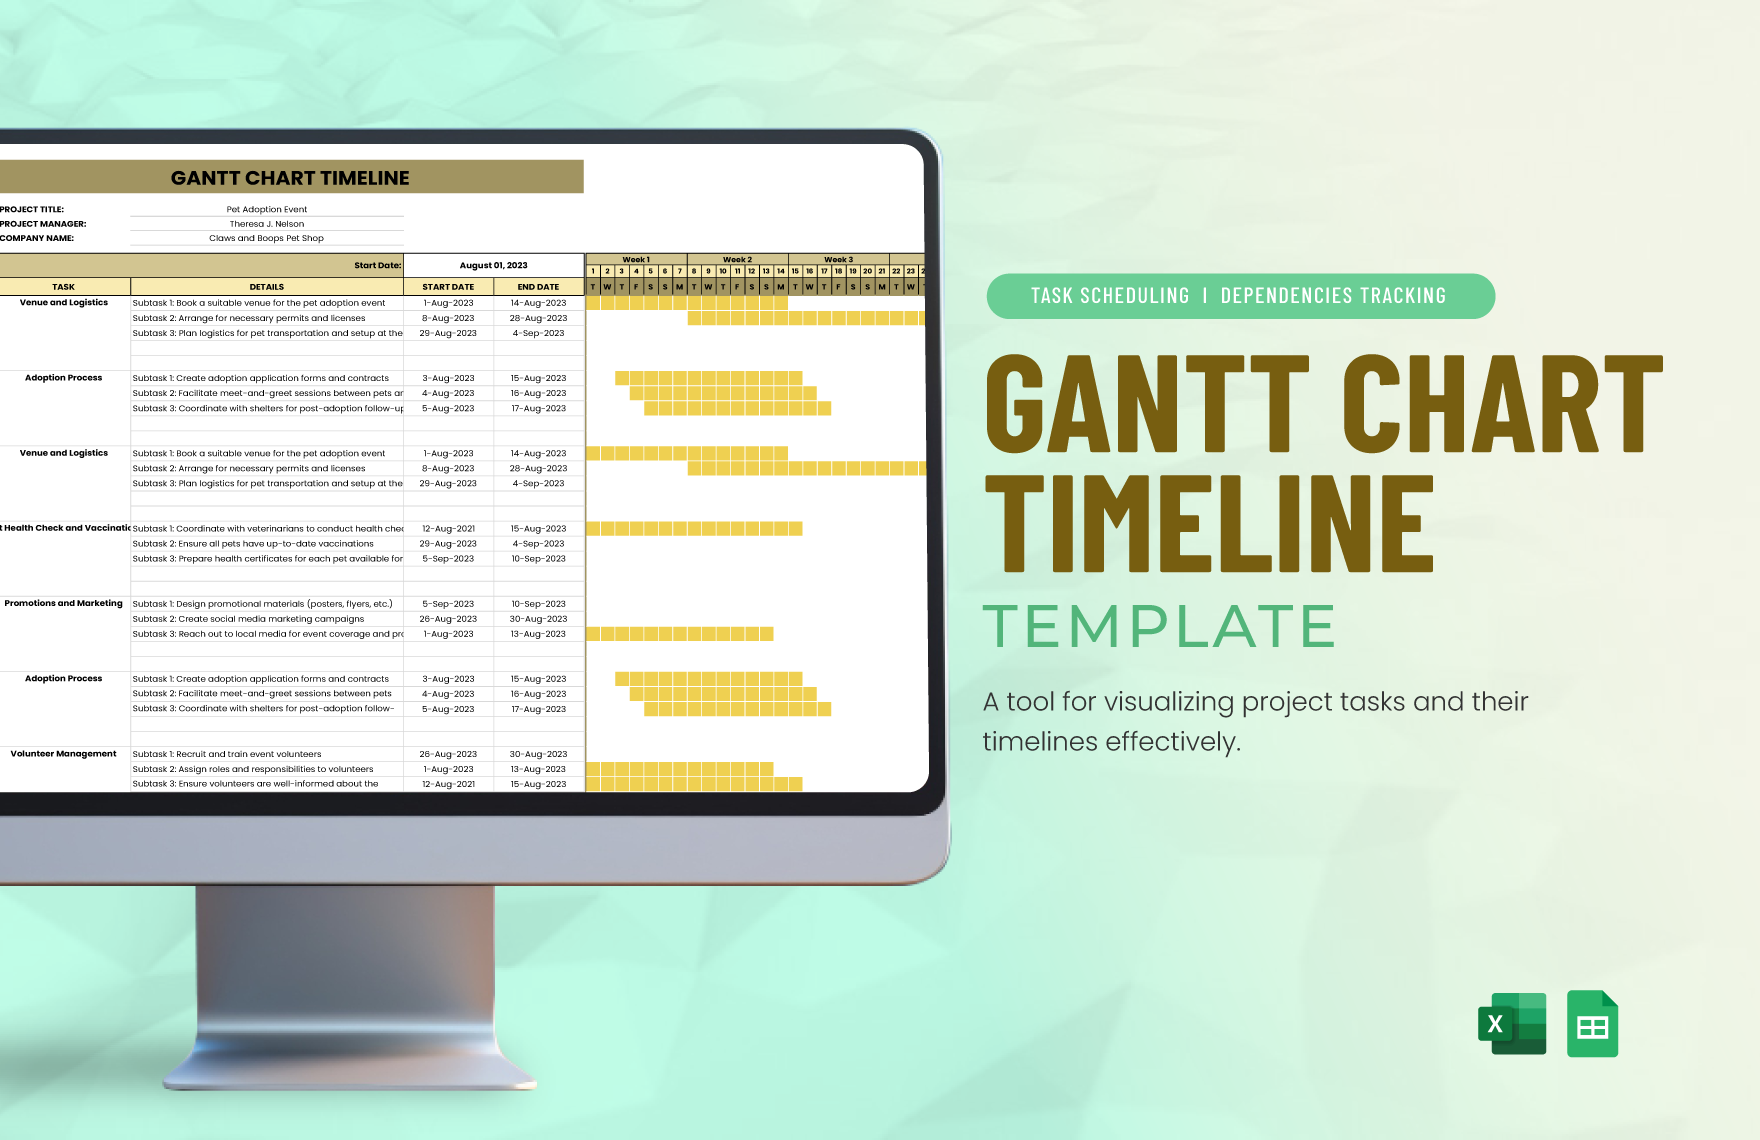
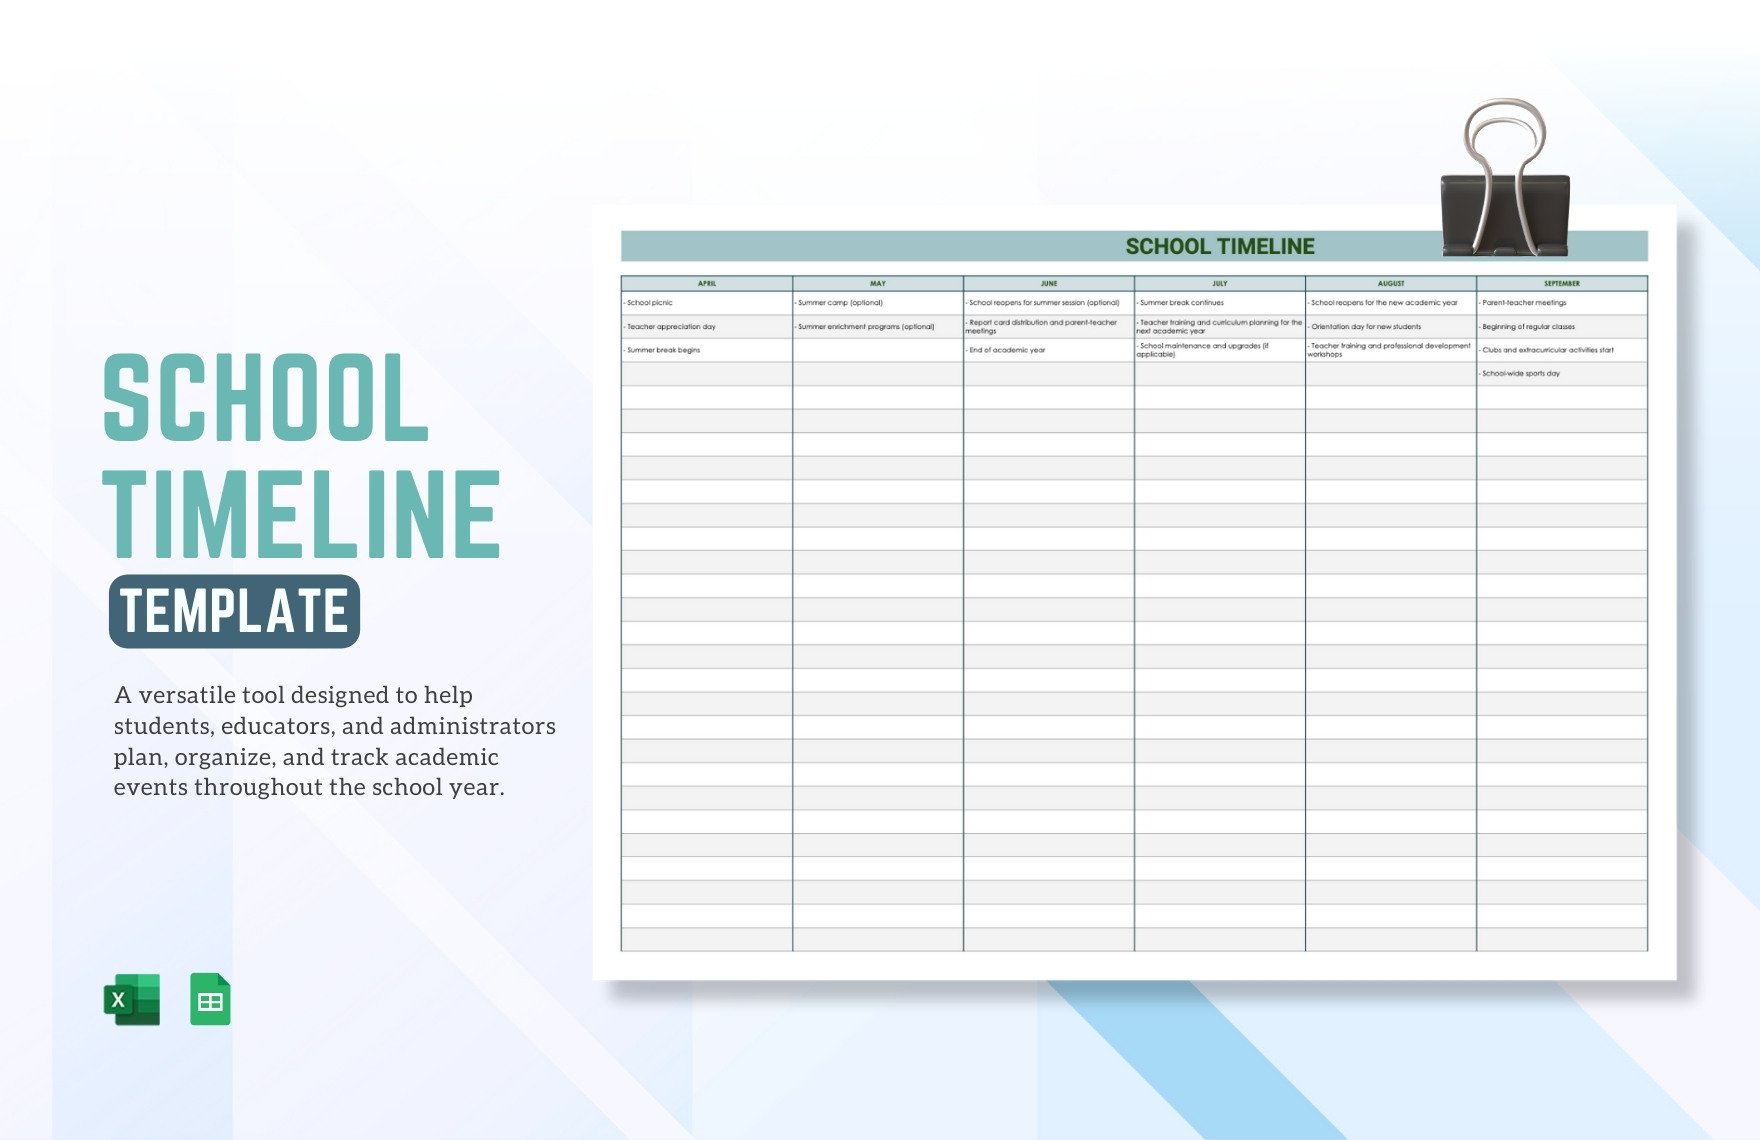
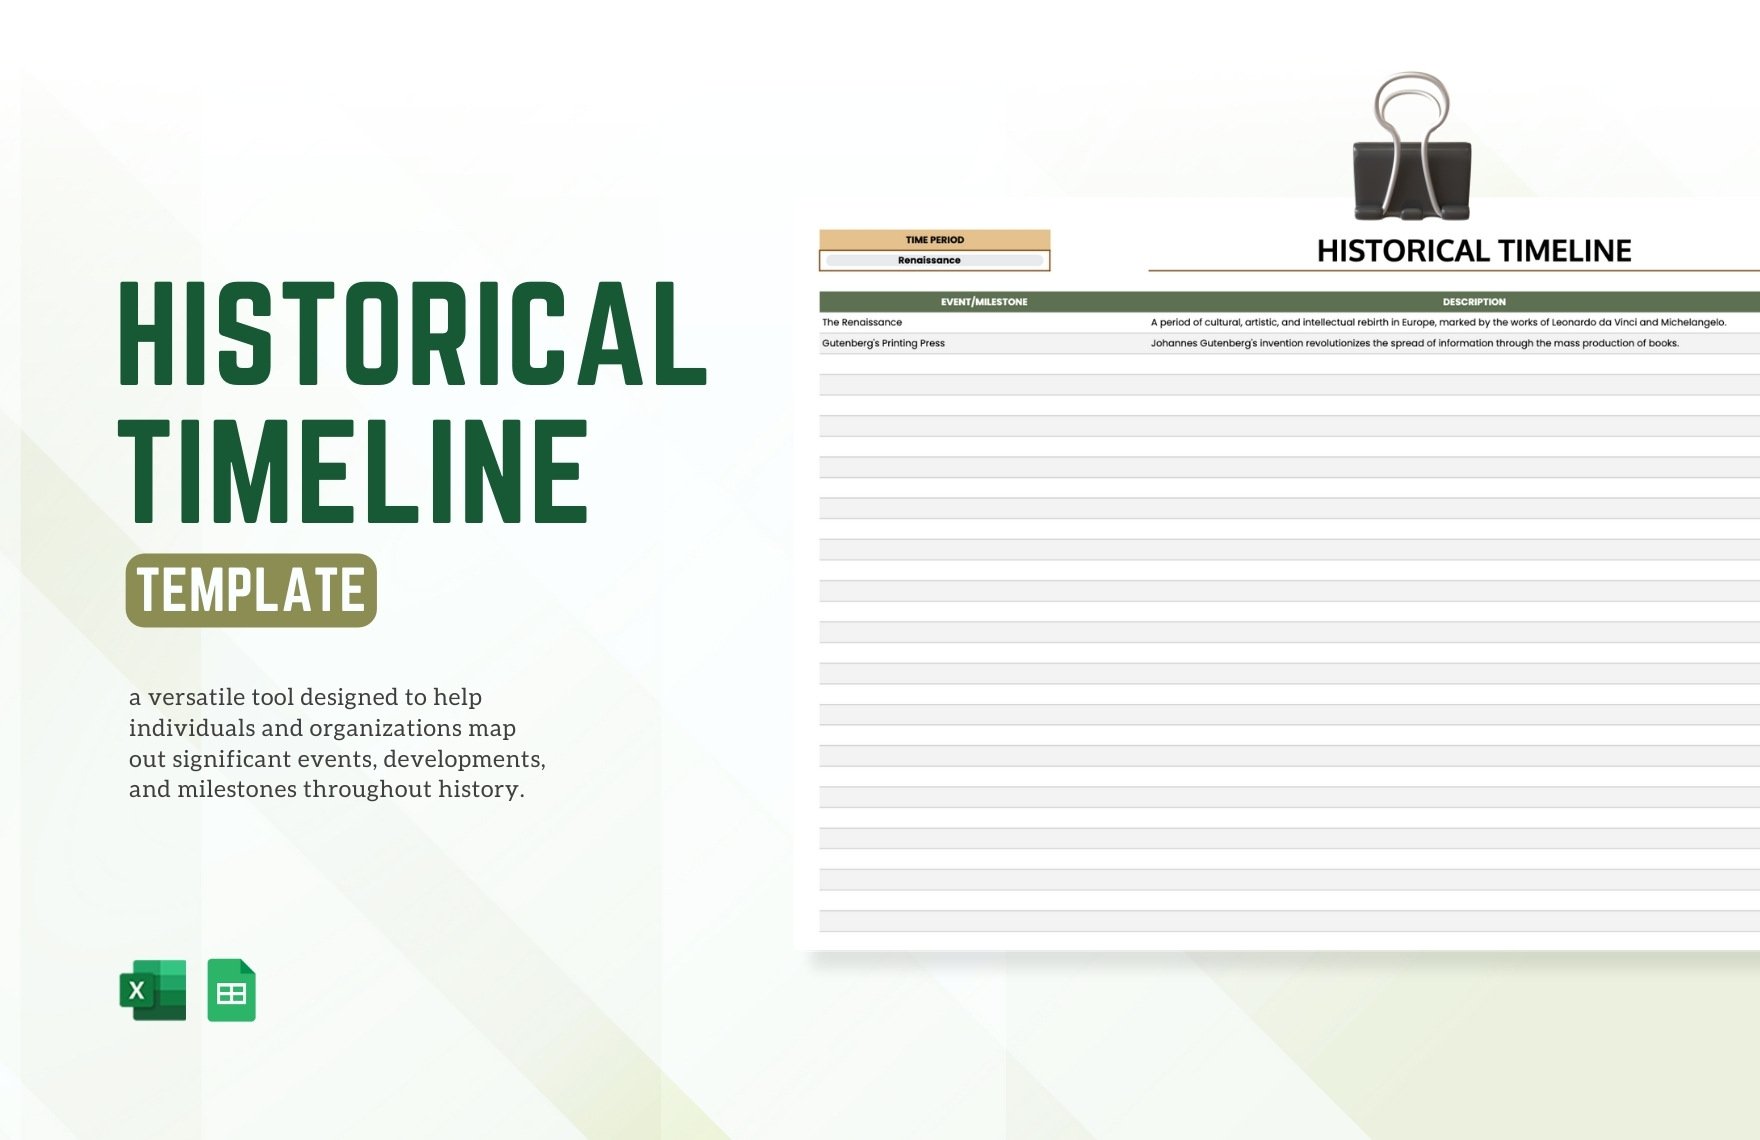
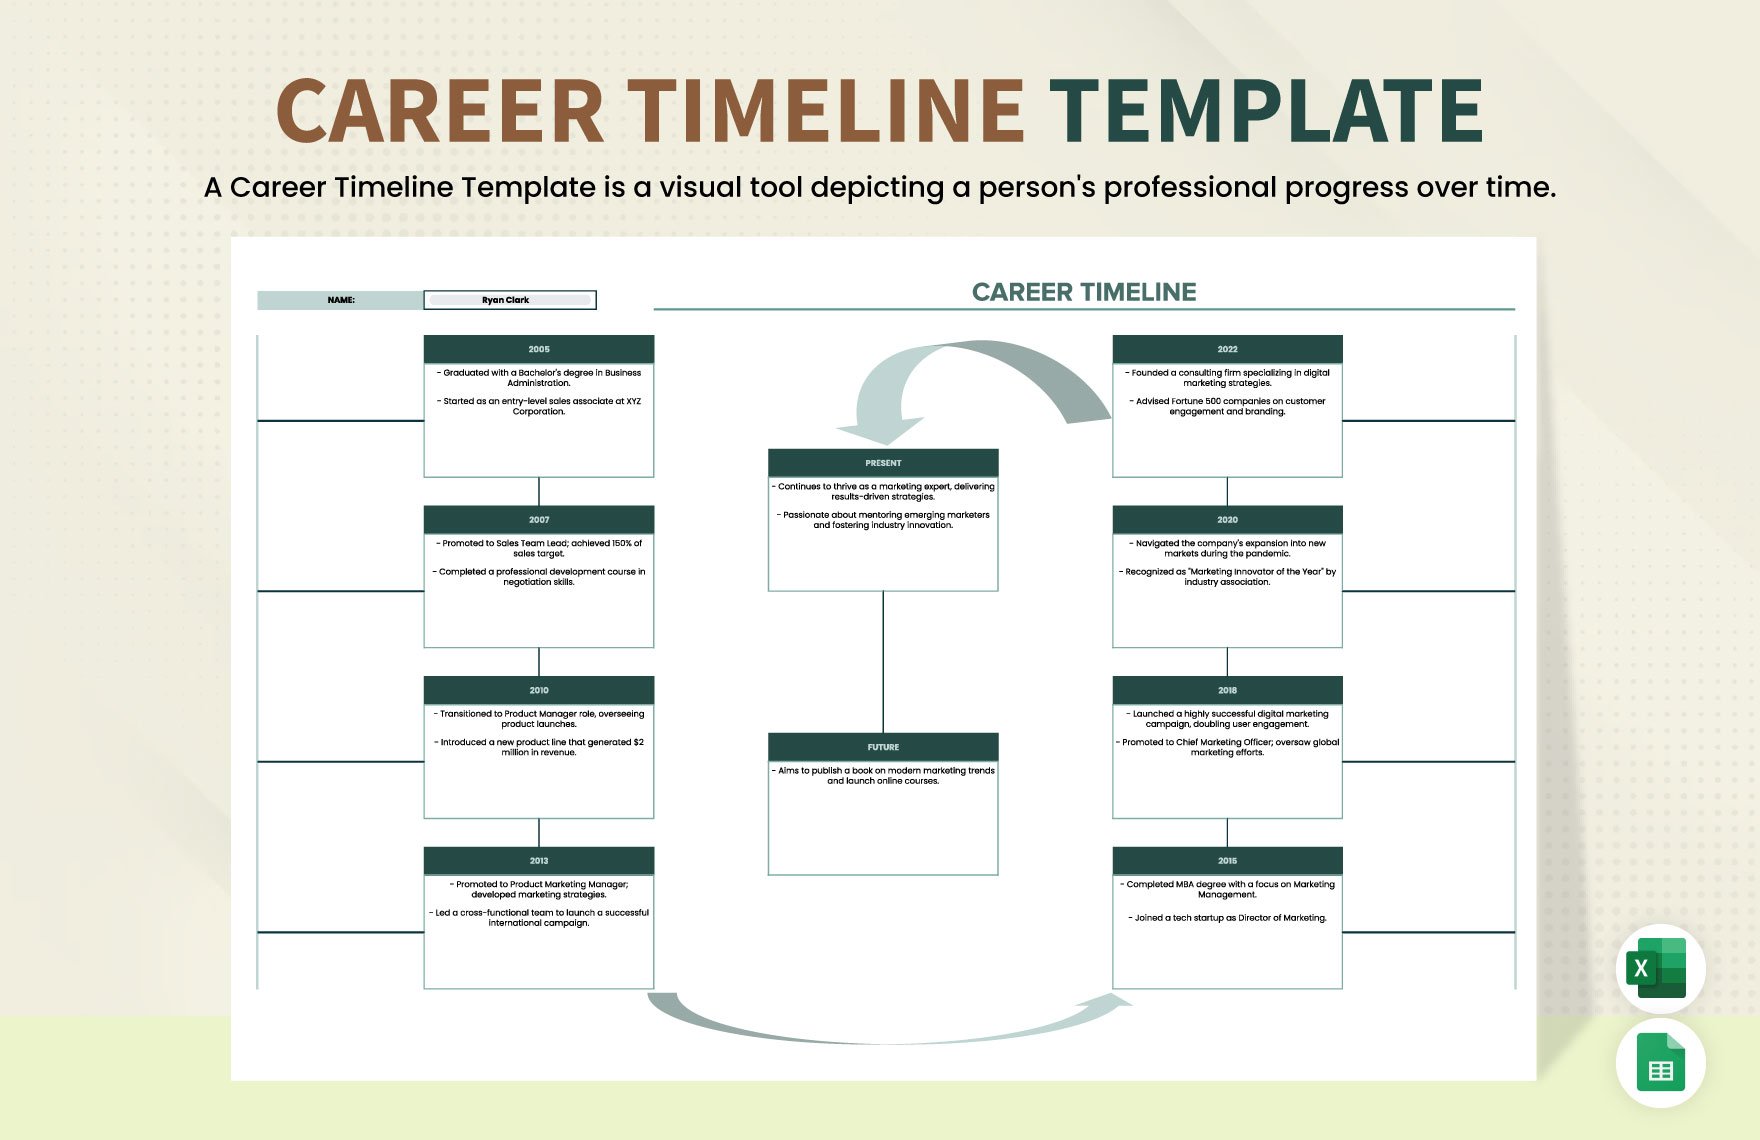
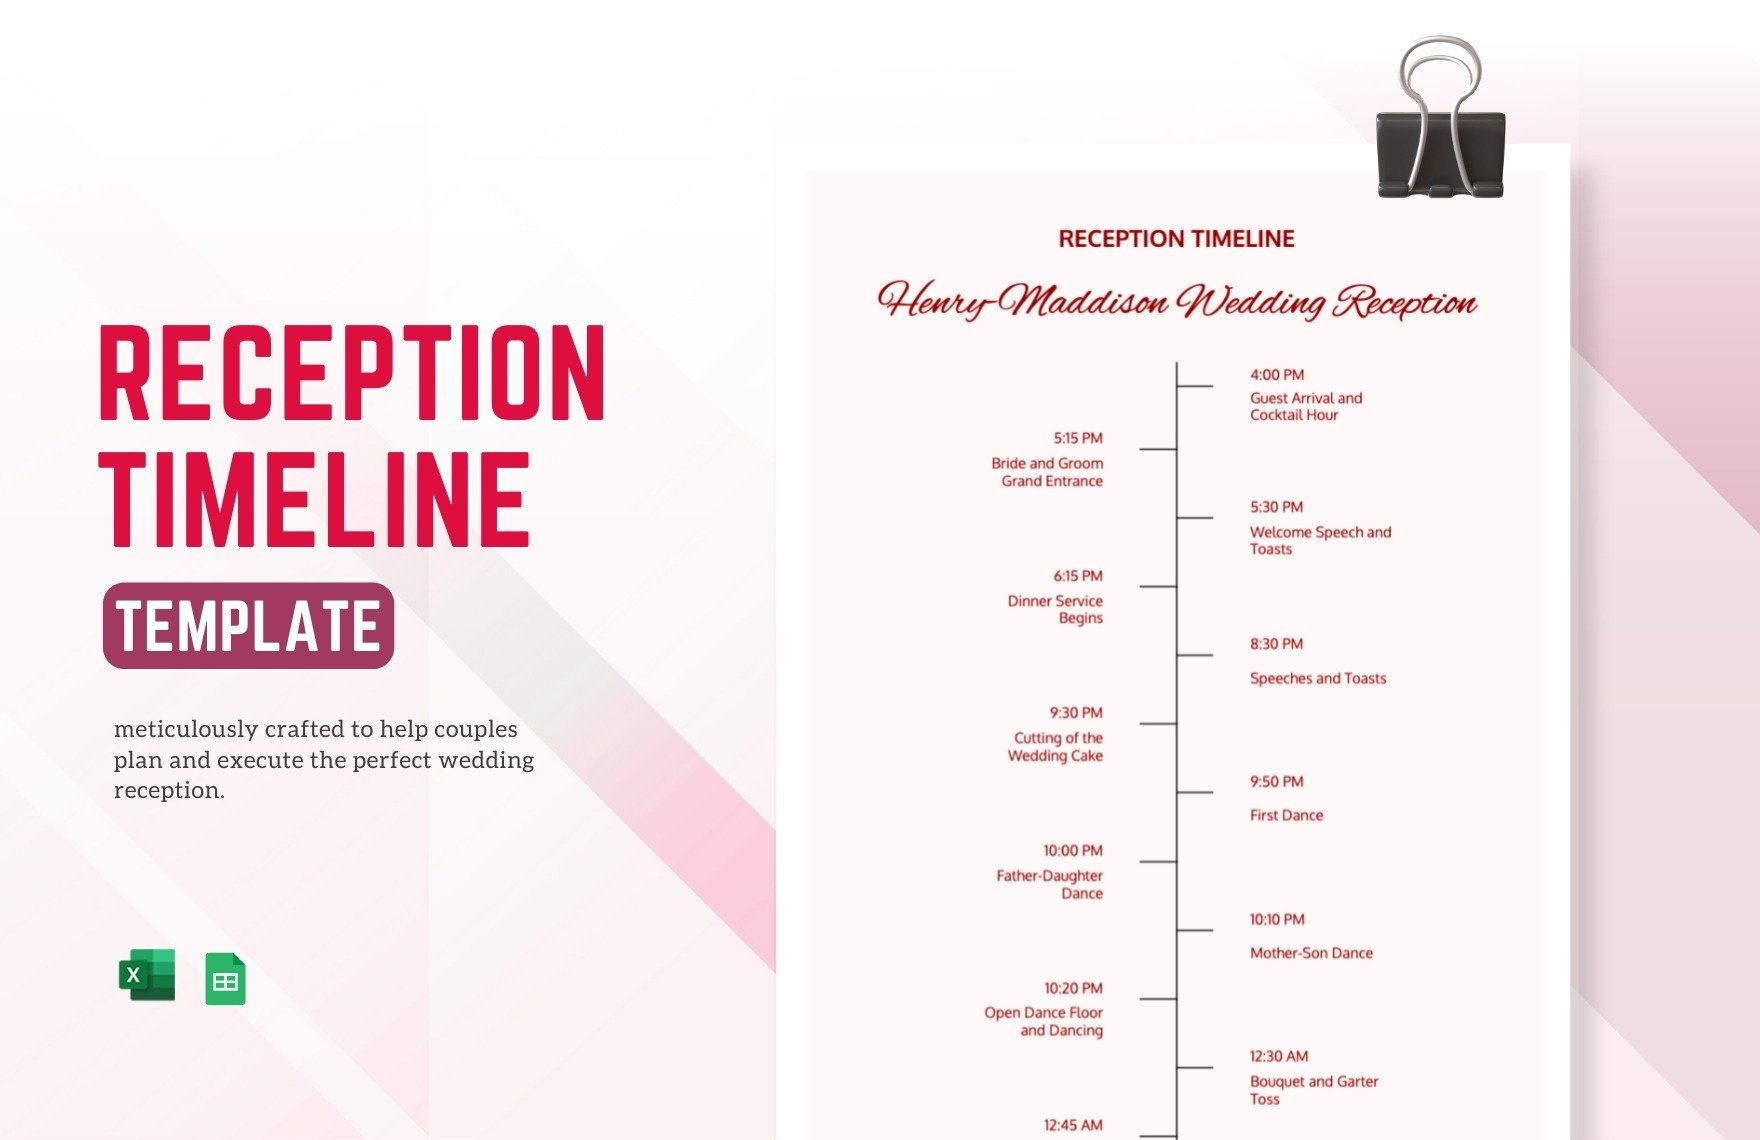
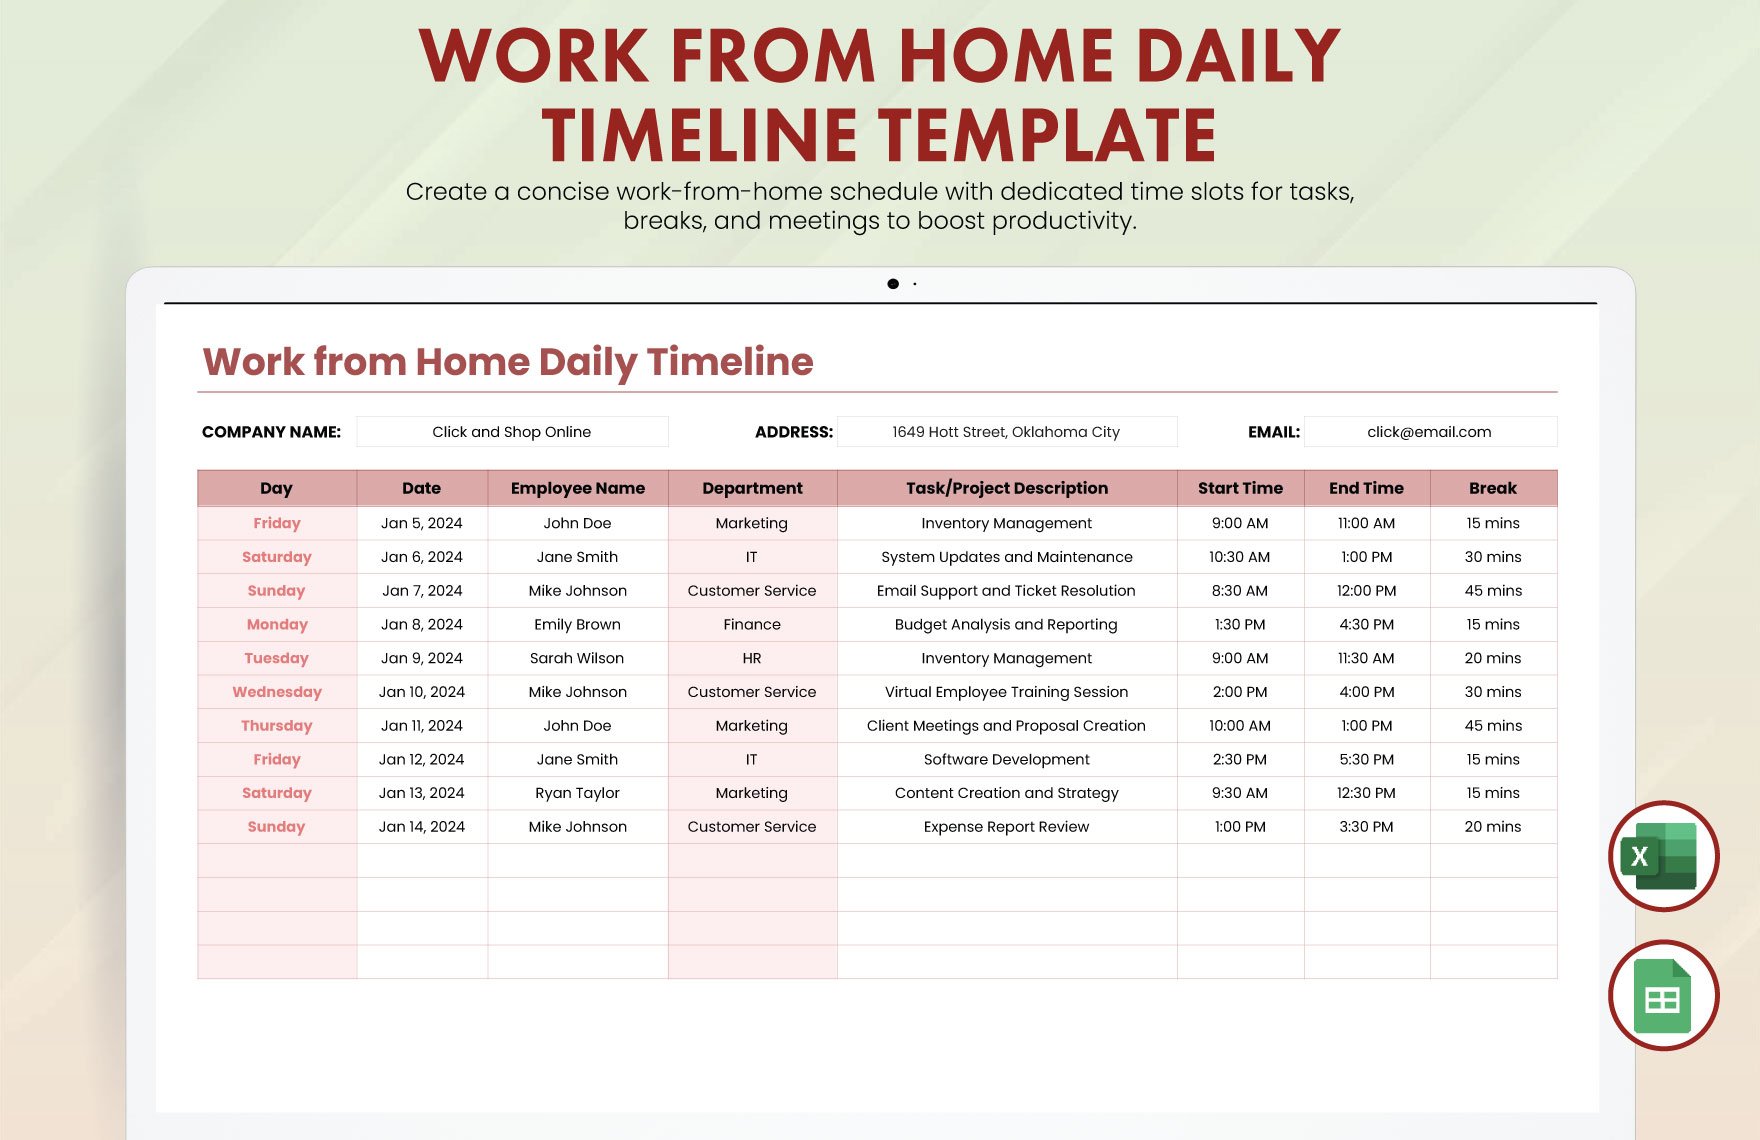
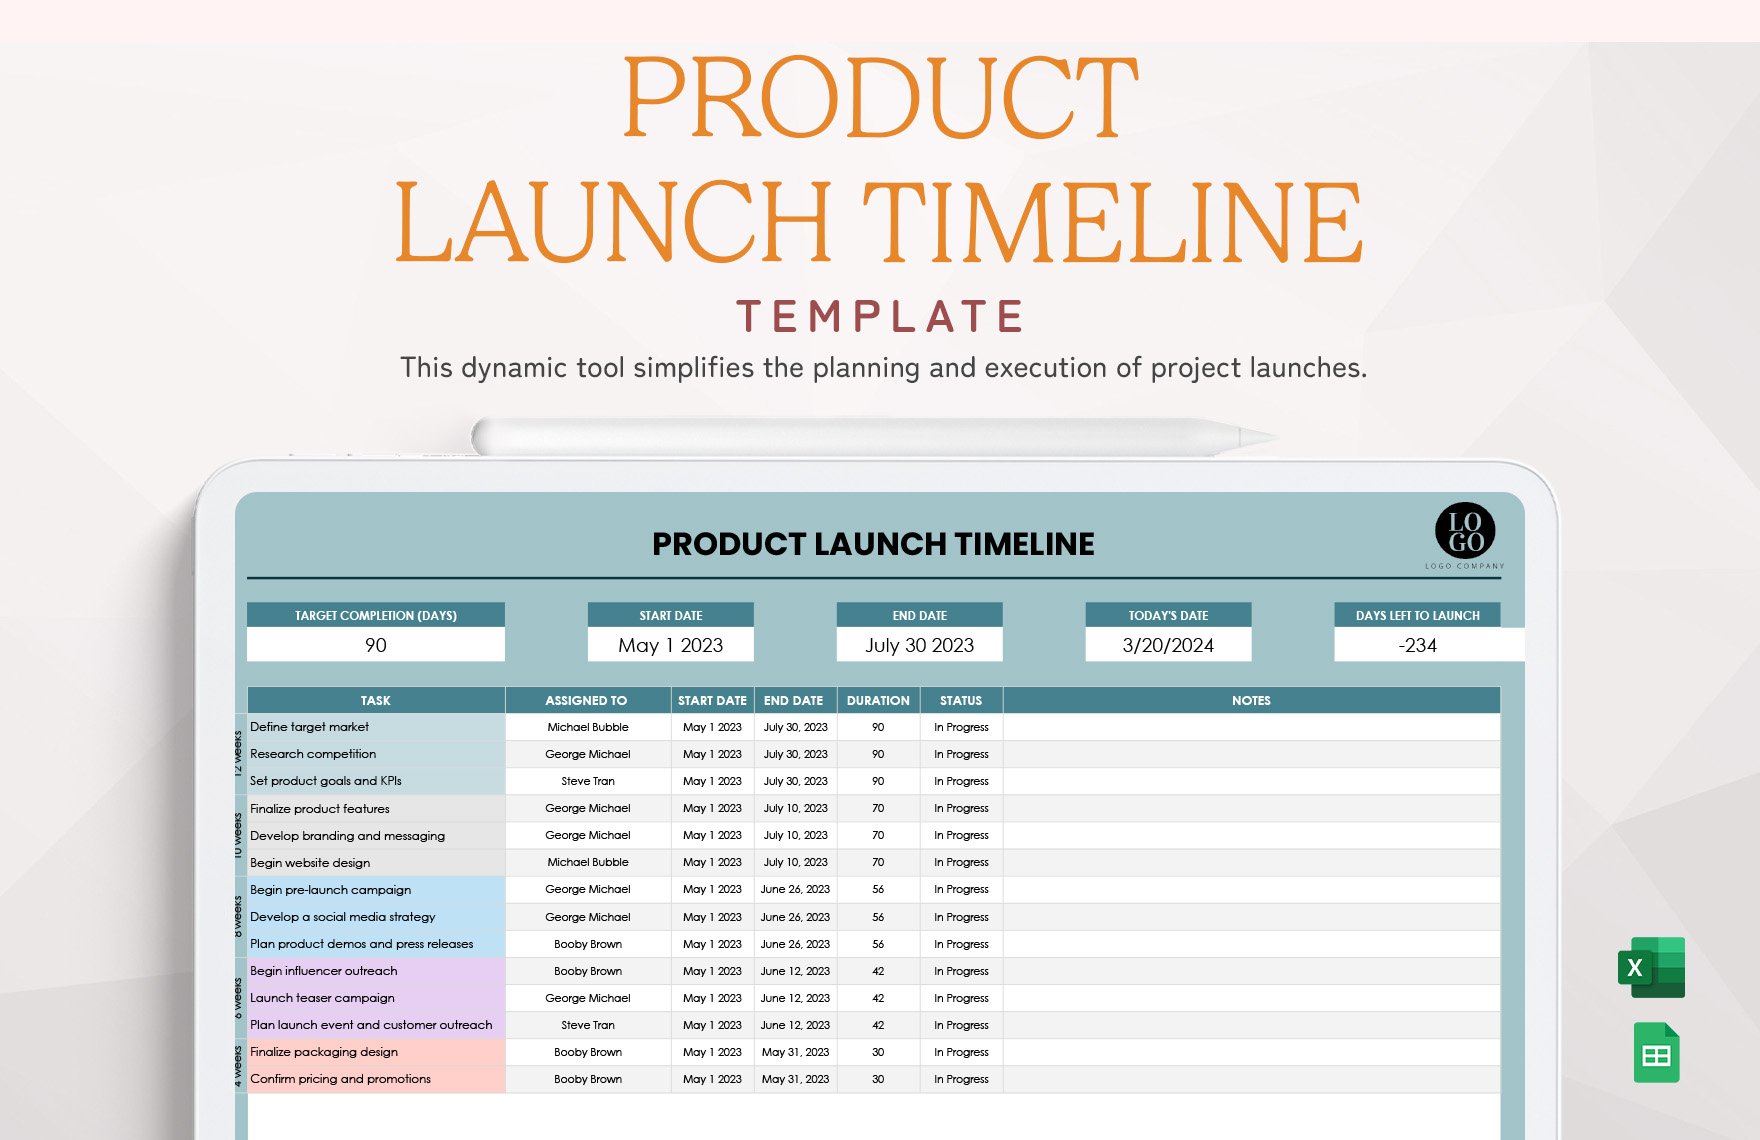
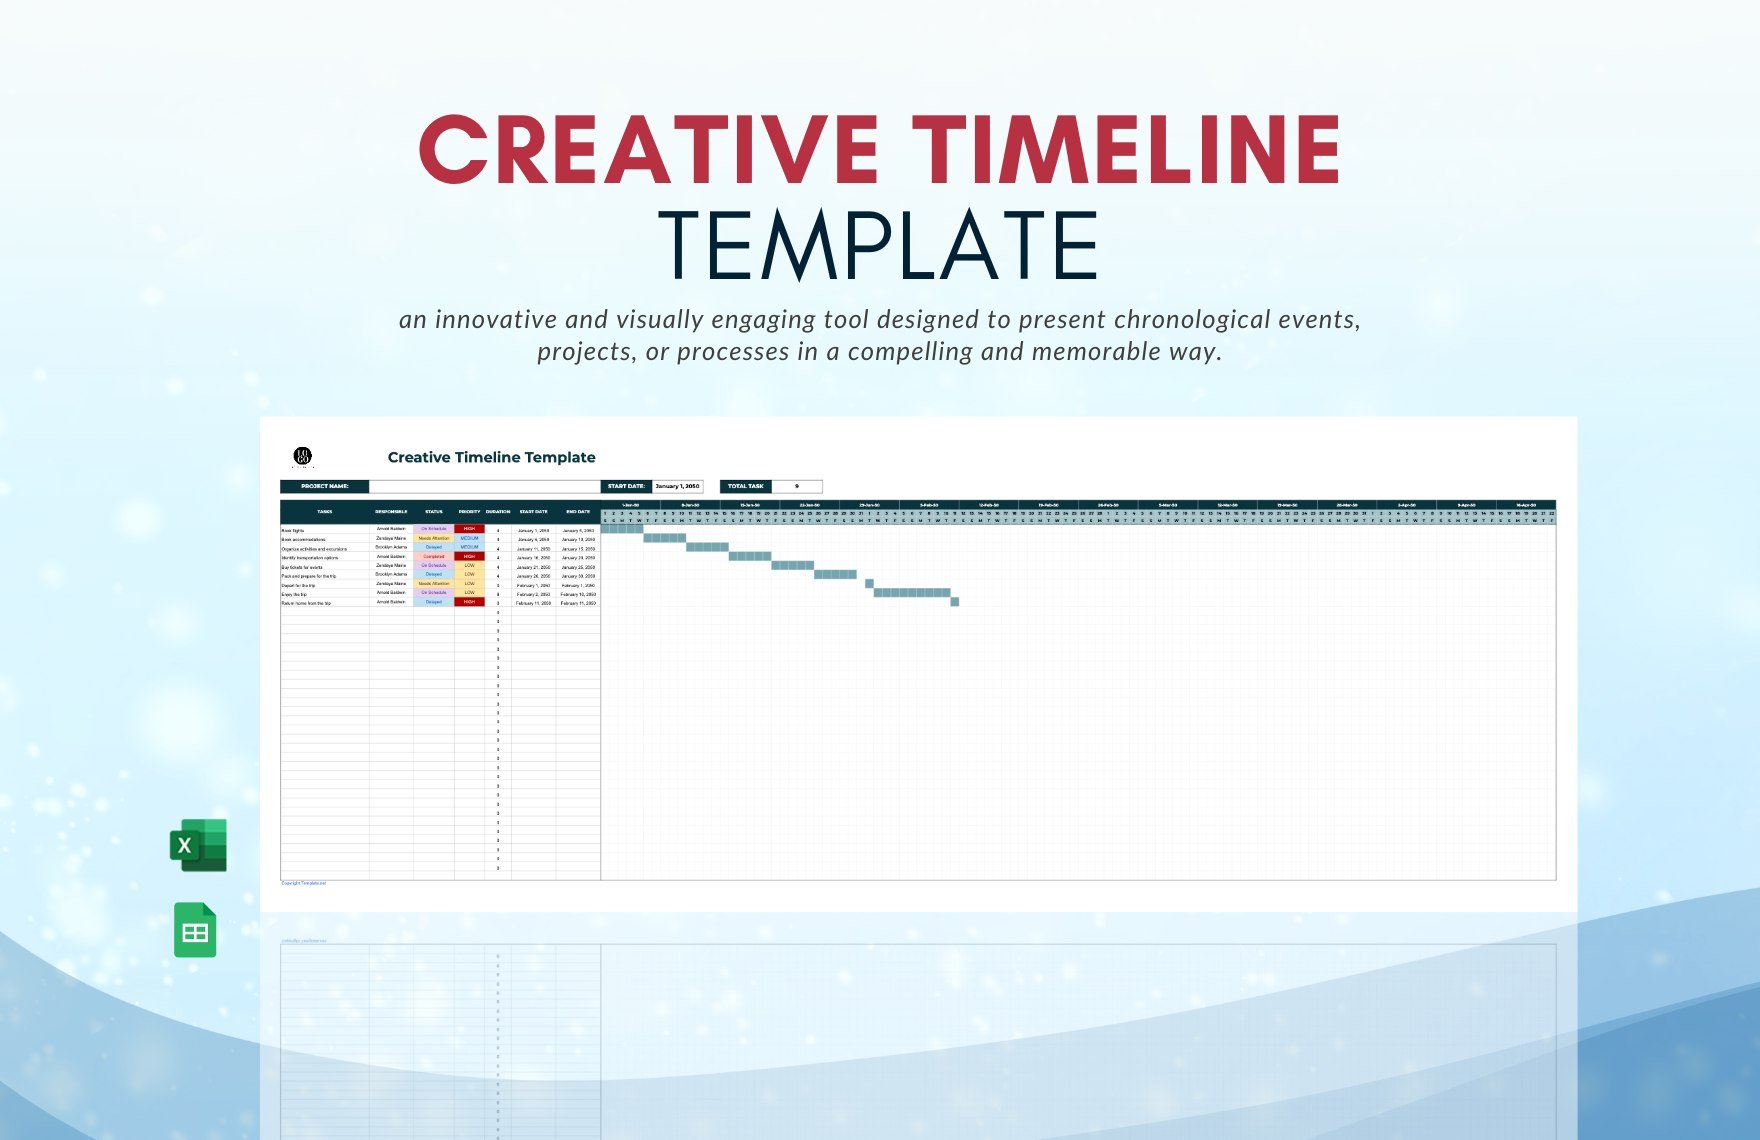
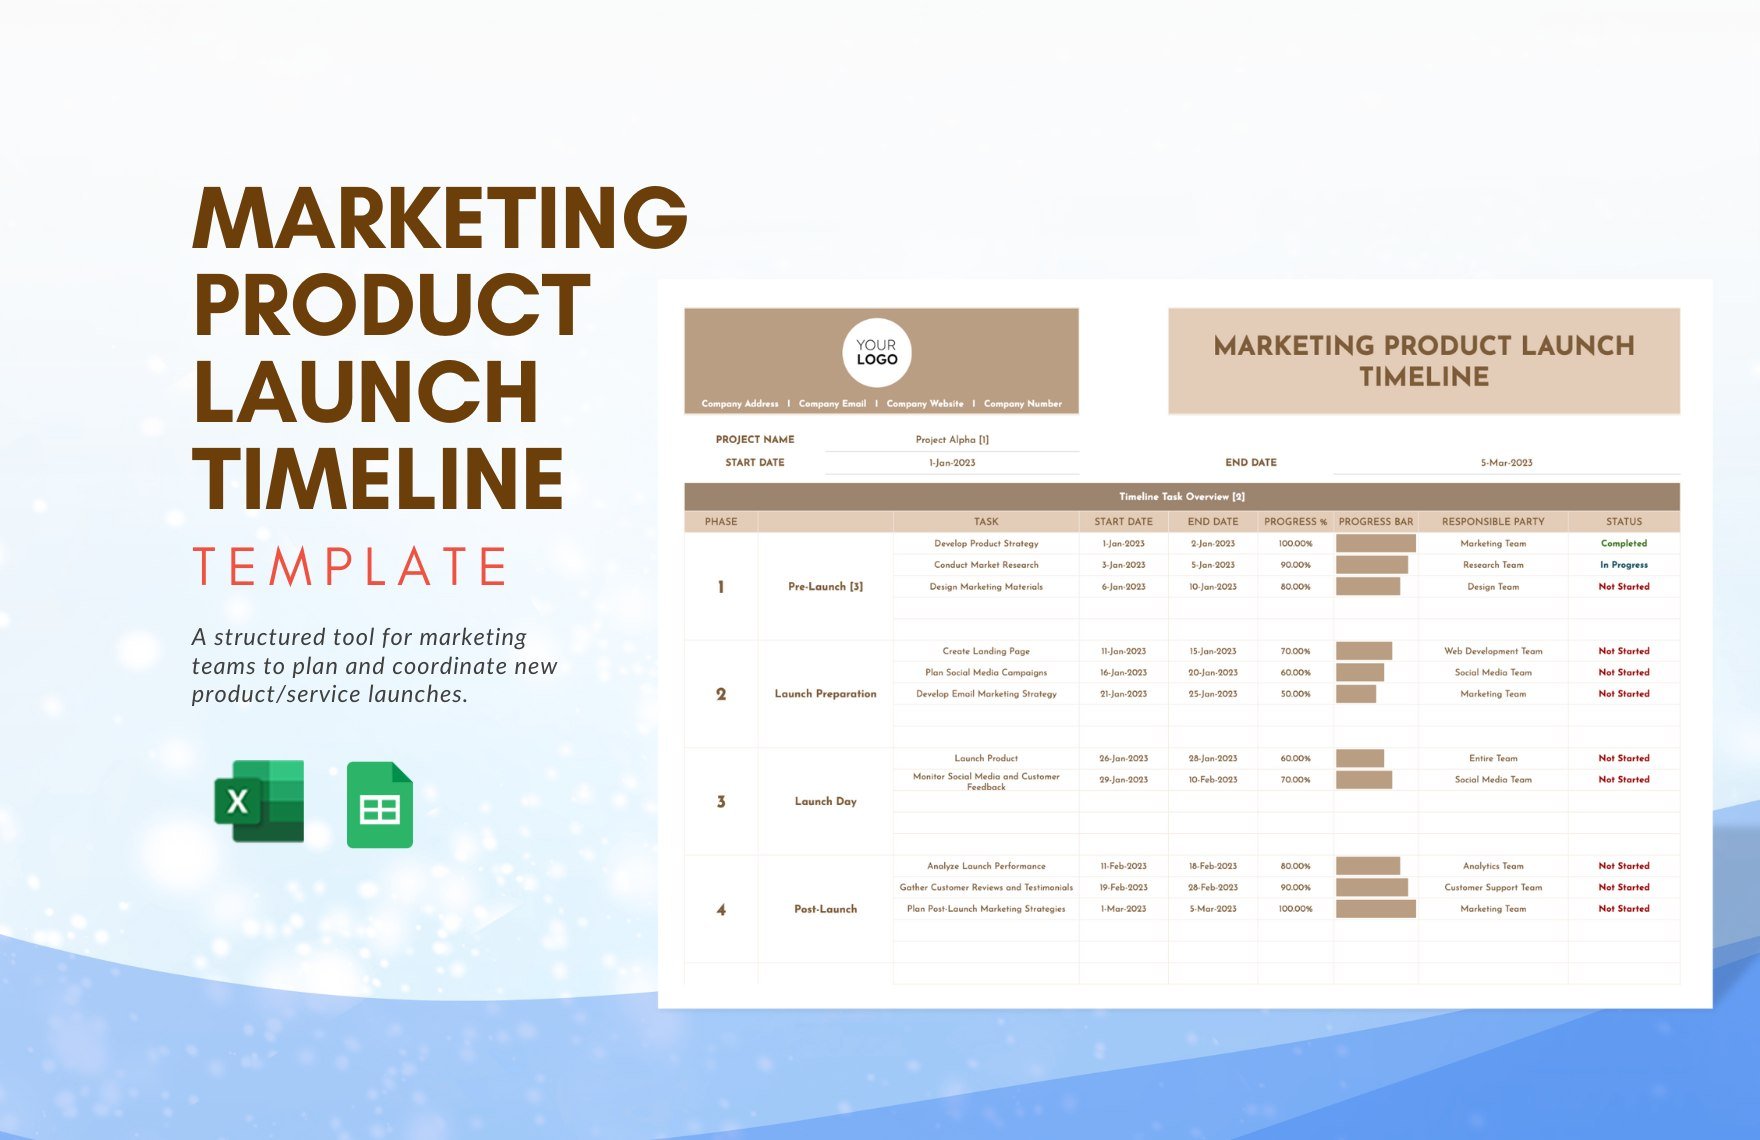
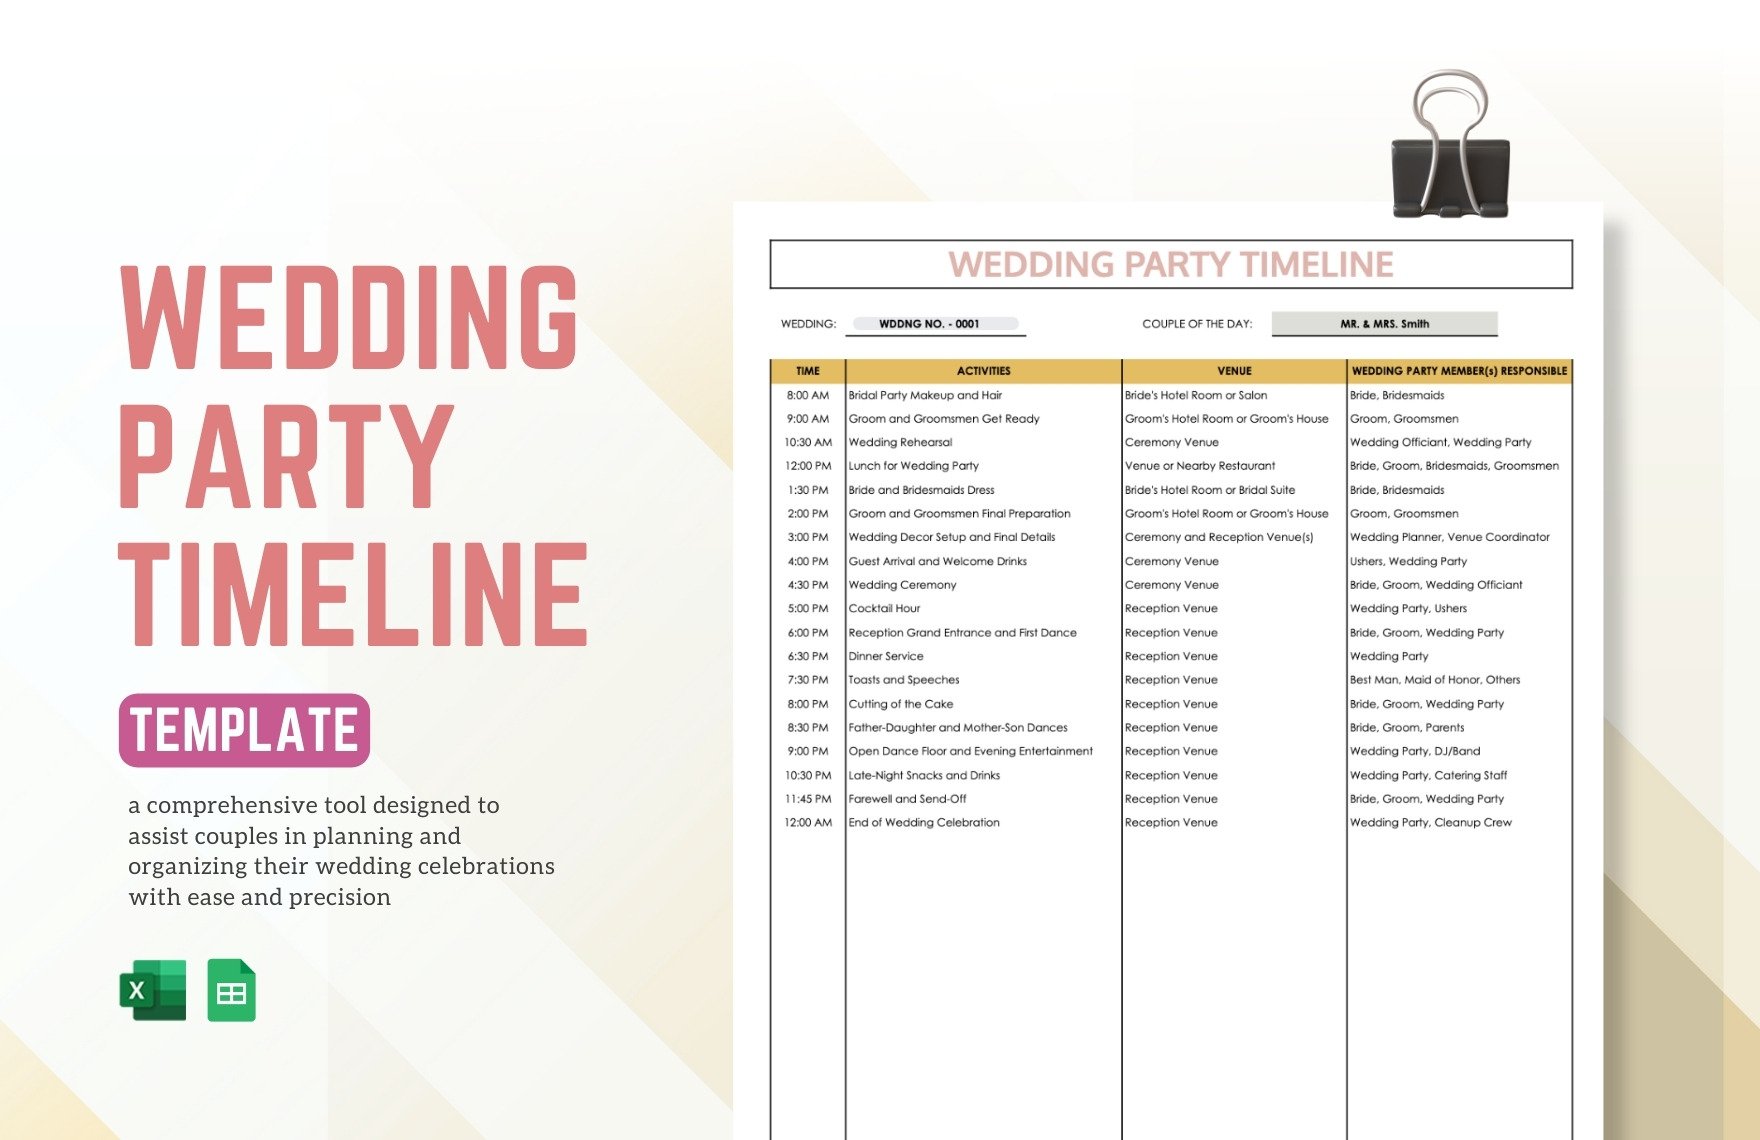
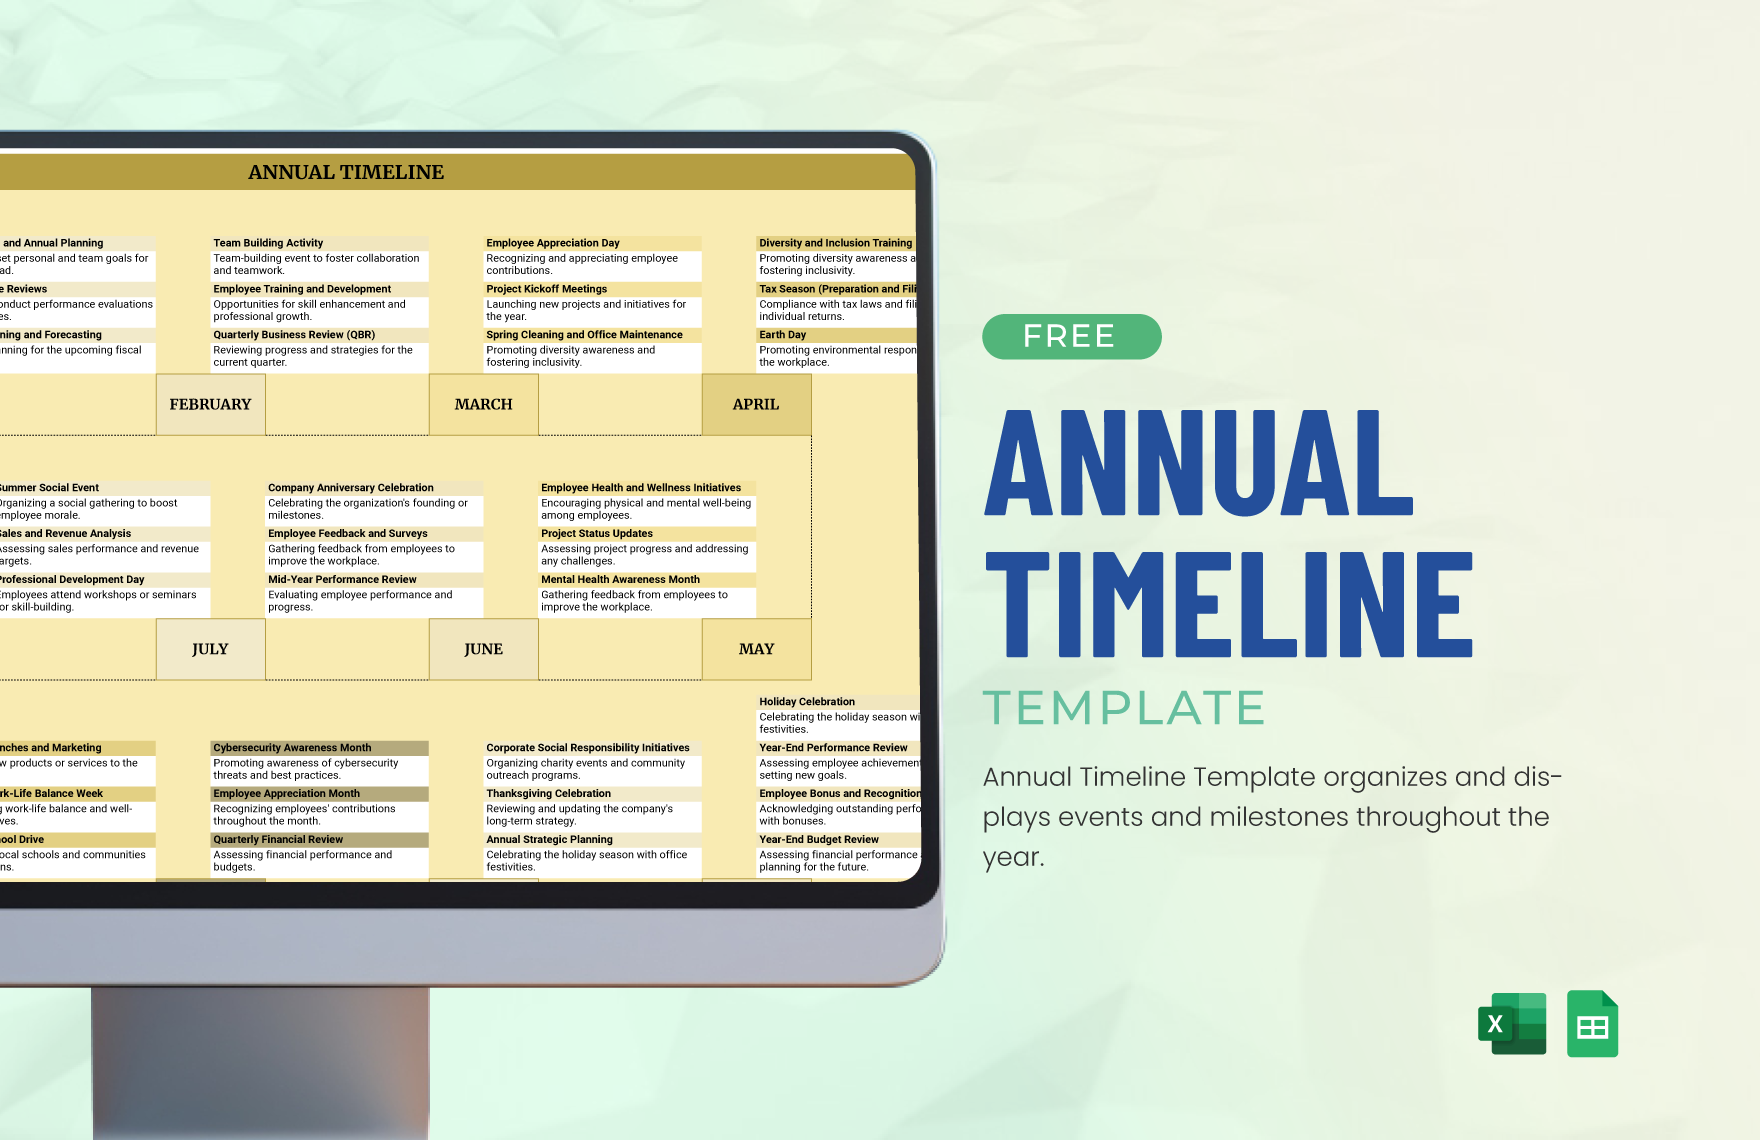
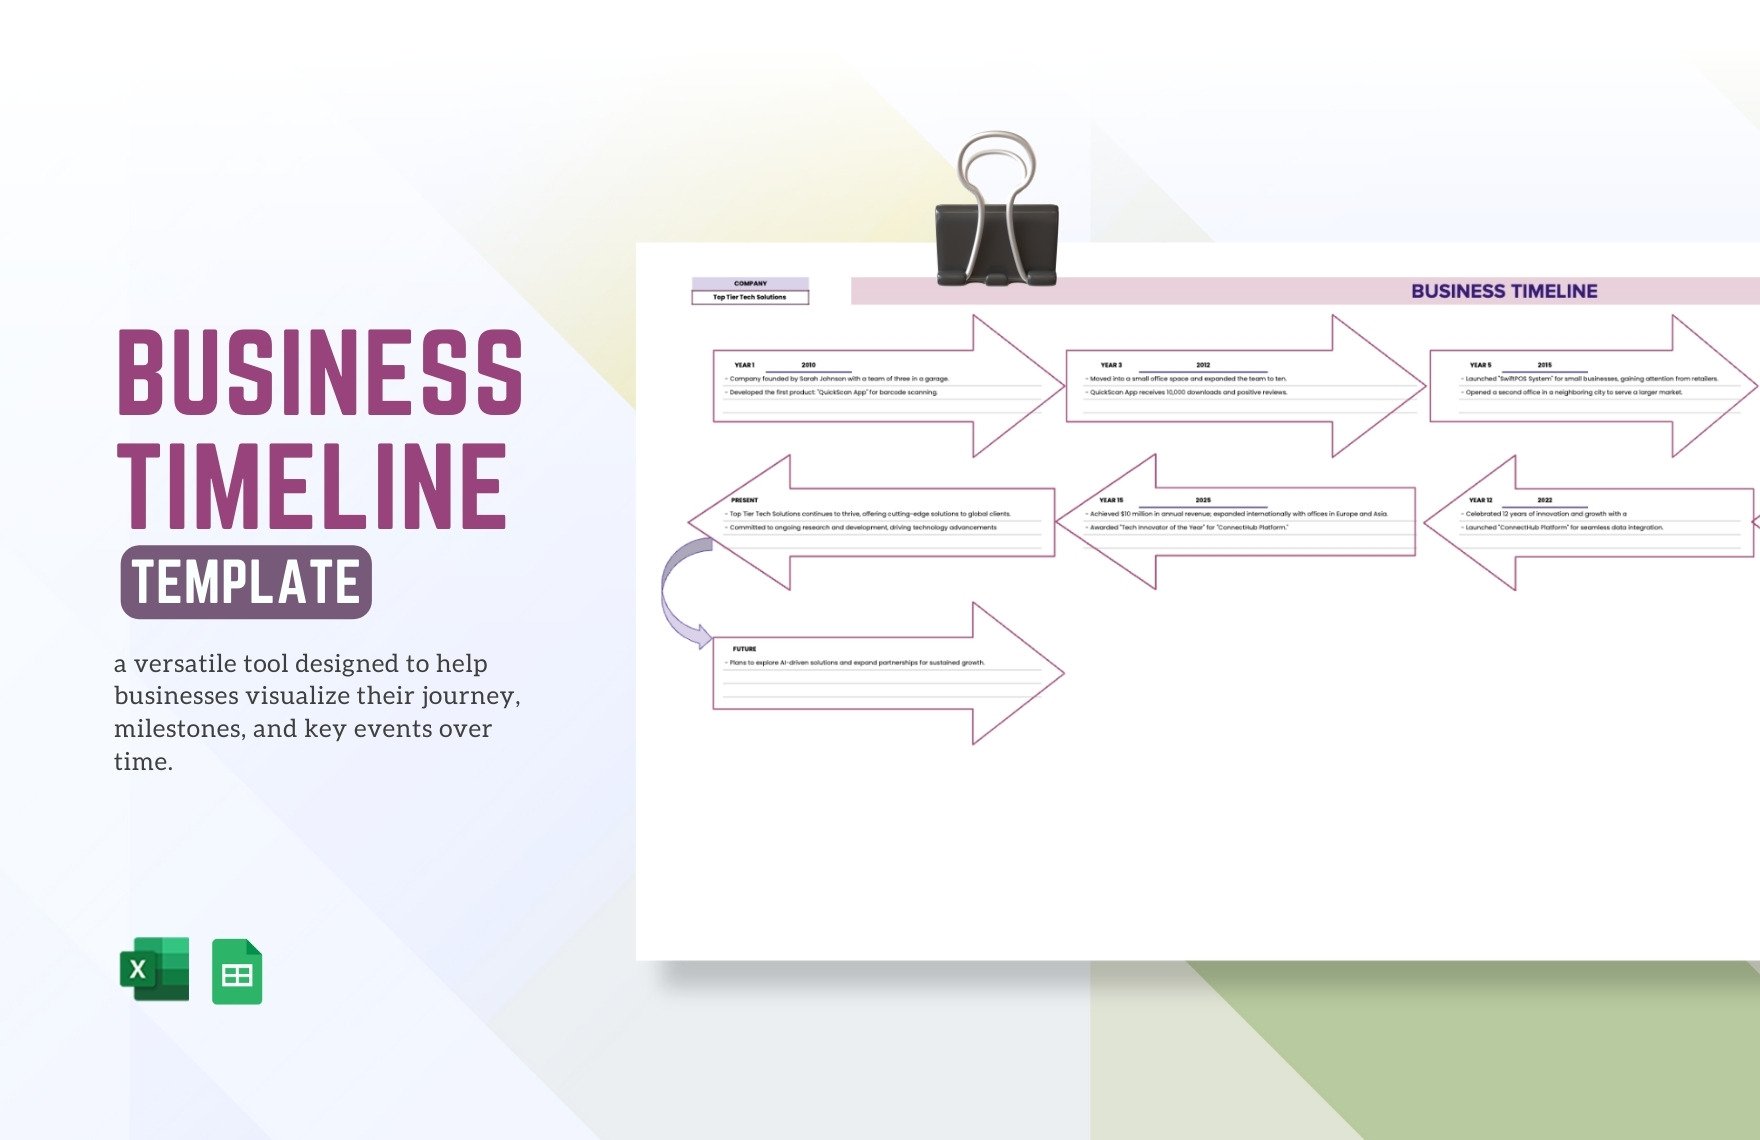
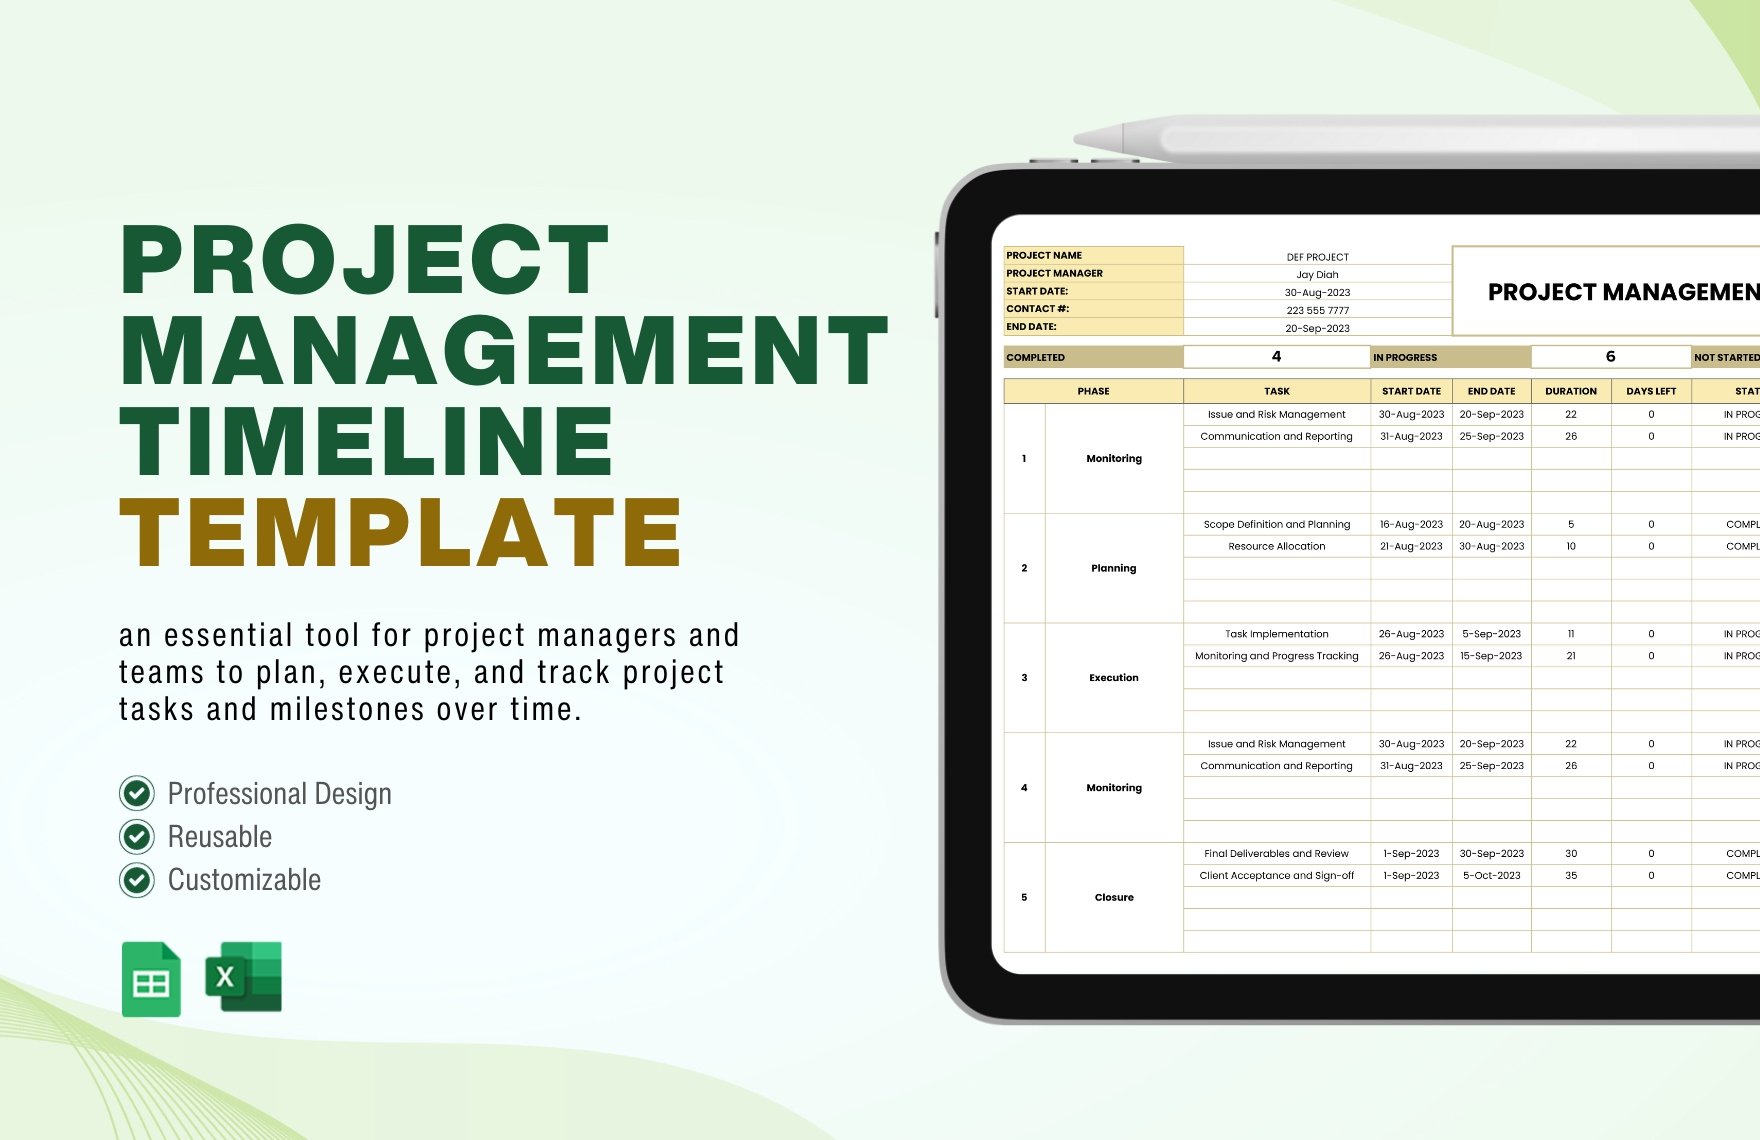
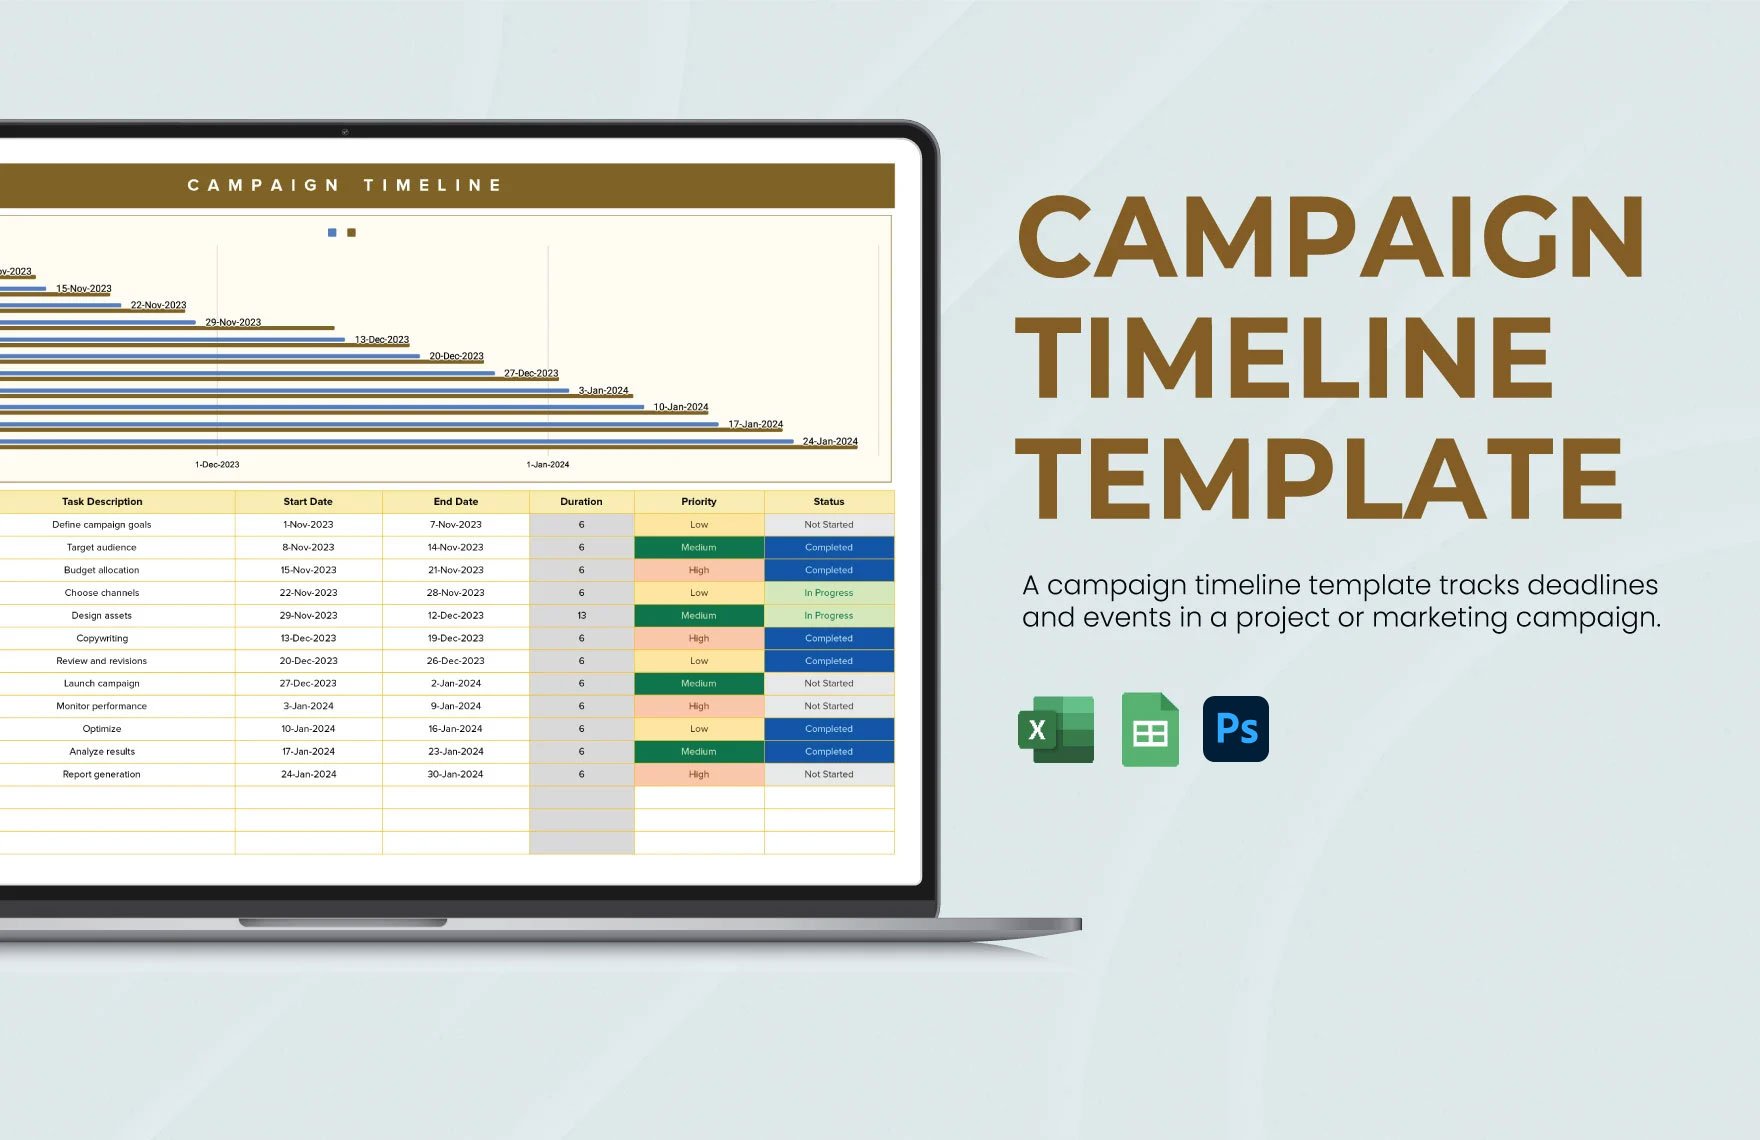
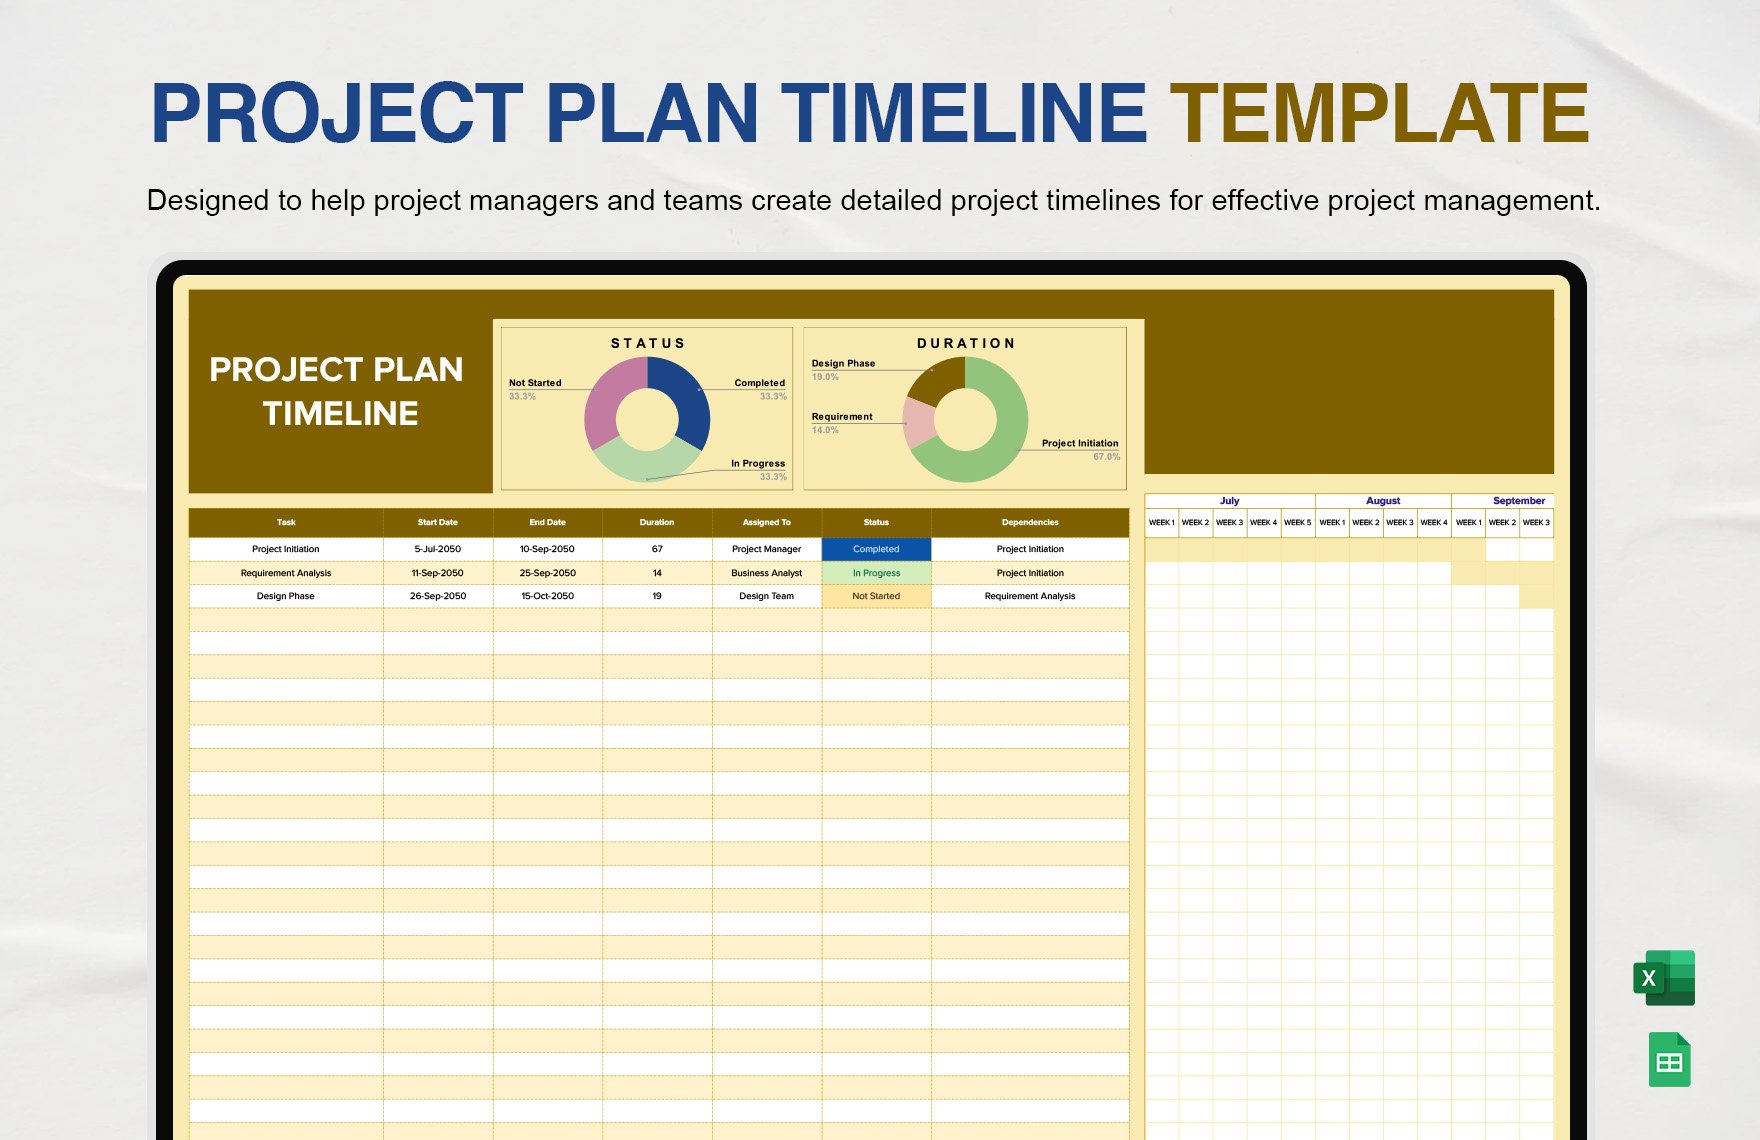
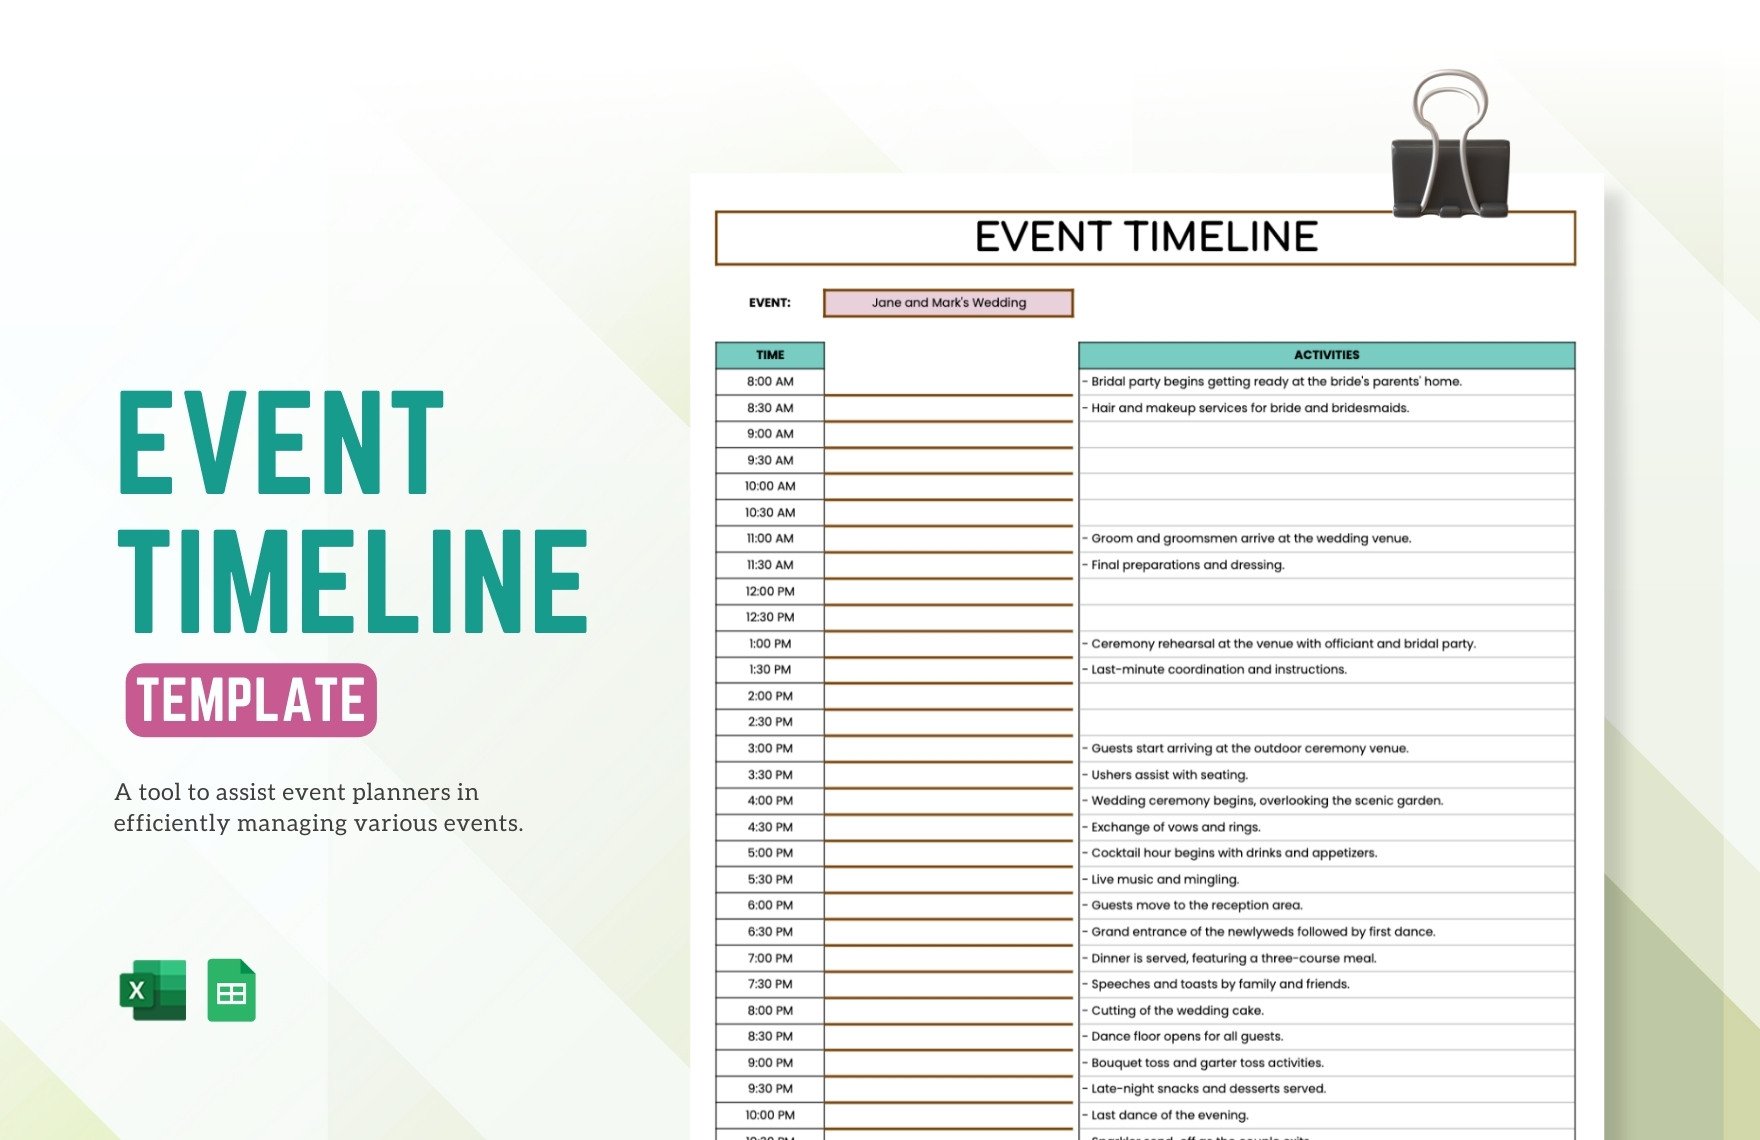
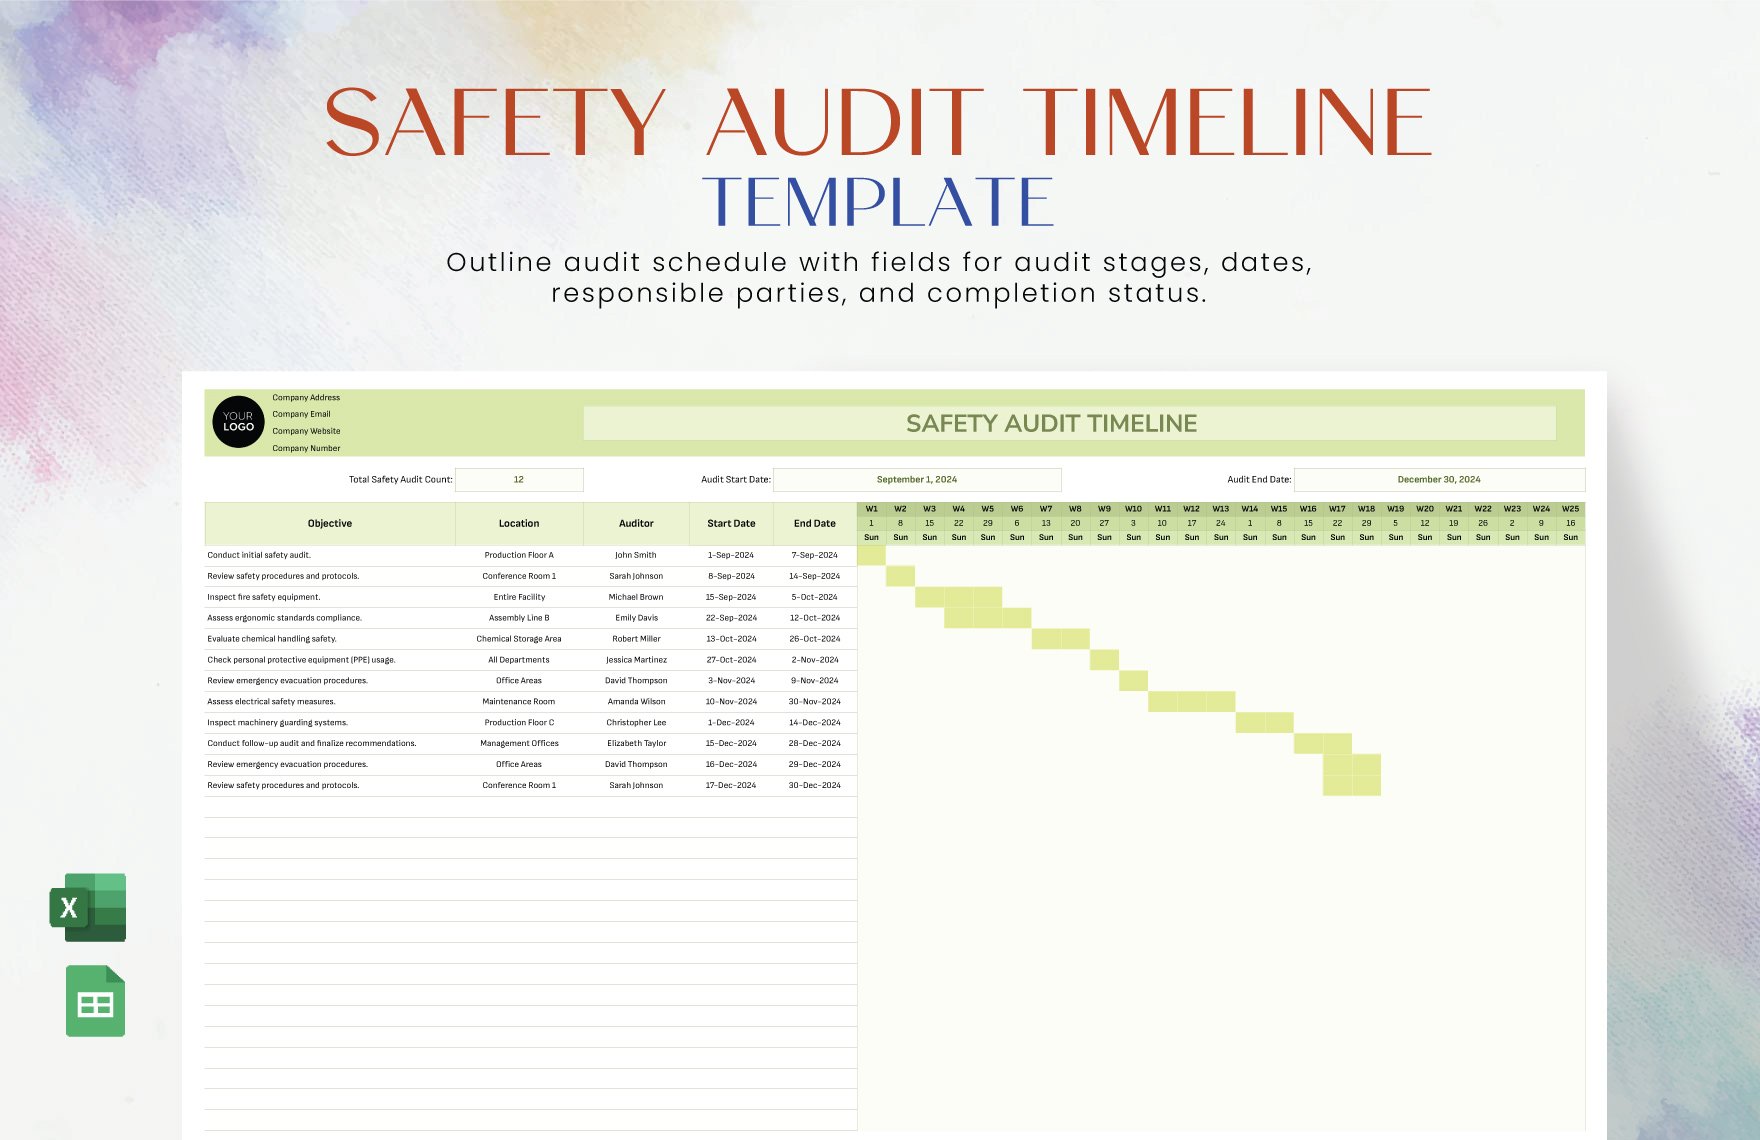
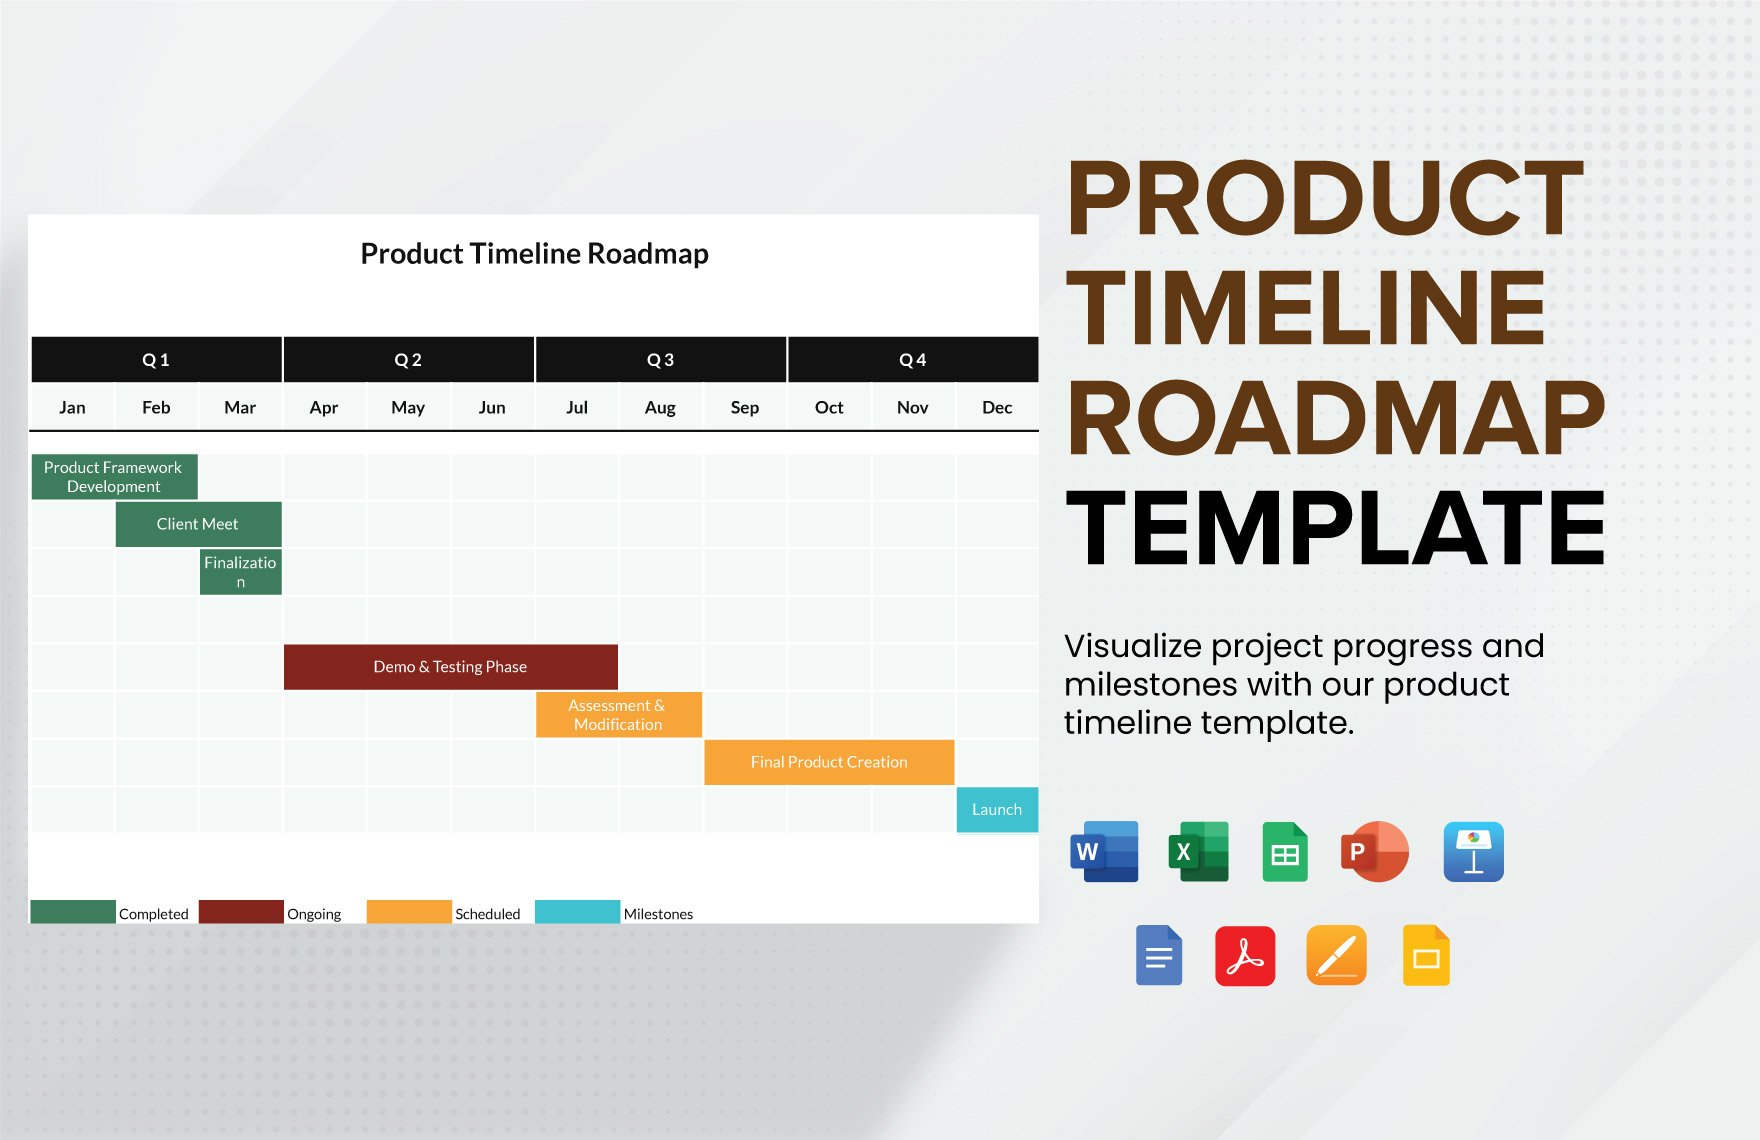
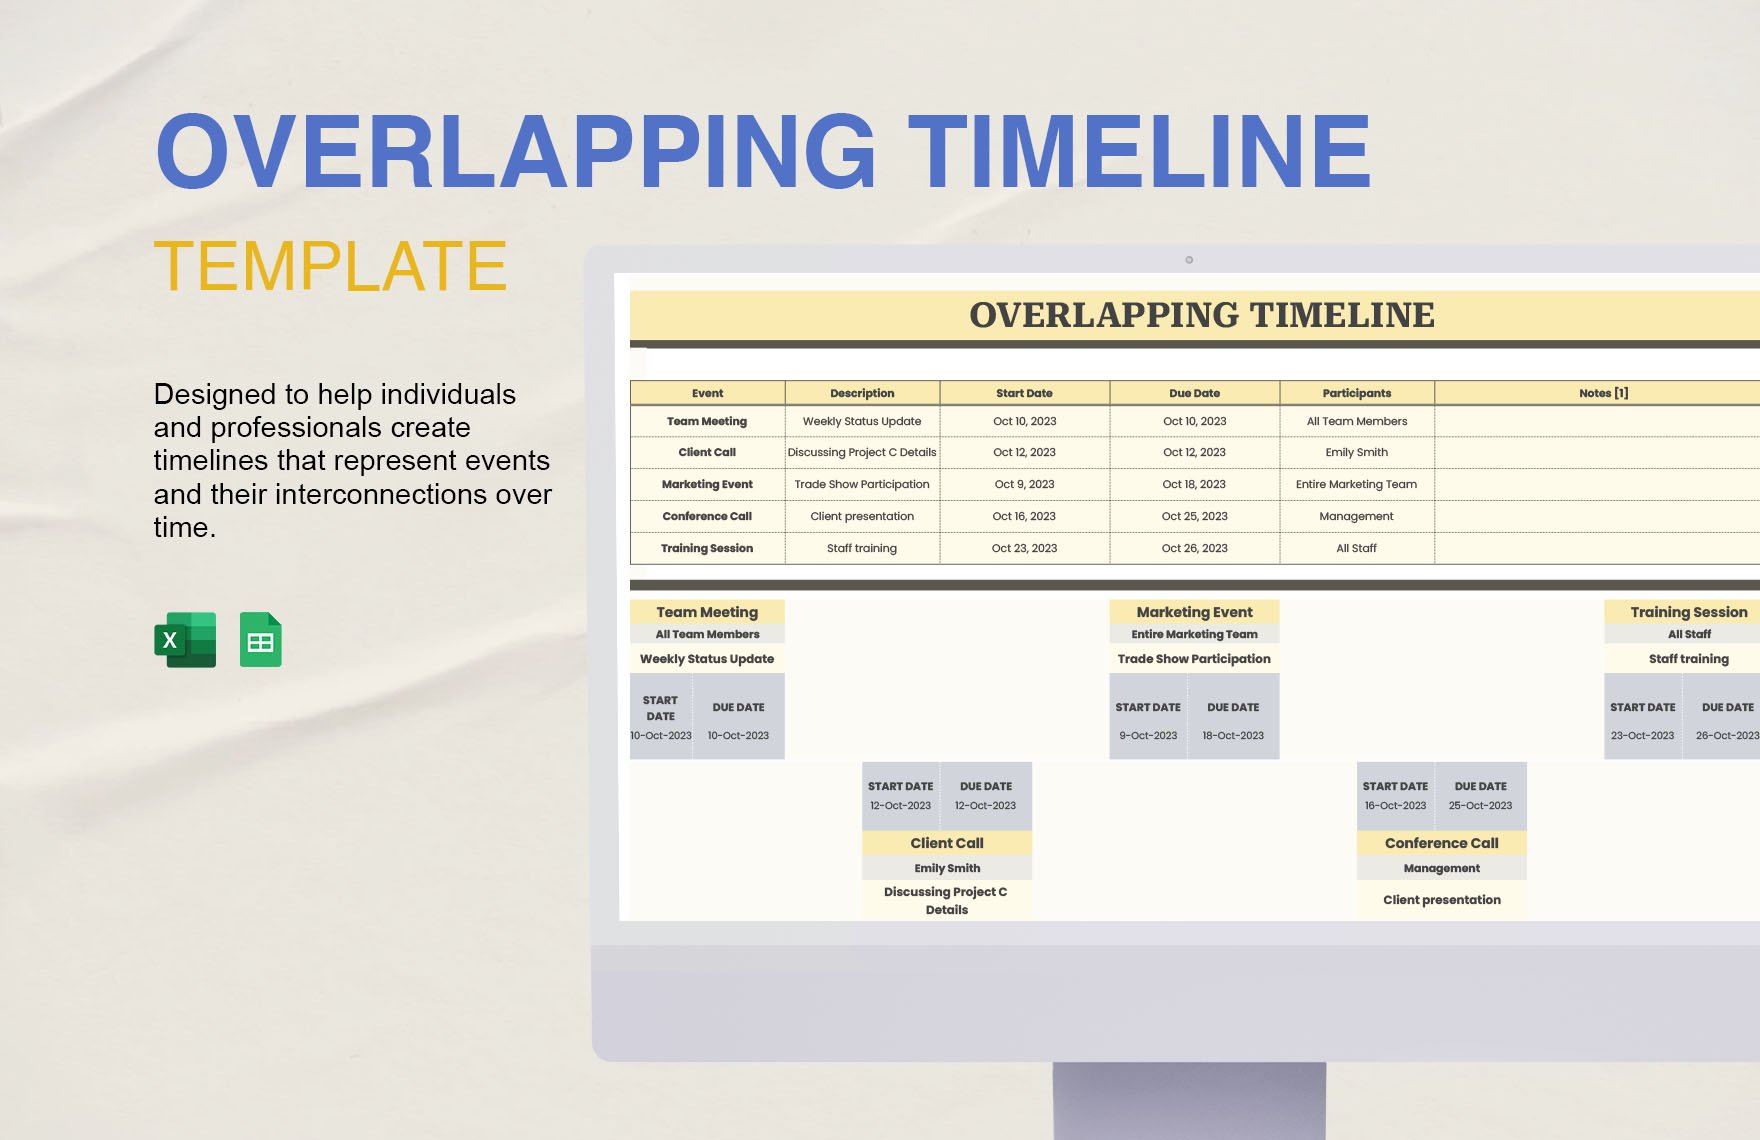
When handling a large project with various tasks to take care of, incorporating a proper timeline sheet is integral. And we can help you create your chart in no time with our easily editable Timeline Templates. Use our content to quickly make a professional infographic in either a horizontal or vertical format. And if you use Google apps, you can conveniently customize our samples in Google Sheets. Go ahead and download now—edit our templates to design a timeline document about technology, history, art, and more!
How to Make a Timeline Document in Google Sheets
Whether your project is for school, work, or personal use, a timeline document is a simple yet effective tool to help get things done. As an article from Chron (a business publication) explains, timelines aid you in keeping track of tasks and assigning duties to teammates.
If you need a diagram for timelines, Google Sheets is a convenient platform for creating one. Feel free to read our tips (below) to gain a basic understanding of what to do.
1. Give Your Timeline Document a Title
Open a new workbook in Google Sheets. At the top of your sheet, type in a descriptive title—like “Management Project Timelines” or “Advertising Campaign Resources.” To accommodate your title’s length, create space by highlighting the desired cells and then using the Merge Cells option (found on the right of the toolbar).
2. Prepare the Cell Range for Your Timelines
Create timelines in your sheet by preparing a table to contain them. To make your table, determine the size and layout of its cell range. Incorporate however many columns you need for your project’s duration while adding as many rows as you need for each measured item (tasks, resources, etc.). Be sure to reserve the table’s top row for labeling purposes.
3. Customize Your Timeline Table
To enhance the visuals in your timeline document, you need a bit of creative editing. Make cells distinguishable from each other by coloring key sections with the Fill Color tool. Edit your text by using the Text Color, Text Rotation, and other options (click More to expand the toolbar). Resize cells by click-dragging or double-clicking the lines between the letter and number labels.
4. Transfer Your Table to a Text Document
For presentations, printing, and so on, you can copy-paste the table to Google Docs. Highlight the whole table, press Ctrl+C, go to your Docs page, and press Ctrl+V. All customizations are carried over.
So, were our tips helpful? Remember what you’ve read and making a printable timeline document won’t be a problem!


