
How to Write a Professional Resignation Letter – Tutorial
Of course it is a no less achievement to land a new job in a new organization. However, if you’re…
Feb 11, 2025
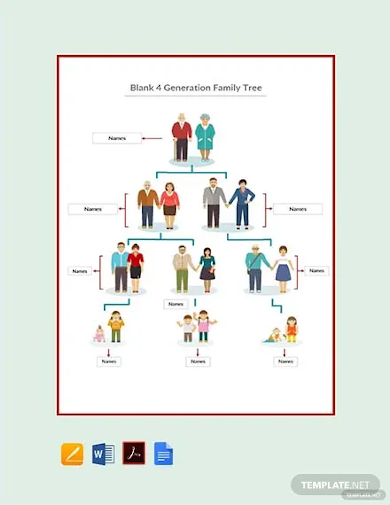
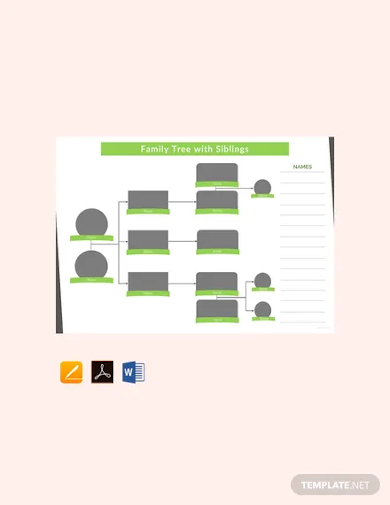
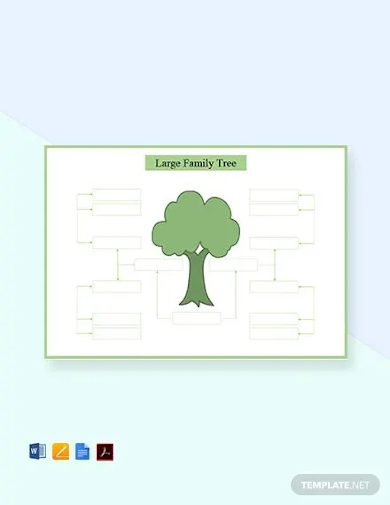
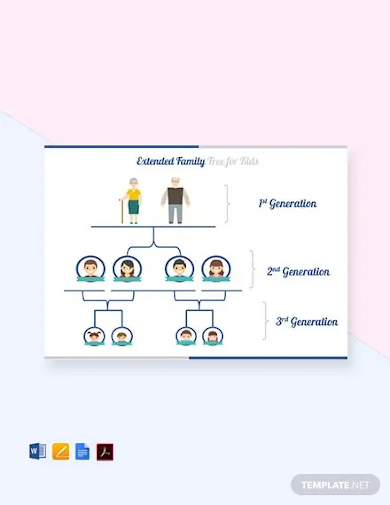
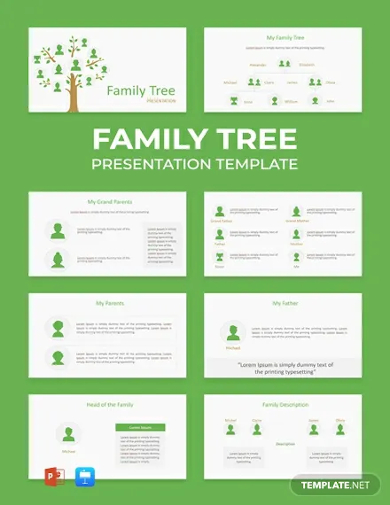
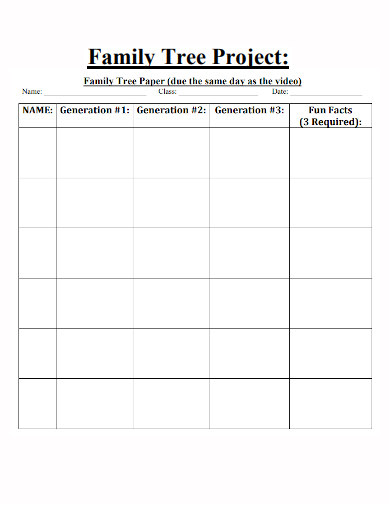
Students in school are often given assignments wherein they are encouraged to write or draw diagrams about their families. The family tree is a very popular diagram that is used for this purpose. Certain projects come about wherein family tree diagrams are considered very handy. If you’ve been asked to make a PowerPoint Presentation and incorporate a family tree diagram, we have got just the templates that you should use. These are, downloadable and customizable. You can also see Family Tree Templates.

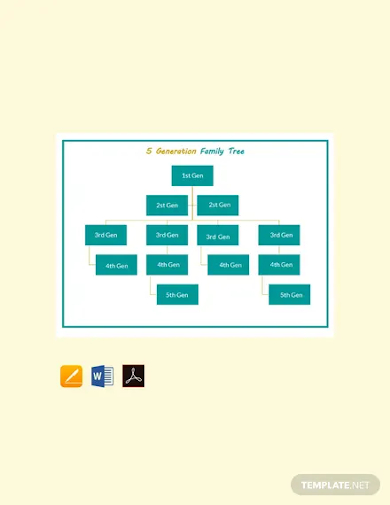
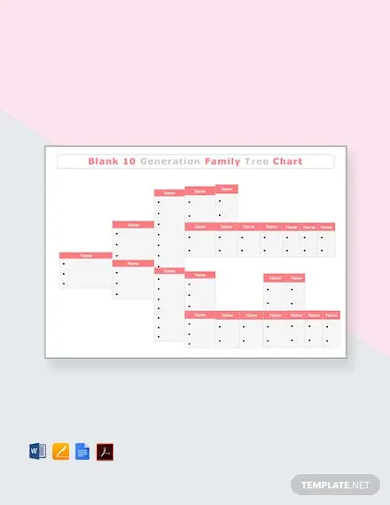
Once you have the names on your family tree, you can start digging even deeper to find more information about the characters in the family tree. Microsoft has an amazing tool that helps you in generating family trees which come in different templates to help you uncover your history. Thanks to Microsoft’s PowerPoint tools, you can easily create a sample family tree chart that will comprise all members of your family. If you need to make an animated 3-generation family tree for your school project, we’ve got a large selection of templates that can help you make it happen. We’ve got many kinds of templates that let you add your big extended family and siblings up to the 3 generations, 5 generations, or 10 generations!
You can choose to make it easy or complicated as you prefer. Follow the steps below to create a simple family tree for your entire generation:
Click on the Start button, move your cursor to all programs. Select Microsoft Office and choose Microsoft PowerPoint. A new Microsoft PowerPoint file will be opened. Click File from the main menu and then Save.
Click on the home tab and in the slides section, select Title and Content to select your ideal layout.
Insert your preferred graphics, as shown in the screenshot.

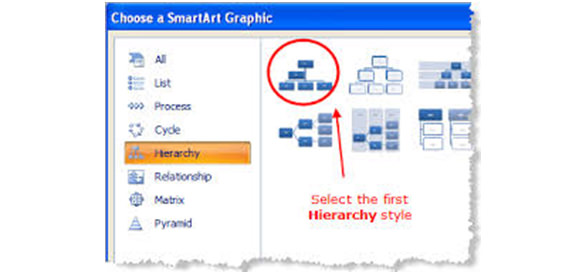
In the SmartArt graphics icon, click on the Hierarchy option on the list in the left pane. SmartArt graphics are used by many people and companies in presenting their information.
Click on the first option in the hierarchy group. When making printable family trees, the first option is the best as it enables you to add an assistant. An assistant, in this case, will represent a spouse.
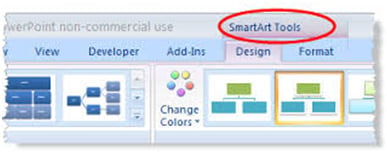
Click on the ribbon to launch the SmartArt Tools that will help you in selecting the best options for your family tree.
In the boxes available in the hierarchy group, type the names of the family members. The size and font will adjust themselves as you type the names. To add a new member to the Microsoft Word Family Tree means adding a new box. To achieve this:
Click on the Border of a particular shape where you want to add a new box.
A drop-down menu will appear, click on Add Shape button to select from the various options where you want to add the shape.
You must add new boxes each time you want to add a new member of the family. Also, make sure that all shapes resemble the parent shape to avoid confusion and enhance uniformity.

Click on the Insert tab on the ribbon in case it has not been selected. Then click on the Text Box icon to draw your favorite text box. Once all this has been done, you can comfortably type the appropriate text.

Clip arts and photographs are mostly used in the background for Charts PowerPoint. The photo or clip art you use for the family tree will be stretched to fit in all your slides. Change the settings to make sure that the background picture or clip art fits well and the effects are taken care of.
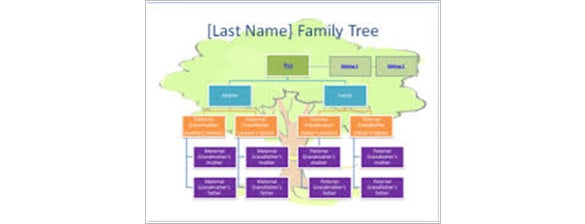
This helps in making sure that all the details have been entered correctly and no mistake has been made. Once you cross-check the family tree click the save button to save the family tree.
 azwestern.edu
Of course it is a no less achievement to land a new job in a new organization. However, if you’re…

Creating a resume on a Mac needs a word processing document. In this case, first of all, you have to…

If you are looking forward to becoming your family’s genealogist, creating a family tree should be one of your significant…

Certificates are essential in every large organization, when you want to congratulate your workers for a job well done, sending…

A family tree (also known as a pedigree chart) is an illustrative diagram with mini photos, word art, and other…

MS Excel is one of the most common and easy-to-use tools in managing small business activities. Excel can be used…

Students in school are often given assignments wherein they are encouraged to write or draw diagrams about their families. The…