
How to Write a Professional Resignation Letter – Tutorial
Of course it is a no less achievement to land a new job in a new organization. However, if you’re…
Apr 15, 2024
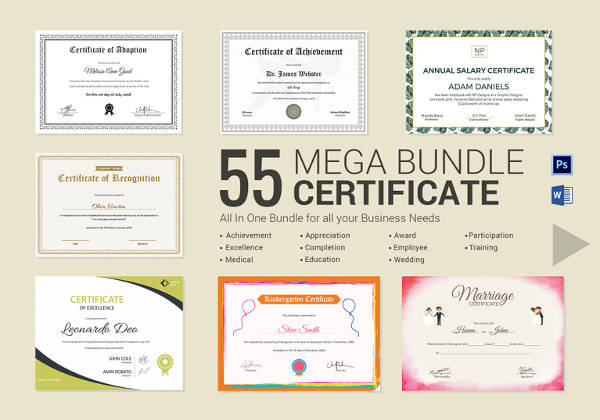
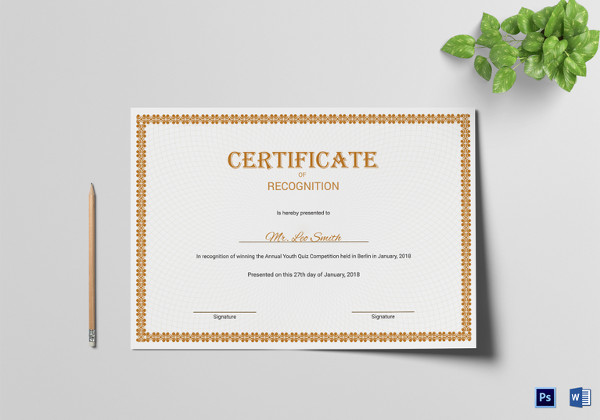
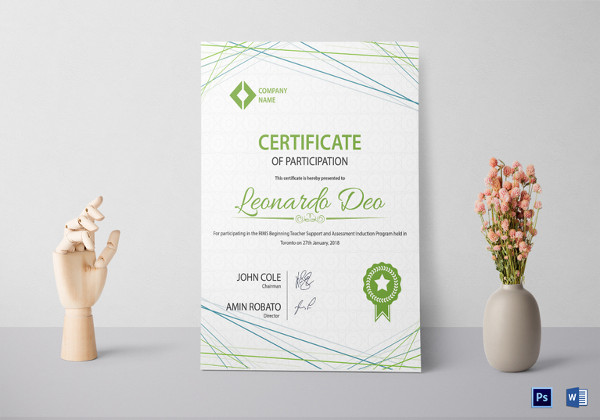
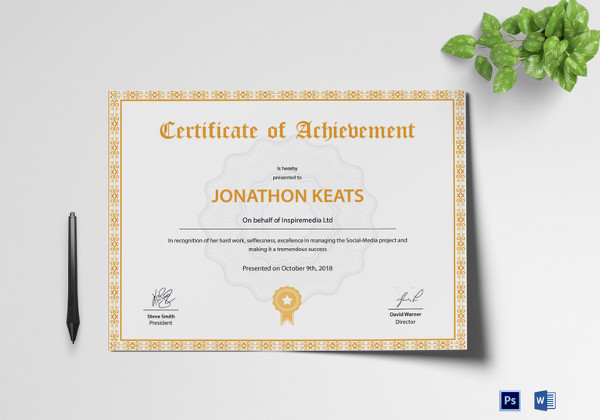
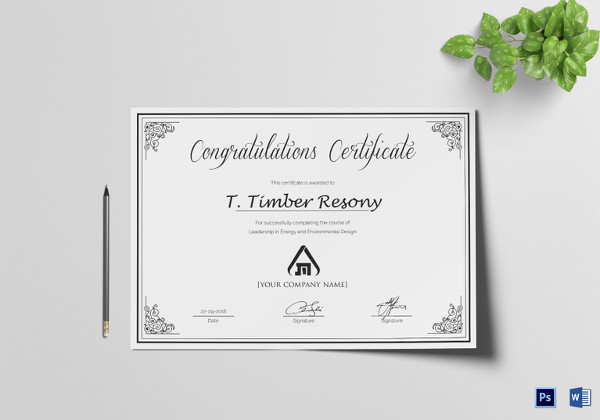
Certificates are essential in every large organization, when you want to congratulate your workers for a job well done, sending them an email may not be enough. You need to give them something tangible that will remind them of their achievements any time they cast their glances at it. A good example of a reward or something to encourage them is a certificate. Use MS Word to make beautiful certificate templates and you won’t have to suffer looking for someone to design them for you. All this is achievable thanks to the collection of templates provided by Word.

Word allows you to create and print simple certificates easily on your computer and gives you a chance to be creative. You can put together a certificate for a sports event, a student graduation ceremony certificate, and much more. The following is a guide that should help you in creating a free sample certificate templates in all the designs and styles you want.
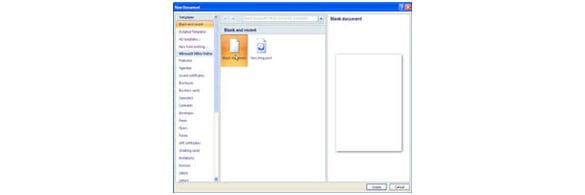
Click on the start button at the bottom left end of the desktop. This will launch a panel on the left side, click to select the Microsoft Word option. This will open a blank MS Word document; alternatively, you can click the “New button” on the home button to open a blank document as shown below:
Once a new word document has been opened, click the “Page Layout” tab on top of the window and select “Portrait” or “Landscape” orientation for your certification as shown below.

Click on the “Page Layout” tab and select the “Page color” option. Then select the color you want to use while preparing your custom certificate.
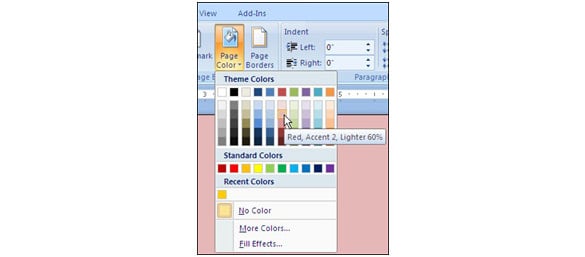
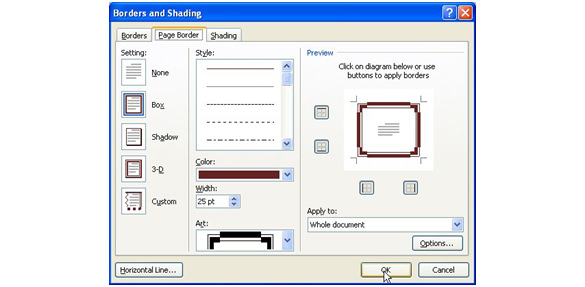
Click on the “Page Layout” menu to select the “Page Border” option. Click on the color you want and apply a color fix up to your preferred width. Lastly, add a fixed Art to your border or any other part you want and click “OK”.
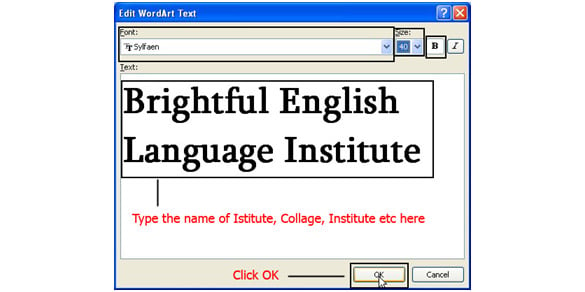
On the “Insert” tab at the top of the window, click on the “WordArt” command to select the style you want in your creative certificate. There are many styles which you can choose from depending on your taste and preferences. When you click on a word style, a menu will be displayed. Type the mane of the organization, college name, high school name, etc. Then click “OK” to apply the fix, the following should guide you into achieving the perfect WordArt.
The drop-down button on the menu should help you in selecting the right style to use on your printable certificate.
Select the right word text for your modern certificate. This might include the name of the employee, level of occupation, sex, company or organization, and any other relevant information as shown in the following screenshot:
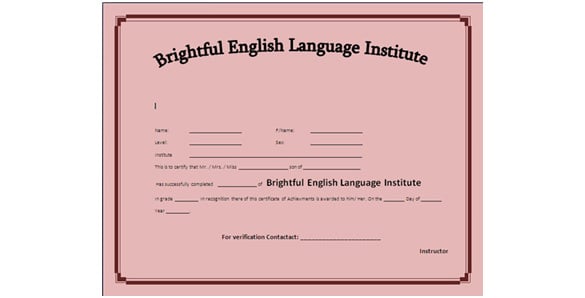
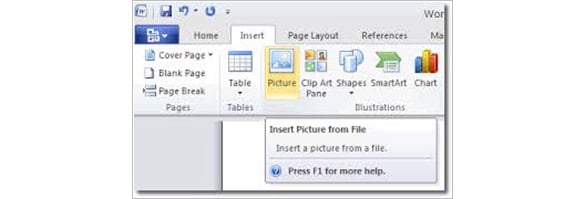
On the Insert button, click the Text box and choose the Alphabet quote. To fix a photo or logo, type the word “picture” instead of “Alphabet Quote”. To insert a photo or logo of the company, click on the “Insert” tab and select the picture button. Browse the picture you want to use and double-click on it to select. You can follow this procedure to add graphics or a sample logo.
As you get closer to completing your academic certificate, make sure that your fonts and sizes are well-formatted. Make any adjustments that you find necessary for your certificate.
Click the office button once more then choose “Save As”. Select the folder or location in which you want to save the file and click save. Lastly, select print preview on the print menu on the office button to preview the word certificate.
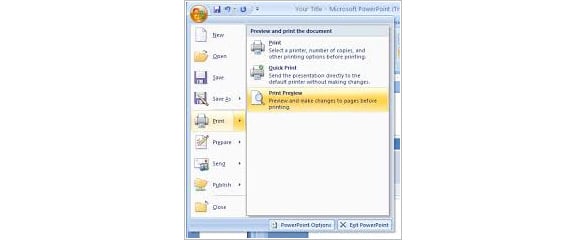
If it is complete and well-formatted, print the number of sample sheets you want.






Of course it is a no less achievement to land a new job in a new organization. However, if you’re…

Creating a resume on a Mac needs a word processing document. In this case, first of all, you have to…

If you are looking forward to becoming your family’s genealogist, creating a family tree should be one of your significant…

Certificates are essential in every large organization, when you want to congratulate your workers for a job well done, sending…

A family tree (also known as a pedigree chart) is an illustrative diagram with mini photos, word art, and other…

MS Excel is one of the most common and easy-to-use tools in managing small business activities. Excel can be used…

Students in school are often given assignments wherein they are encouraged to write or draw diagrams about their families. The…