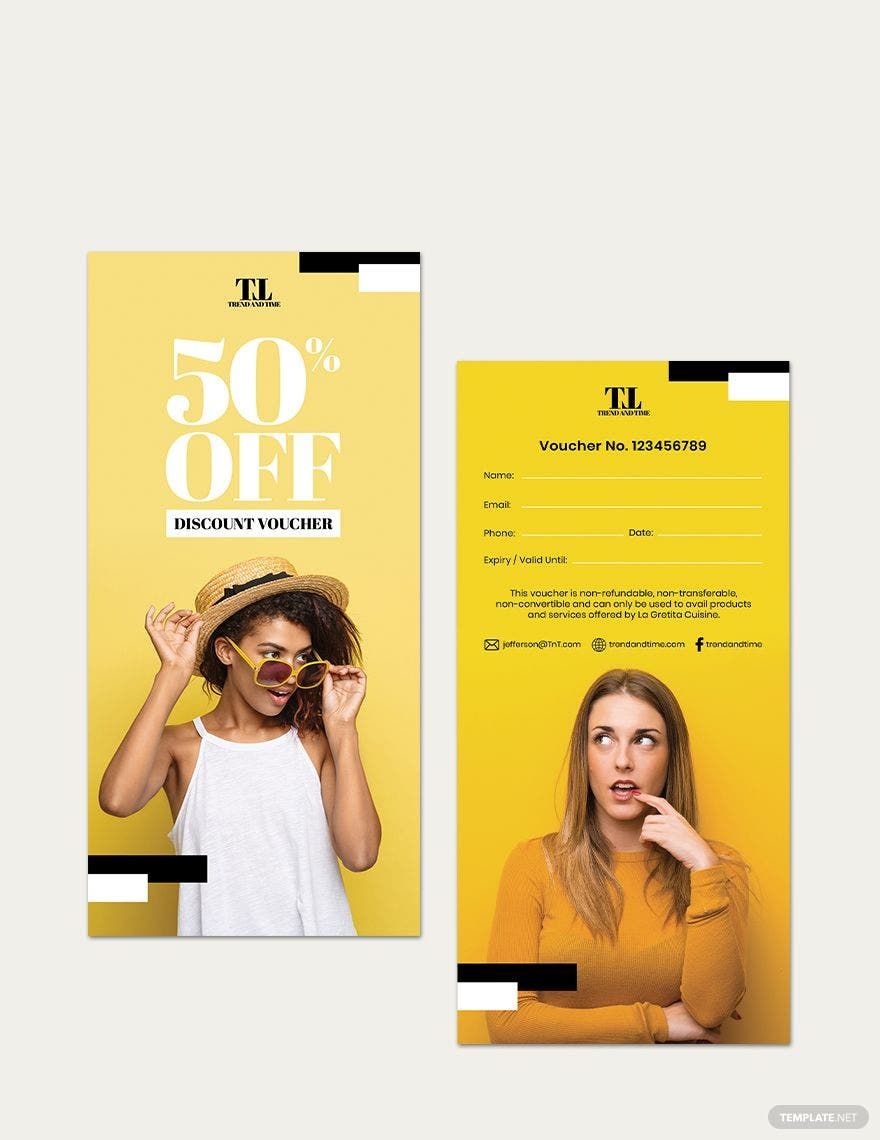
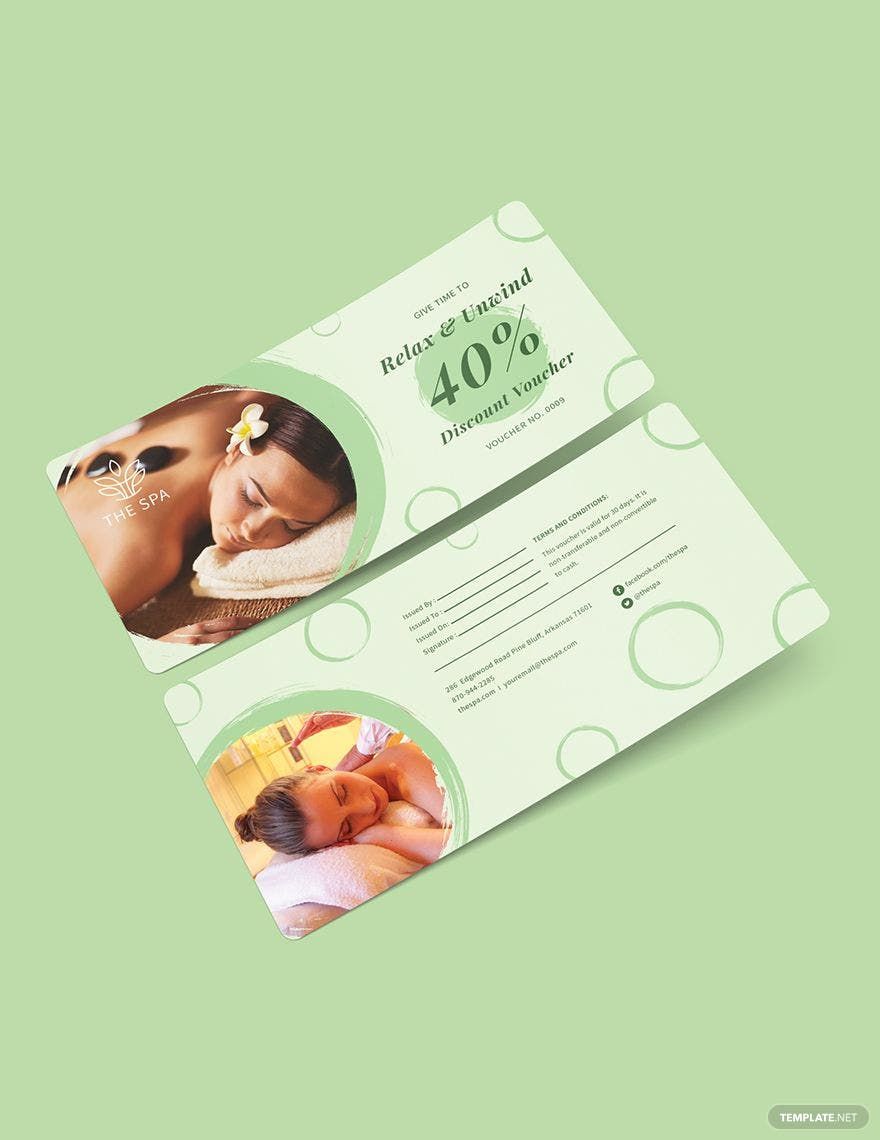
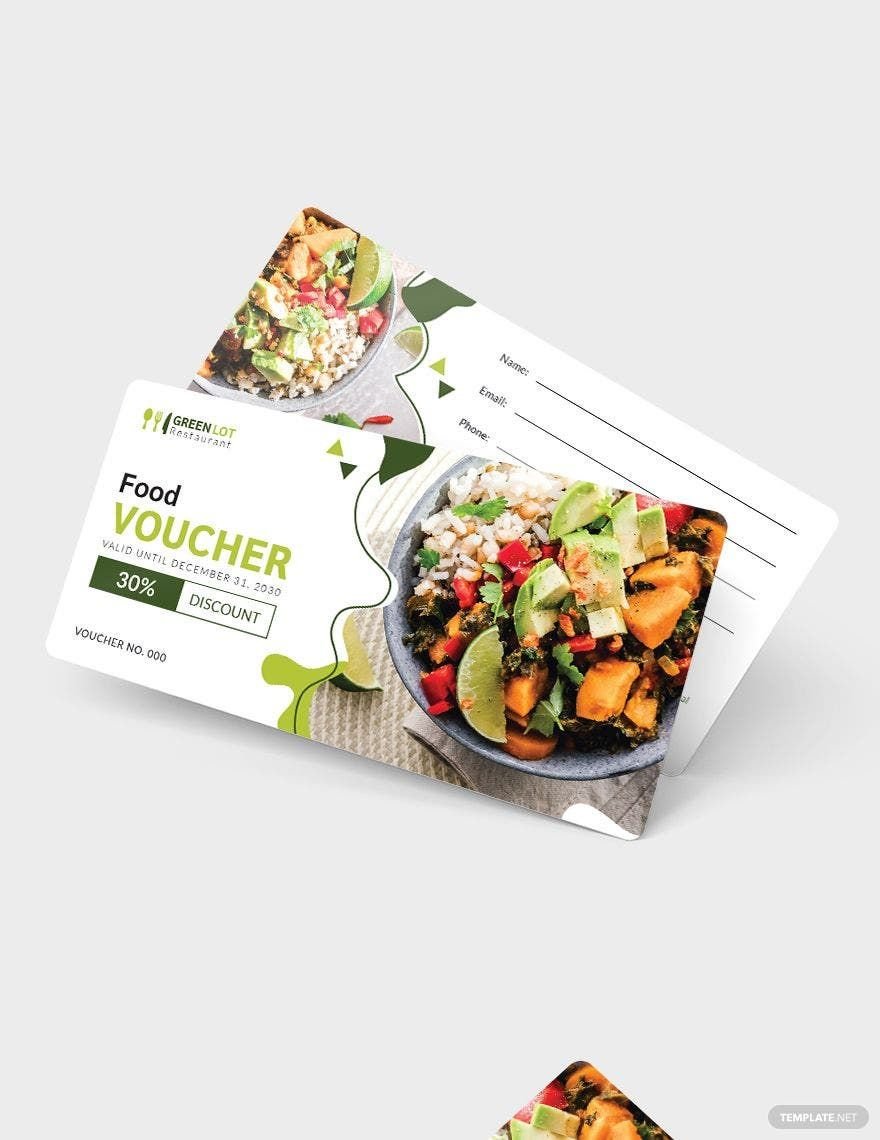
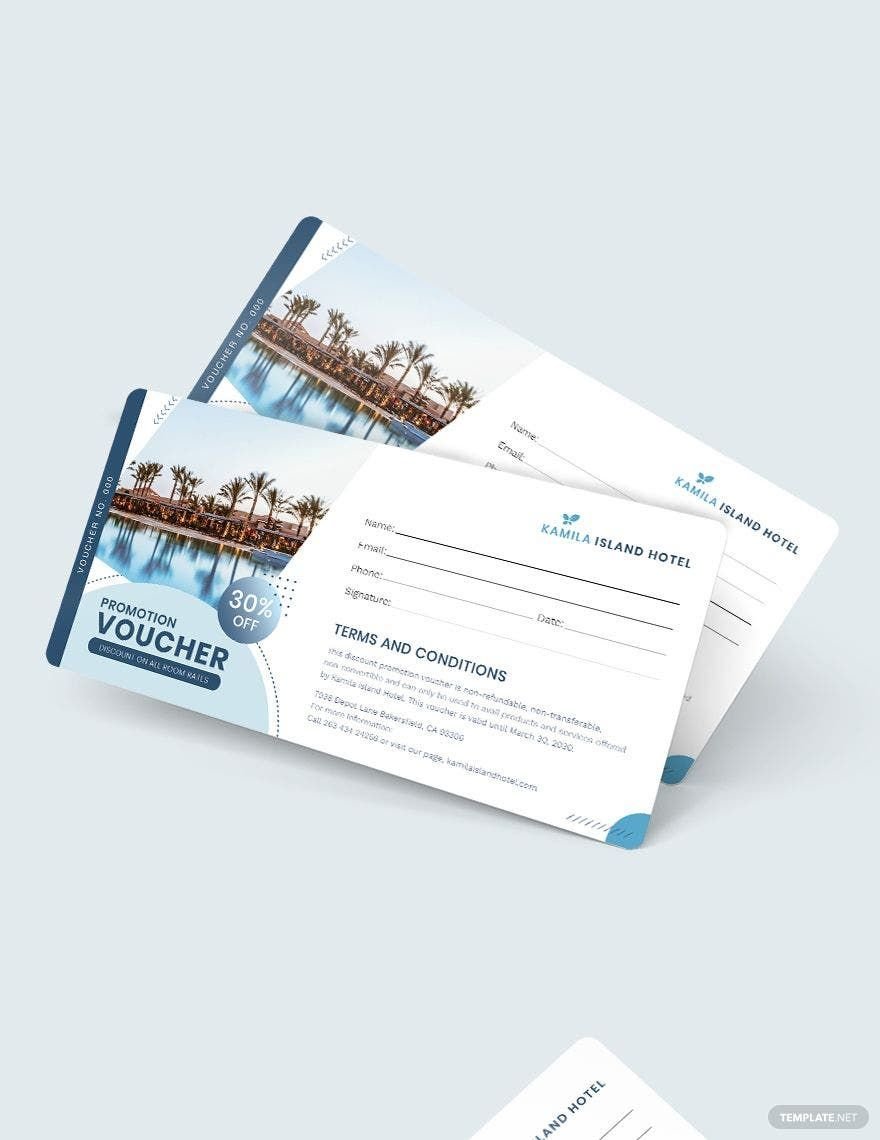
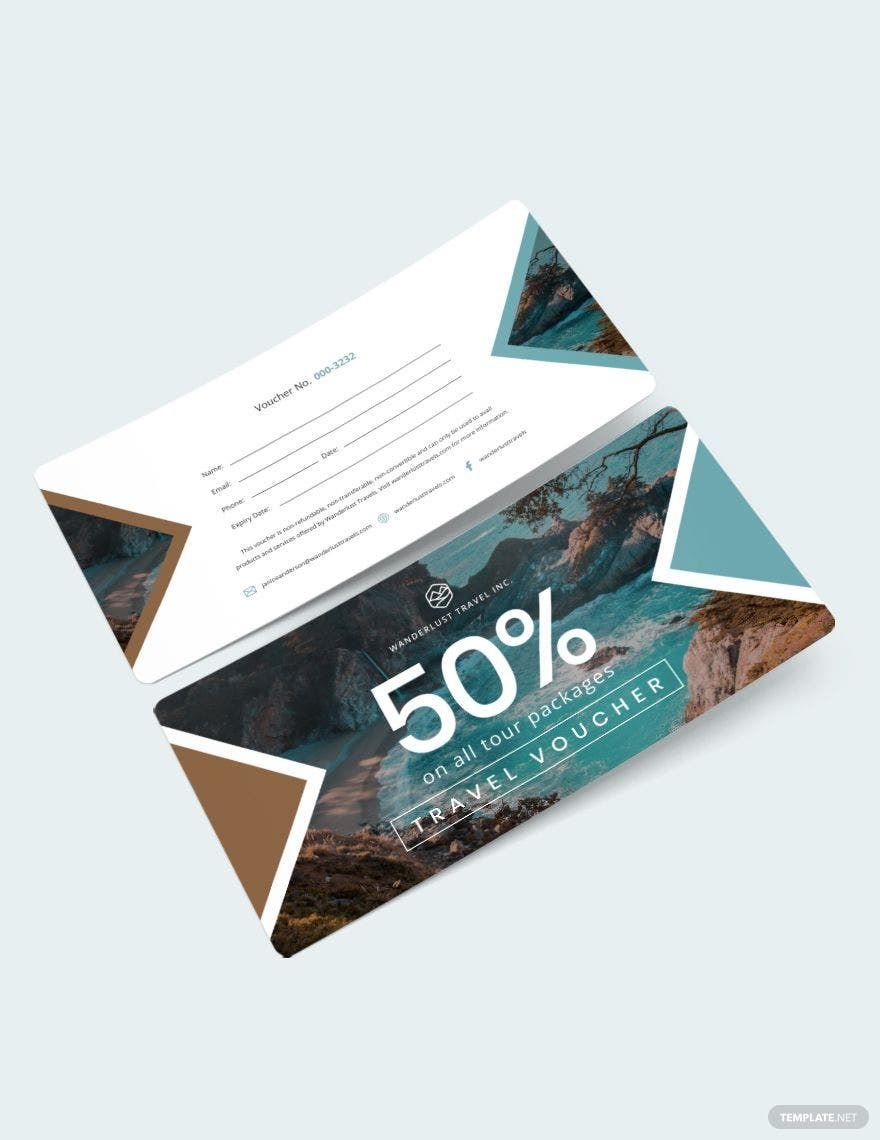
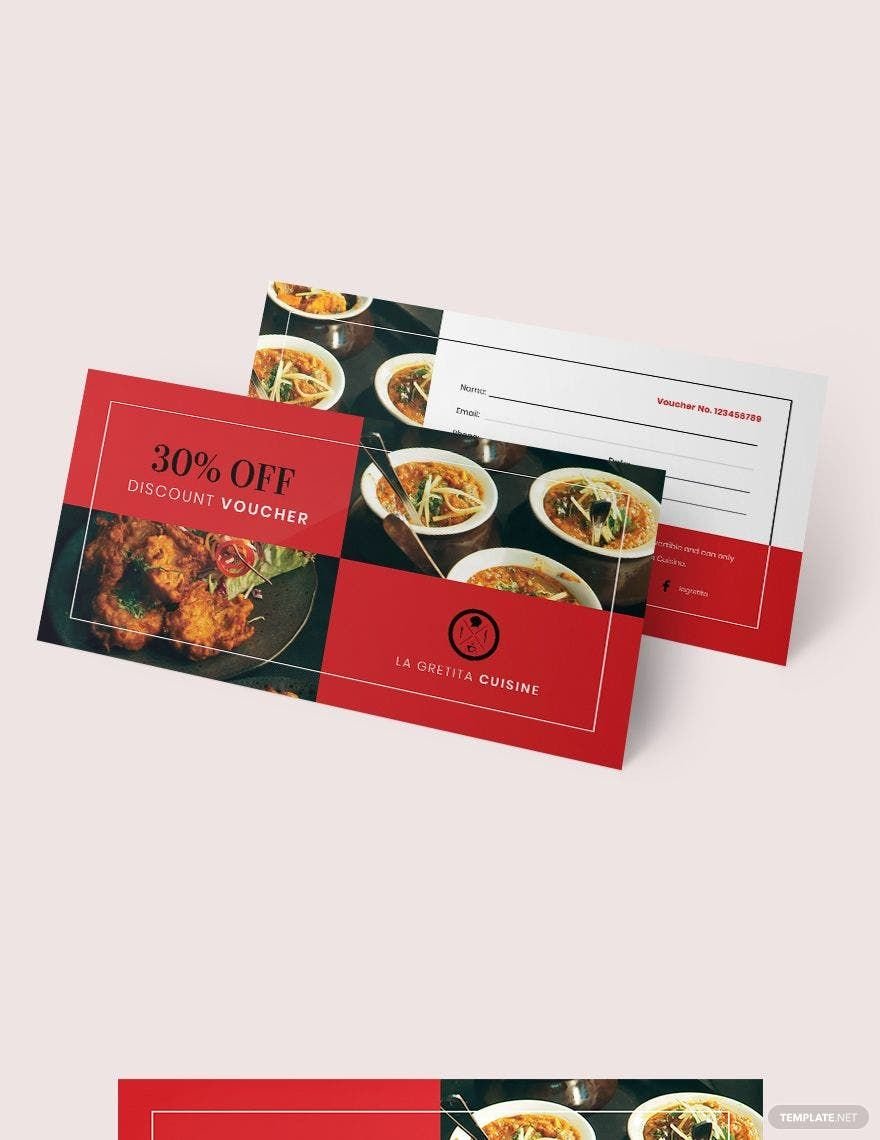
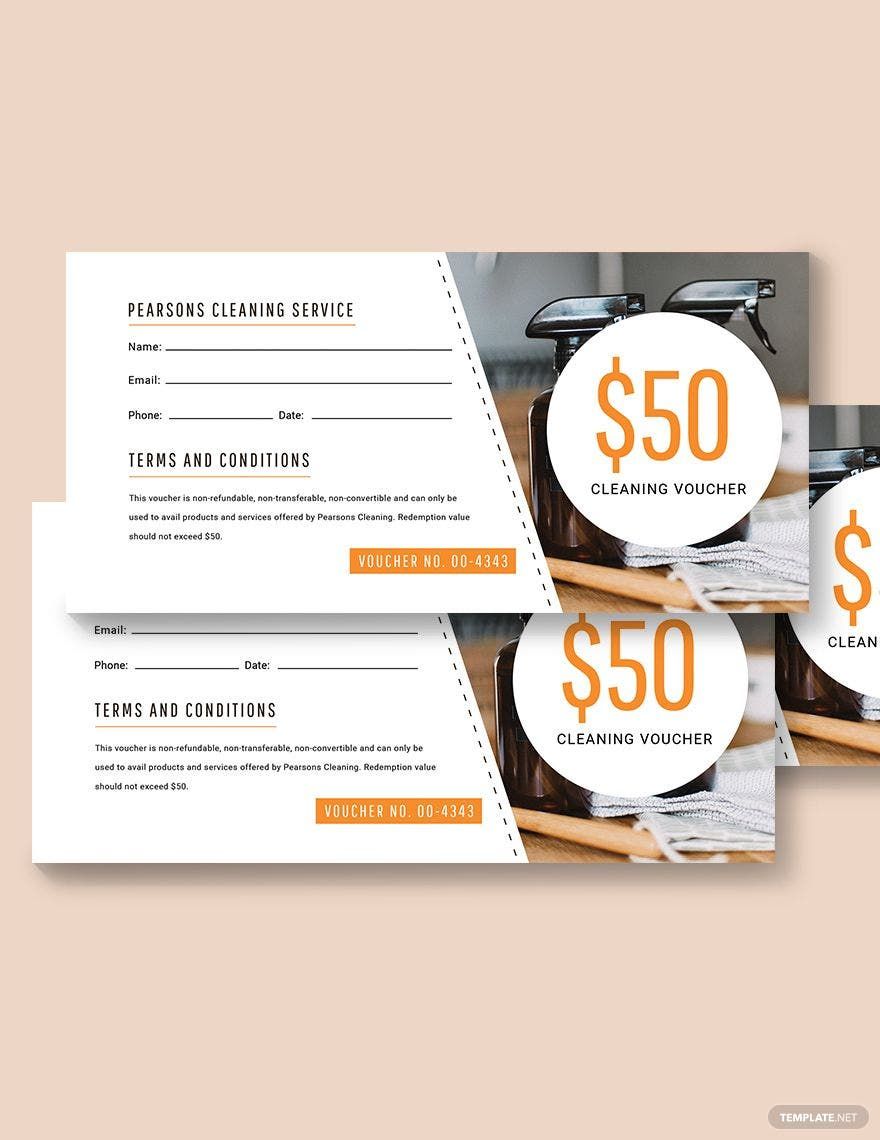
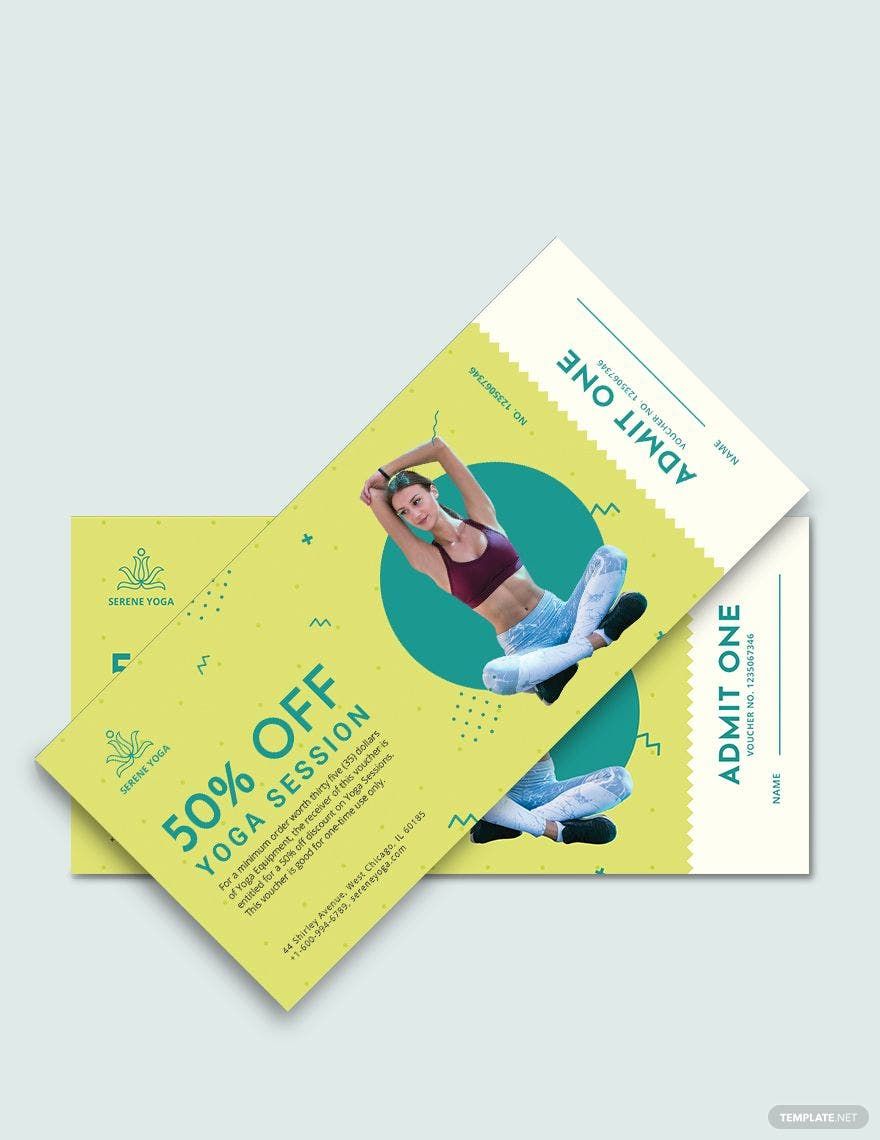
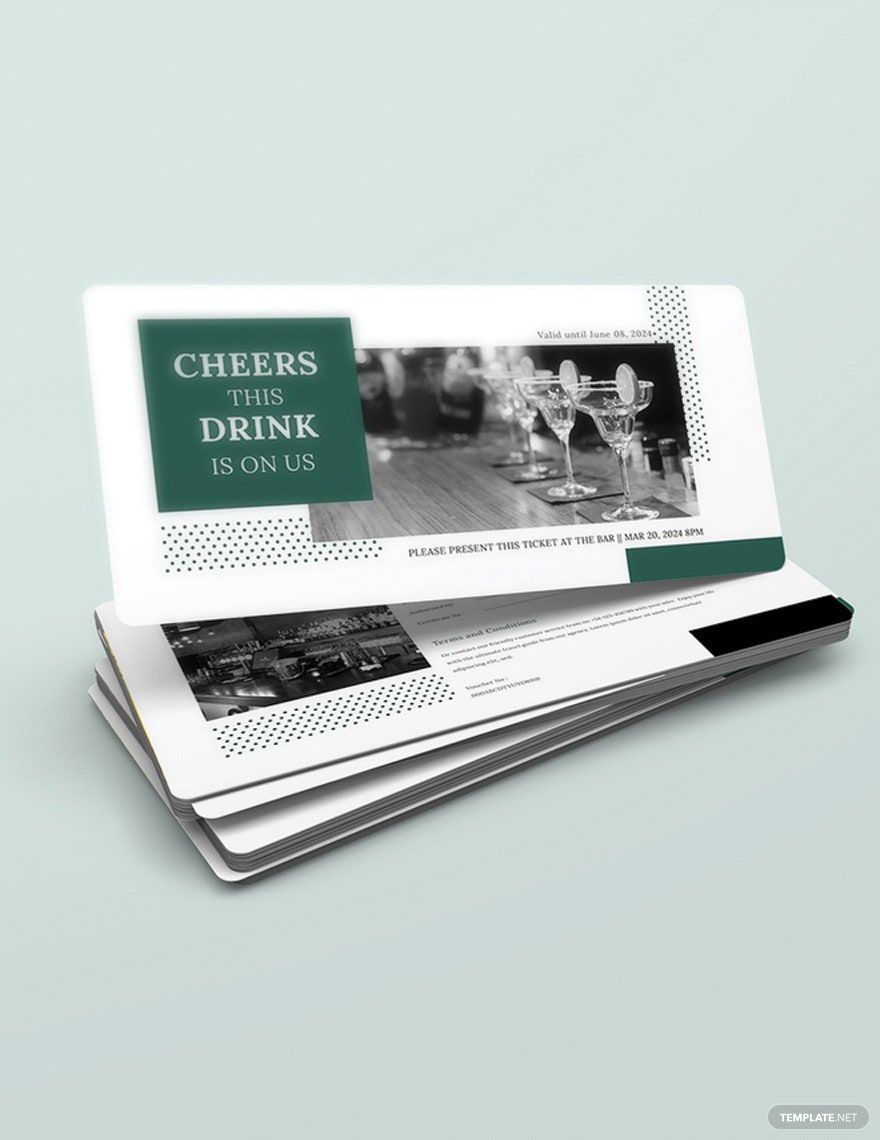
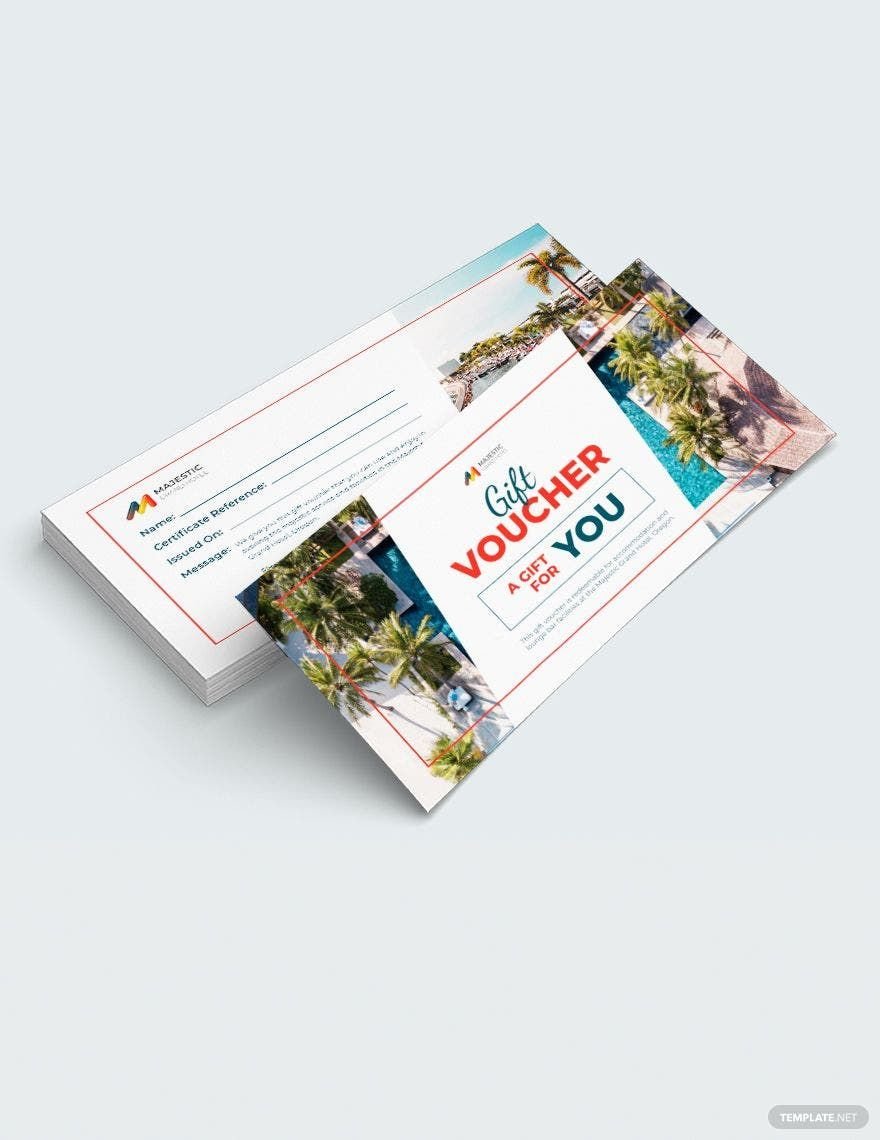
One of the things businesses use to help out their customers or keep things interesting would be vouchers. If you’re thinking of using these yourself but need helping finding the right editable voucher templates, then you’ve come to the right place. Feast your eyes upon our exclusive selection, available only on Template.net Pro, and you’ll agree that there are few out there that can rival its high quality. Each of these are available in multiple file formats like Illustrator, MS Word, Photoshop, and more. We can also guarantee that each comes easily editable, beautifully written, and printable. Get our subscription plan today to get the chance to download the right voucher template that saves time for you!
What is an Editable Voucher?
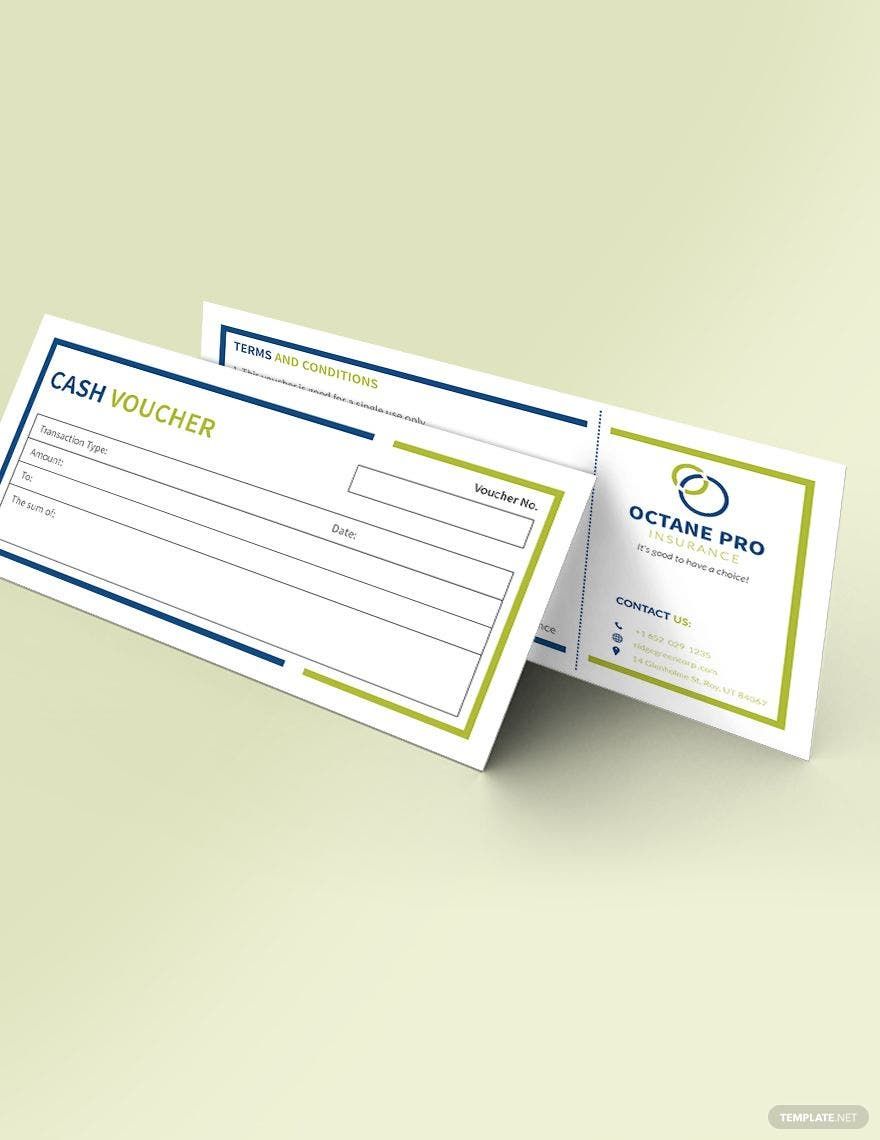
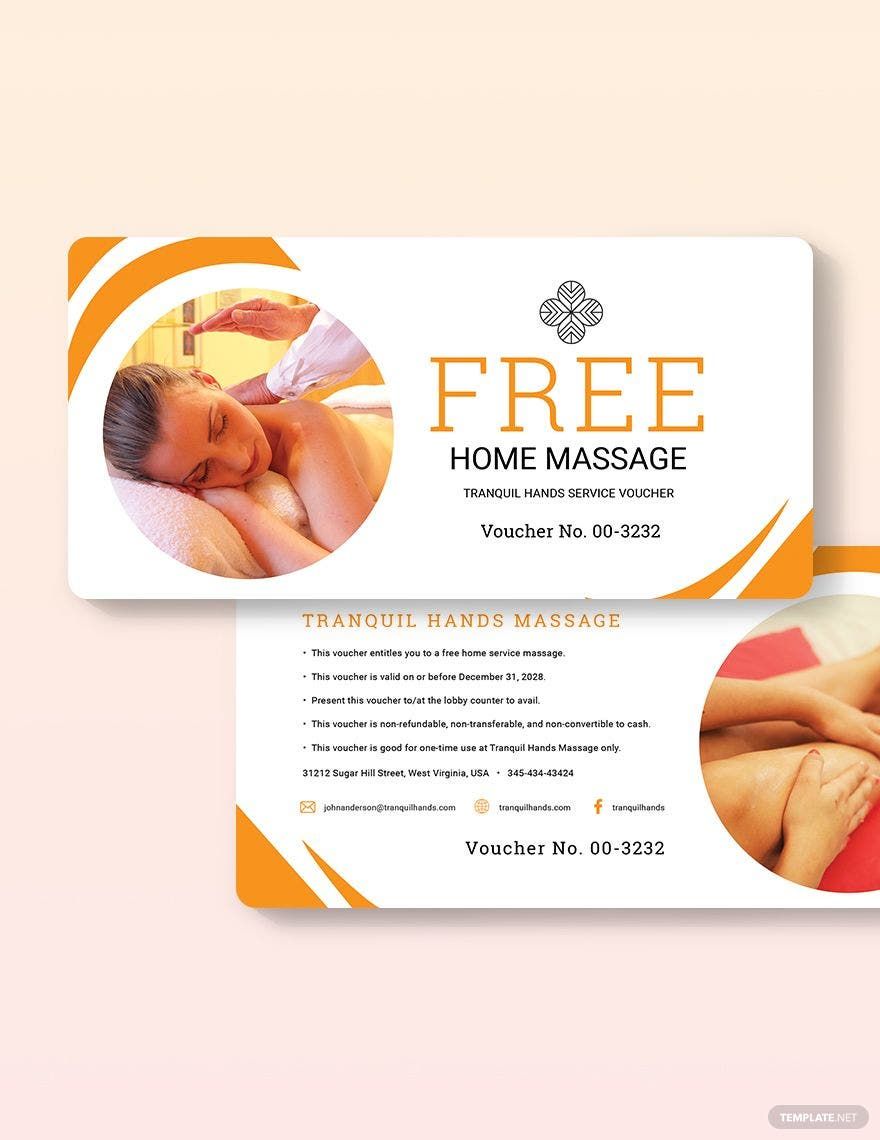
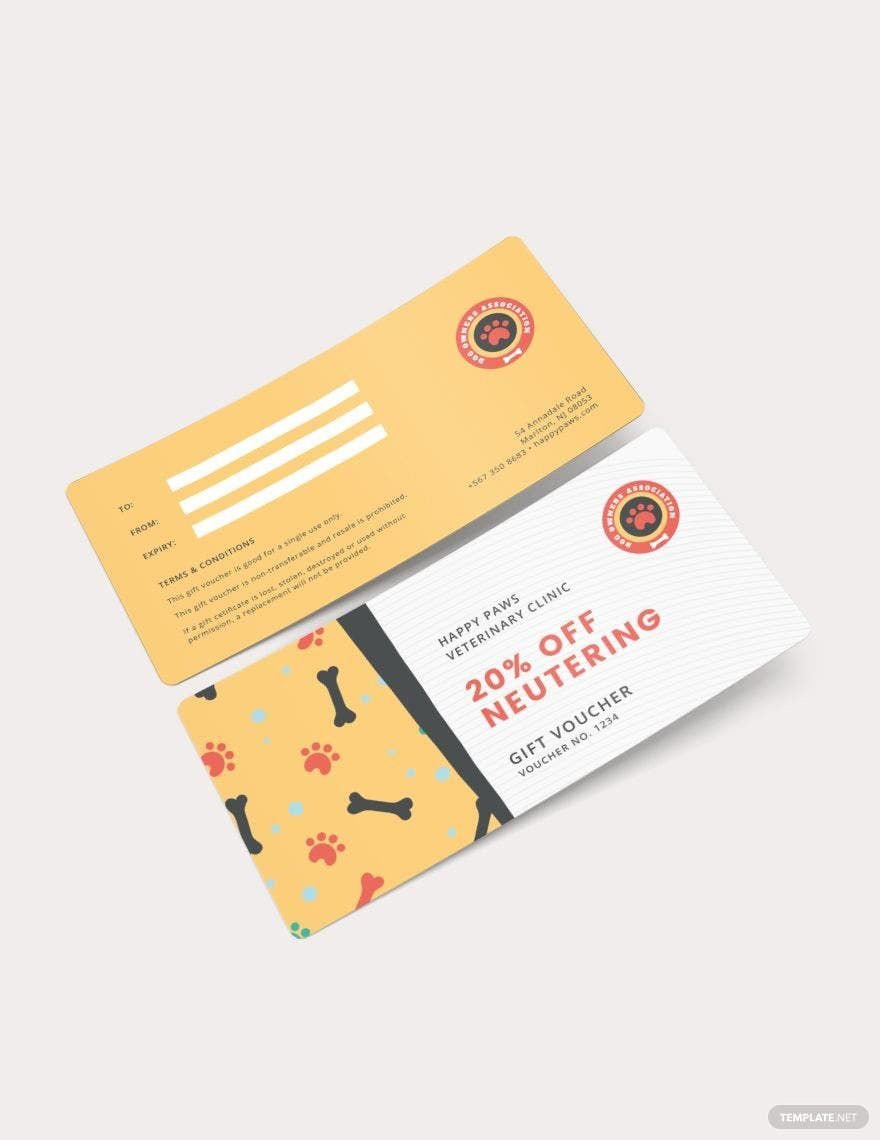
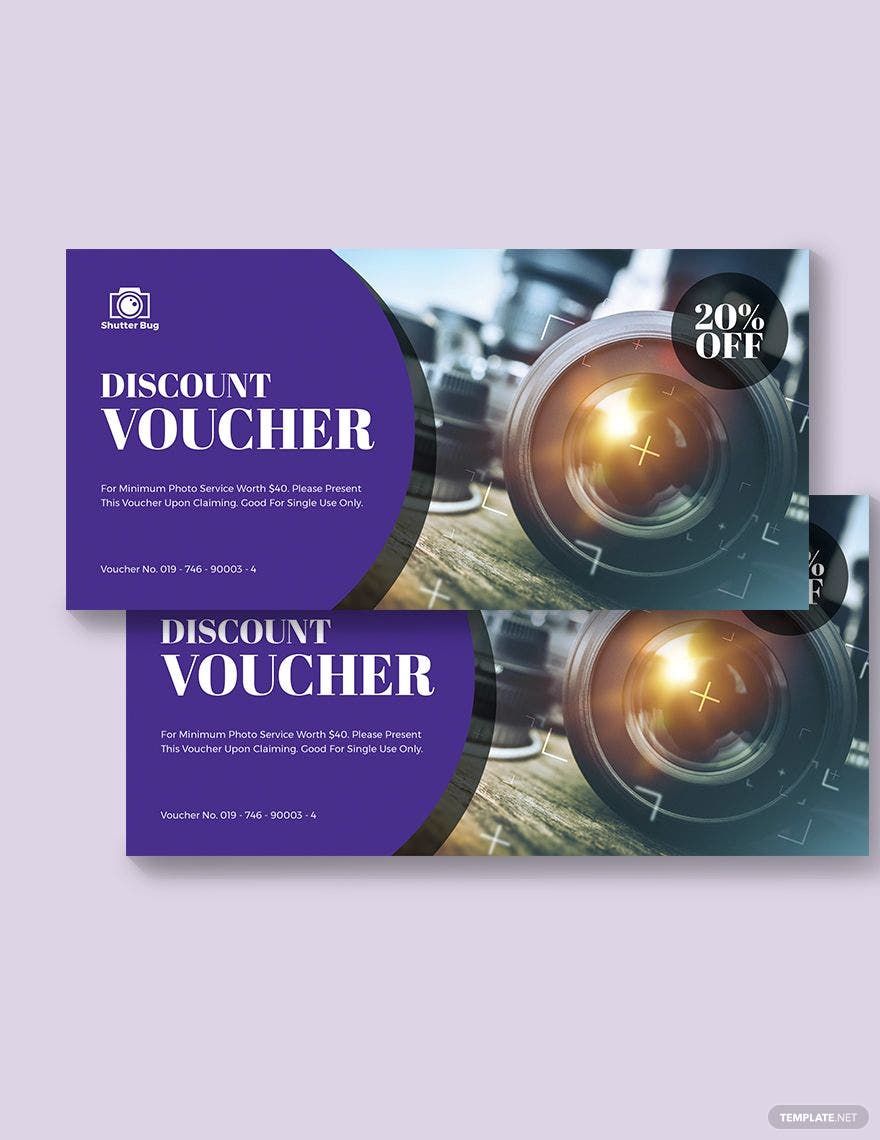
A simple definition would be those printed pieces of paper that can enable its holder to be entitled to specific benefits, such as discounts or an exchange for certain goods or services. Some examples of the numerous variations would be travel, housing, birthday, and food vouchers. Also, depending on what its particular variant is, one can also expect its design to vary from blank to highly intricate. It should be noted that not all vouchers are created equally. Although similar, school vouchers serve more as certificates for students that are eligible for government funding, usually for a specific year, term, or semester. Due to the nature of these items, one can expect them to be highly customizable and available in formats like PDF.
How to Create Vouchers in Publisher
If you are looking to create your own editable vouchers using Publisher, be assured that there are general instructions that can guide you through the entire process. In doing so, you are guaranteed that your overall experience is not only hassle-free but also a bit faster and easier to pull off than it normally would be otherwise. So with that said, take a look at the following steps below and get started on your DIY voucher creation project today. Start things off with:
1. Decide On The Type of Document To Create
When you open Microsoft Publisher, among the first things that need to be done is select a template from the pre-existing list. Older versions of the program, such as 2003 and 2007, refer to said list as ‘publication types.’ In choosing from the list, you start things off on the right foot.
2. Replace The Placeholder Text
Upon choosing the template that appeals most to your plans, what you can do next is make edits or replace whatever placeholder text there is. You may proceed to add your own text or graphics as you see fit.
3. Change The Name of The Recipient
If you want to create a blank voucher, then you can afford to skip this step entirely. Should you have someone more specific in mind, then this is the part where you place the name of the recipient on the document. The text can be automatically resized to fit your text box but you may also control the size manually.
4. Change The Picture
To change the document’s picture, you may right-click on the pre-existing picture and select ‘change picture’ from its popup menu. Those using either Publisher 2003 or 2007 can also choose either ‘from file’ or ‘clip art.’
5. Save Your Document and Decide What To Do With It
The last step would be to save the document once you are satisfied with your work overall. From there, you may choose to print it out. Alternatively, you may keep it digital for yourself or send it to other people through email or other viable means.
