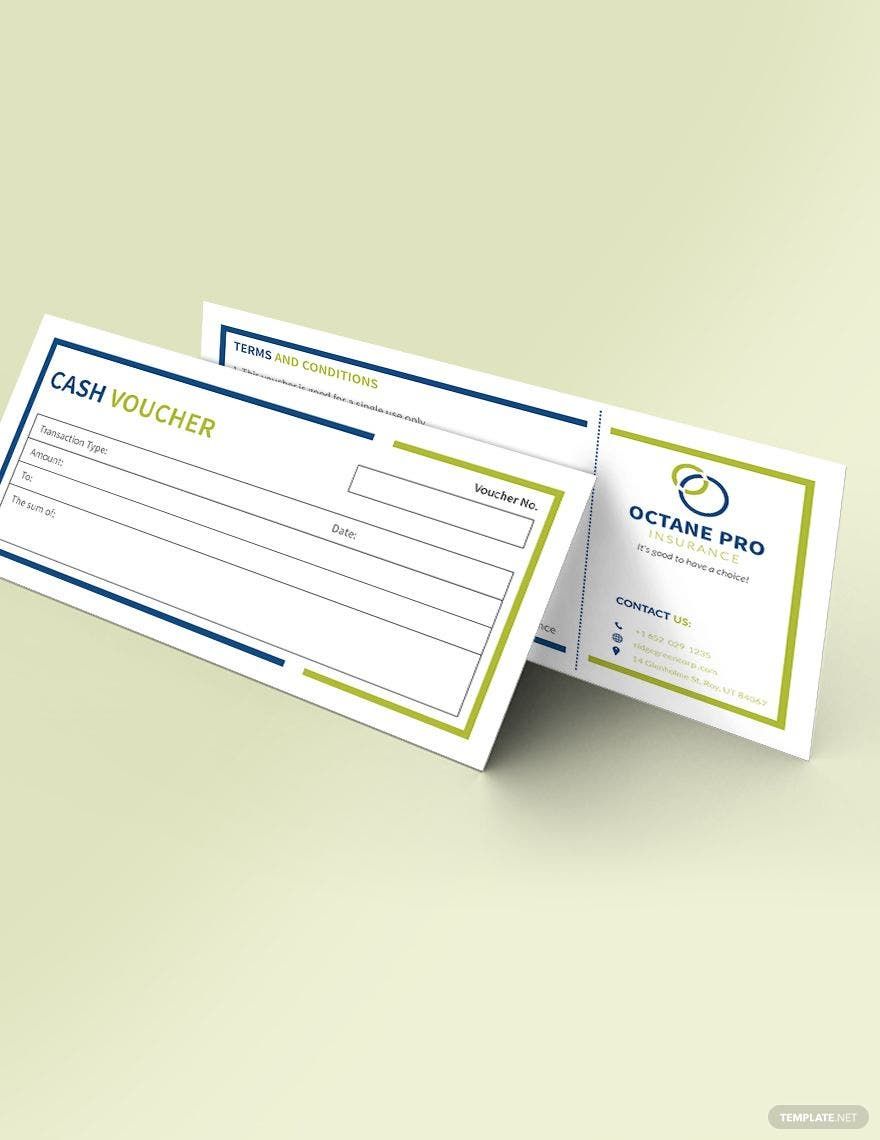
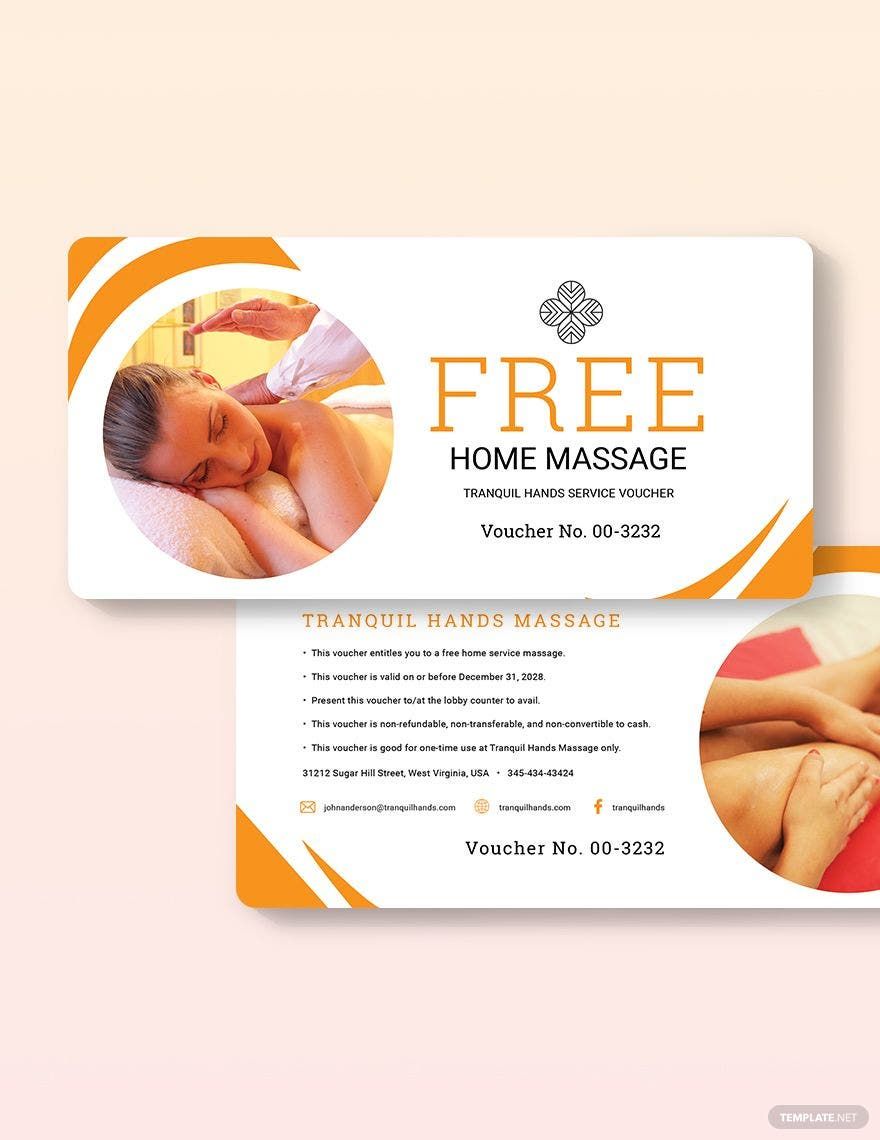
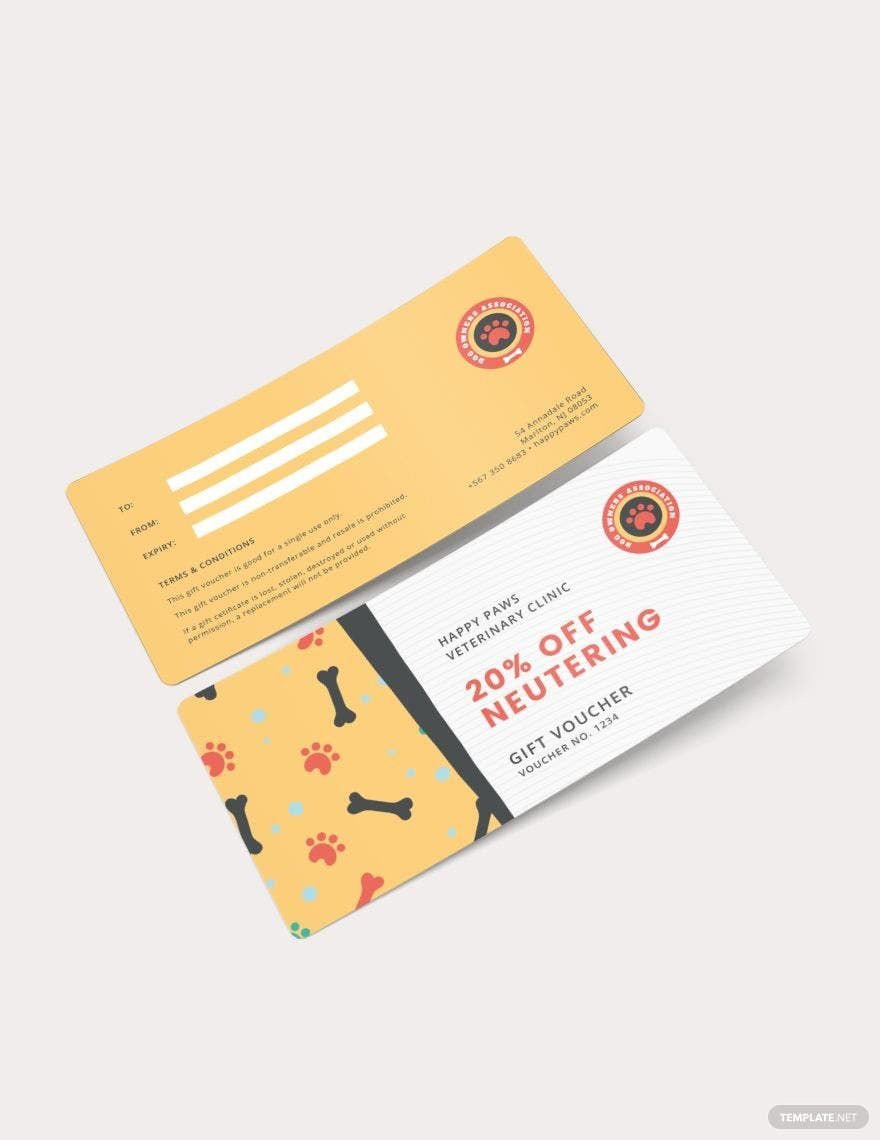
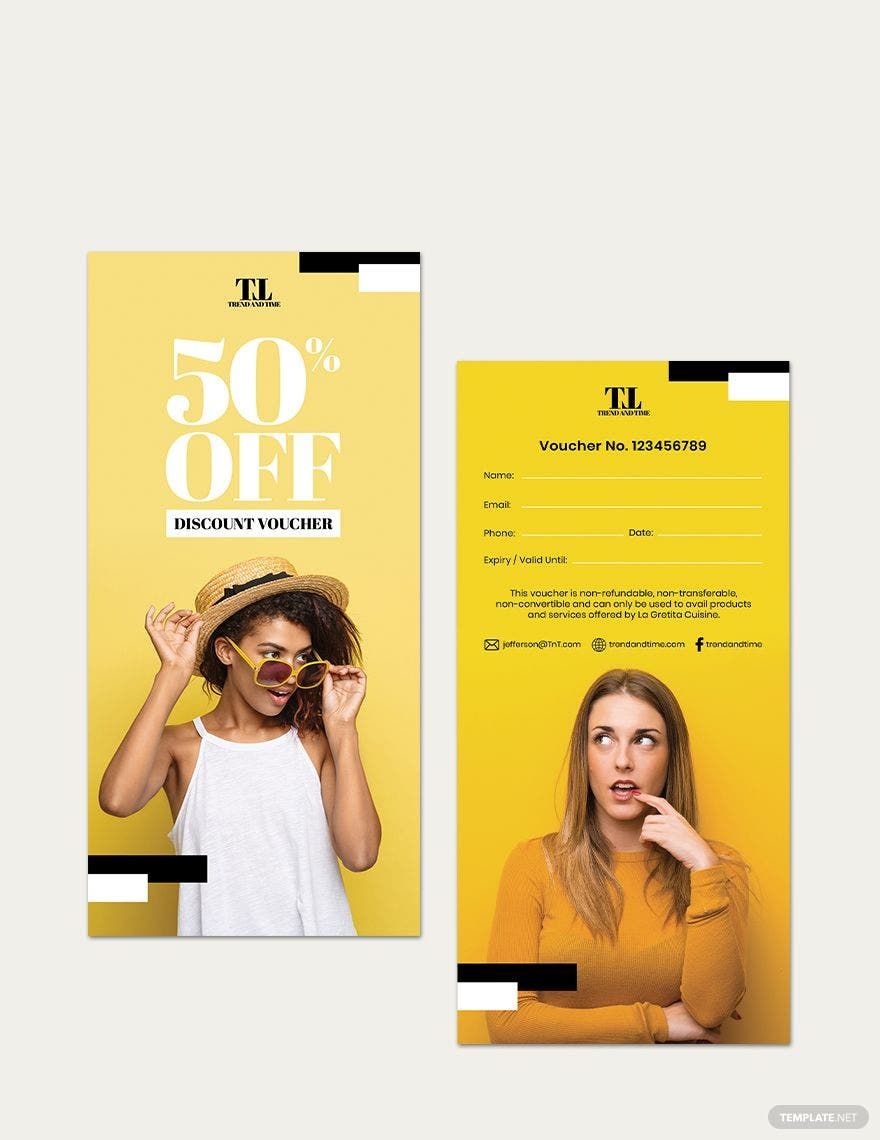
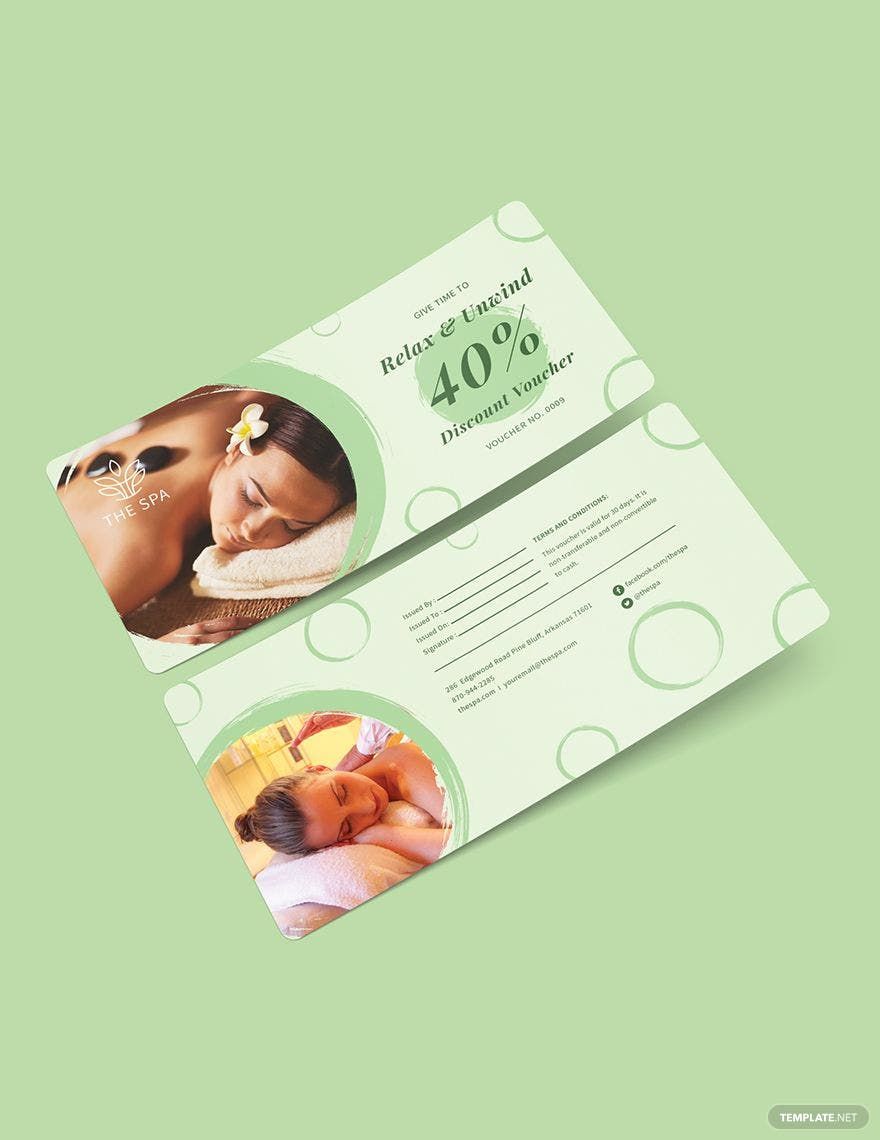
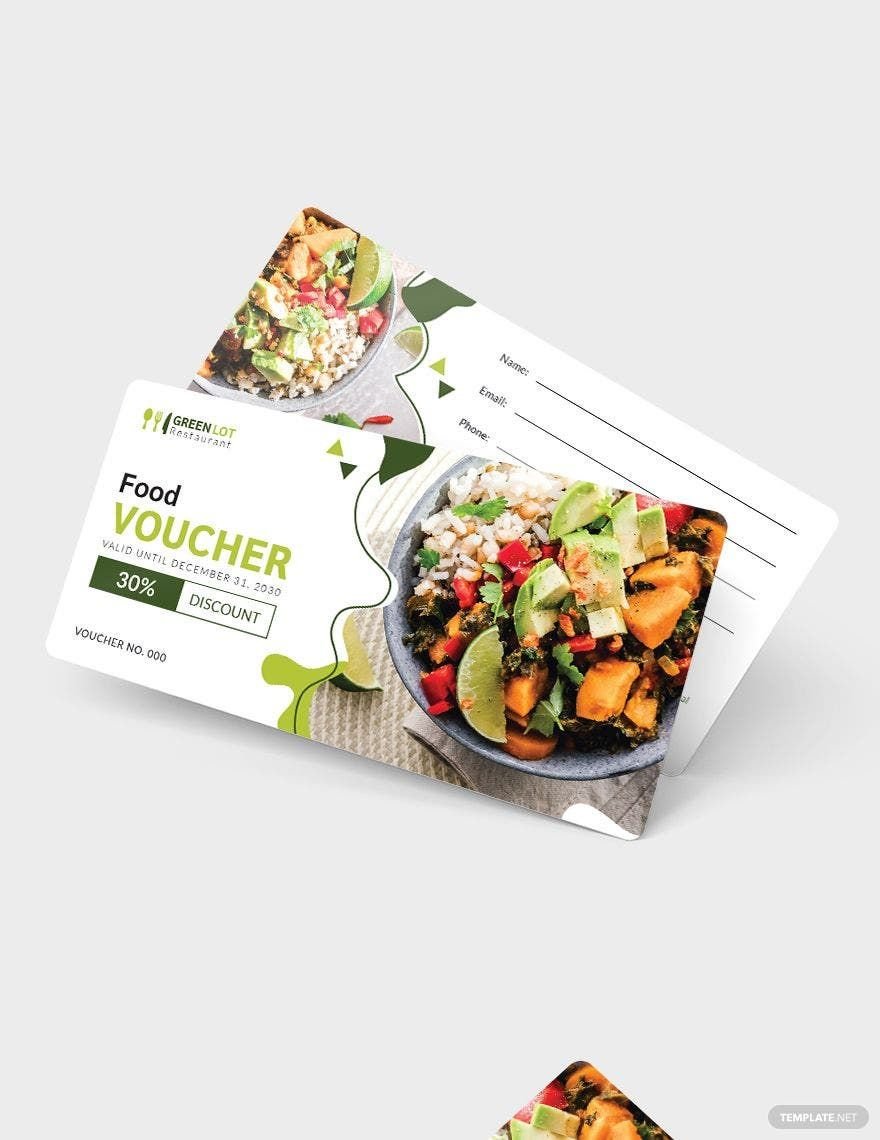
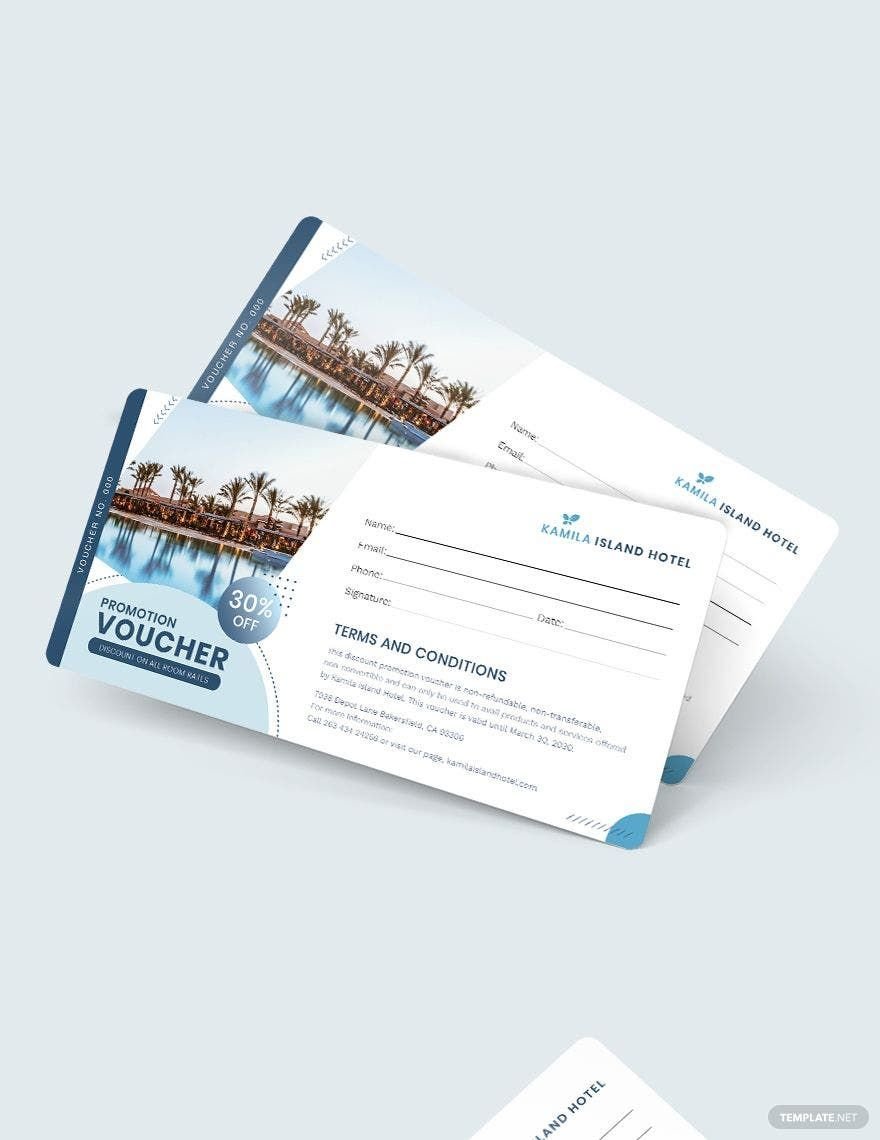
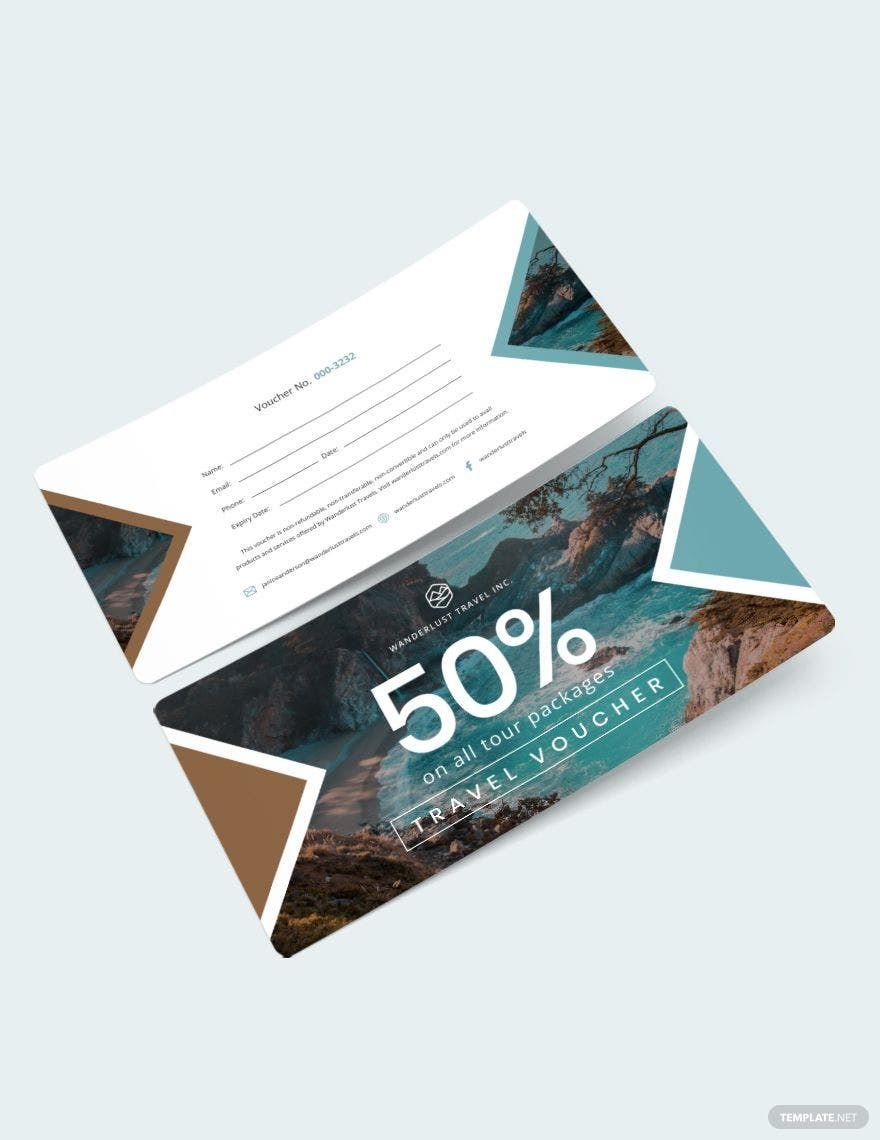
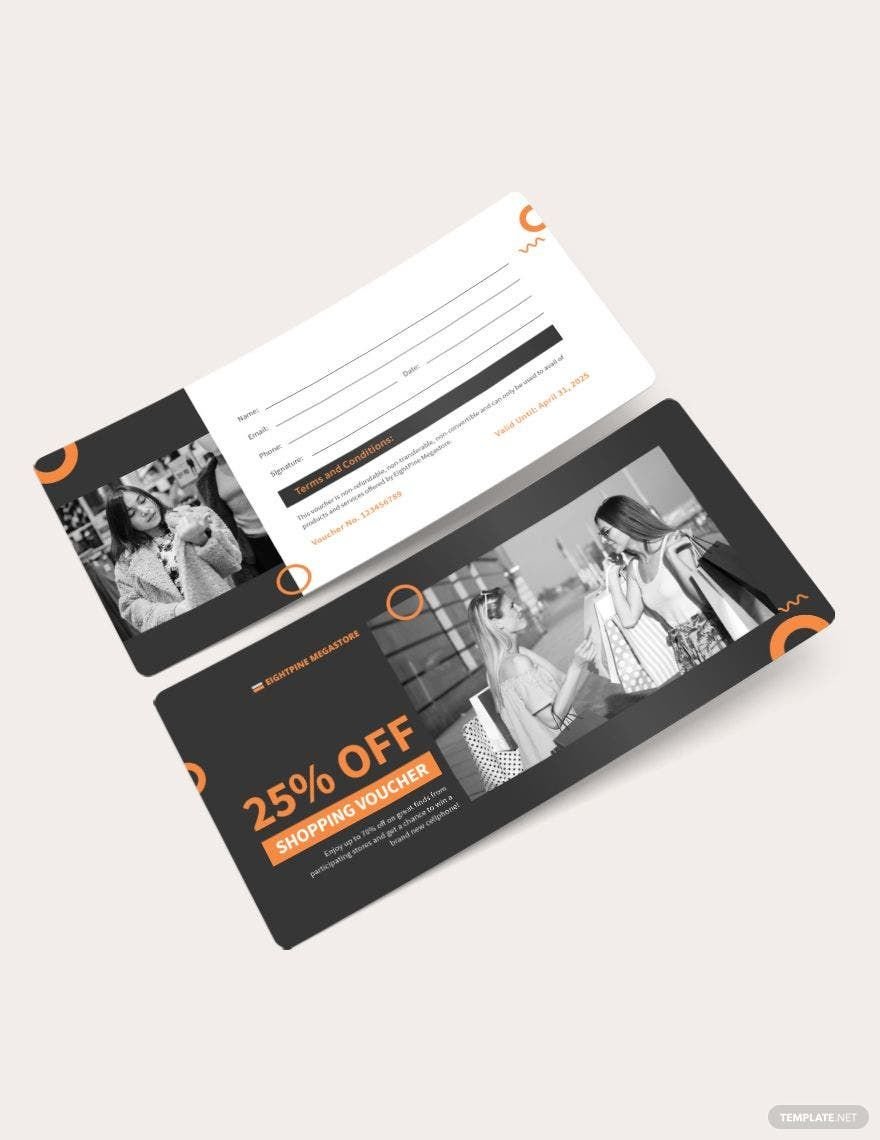
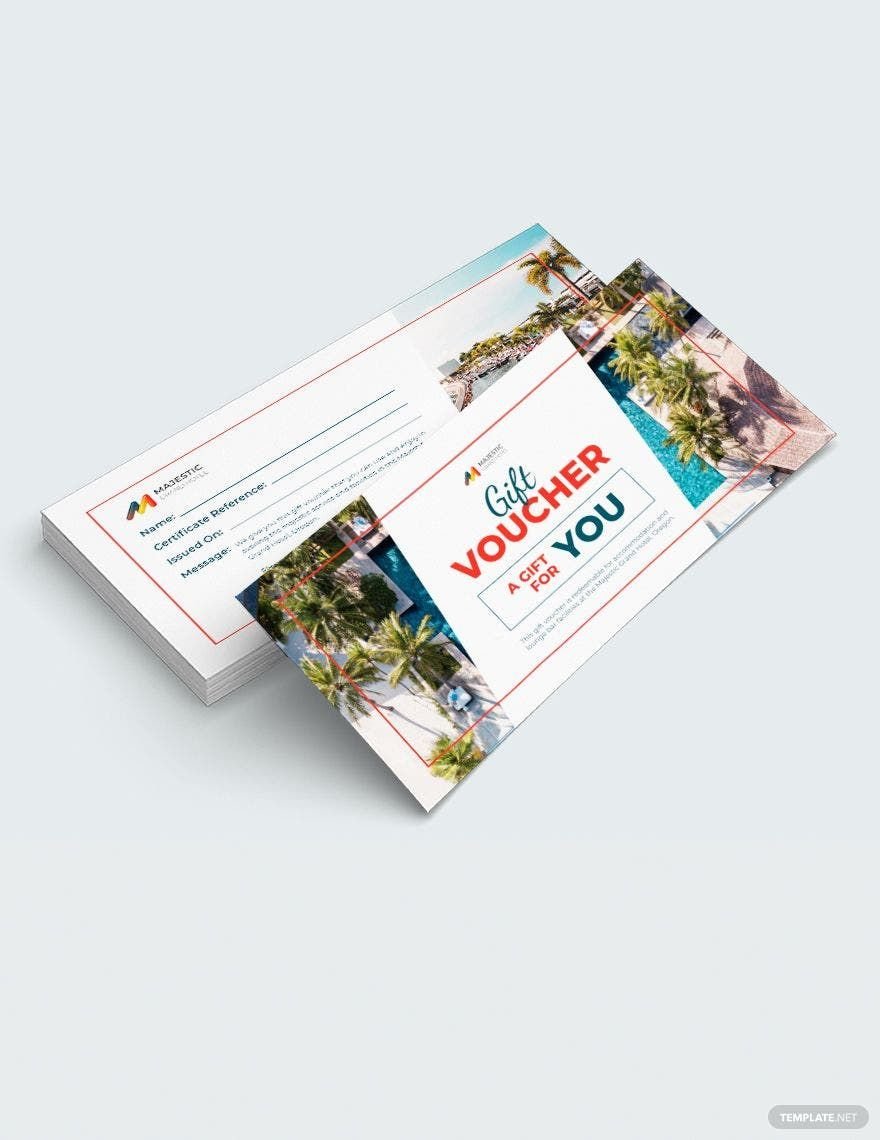
If you are looking to provide your customers with an item that will make their transactions easier, then you can do no wrong with the use of vouchers. By browsing through our exclusive selection, we guarantee that you will be able to get only the most high quality editable voucher templates. Each one is a 100% customizable, printable, and available in more than one file format. Examples would include MS Word, Pages, Illustrator, Photoshop, and more. Should you be trying to get something that saves time in making vouchers yourself from scratch, then act quicky and get our subscription plan today. By doing so, you can easily download any editable voucher template we present for your specific use!
What is an Editable Voucher?
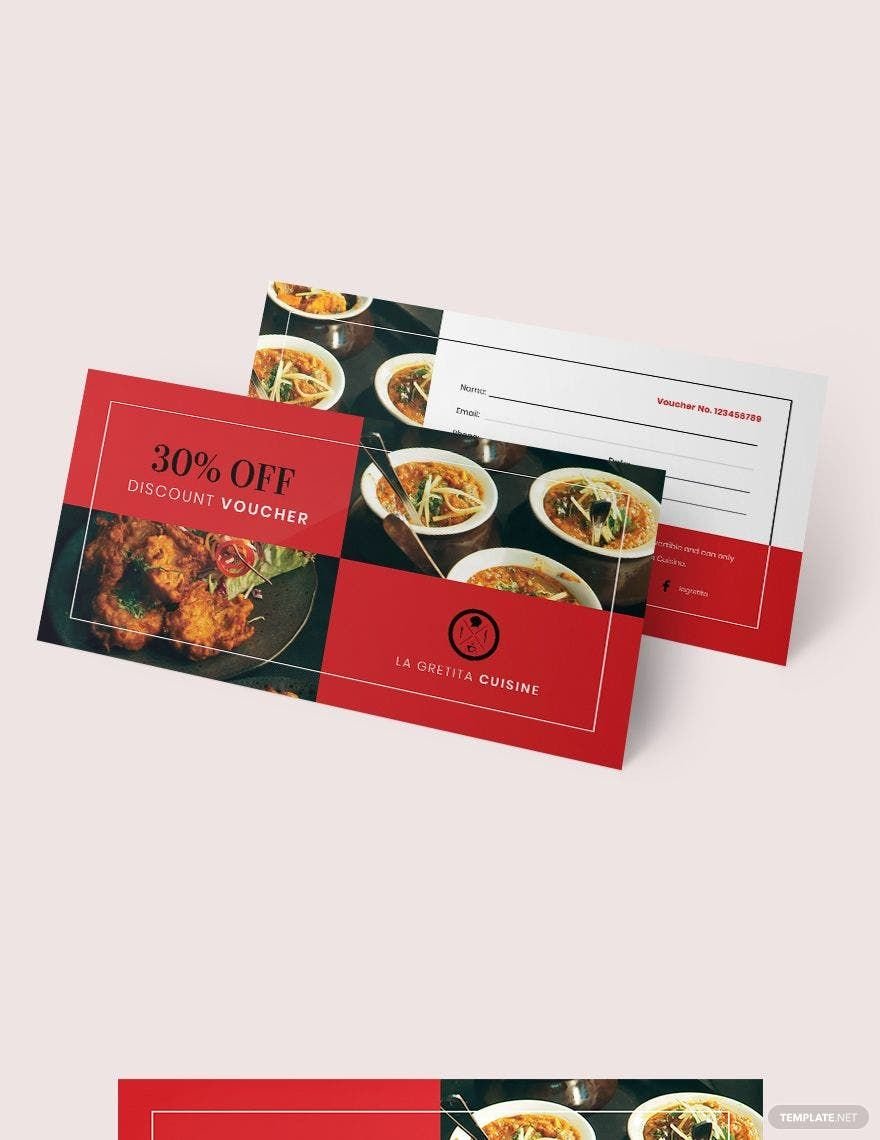
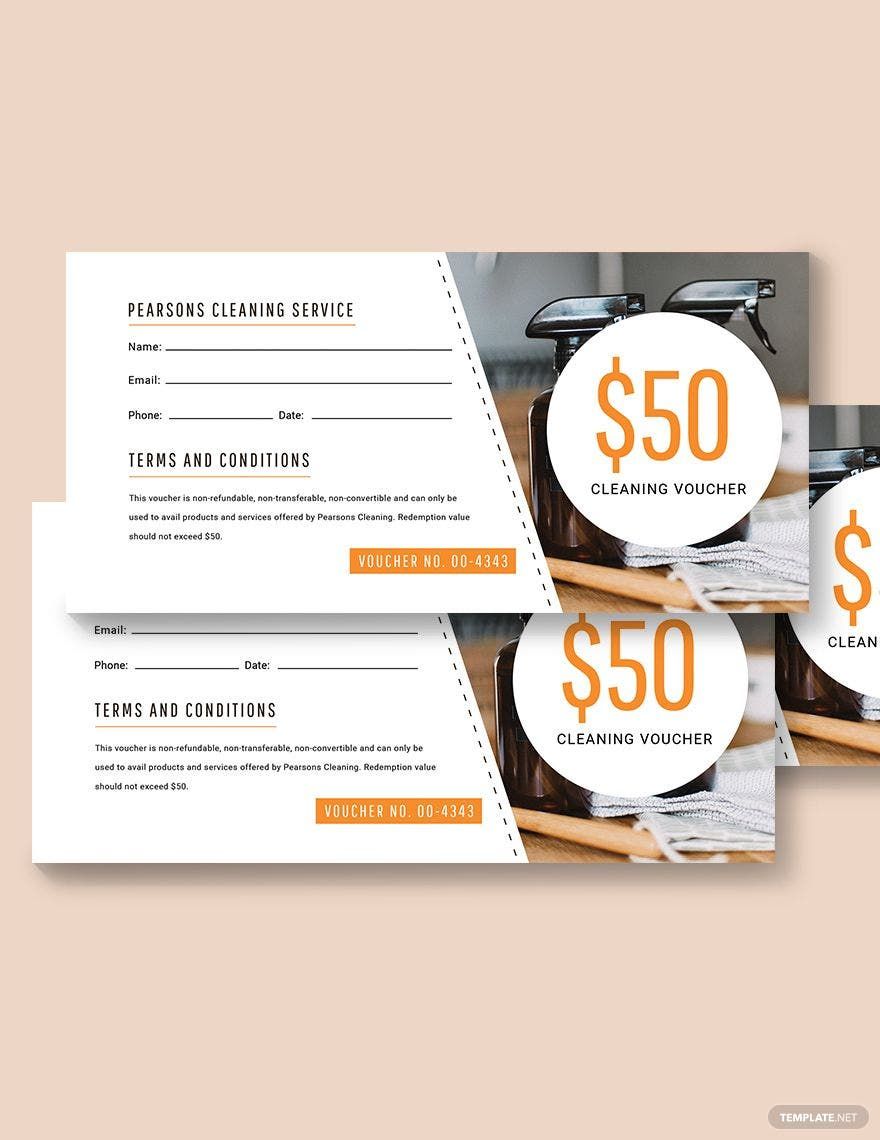
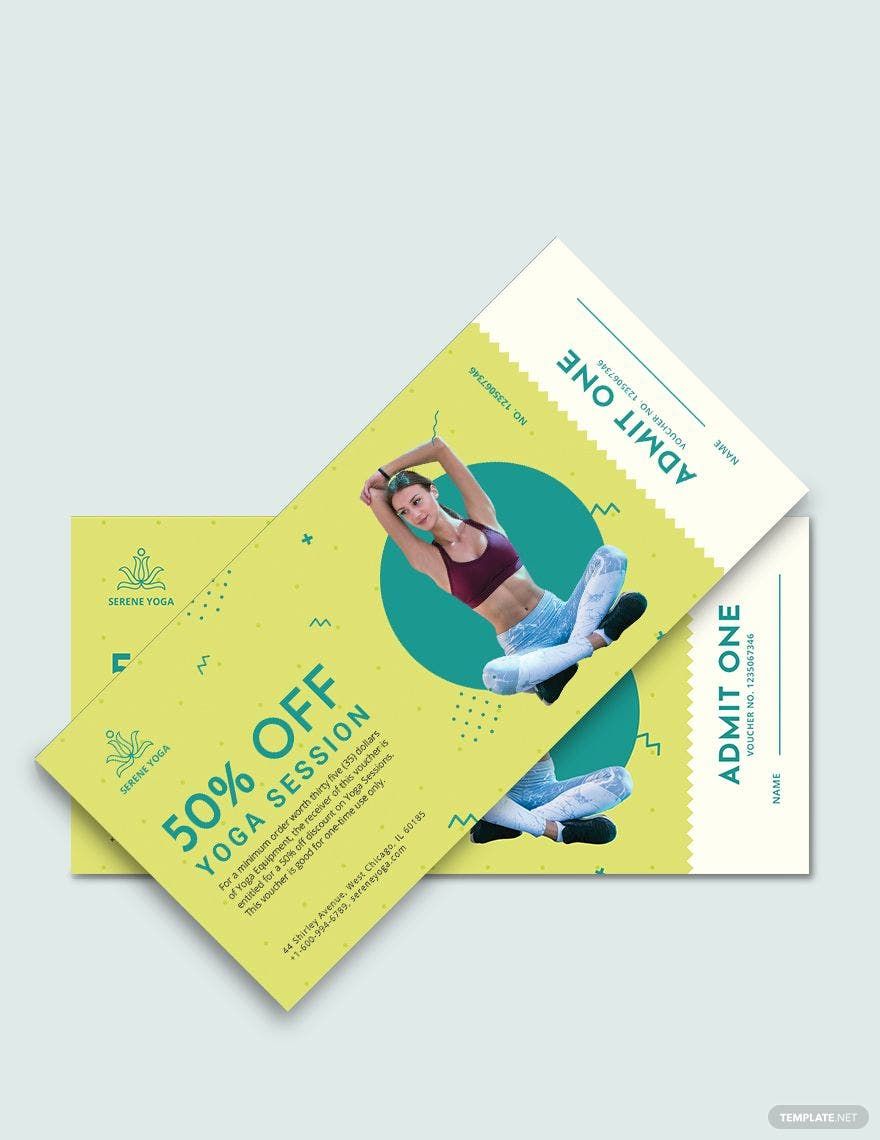
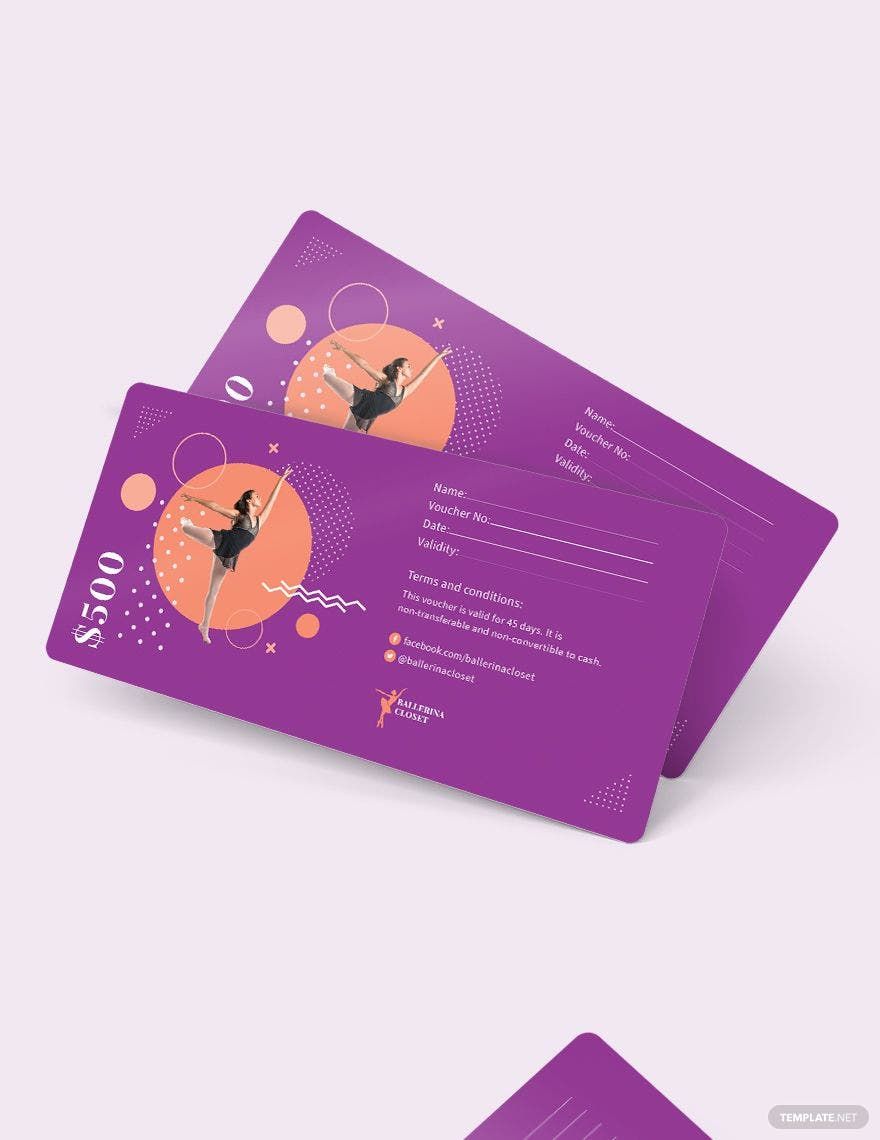
One way to define an editable voucher would be a printed piece of paper intended to provide holders with benefits like discounts. Another one would be the opportunity to exchange it for goods and services. Should you need something that is birthday themed, then such voucher variation is available to you. If school vouchers are what you need, then be assured that those are just as available. Speaking of school vouchers, these differ from most other variants because they are instead meant to serve as certificates of government funding, to be given to students of certain eligibility. Other variants would involve travelling, food, and housing, among many.
How to Create Editable Vouchers in Word
For those who aim to create their own editable vouchers using Microsoft Word, then know that there are easy-to-do methods out there. Below is a step-by-step guide for that very purpose. Regardless of whether you want to create a blank voucher or one with a more intricate or complicated design, the following should ensure that your overall experience remains easy, quick, and generally hassle-free. So with that said, turn your attention to the very first step and kick things off the right way.
1. Start By Opening Word and Choosing a Template
The entire process will begin the moment you open Microsoft Word. Once you do that, move the cursor over to the ‘office button’ at the top left corner and click on it before selecting ‘new.’ Doing so should open up the program’s template library, where you can choose the most appropriate template for your needs.
2. Highlight Its Header and Make Edits
The next step would be to highlight the header of your chosen template and press the delete button. From there, you can enter the word ‘voucher,’ making your very first edit.
3. Add The Specific Instructions For Your Voucher
A voucher normally has specific instructions for its holder, depending on what it offers and how the business chooses to utilize it. For this step, you need to type in said instructions on the line after the header. This may include the particular conditions, such as the number of uses it is good for and any expiration date it may have.
4. Specify The Category Labels
There are going to be certain labels that either the business handing out the voucher or the recipient is going to need to fill out. Examples would be the name, the address, the phone number, the email address, and many others. Be sure to include these in the editable voucher.
5. Save and Print Out or Send Digitally
The last part of the process would be for you to save the document that you have just completed in your chosen file format, such as PDF for example. From there, you can do either of these two options: print out your voucher or send it out to others digitally via email.
