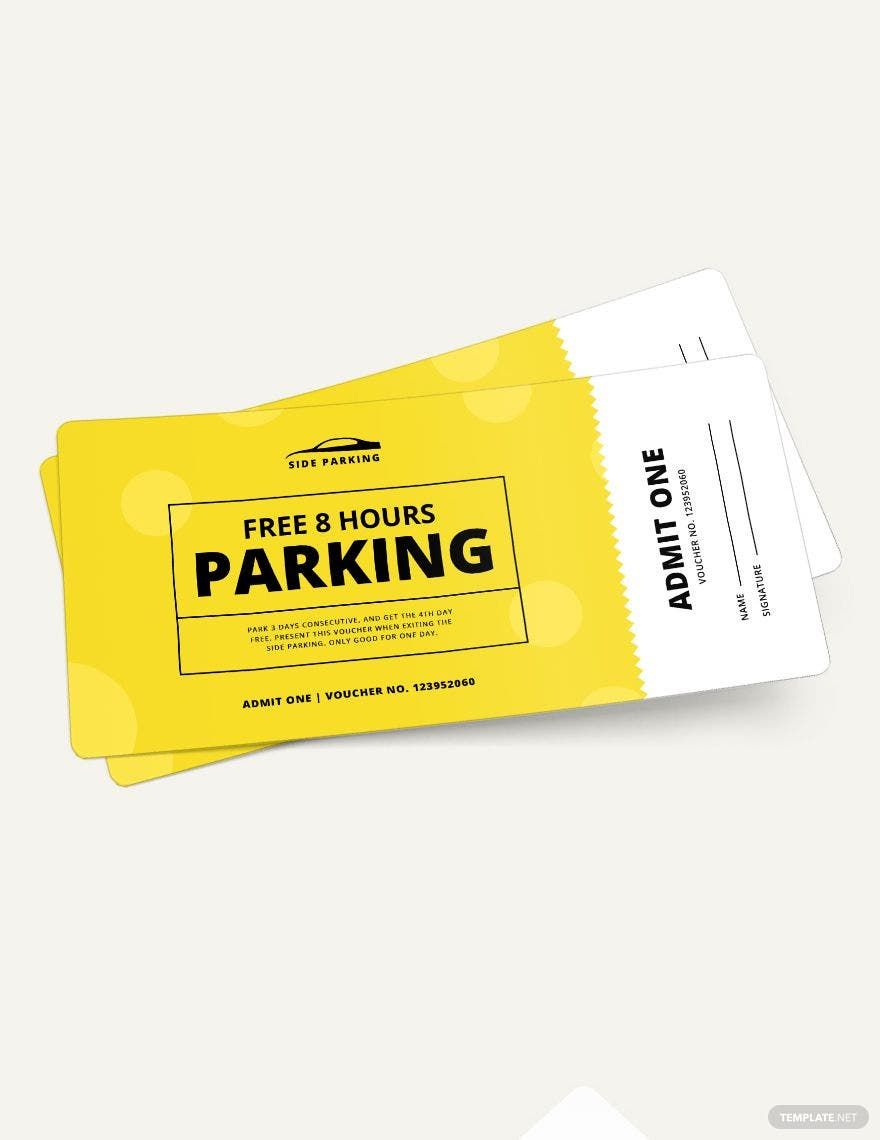
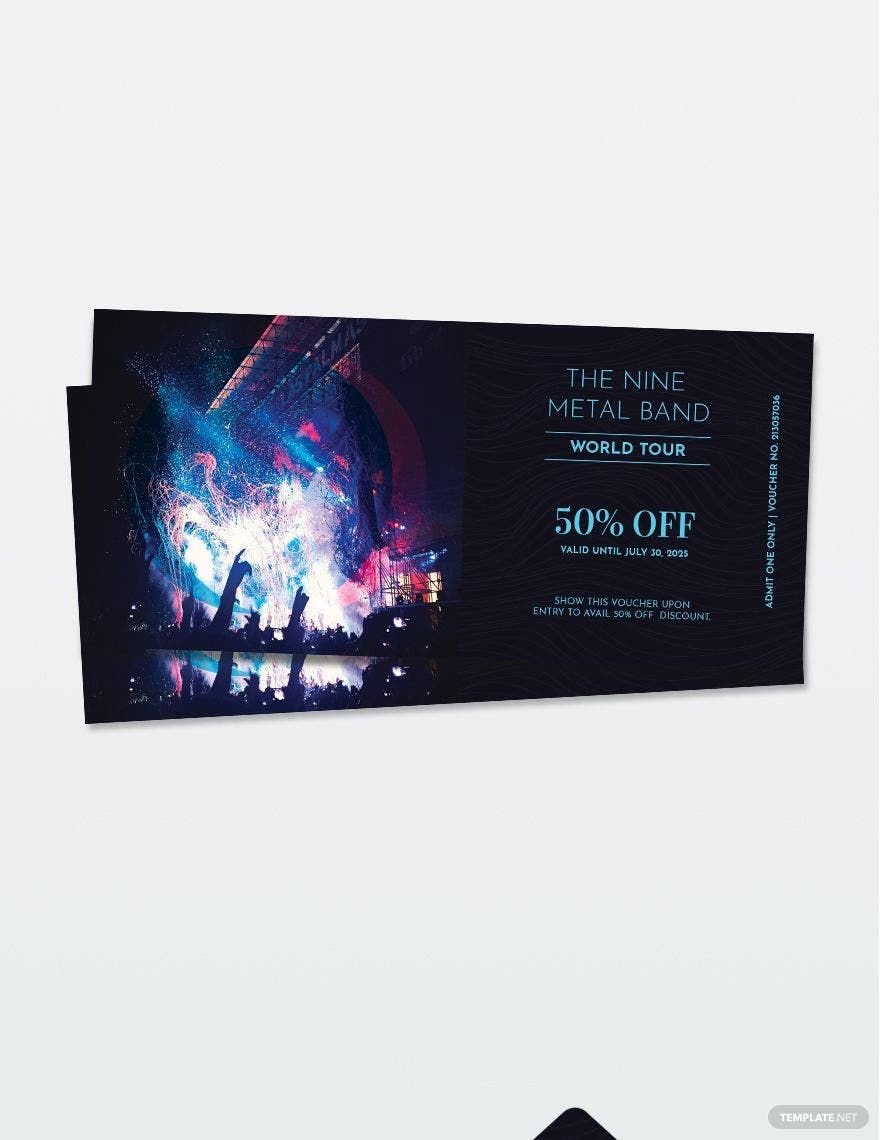
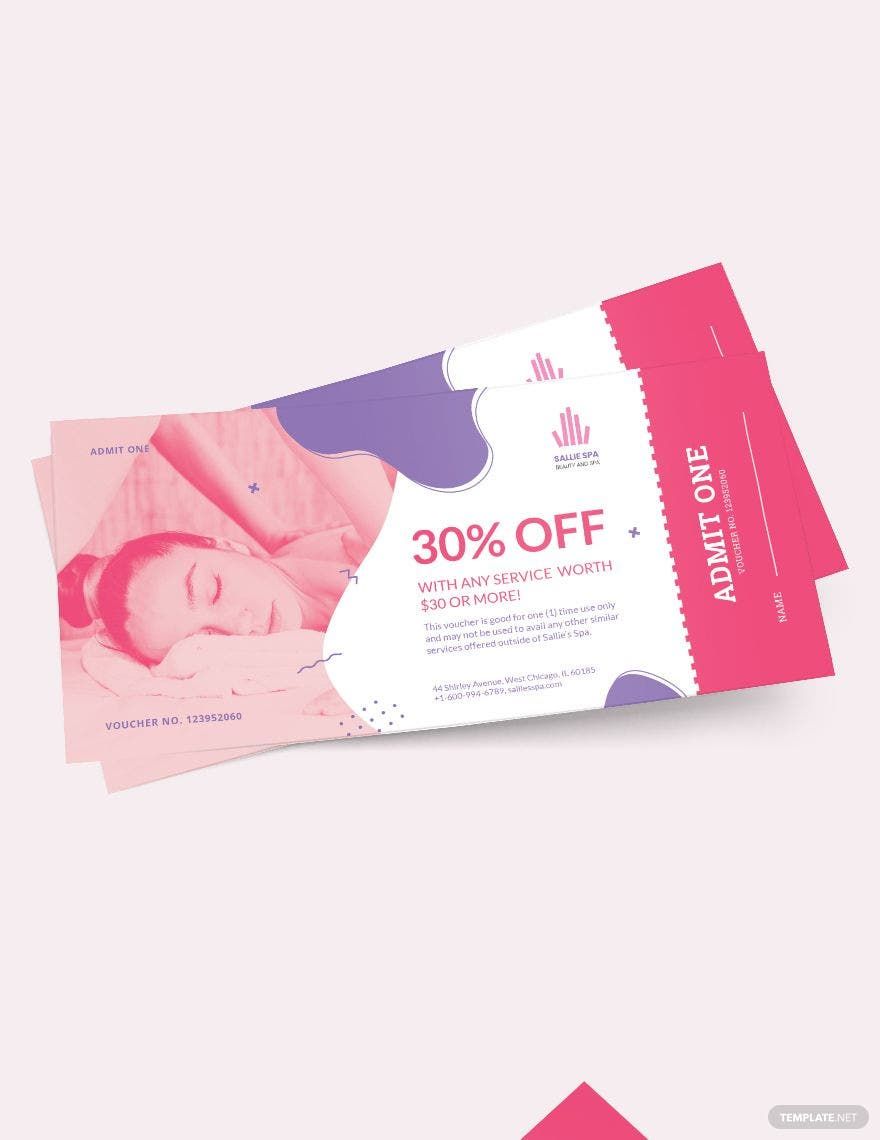
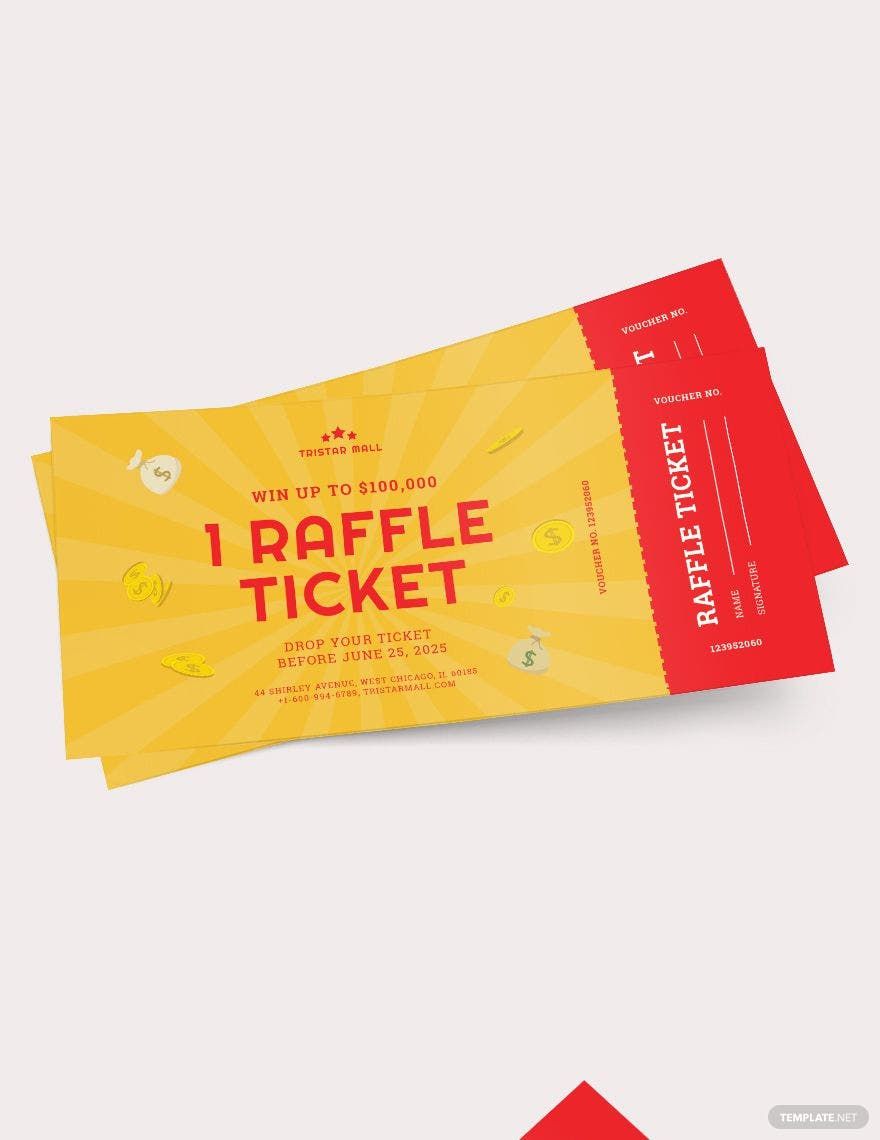
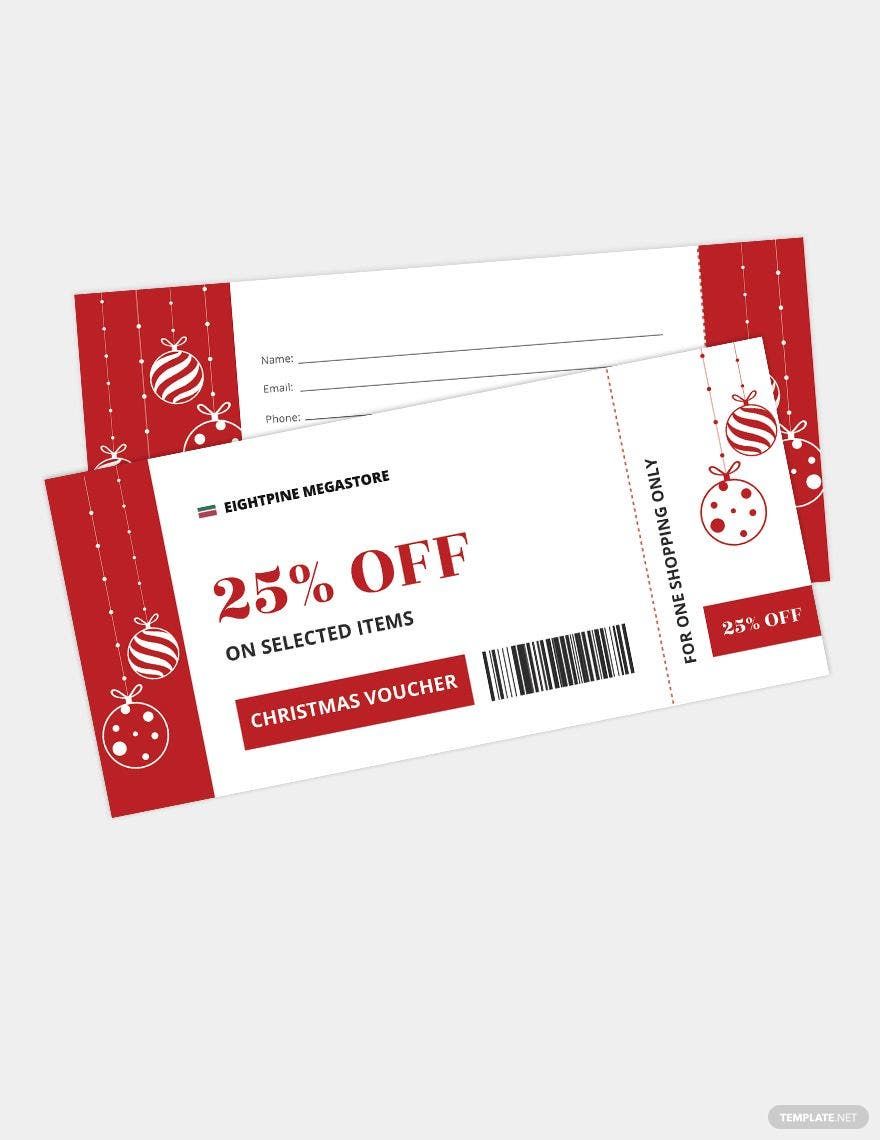
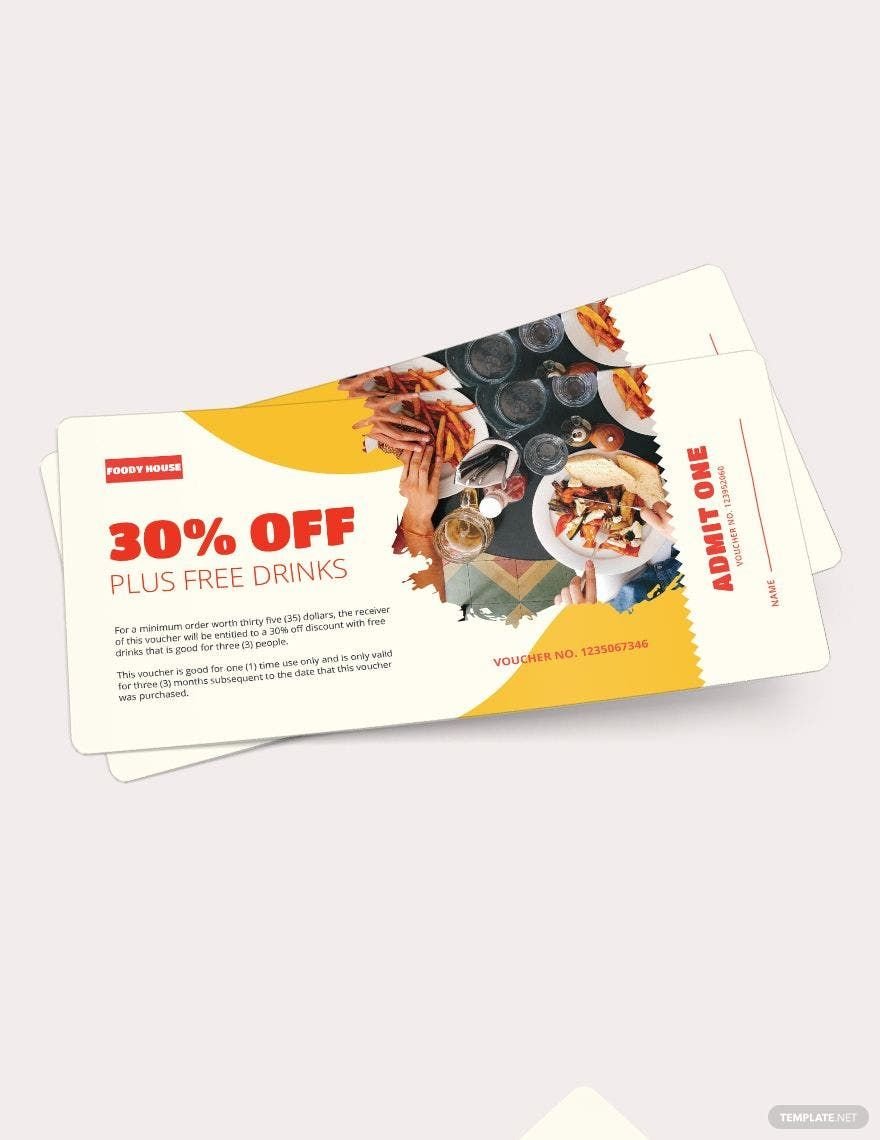
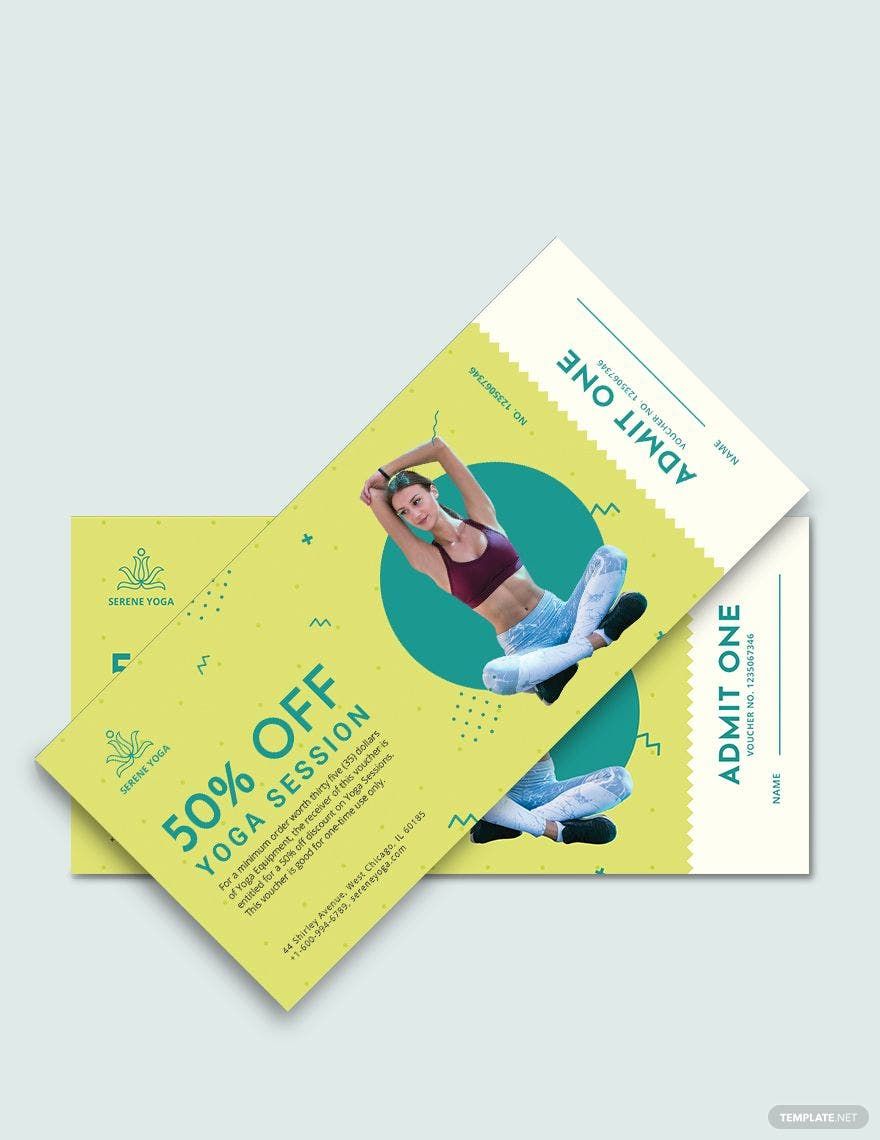
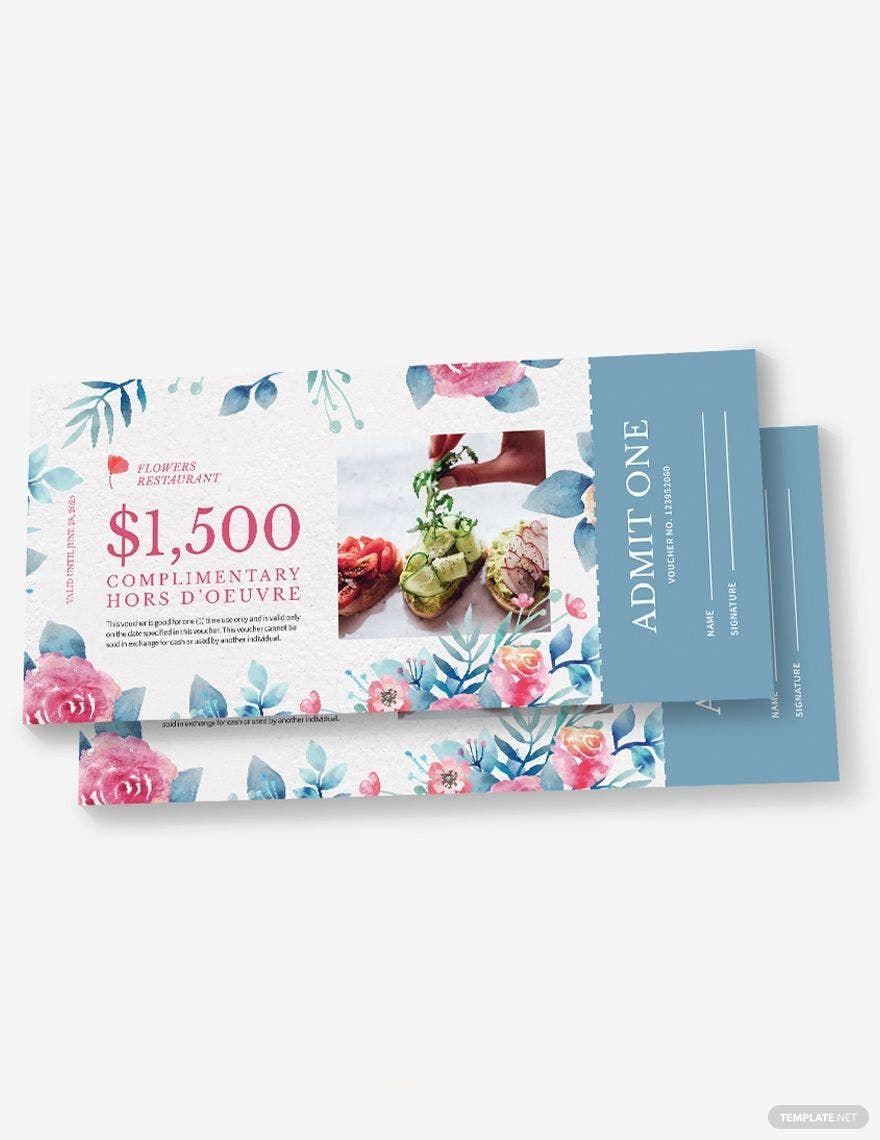
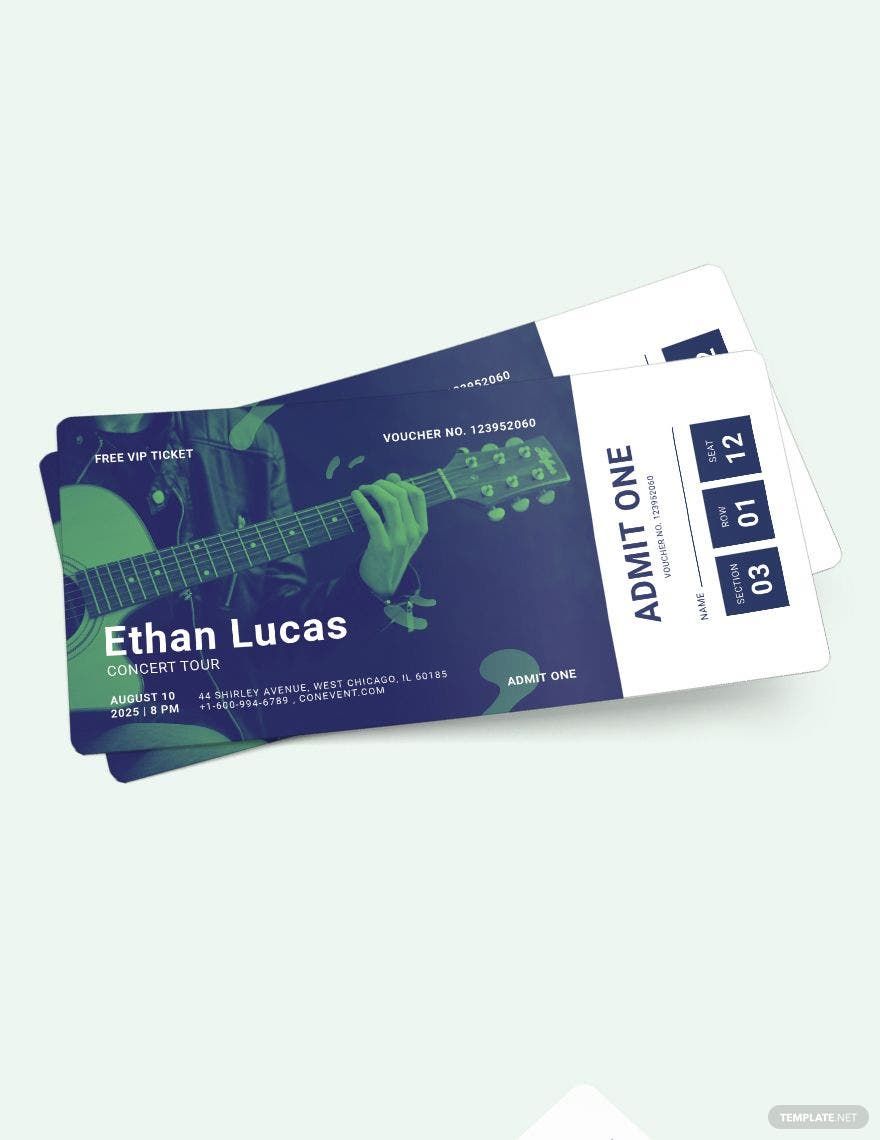
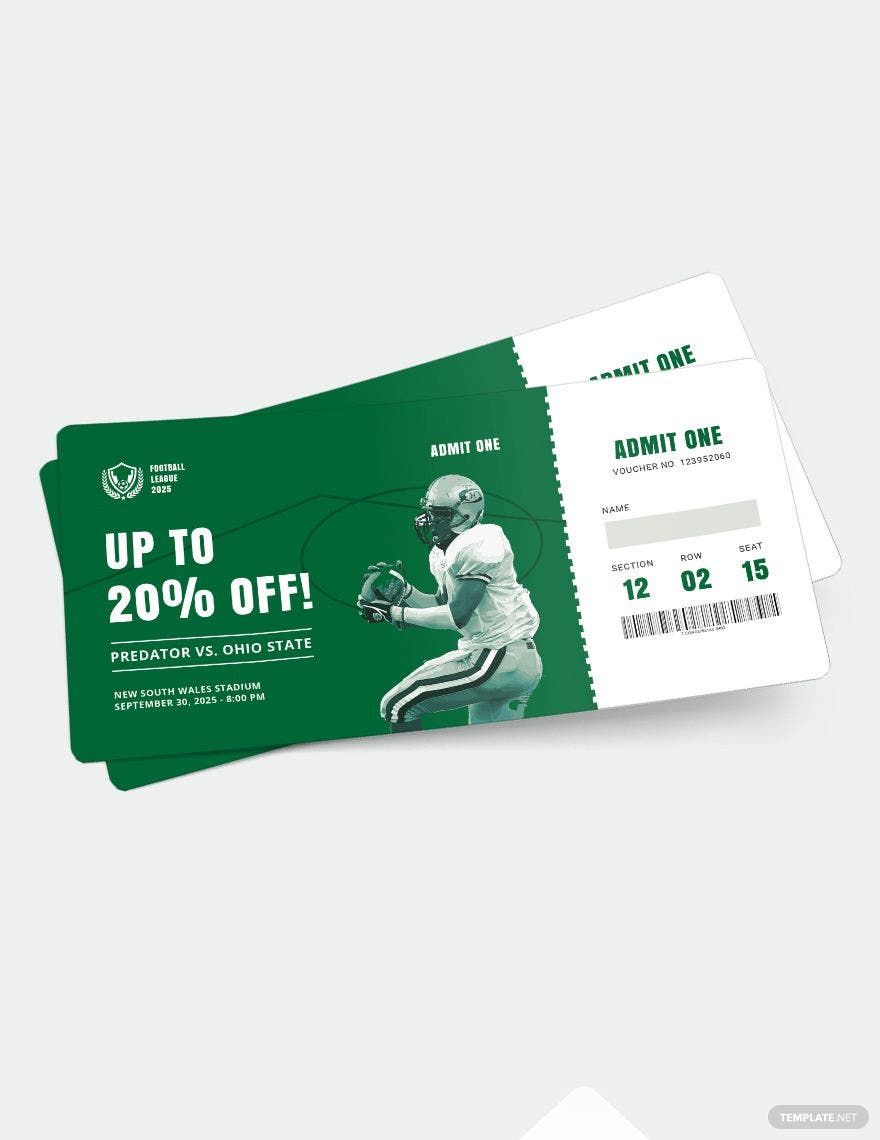
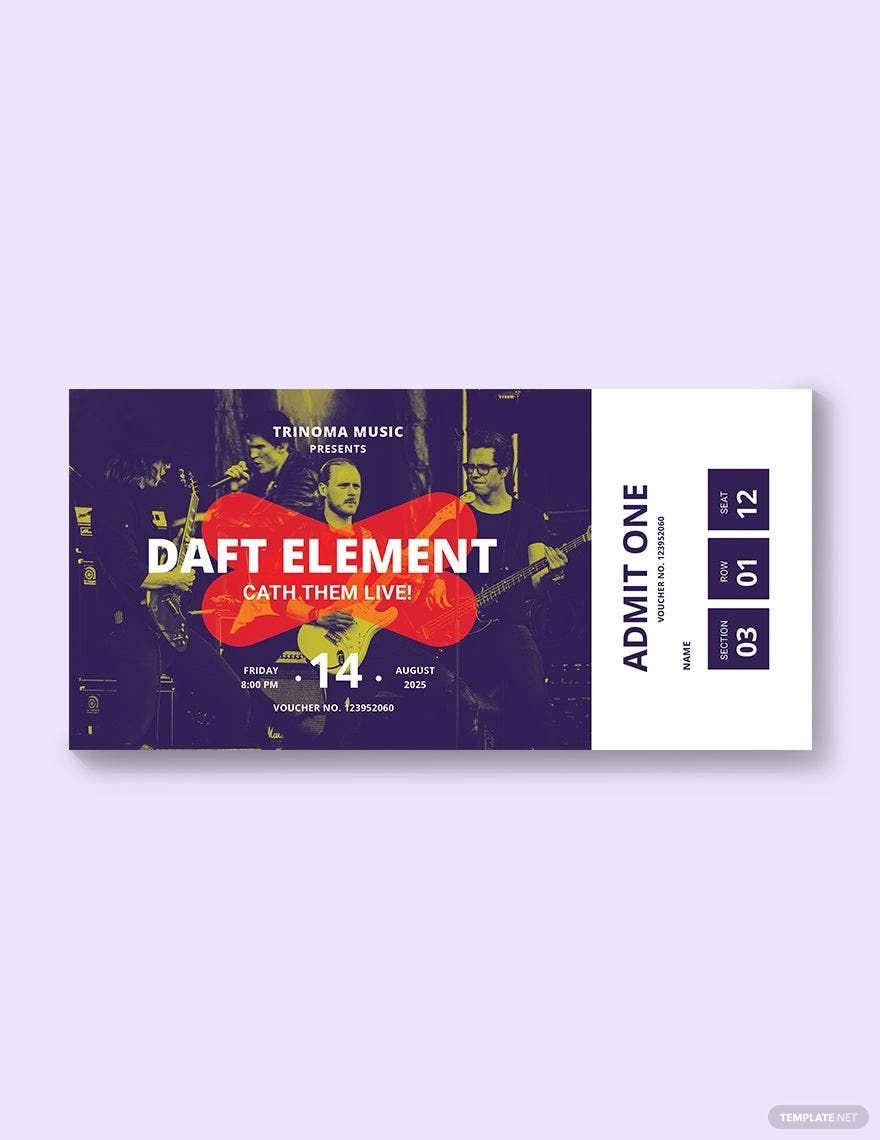
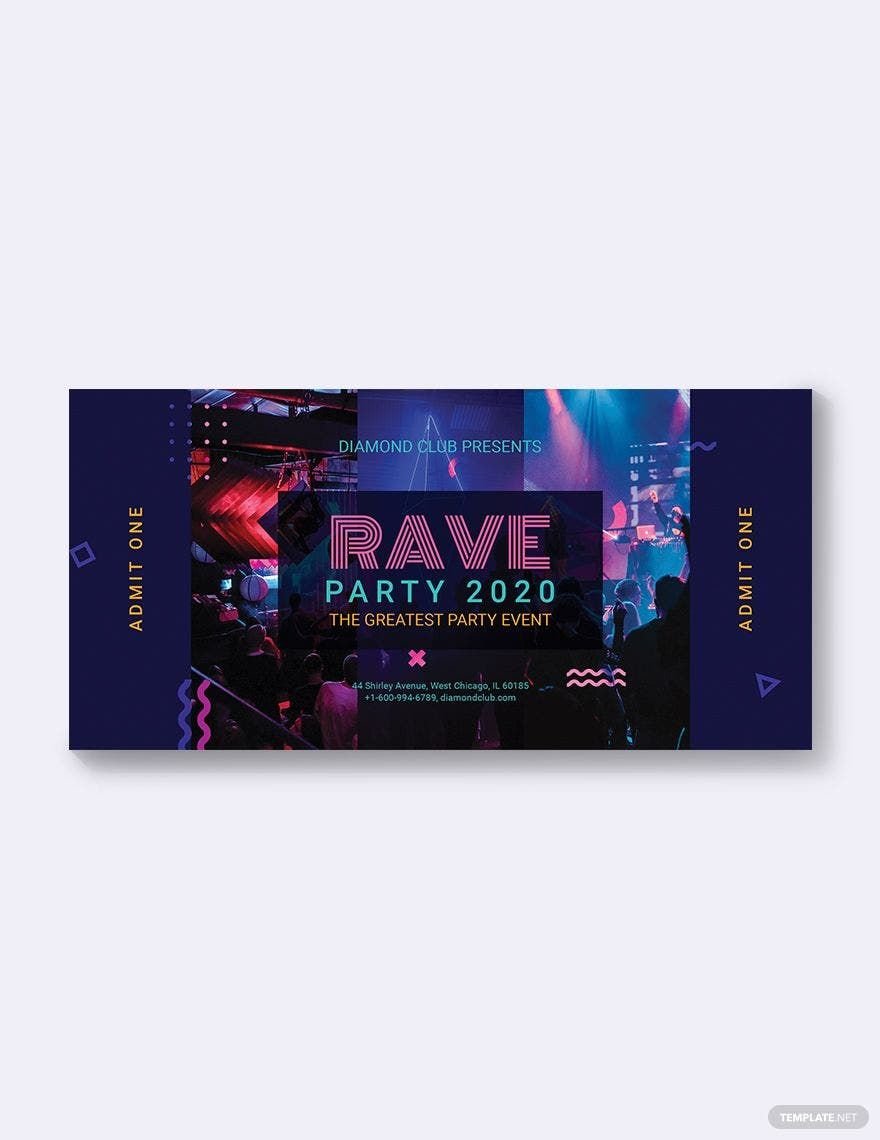
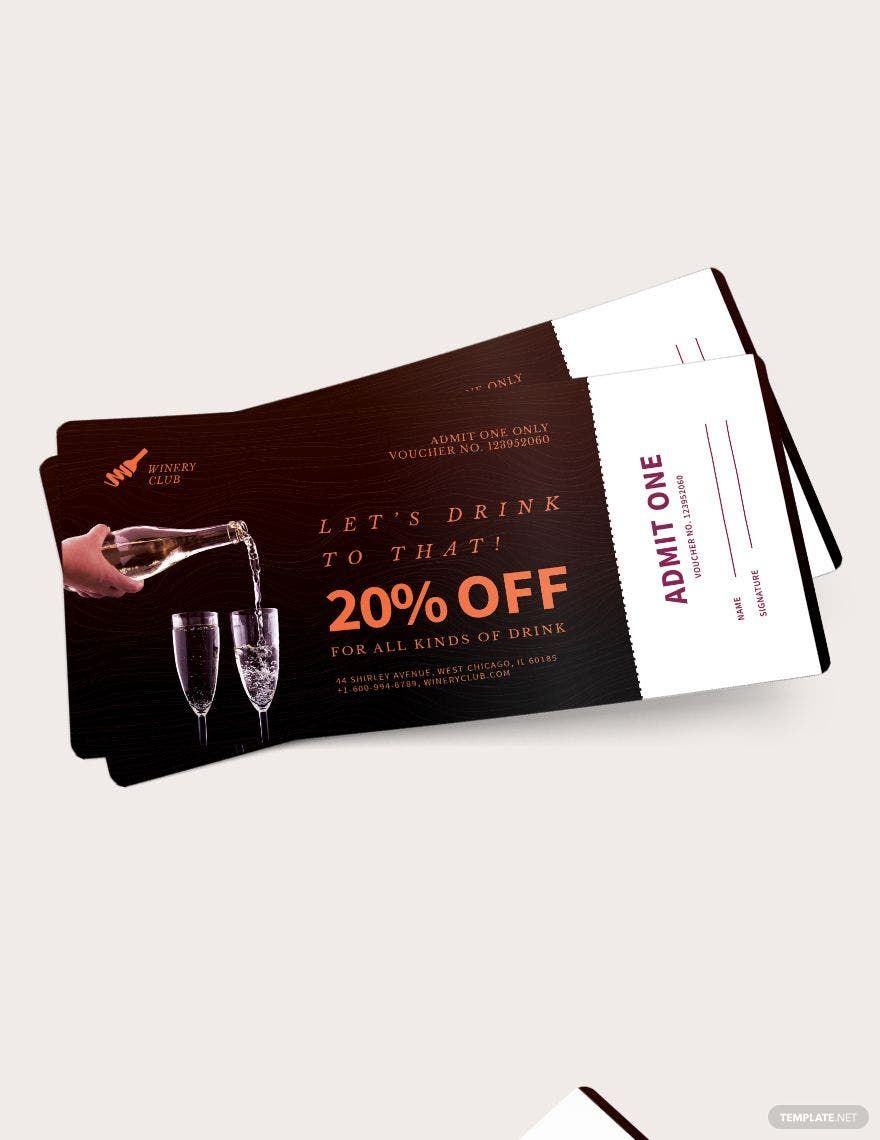
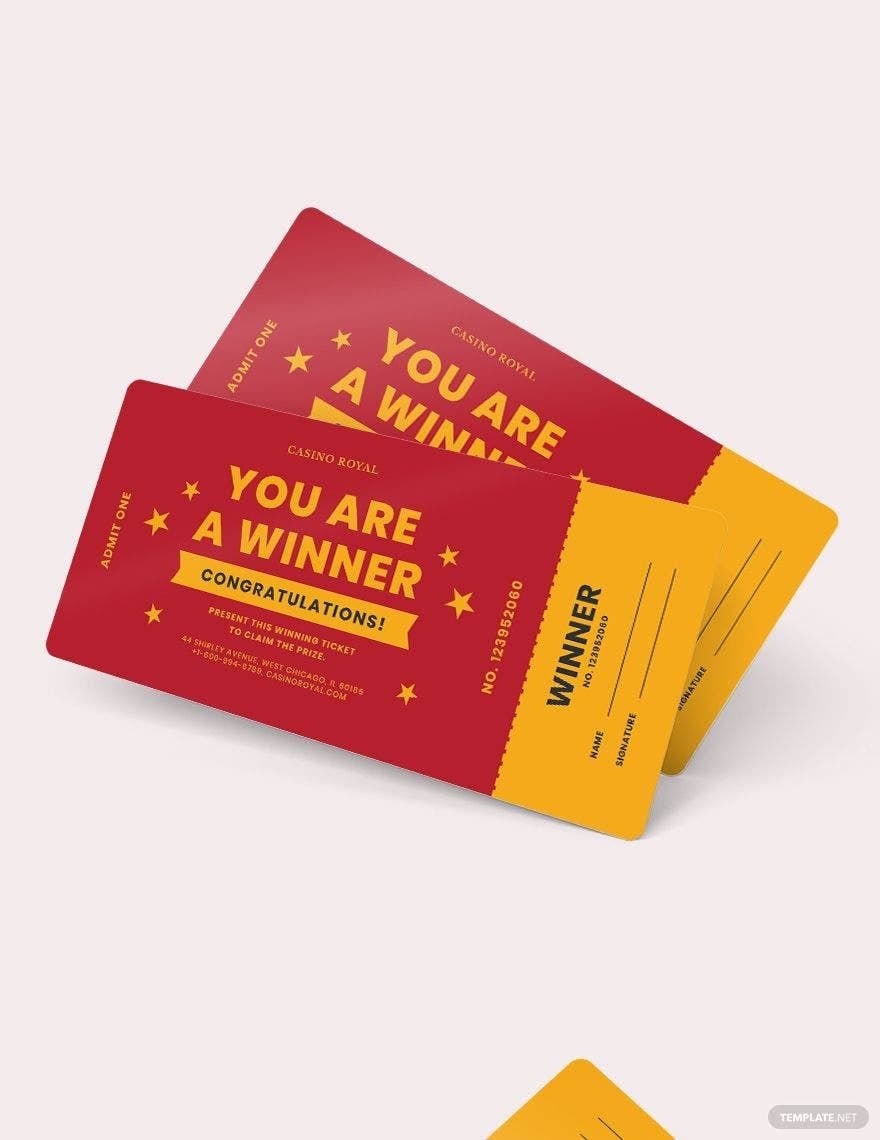
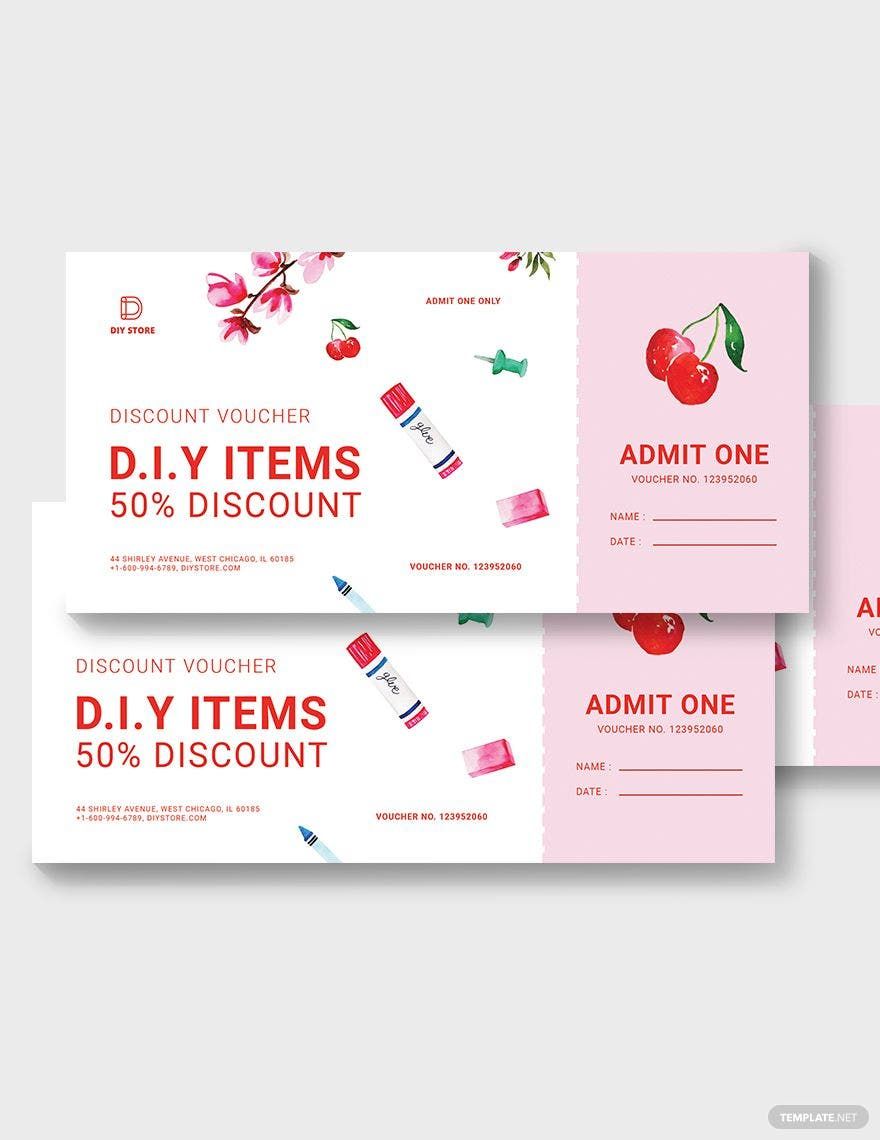
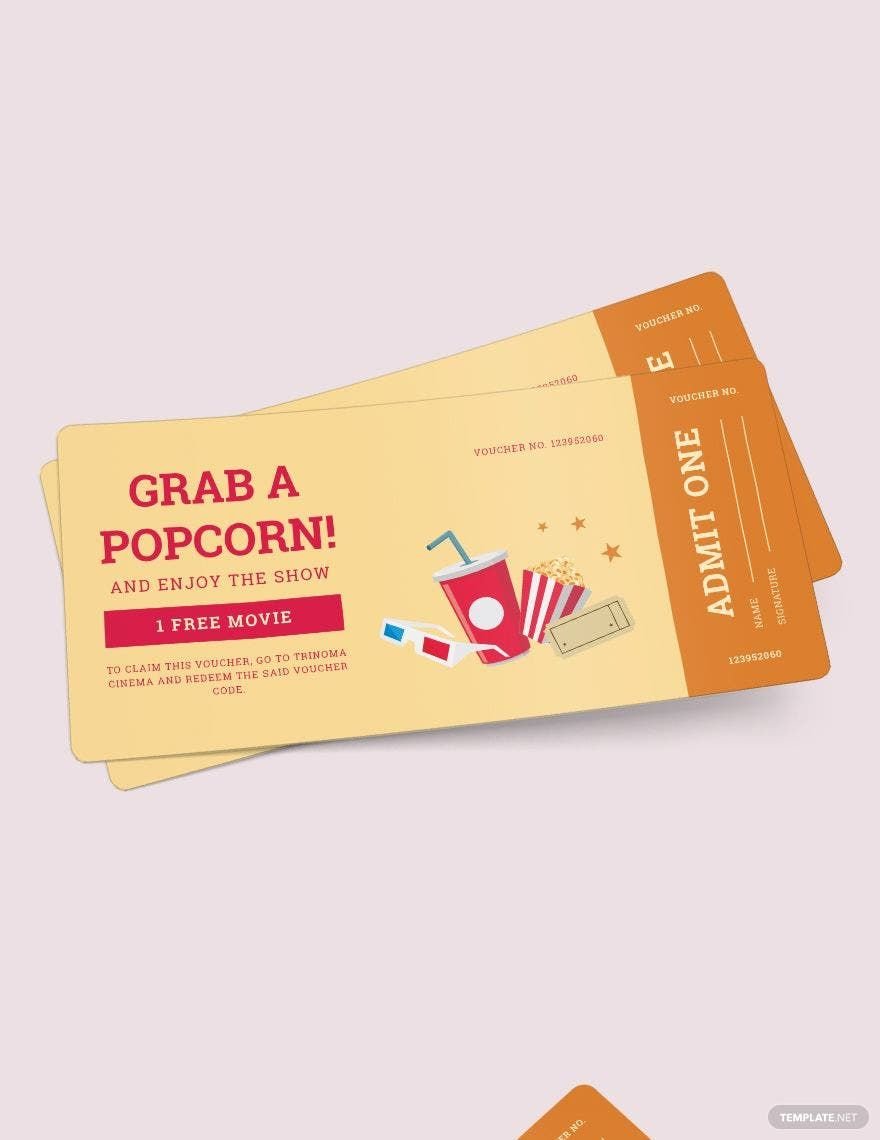
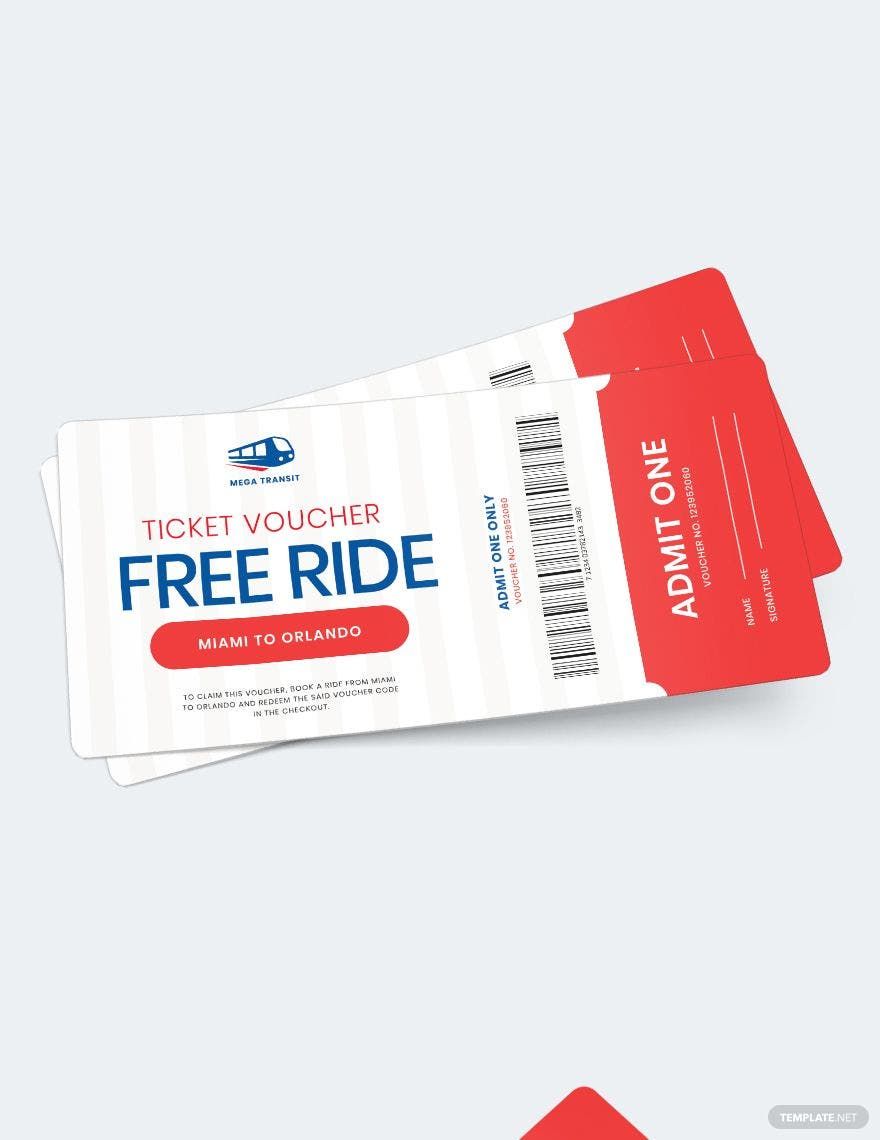
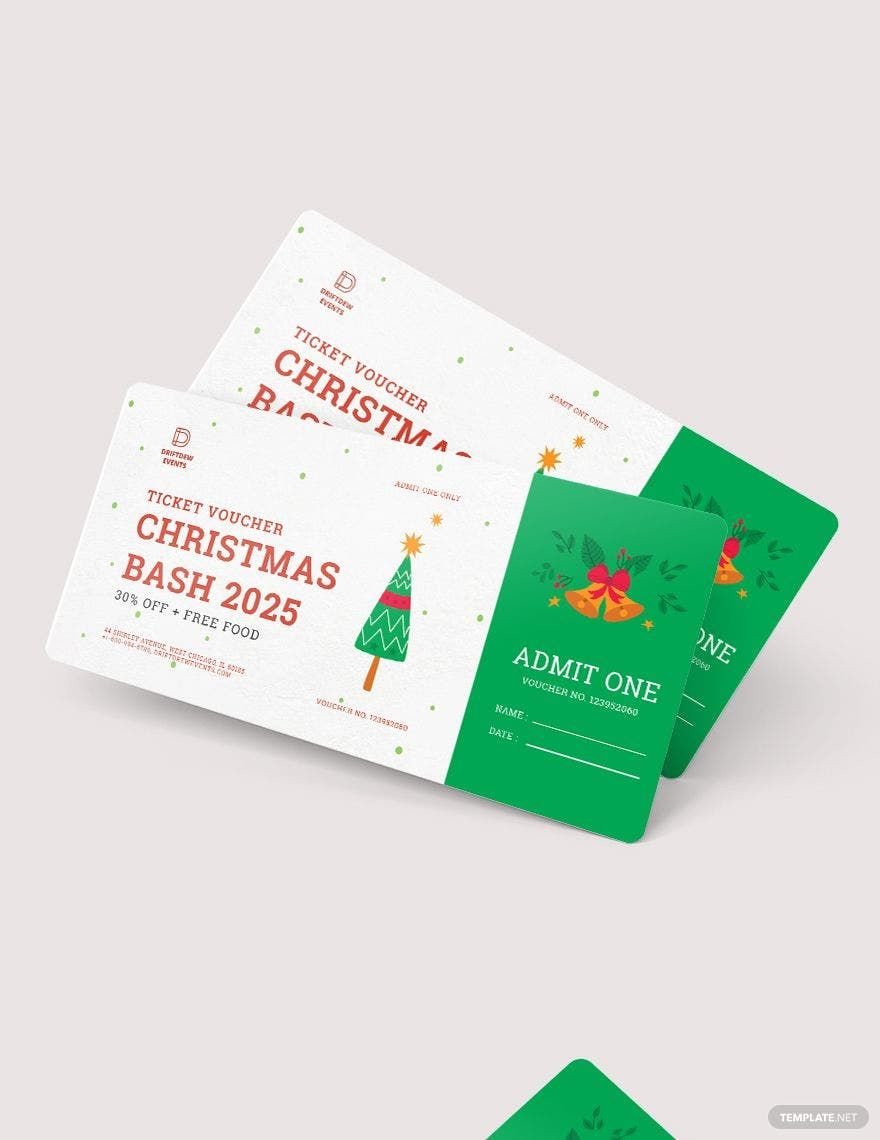
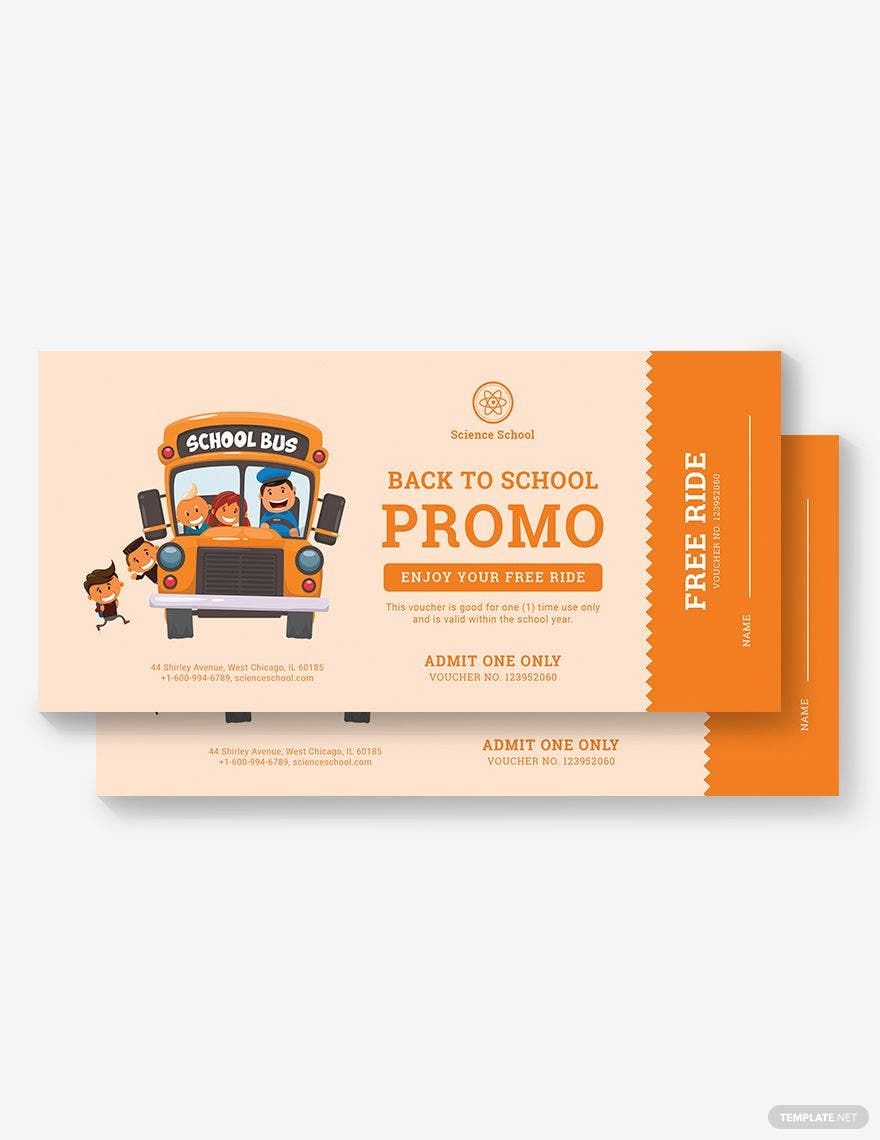
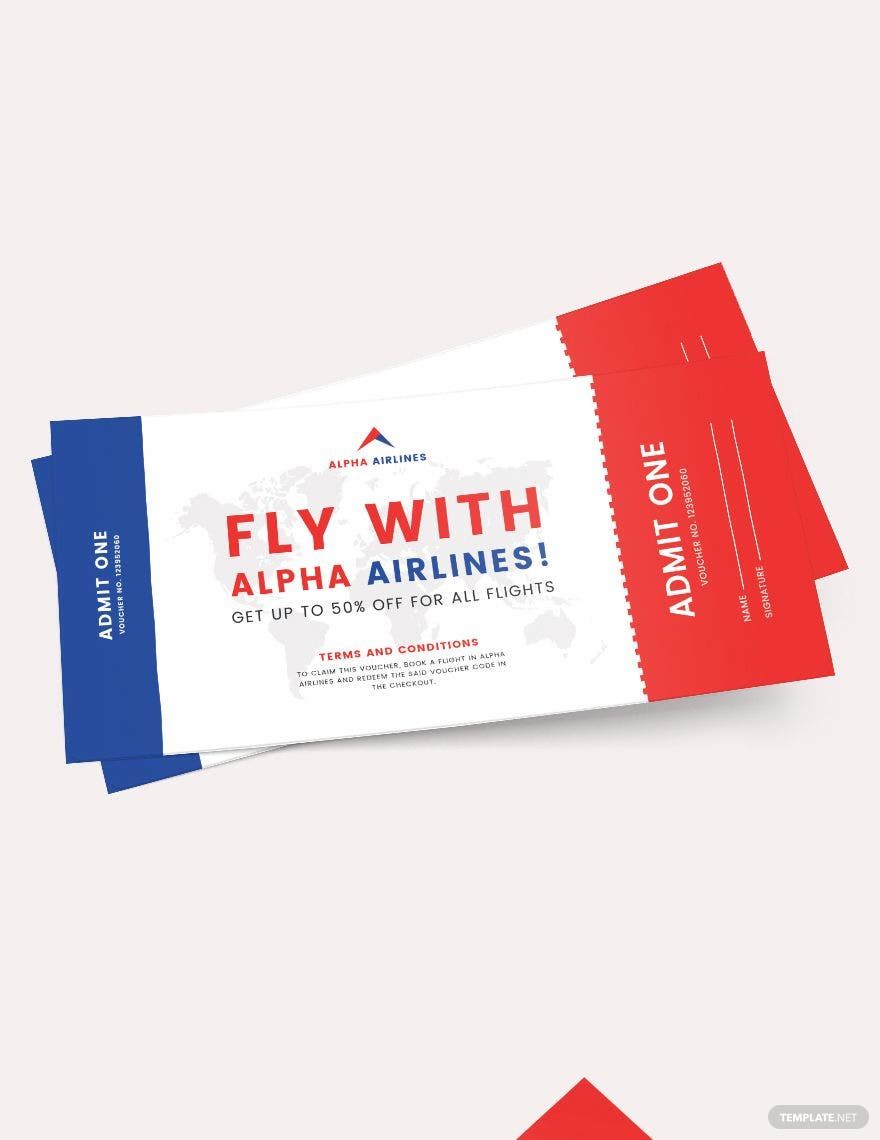
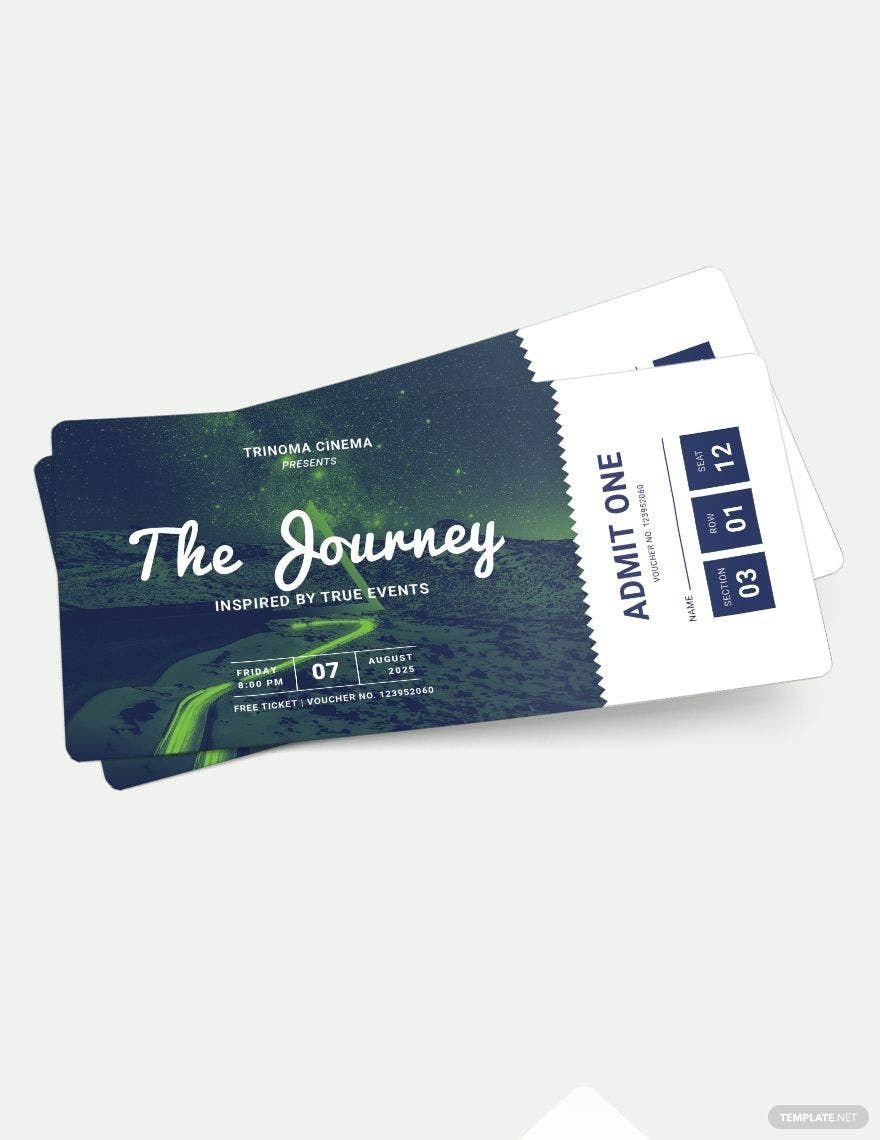
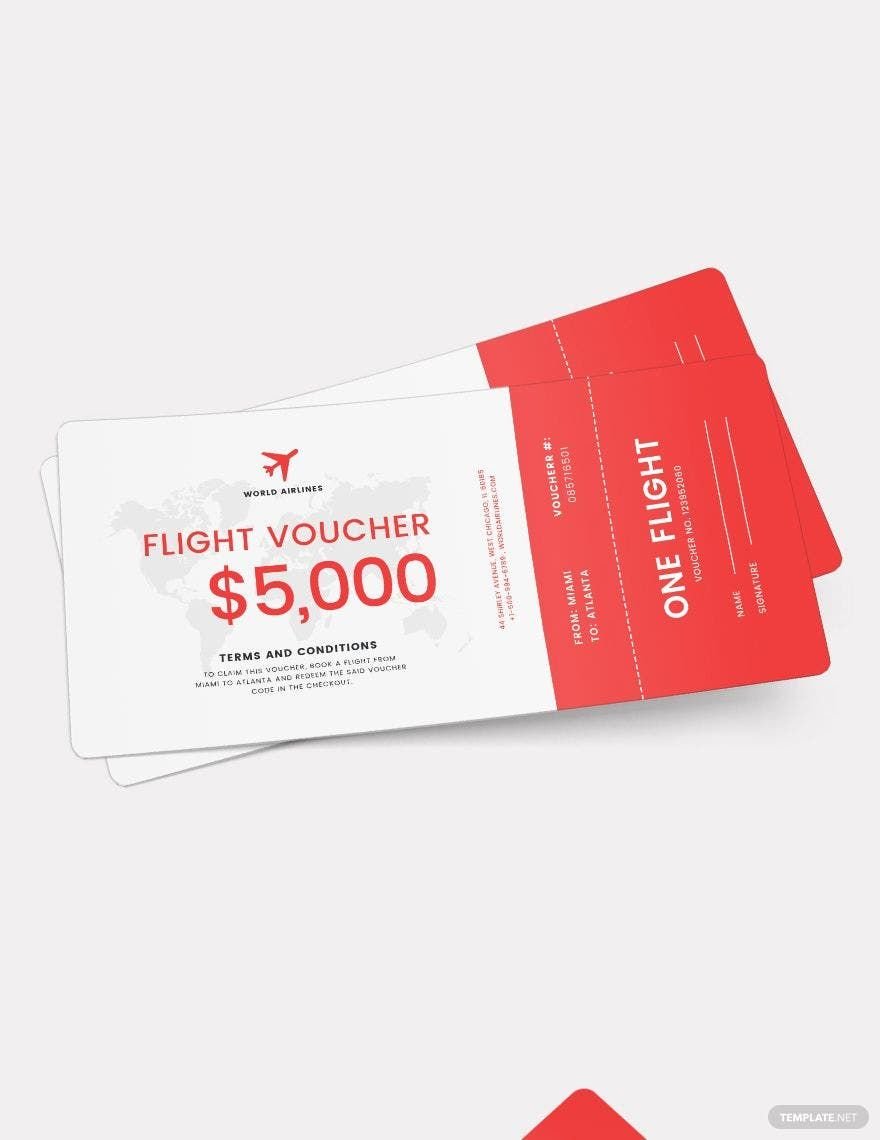
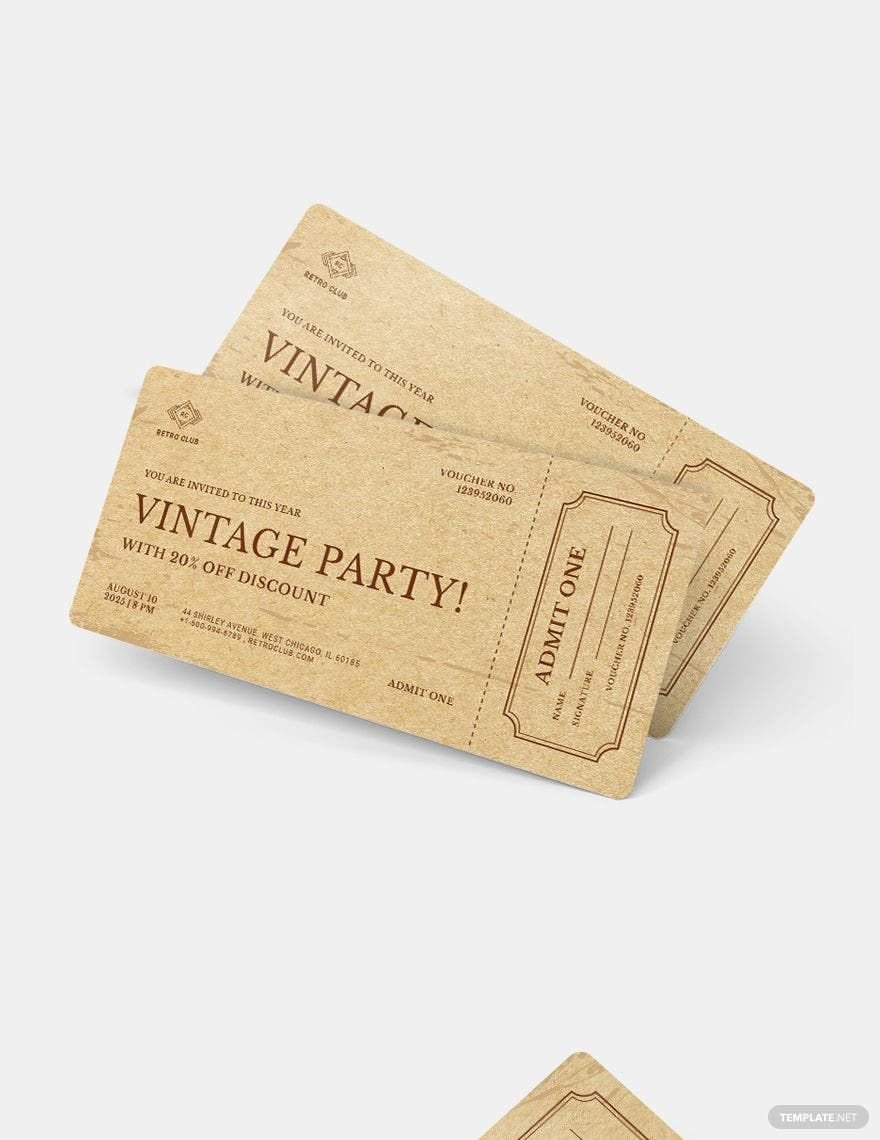
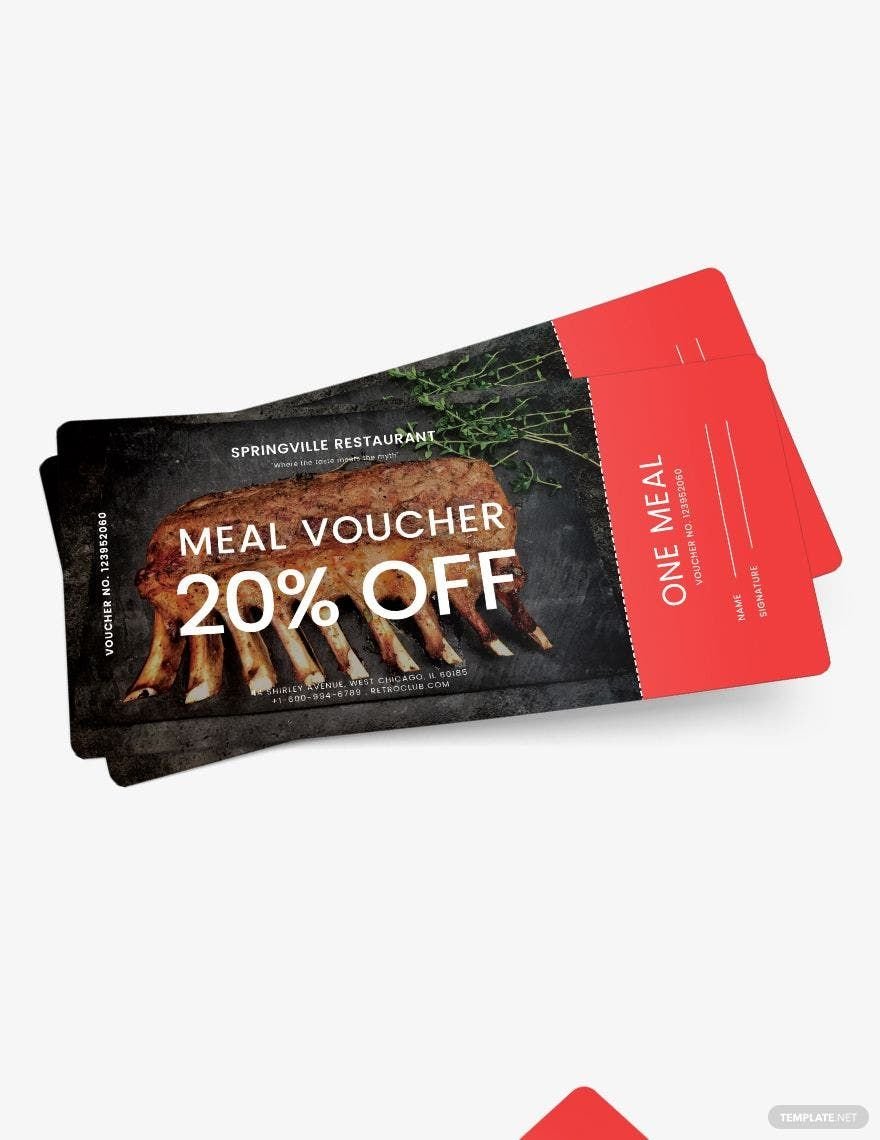
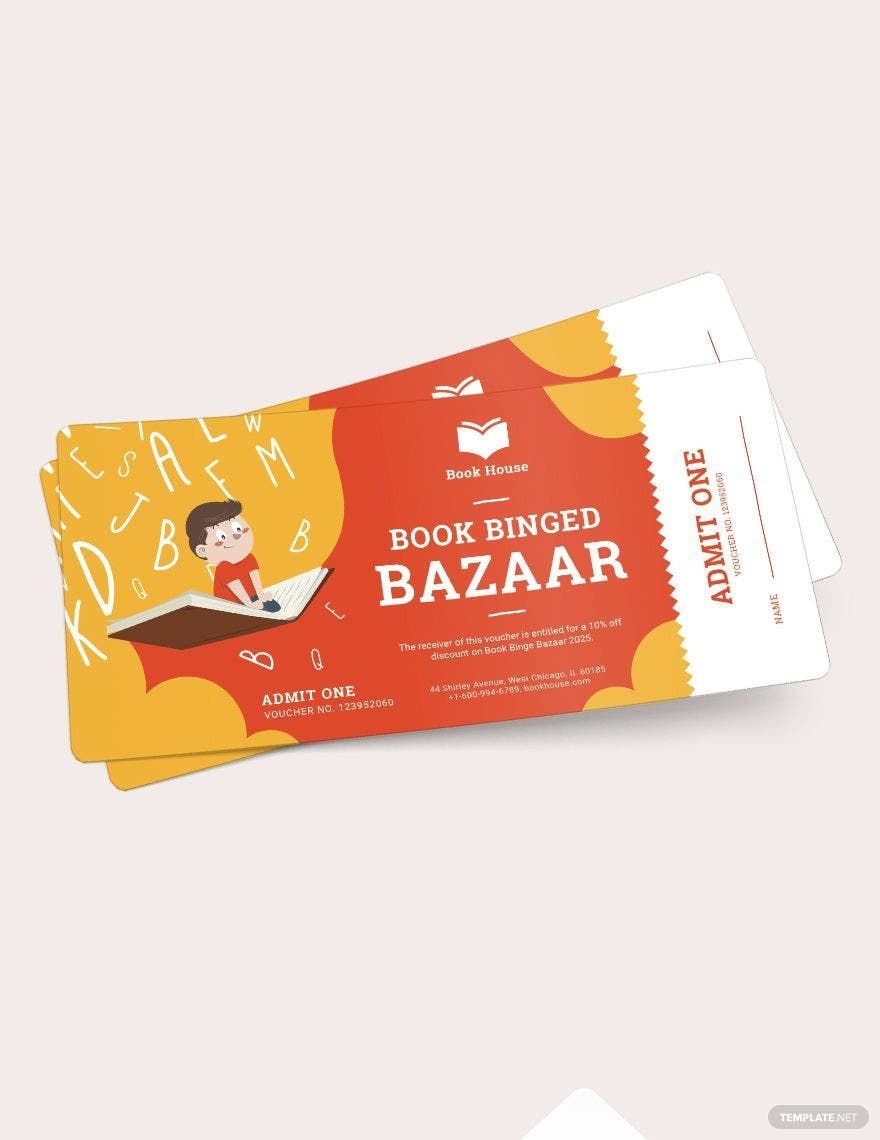
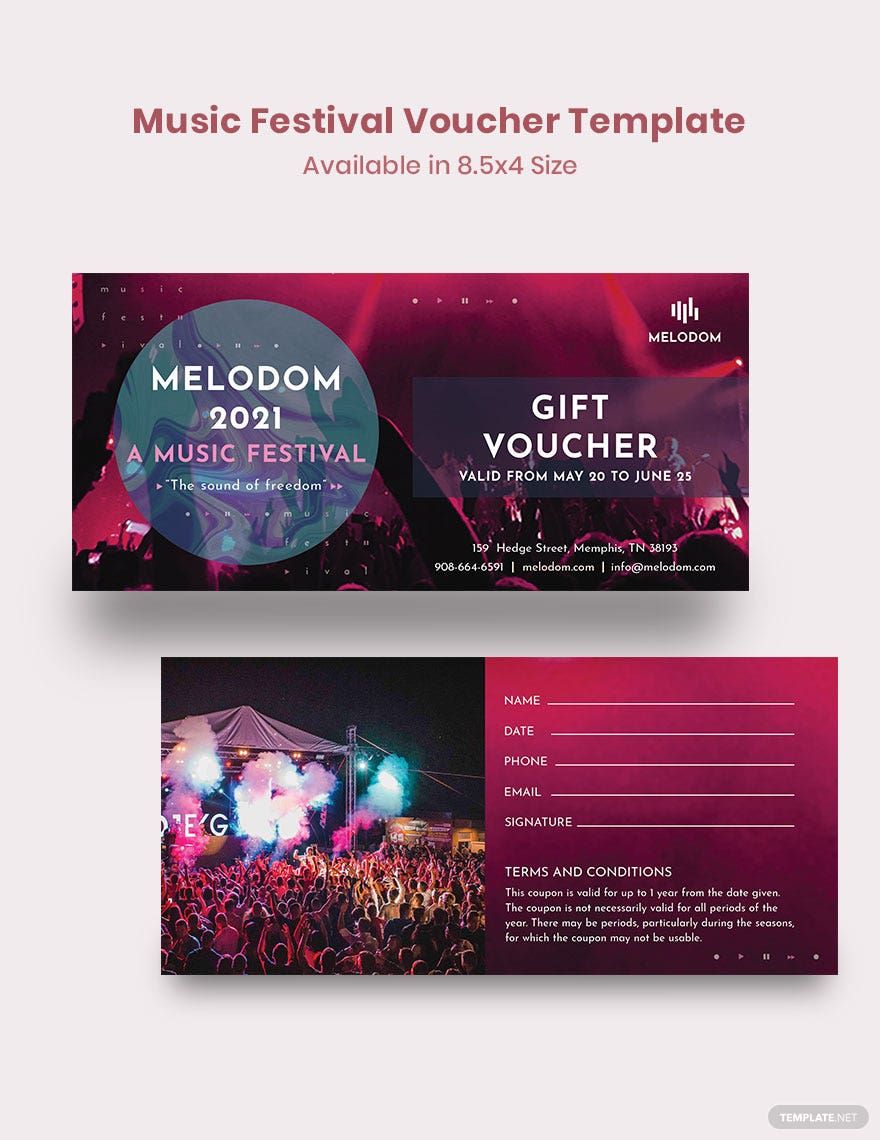
Offering discounts, giving special promos, or giving people access to certain events—these circumstances can all be achieved with the help of a simple ticket voucher. Here at Template.net, we offer a wide selection of ready-made ticket voucher templates in Microsoft Publisher format that you can use as gifts, for concerts, travels, food purchases, and even for the promotion of your business. Complete with well-written contents, original artworks, royalty-free font styles, creative designs, professional layout with scalable vectors, these customizable templates guarantee that you can create the best voucher for any purpose. No need to stress about creating a ticket voucher from scratch when you have our templates in your arsenal. Hurry and grab our printable templates today!
How to Create a Ticket Voucher in Publisher
Sure, you can use ready-made templates, but it is still helpful to have the skill in creating ticket vouchers should you decide to DIY. This way you can personalize it according to your preferences. Provided below is an easy guide on how you can create a ticket voucher in Microsoft Publisher:
1. Determine Your Theme or Style
Although you need to abide by the branding image of your business, you should still have a theme or style that will serve as the anchor for all your design elements. Deciding on this aspect can be easily done by classifying or identifying the purpose it will be used for. For example, if the ticket voucher will be used specifically for birthdays, then, the artworks, illustrations, images, etc. you use should be closely related to the event.
2. Incorporate Your Branding Image
As mentioned, ticket vouchers are the perfect materials to use to establish brand loyalty; hence, the importance of incorporating your branding image. You should use your brand logo, colors, font styles, and overall aesthetics. You shouldn't also forget to include your business name, address, contact information, and other pertinent business information. But since you already have a theme or style in mind, you should aim to seamlessly incorporate your branding image to create a consistent and coherent finish.
3. Provide Your Own Texts
It is essential that you provide accurate information regarding the purpose of the ticket voucher. To provide your own texts, click on the Draw Textbox option. You can easily drag the cursor to achieve the size that you want. Then, click on the textbox to proceed to encode your content. Aside from all the pertinent information, you should also provide the rules and regulation in availing or redeeming the ticket voucher; you should also indicate the expiration date of the voucher.
4. Insert High-Quality Images
It is important to use high-quality images in your ticket vouchers to achieve the best quality finish. To insert an image, click on the Insert button, then, click the Picture option. From there, you can insert images that you already have saved on your computer by clicking the From File option. You can then choose the image that you think best suits the style and purpose the ticket voucher will be used for. Pro tip: look for royalty-free stock images on the Internet to gain access to professionally taken images.
5. Finalize and Save Before Printing
Now that you have everything in place, it's time to finalize the look and contents of your ticket voucher. You need to proofread if the contents have any error, check if the designs are appropriate, change images if they're pixelated, and so on. To avoid having to start all over again, it is best to always save the progress you have made along the way. Make sure you keep a soft copy of the file so that you can recycle and use your file as your template for the next one.
