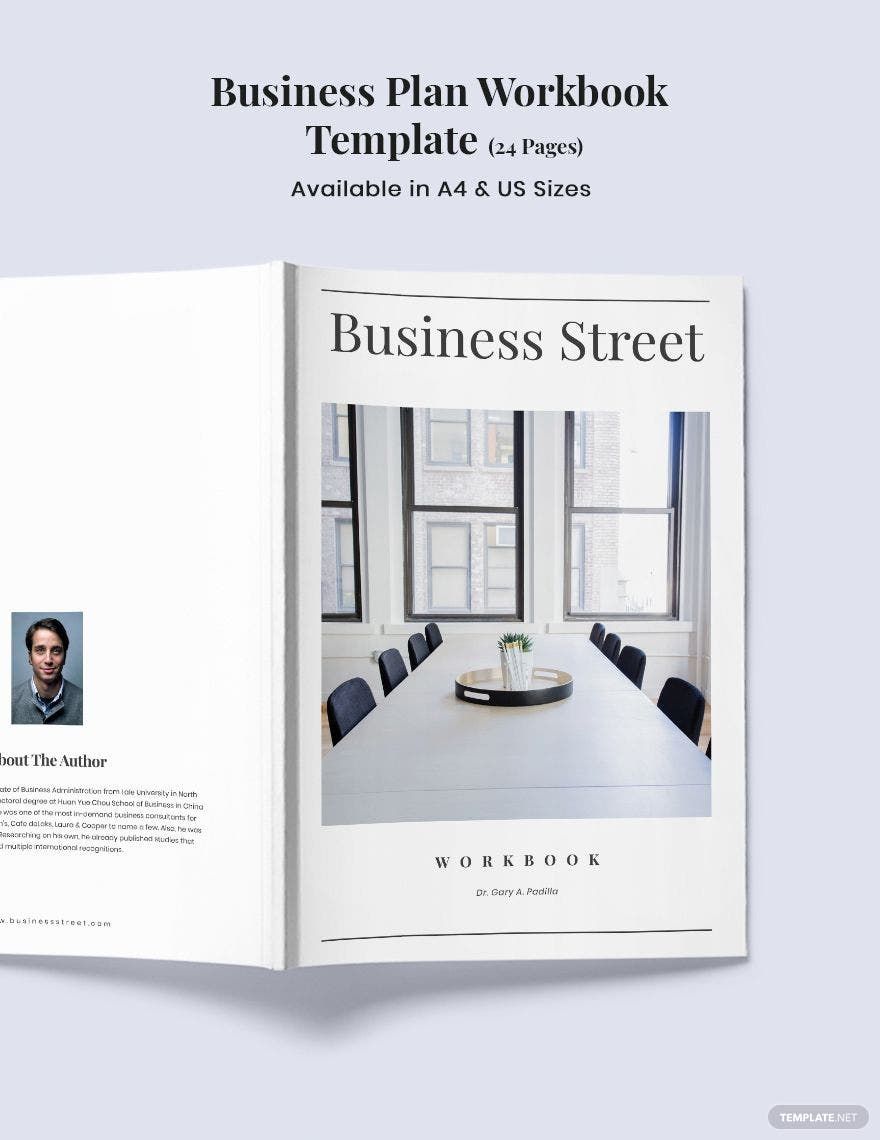
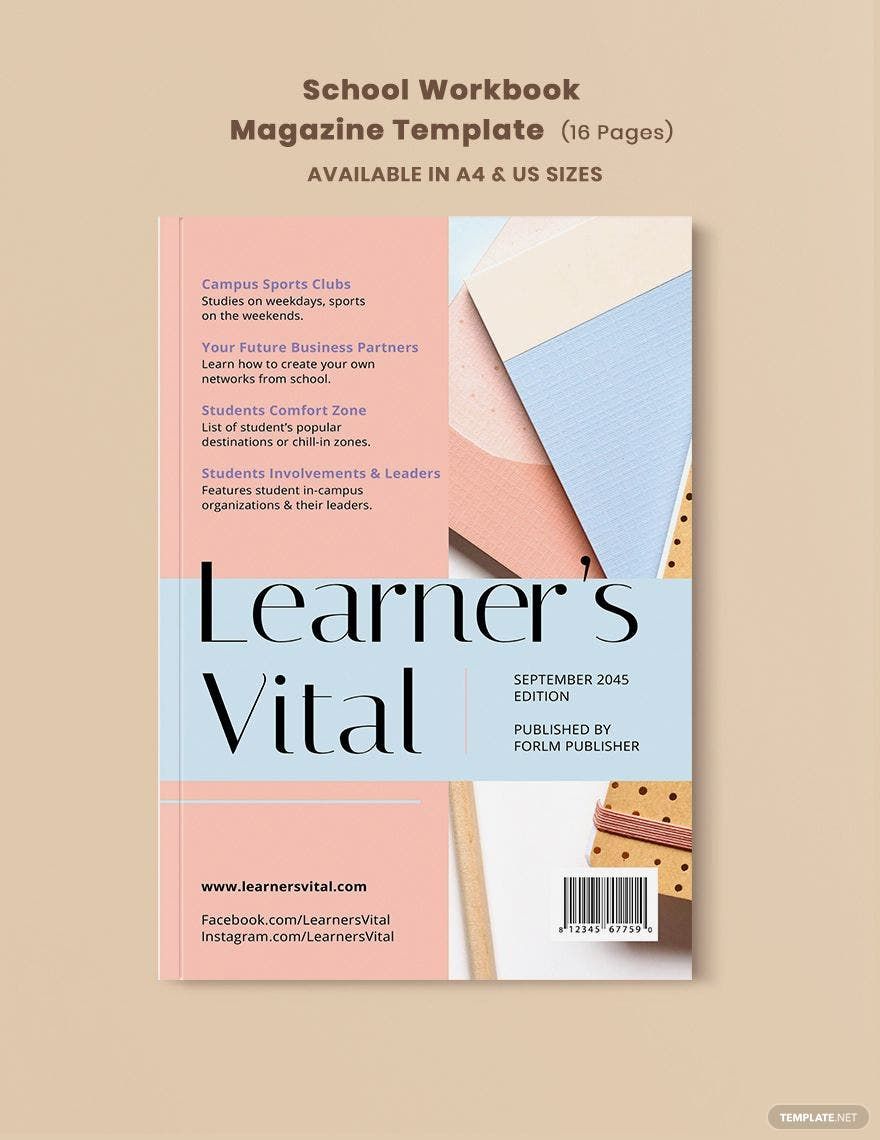
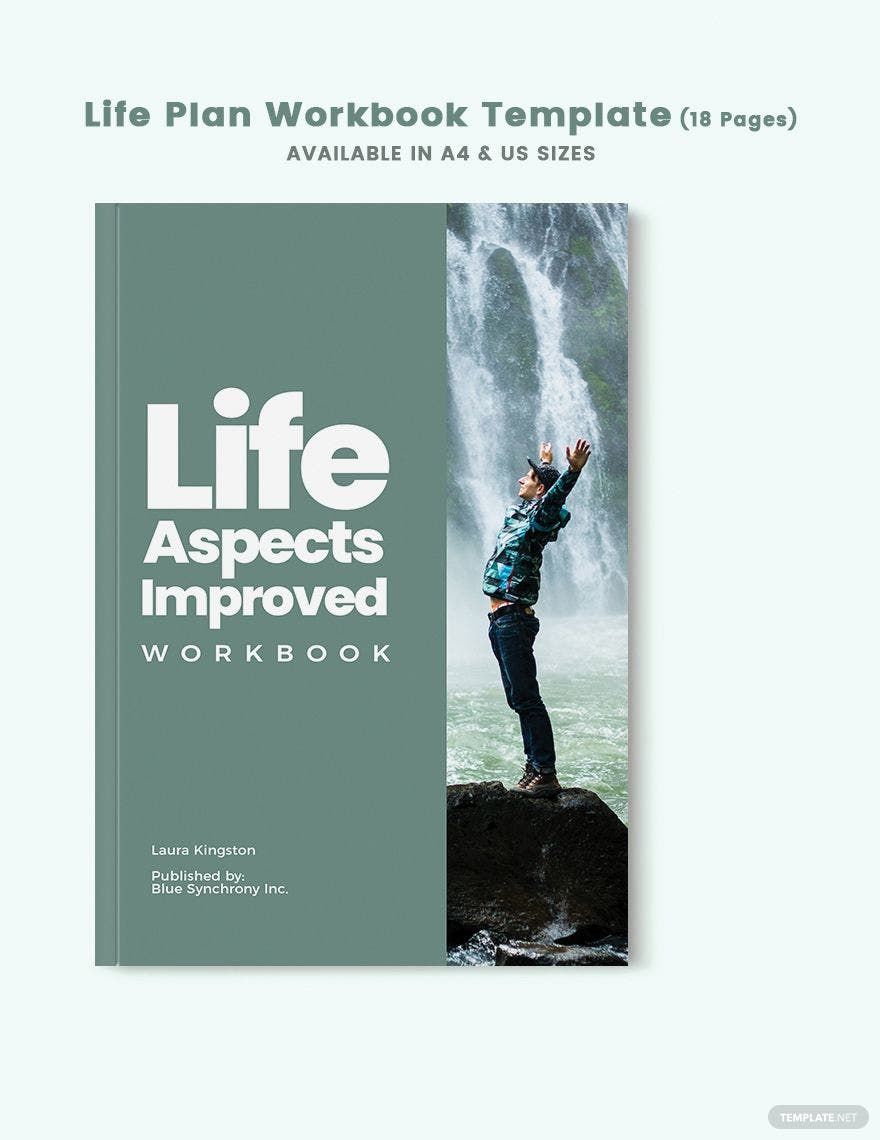
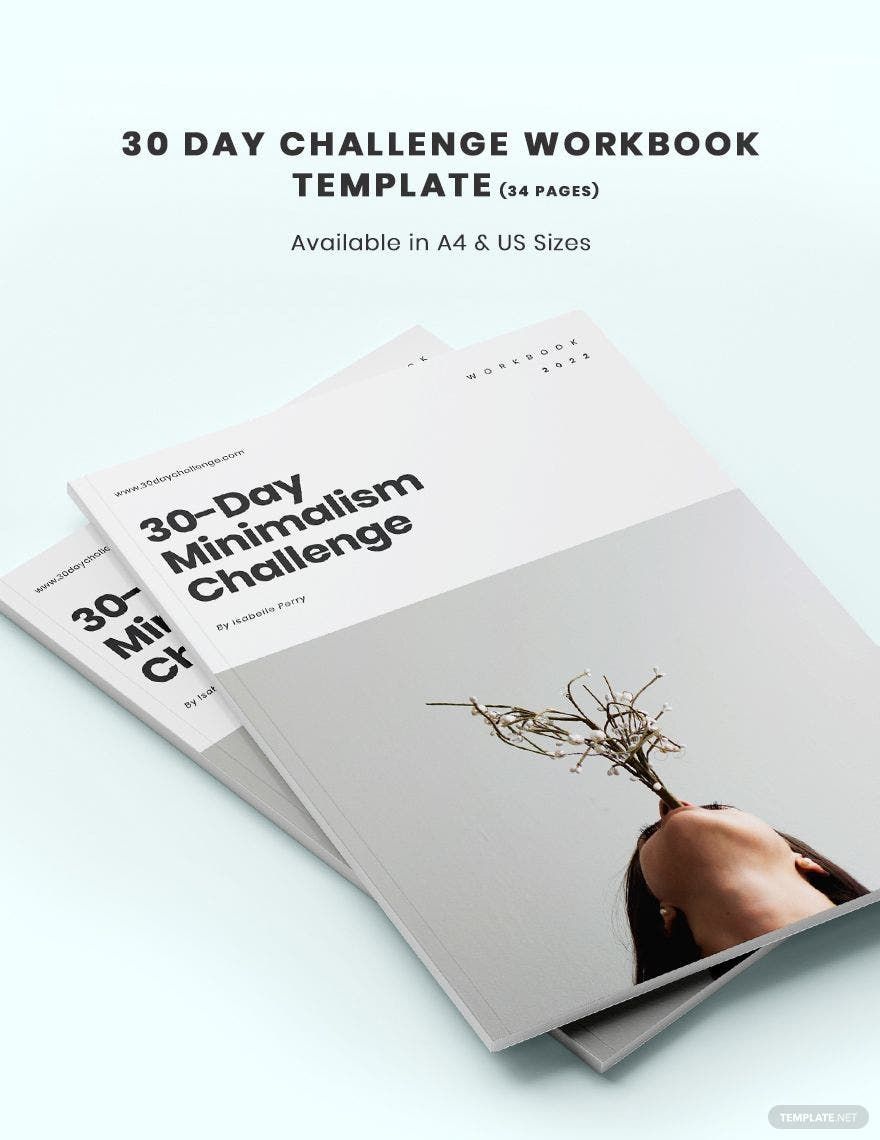
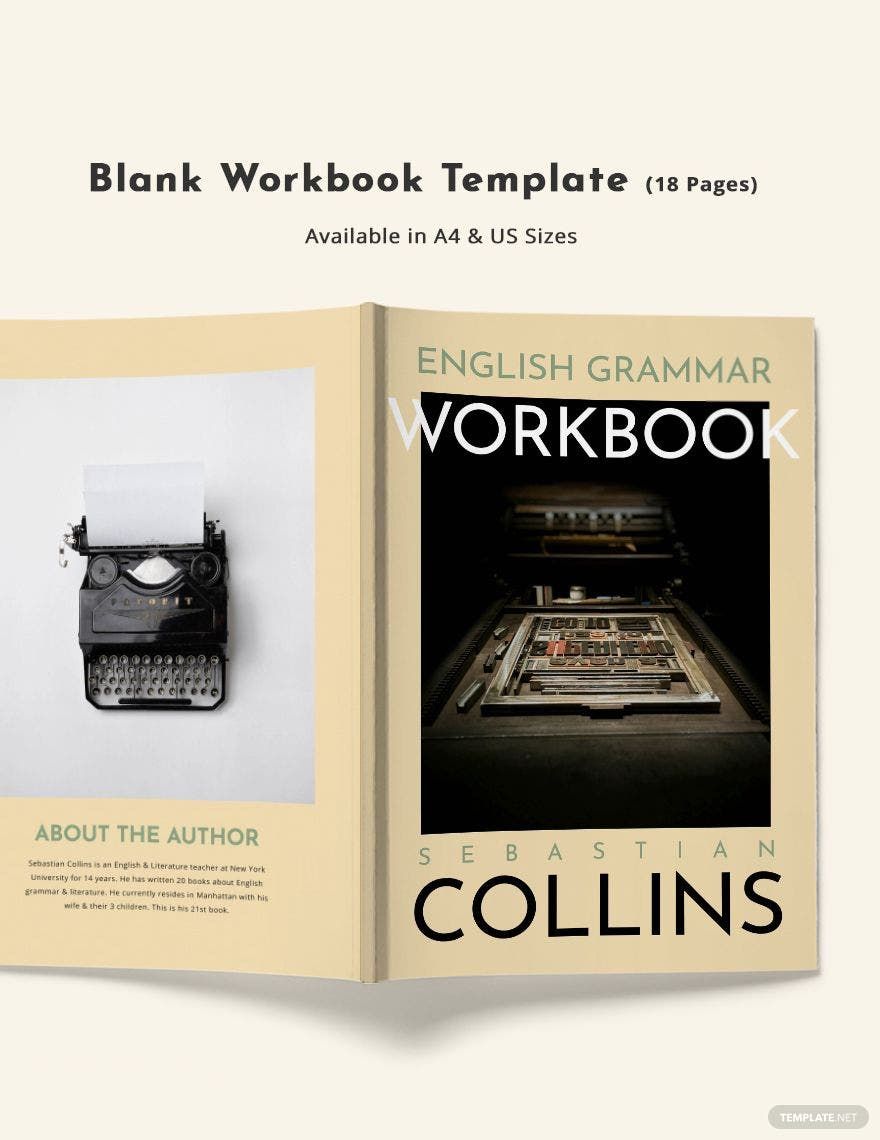
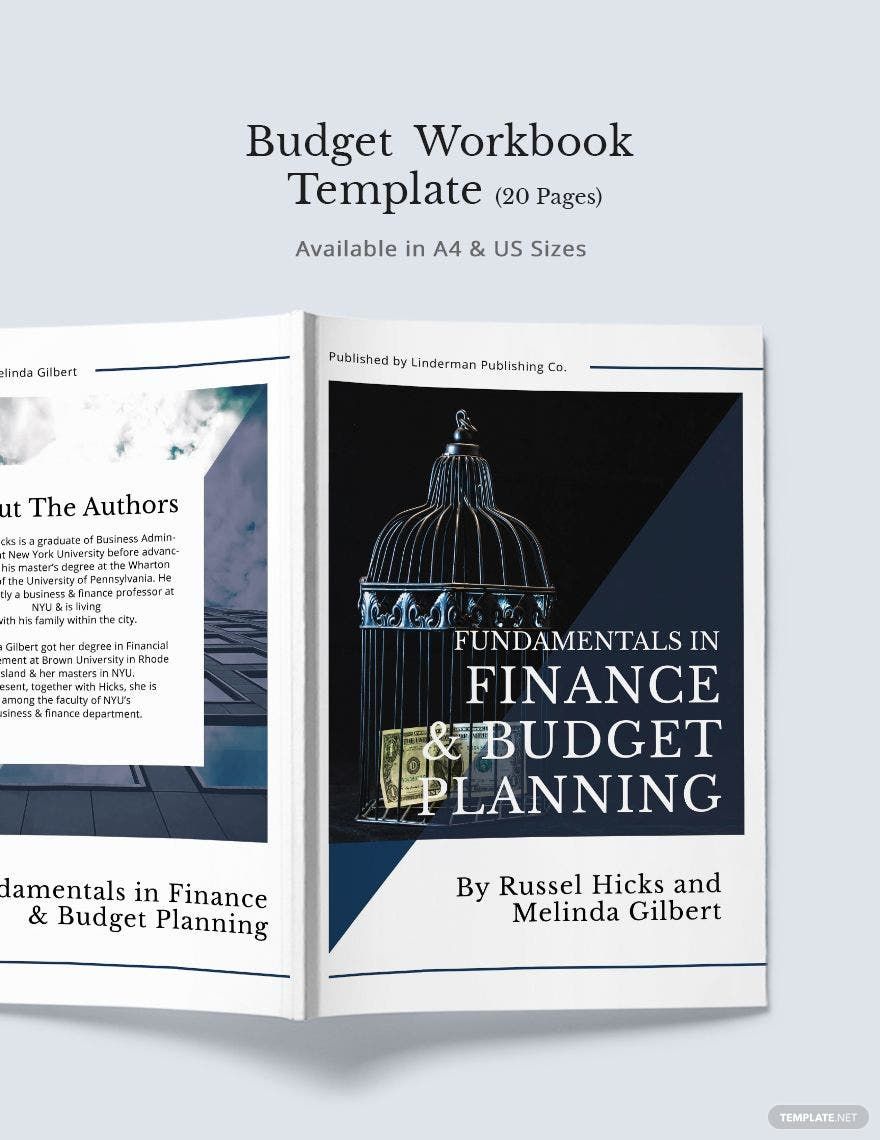
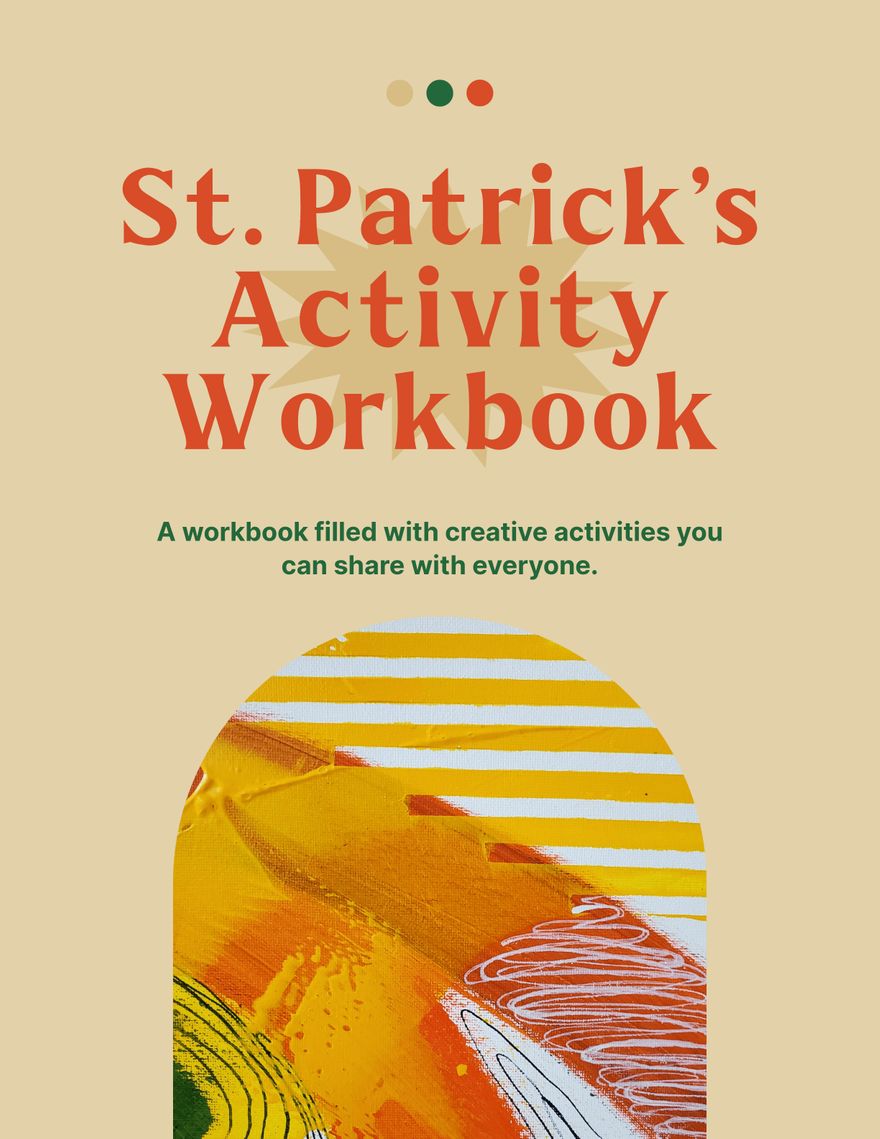
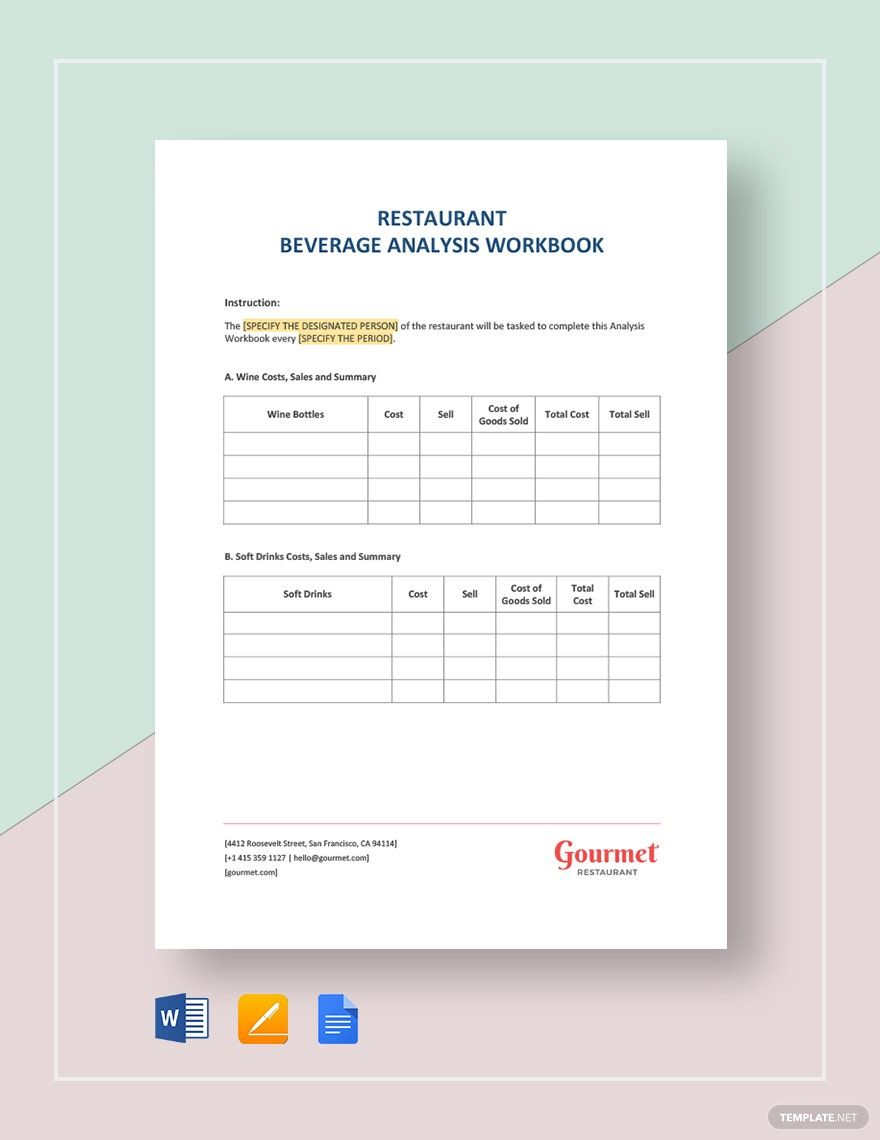
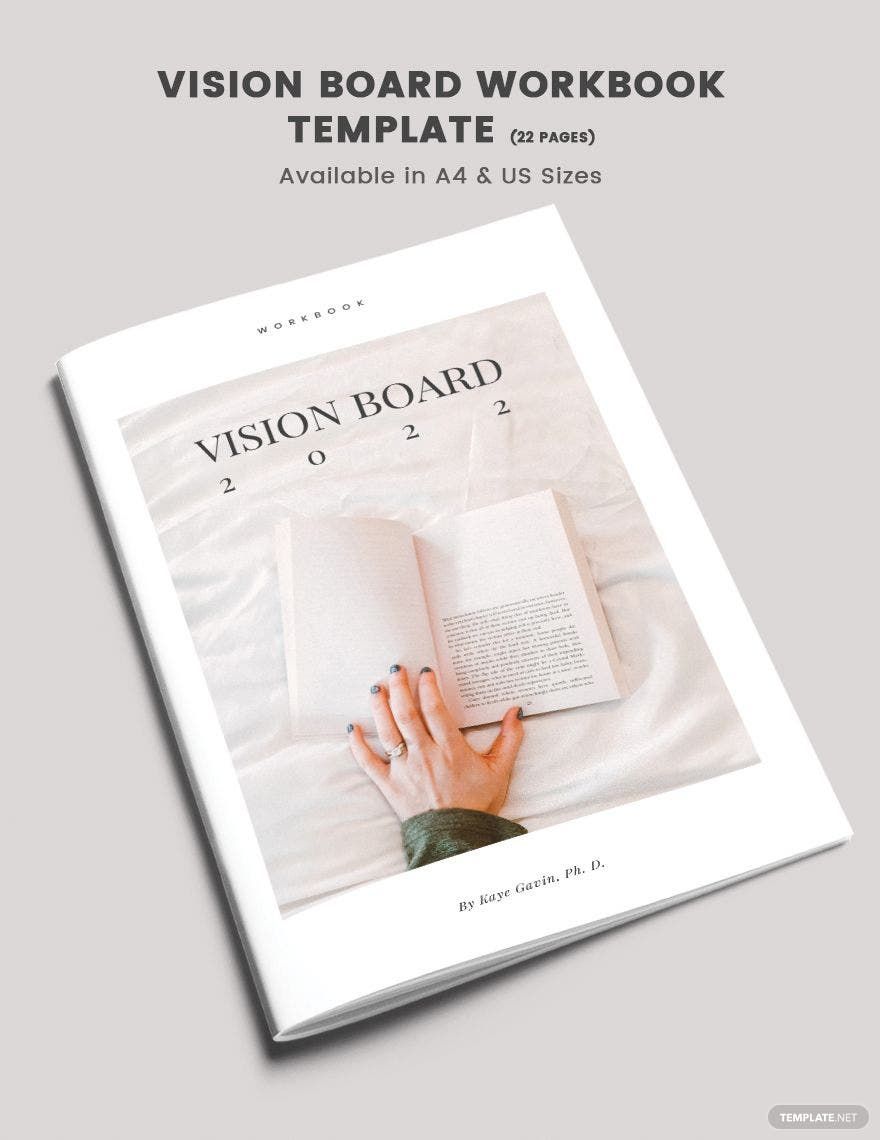
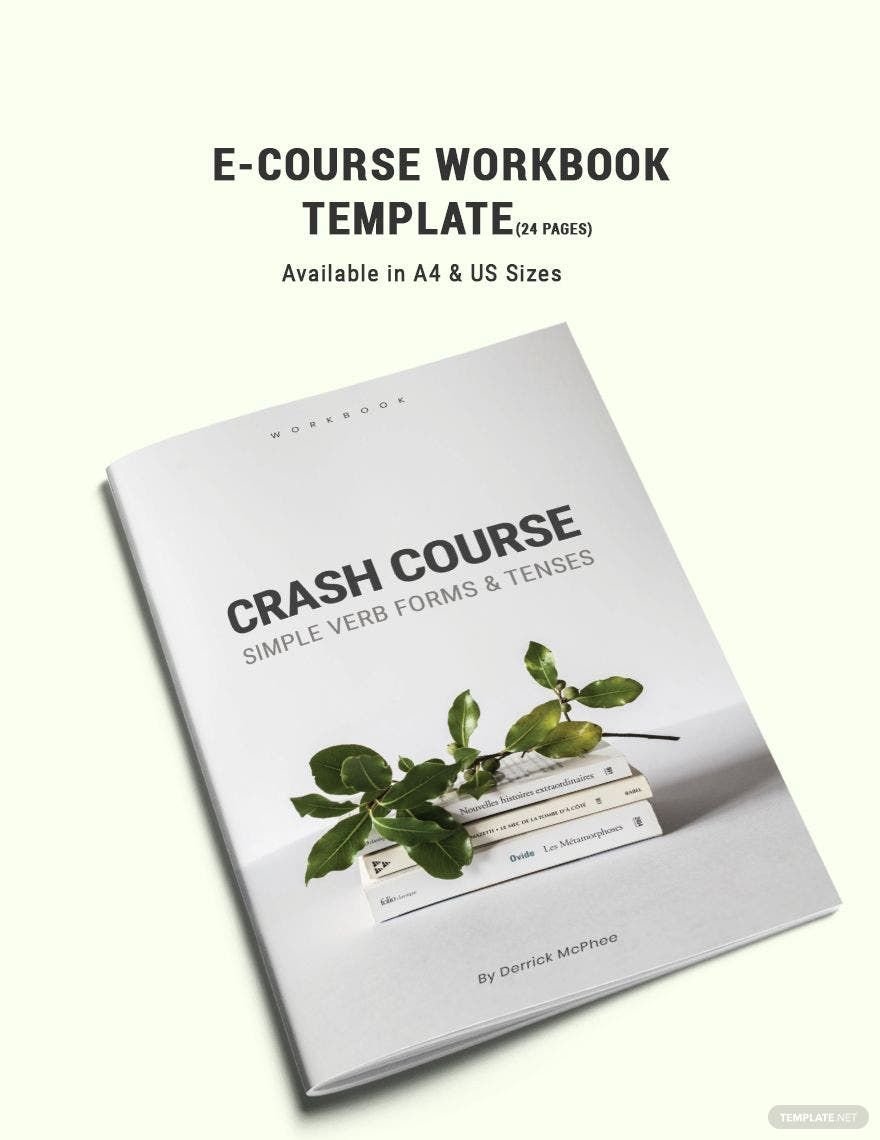
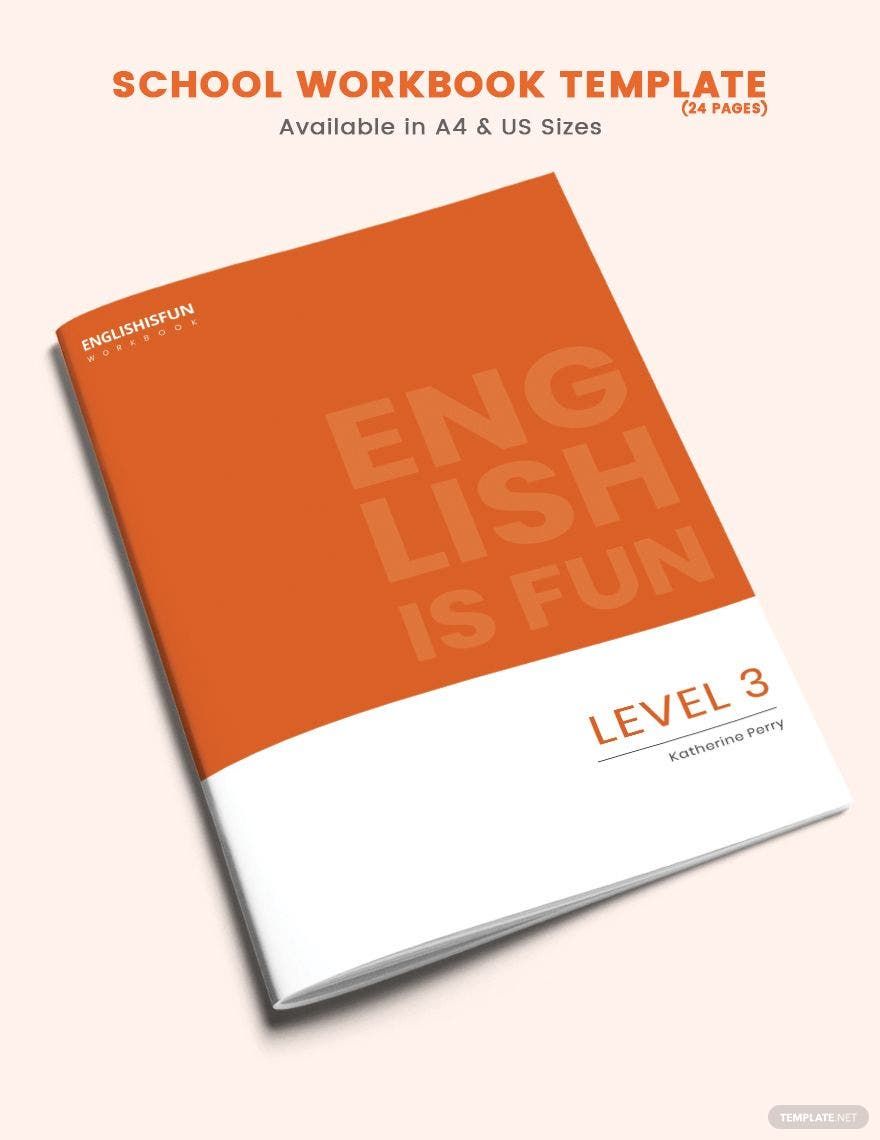
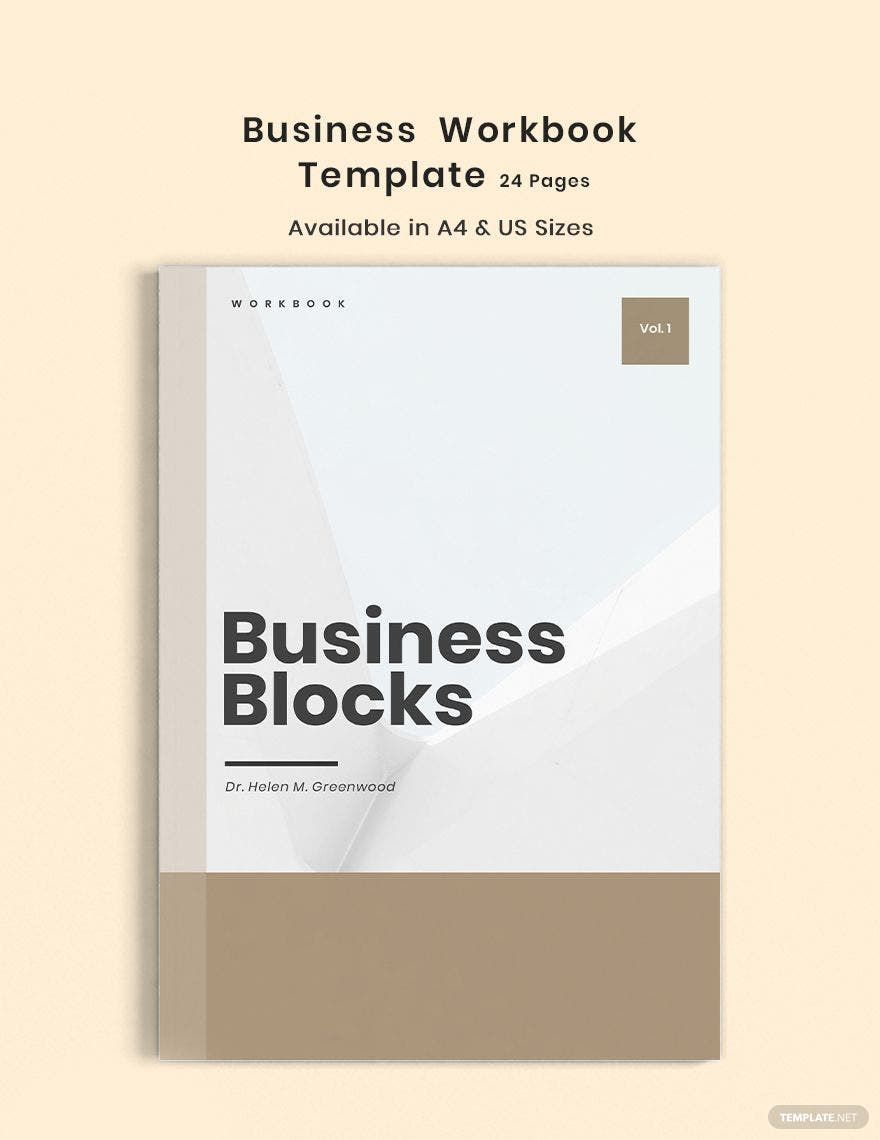
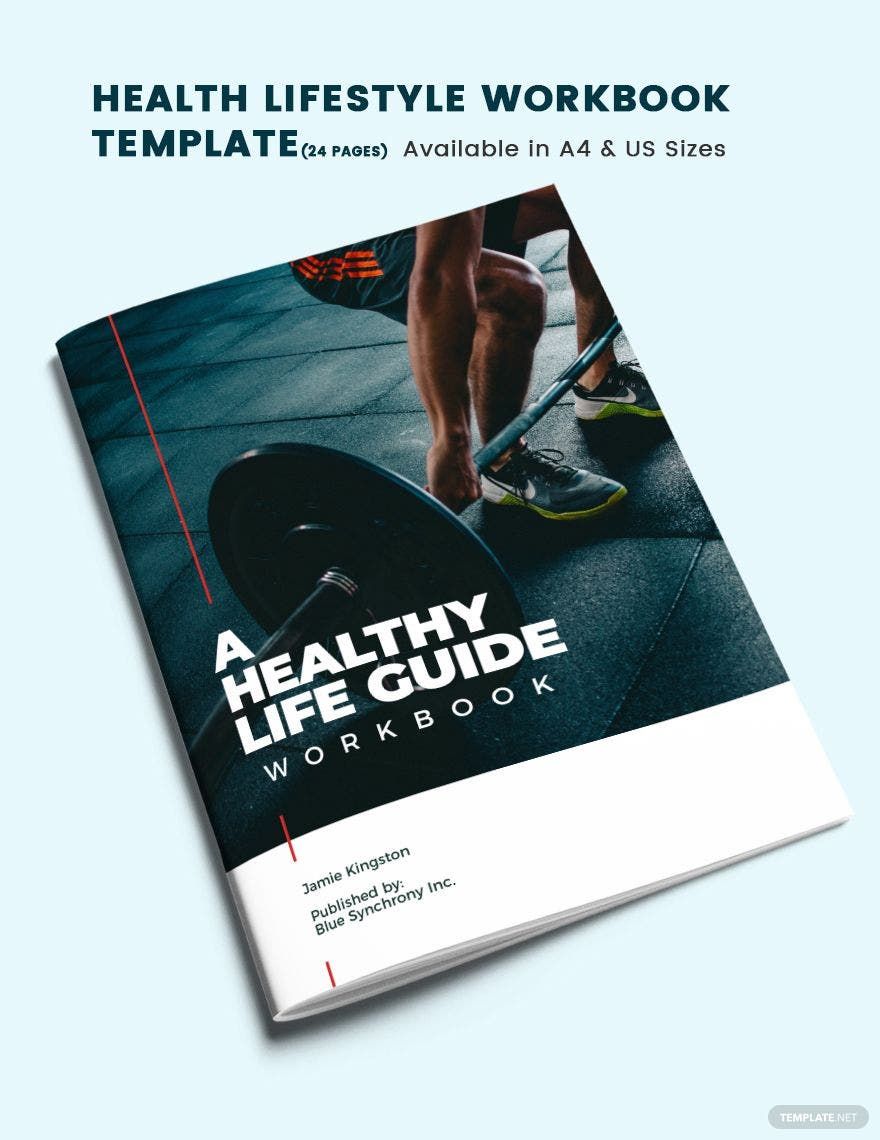
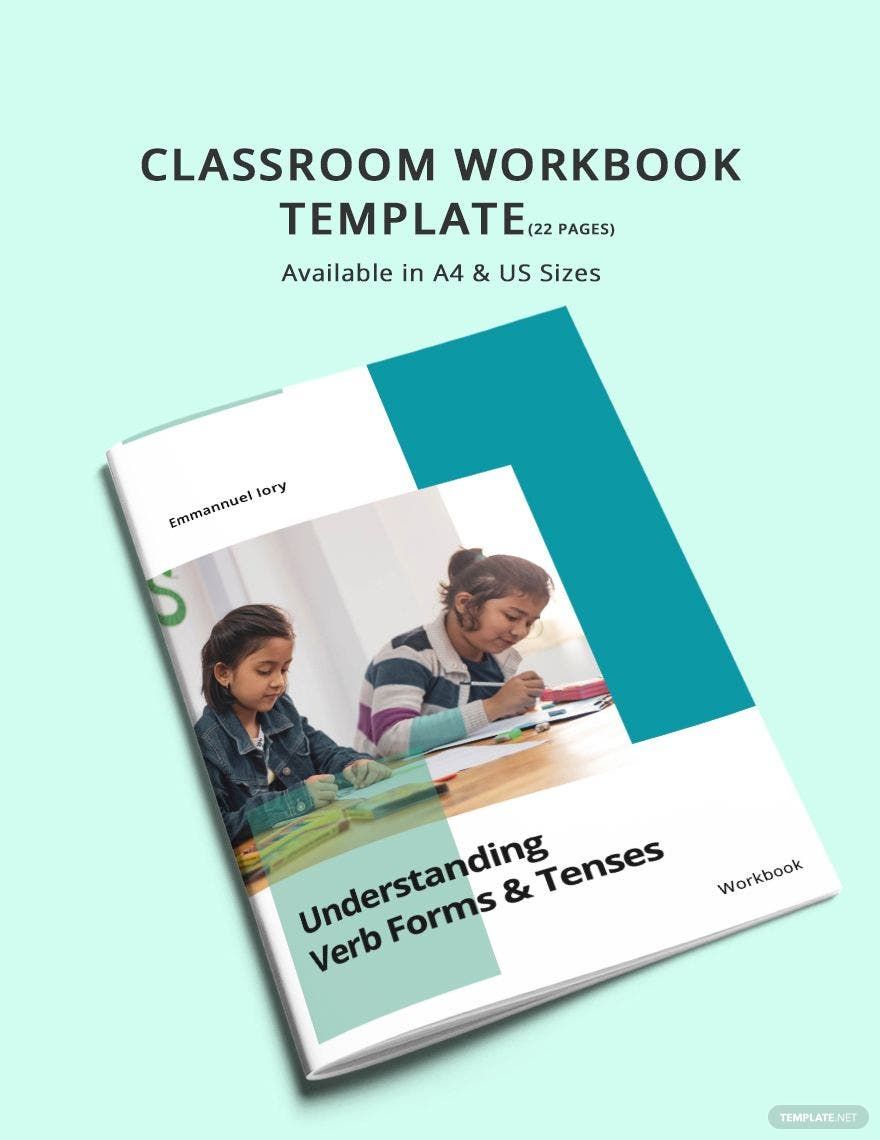
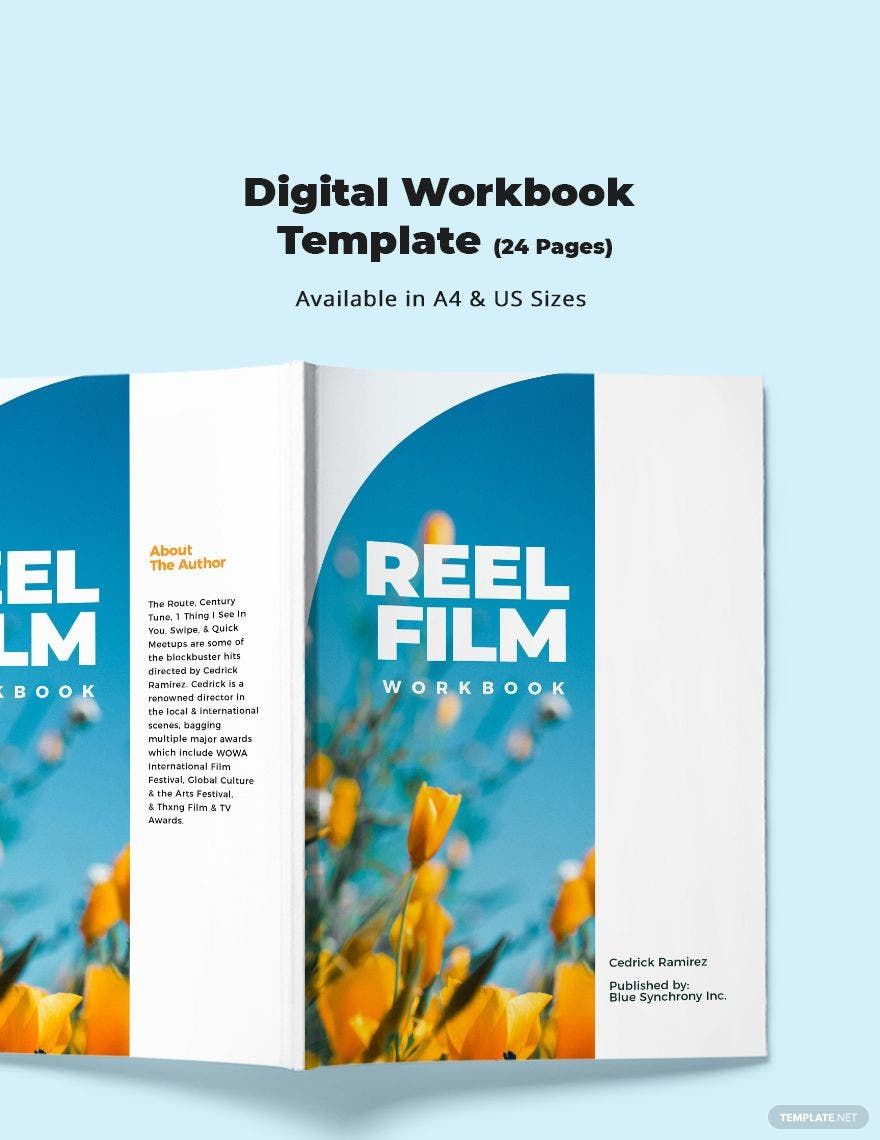
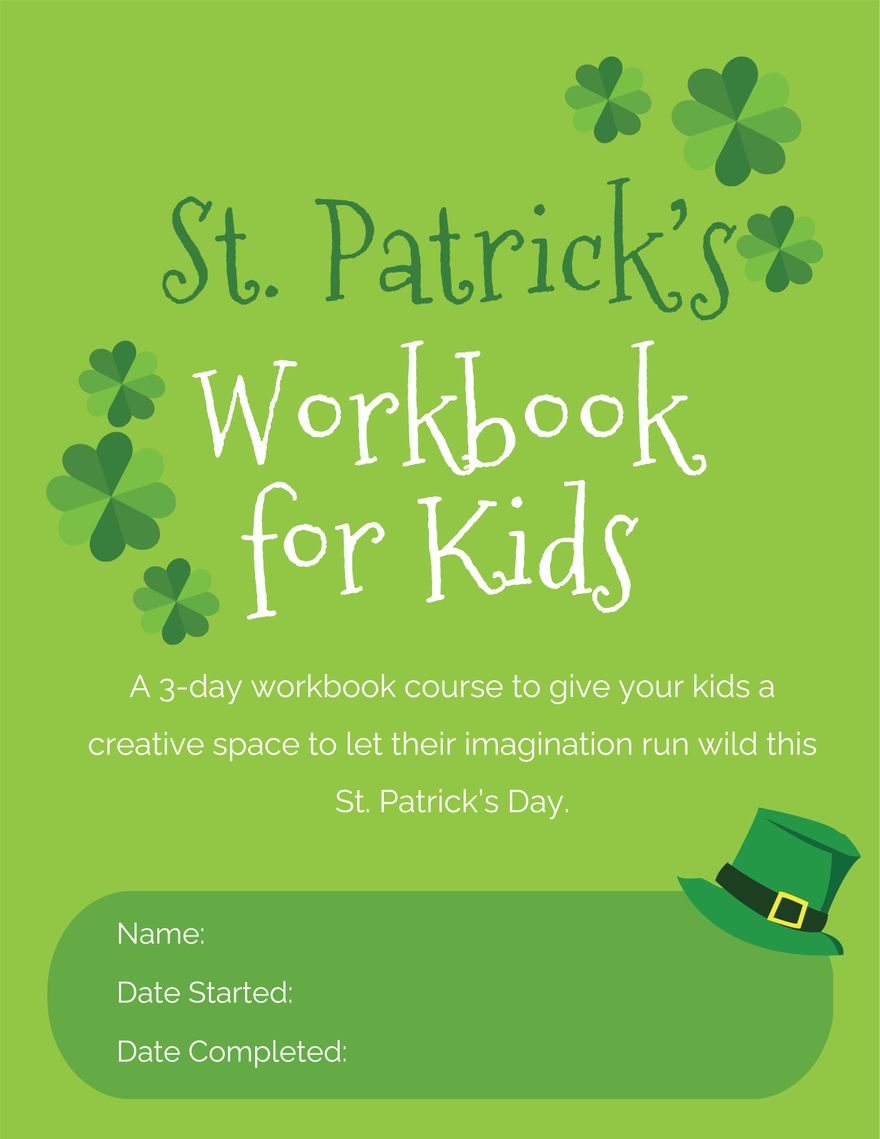
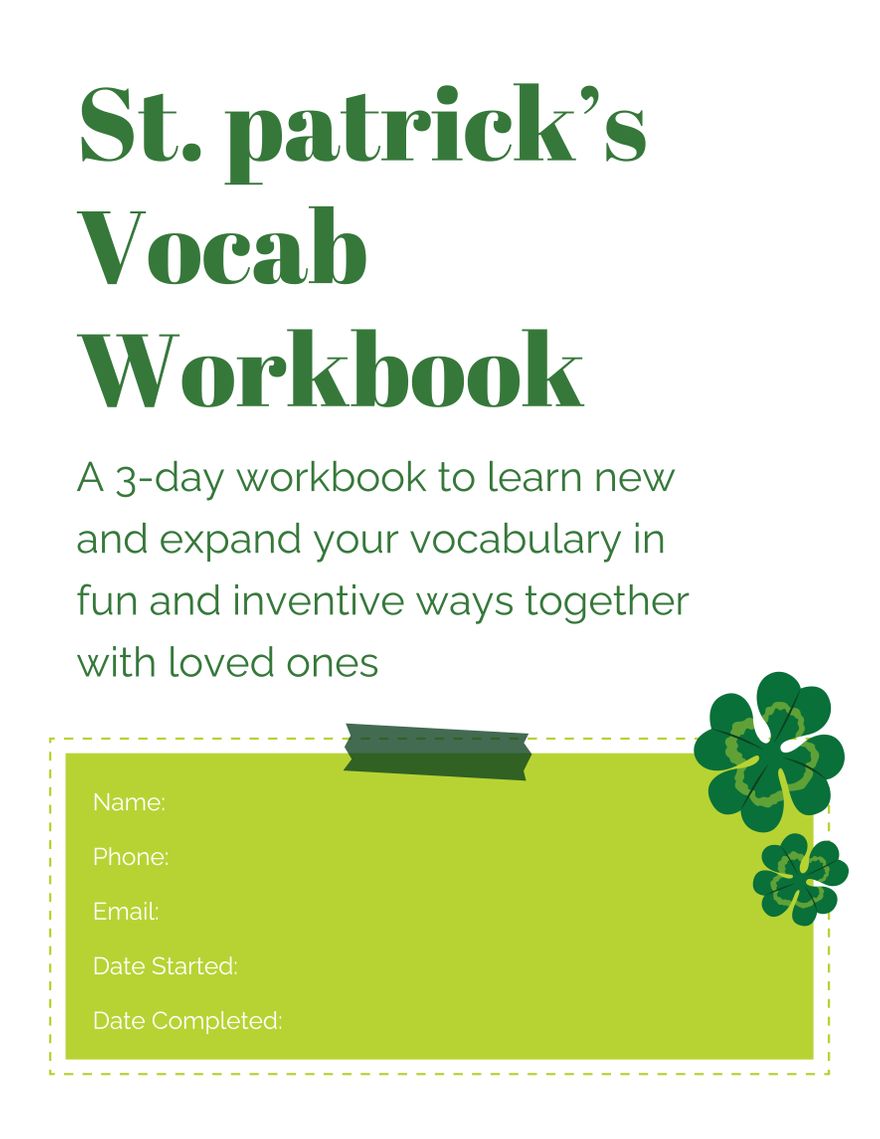
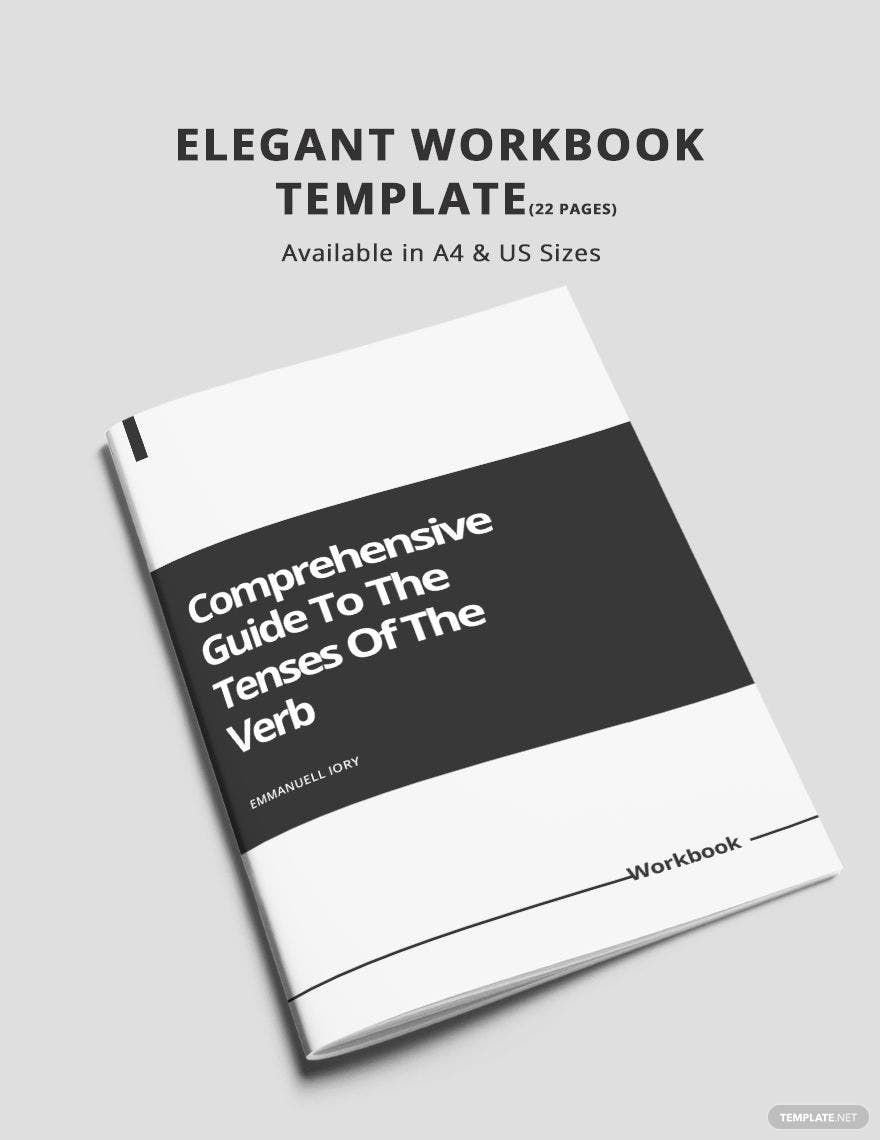
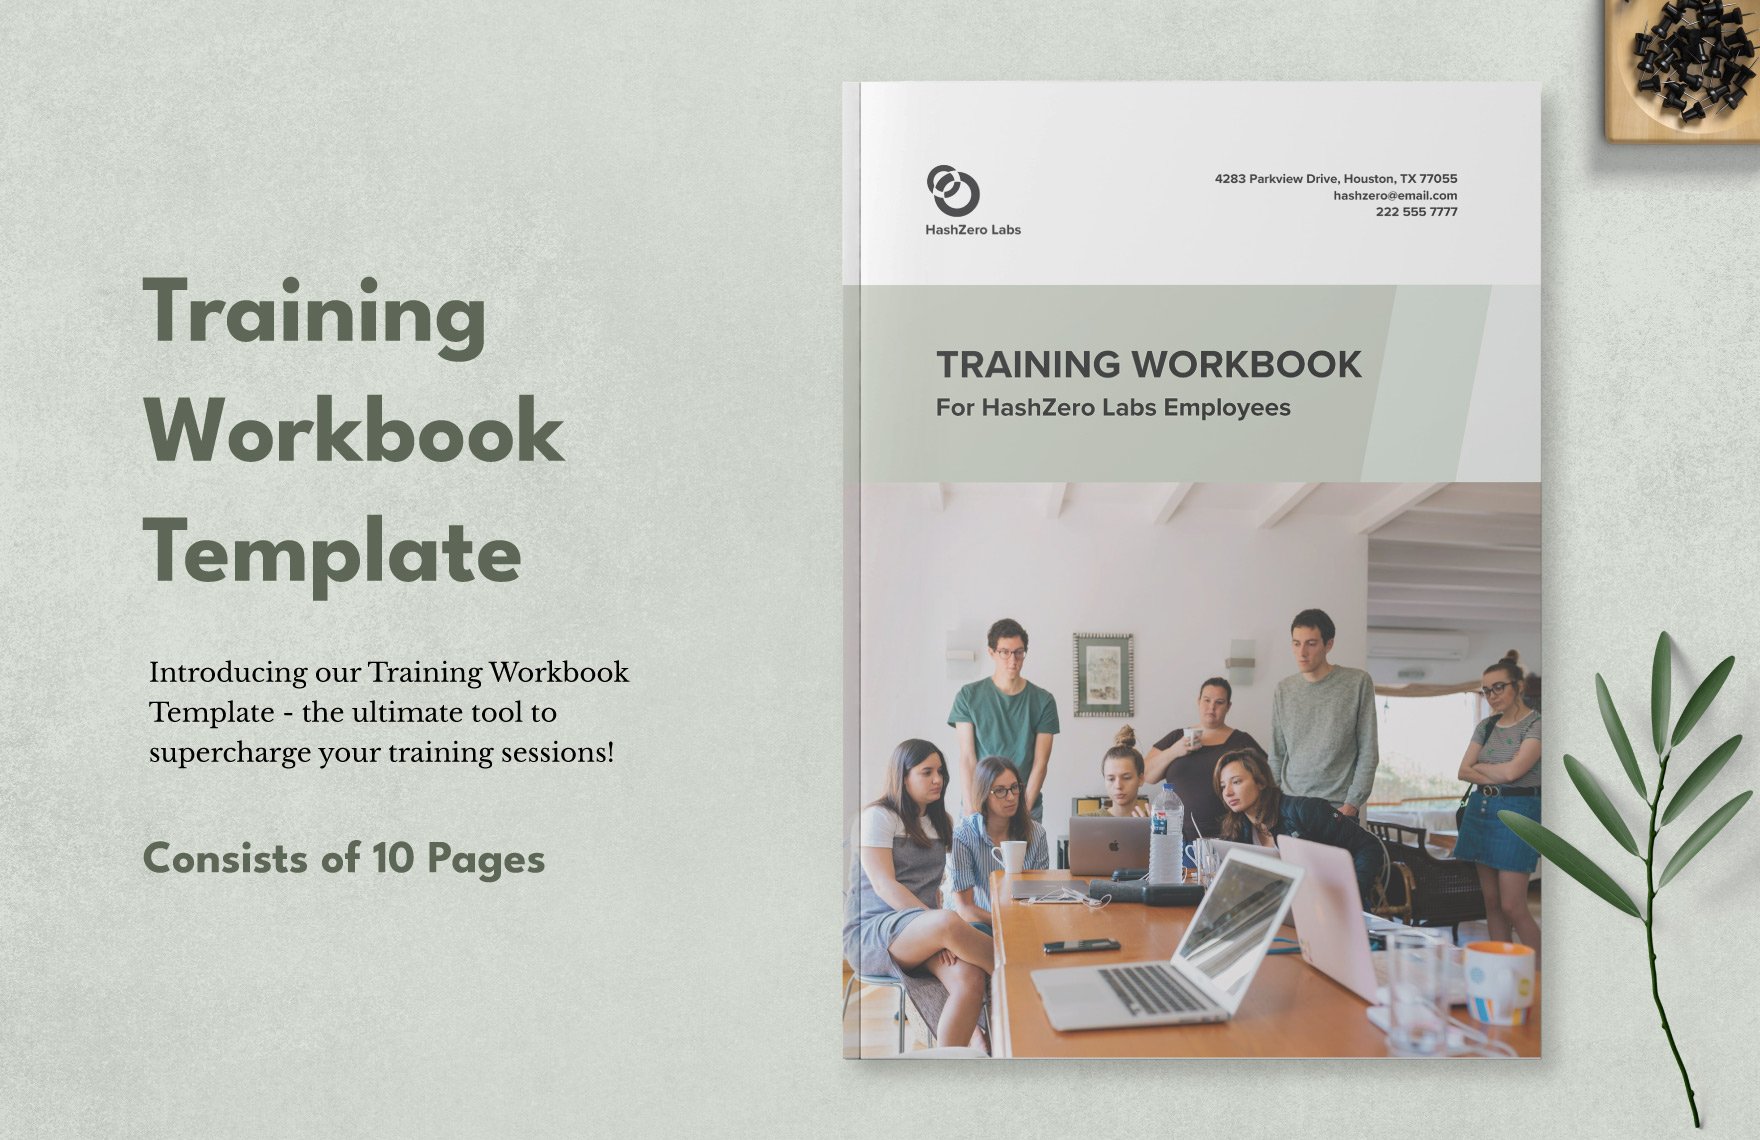
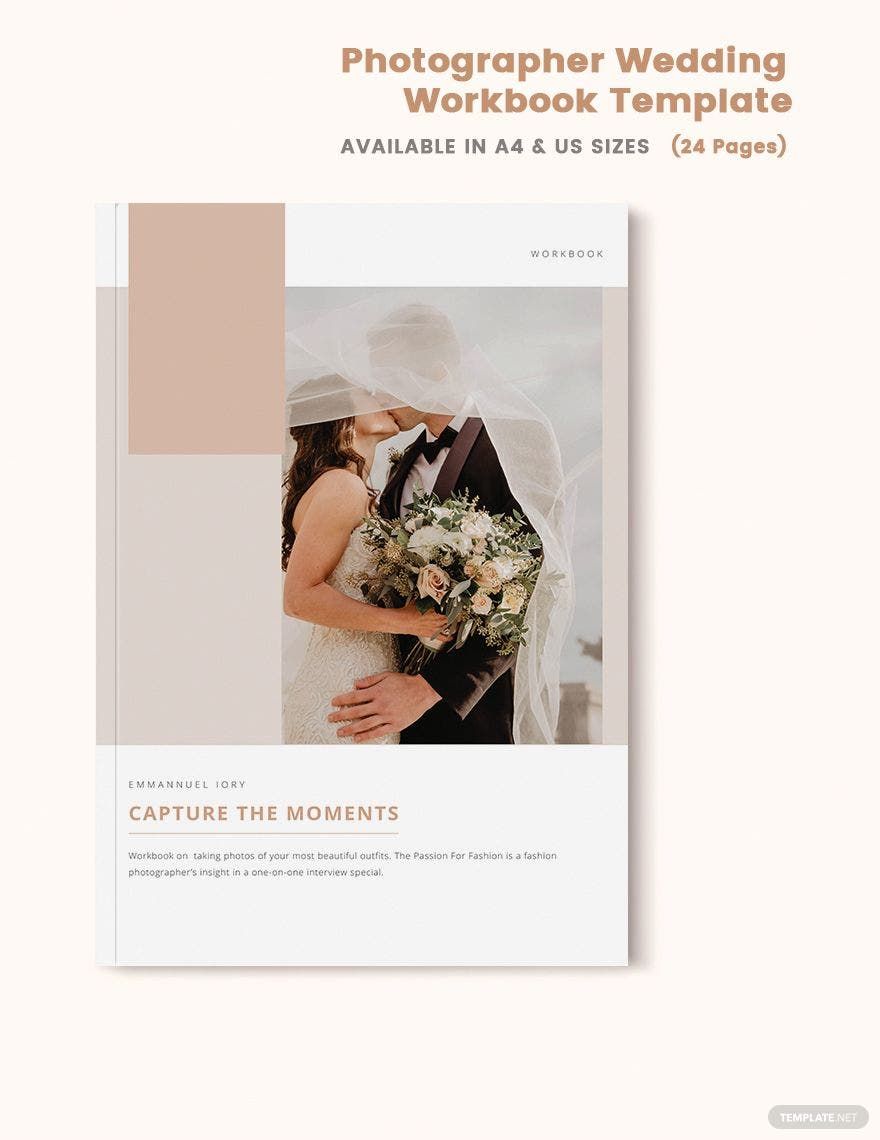
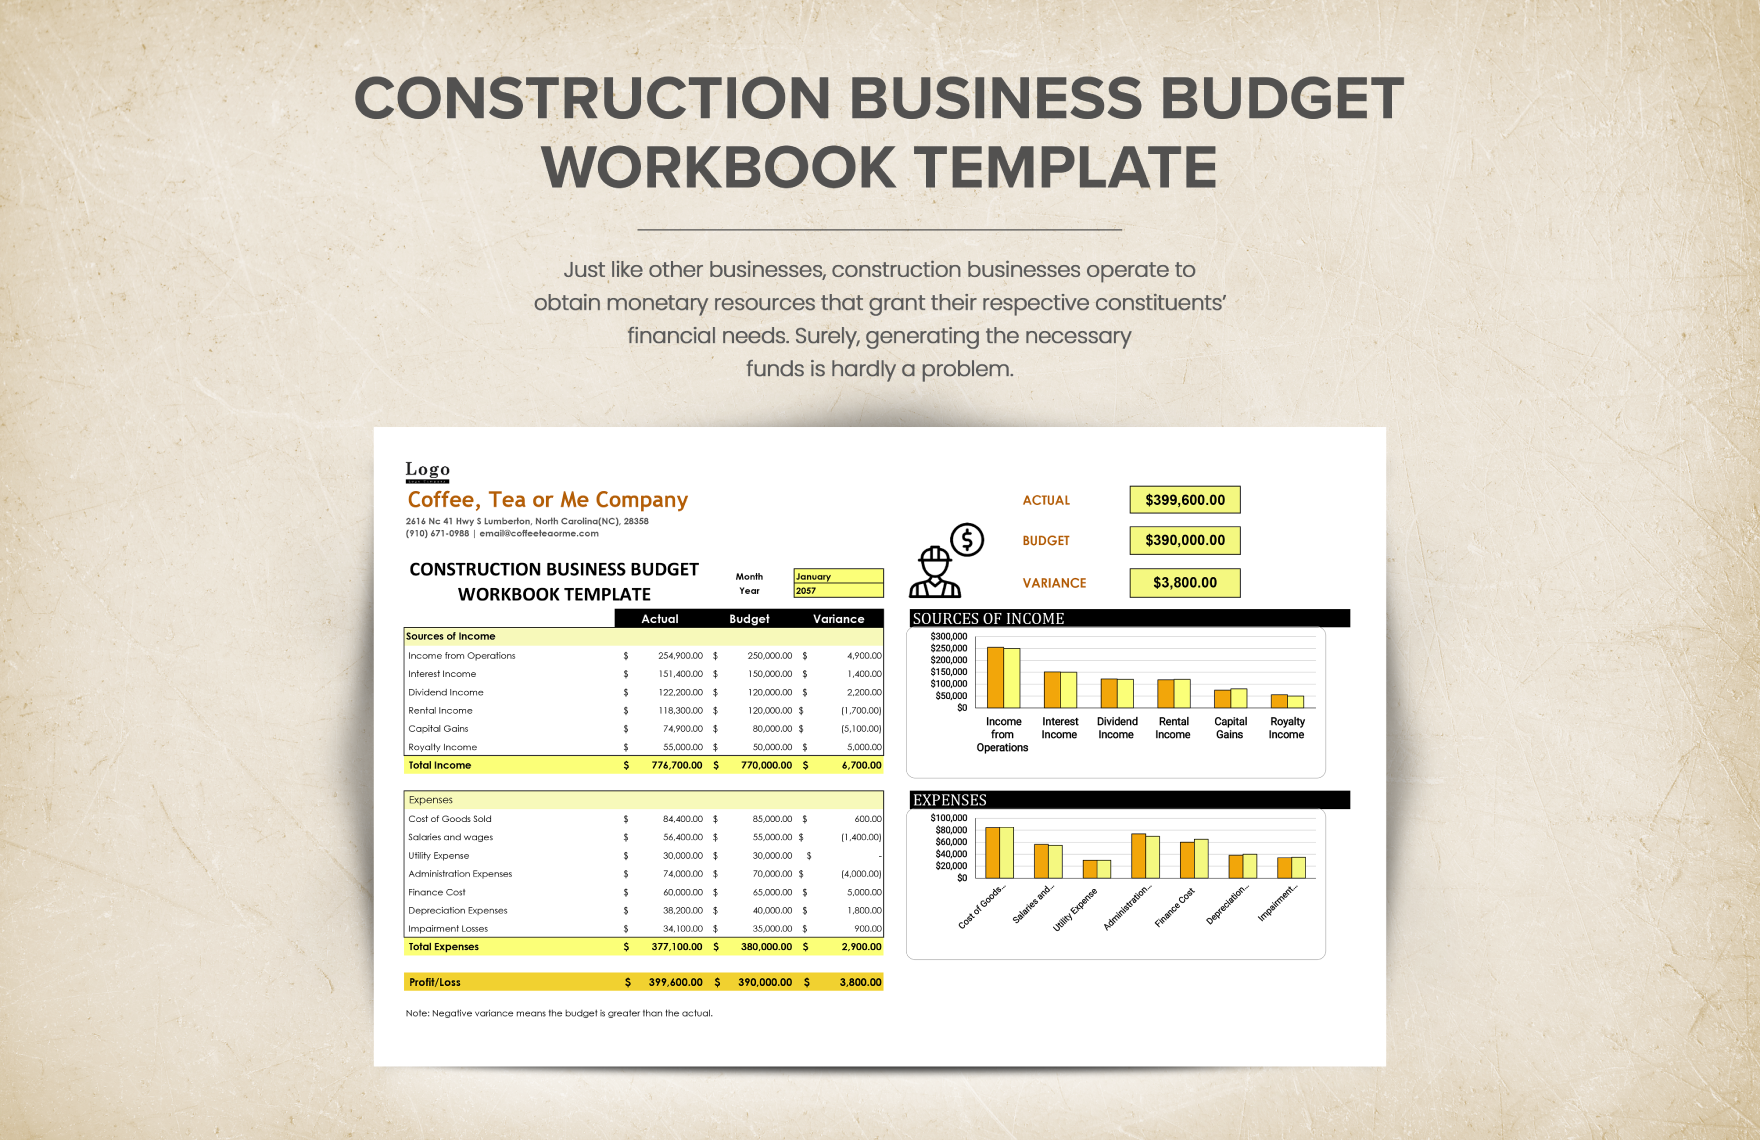
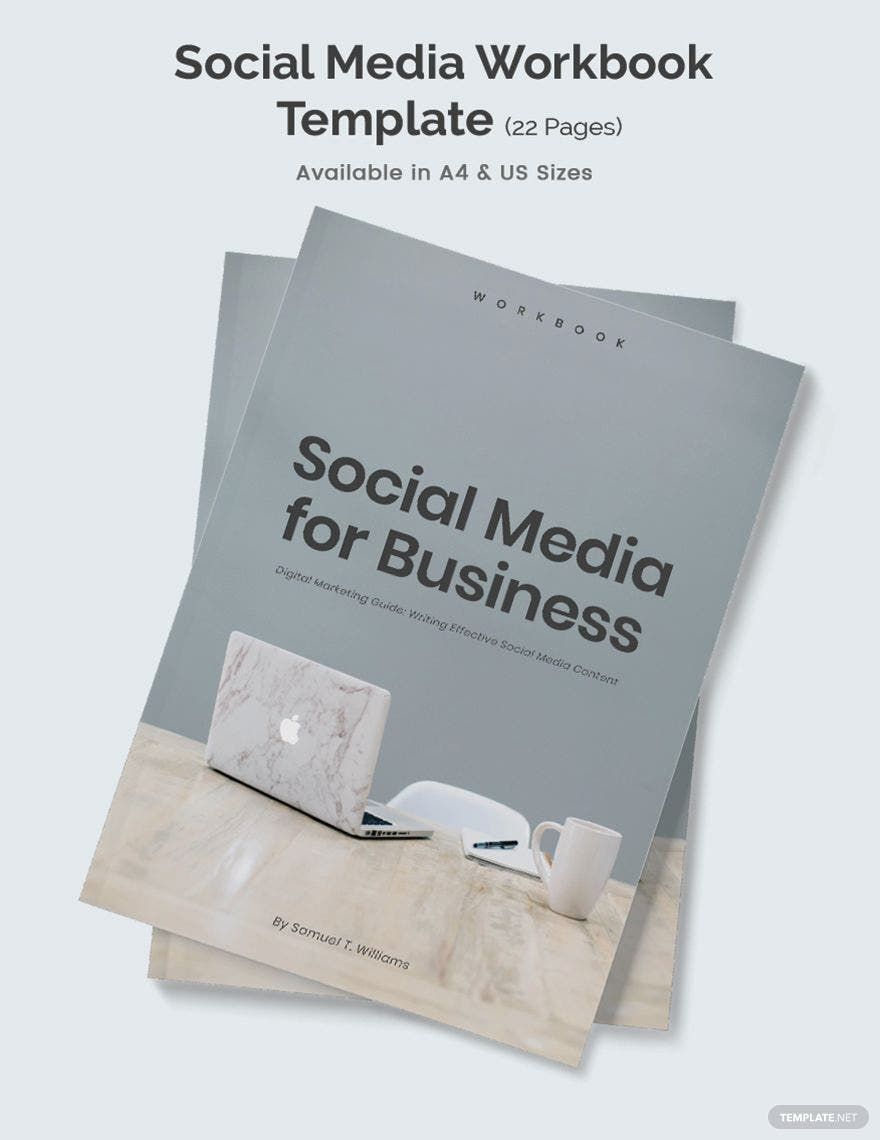
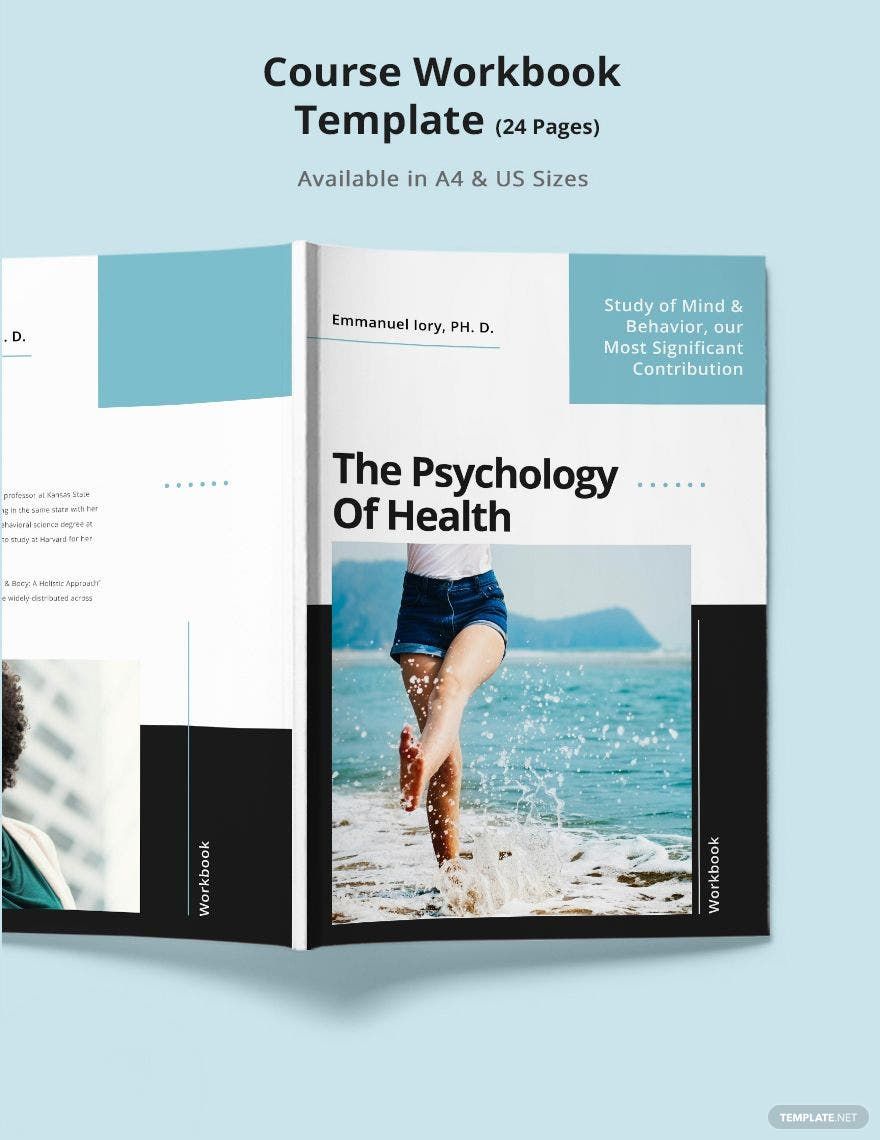
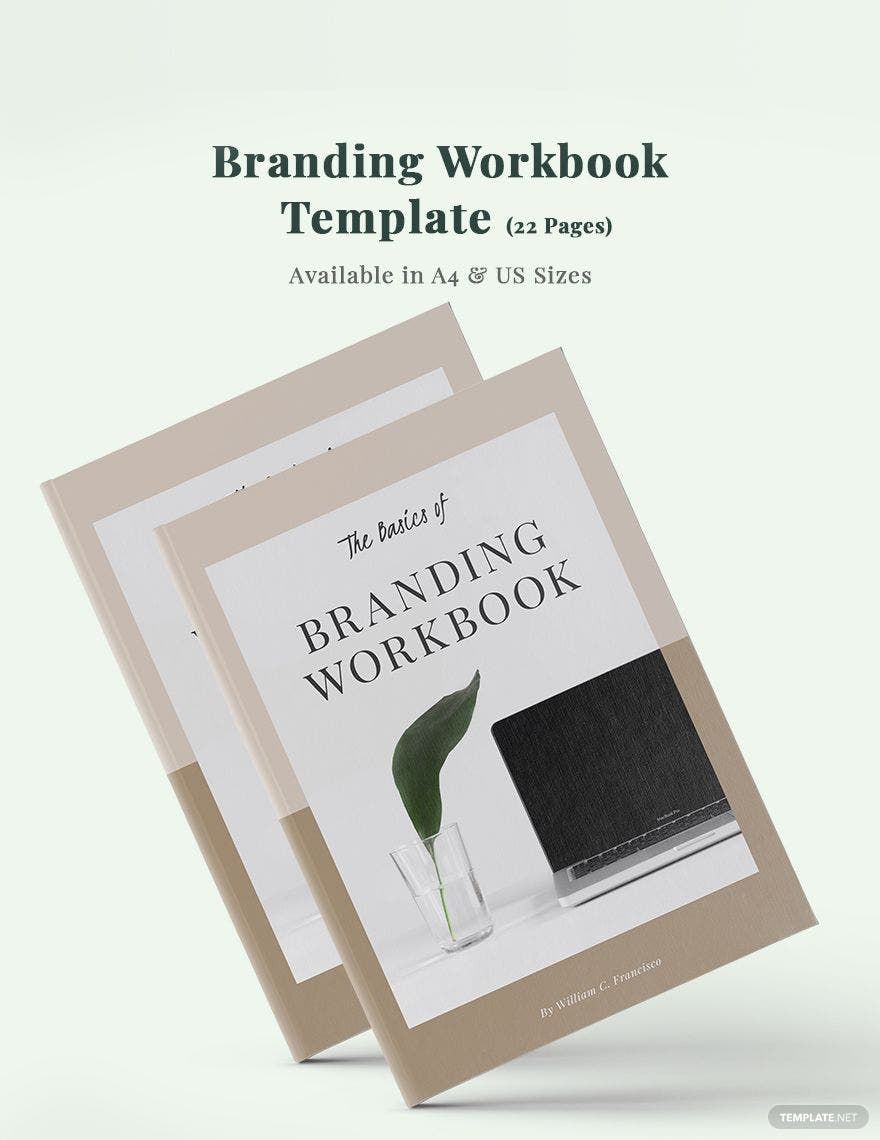
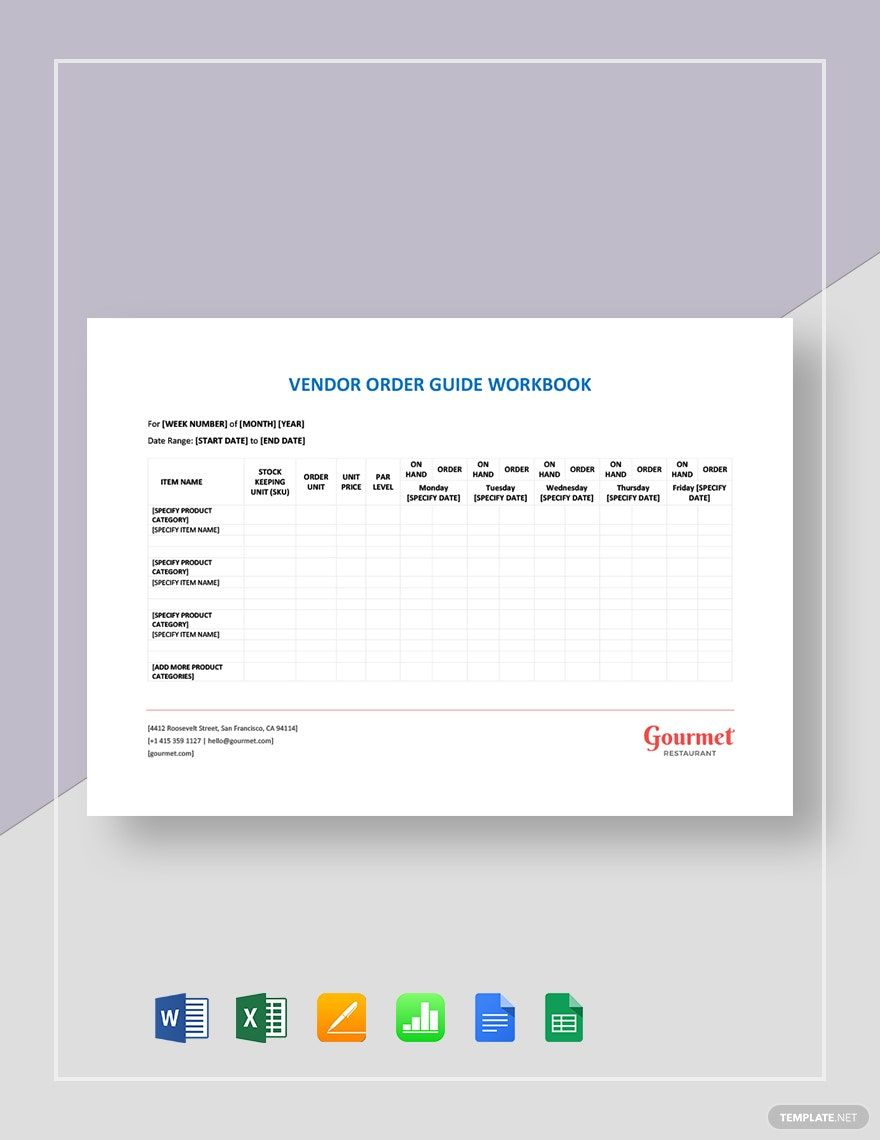
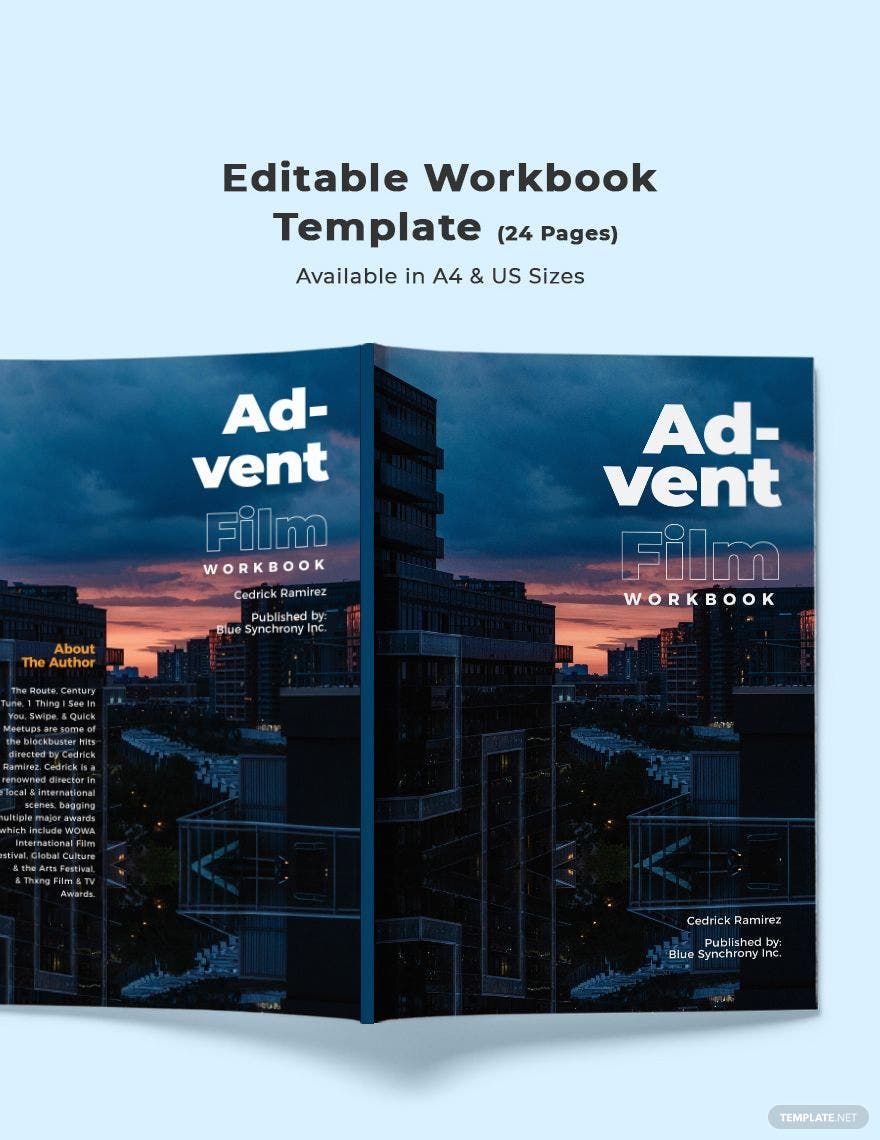
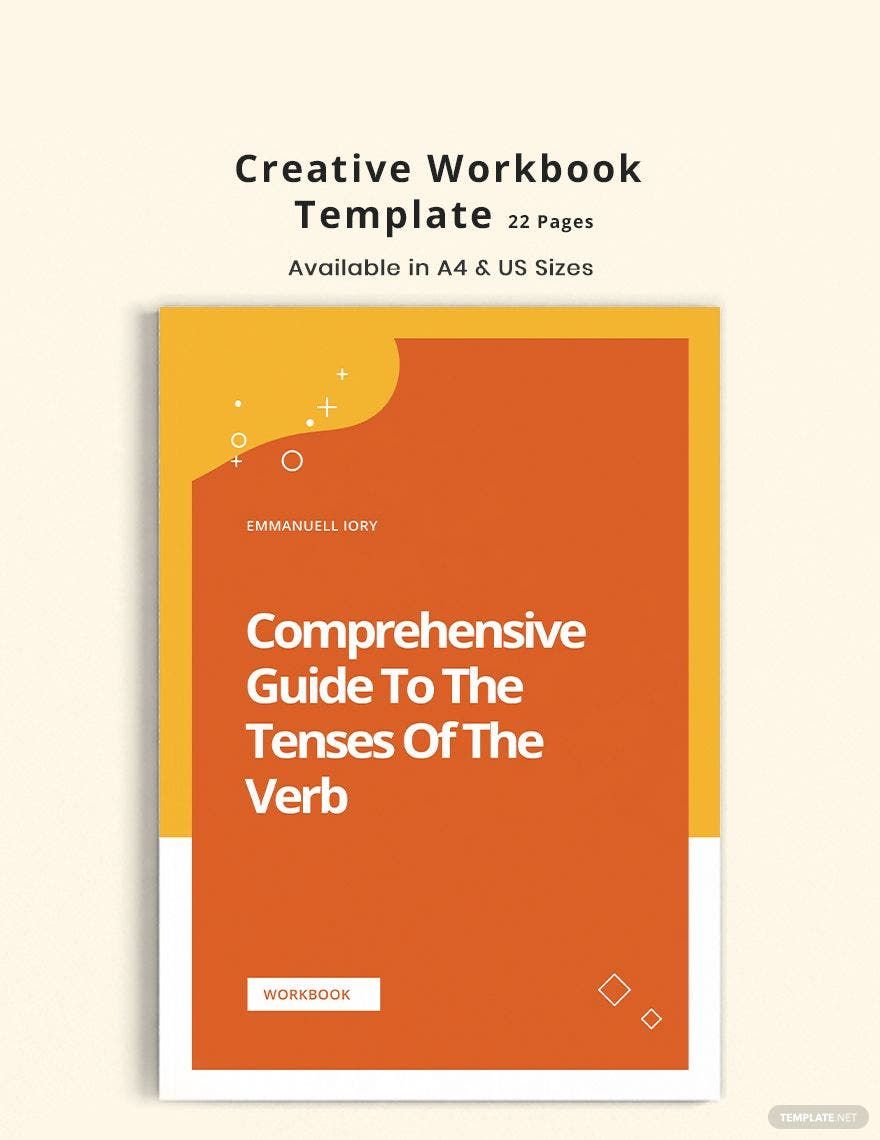
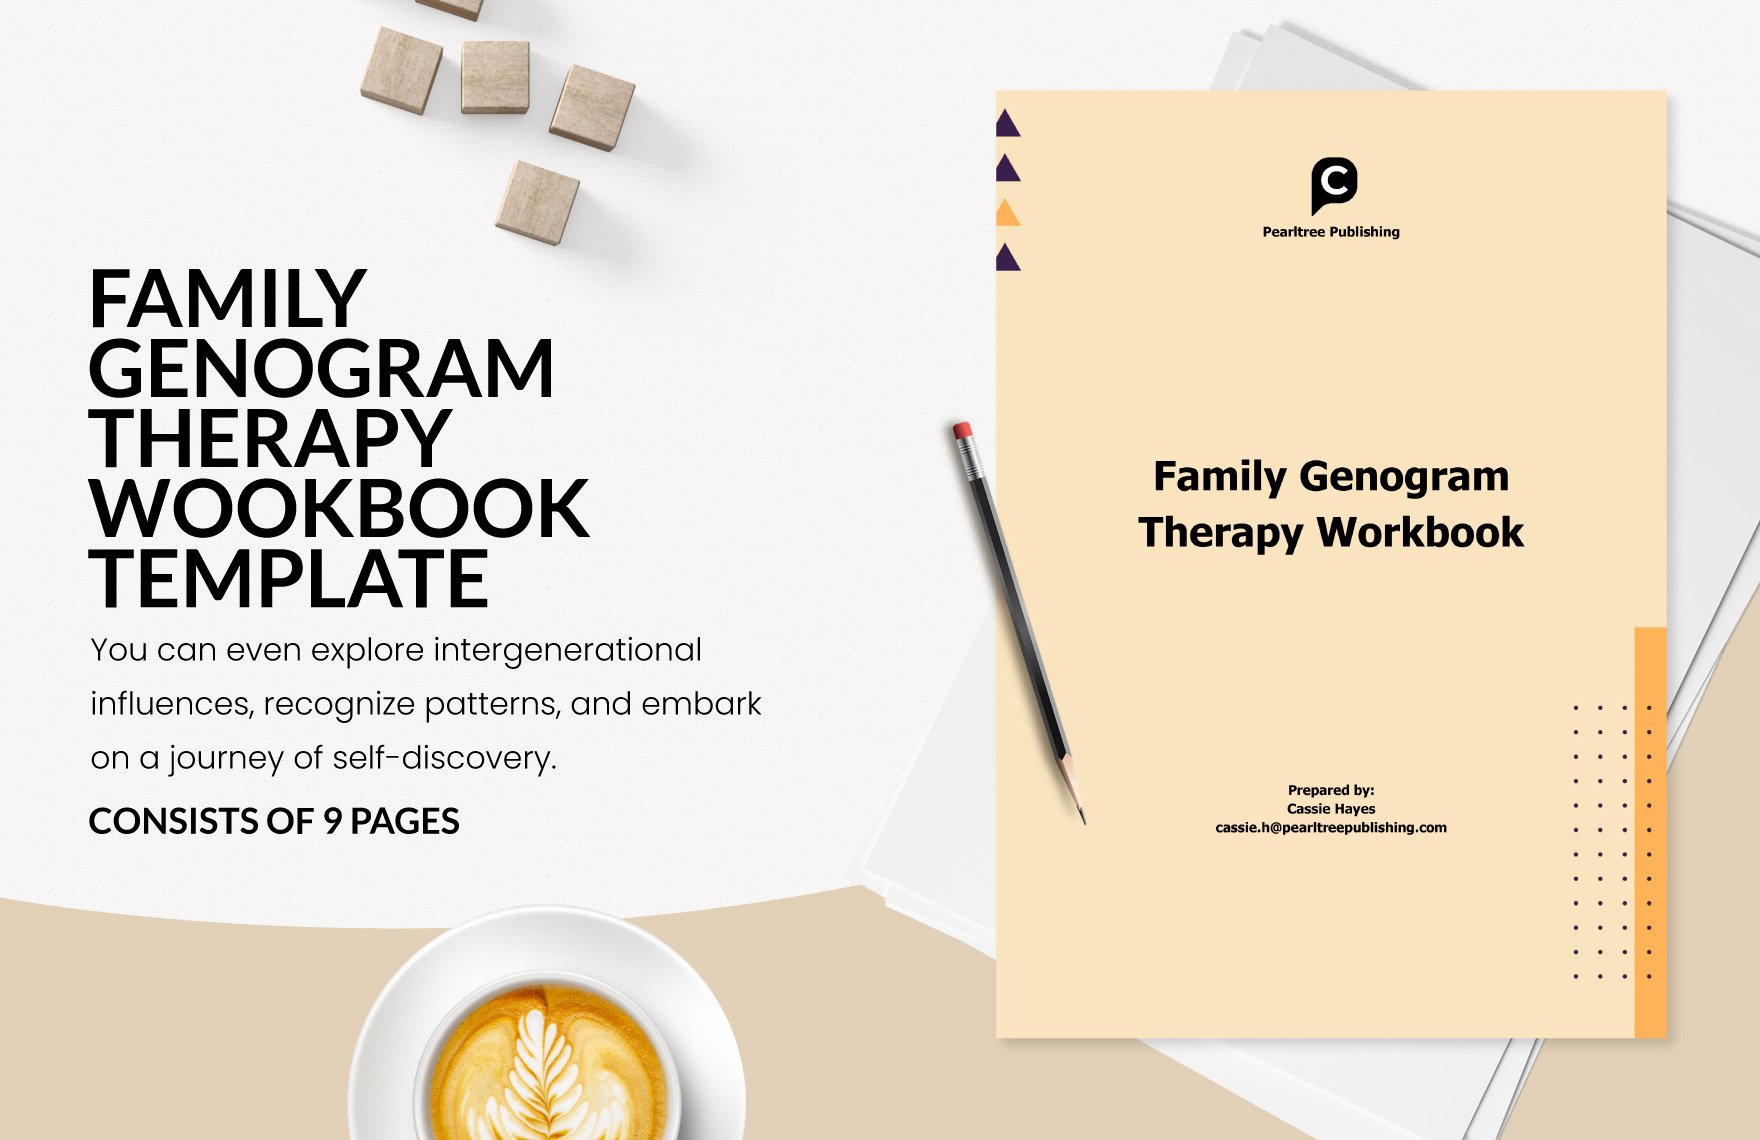
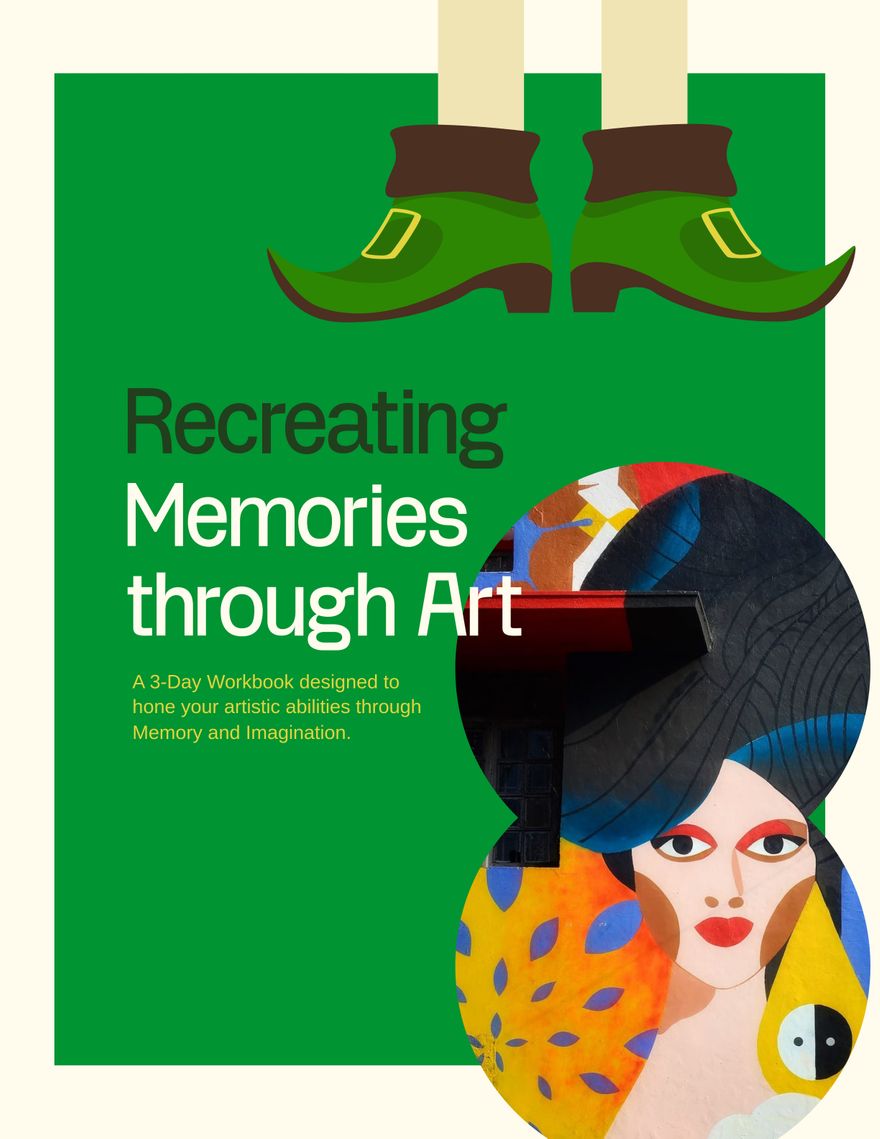
In education, workbooks are an essential part of standard teaching methods. For that reason, we’ve prepared a collection of easily editable Workbook Templates to help your content creation. Use our samples to design activity books about art, business, geometry, science, writing, and more. Plus, to accommodate Windows users, our templates are compatible with Microsoft Word. Hurry and download today—create professional workbooks to help students progress in their education or training!
How to Make Workbooks in Microsoft Word
In an article from Scholastic (an education-oriented resource), they explain that workbooks are essential when it comes to providing students with learning activities, as well as test them on their growing knowledge. With the versatility of workbooks, publishers provide them for an endless variety of subjects—kindergarten alphabet, elementary grammar, high school math, and so on.
Microsoft Word works great for designing all kinds of printed reading materials. If you’re new to using Word, then be sure to read our tips just below.
1. Prepare Your Workbook’s Format
Neatly organized content is imperative. After opening a new document in Word, go into the Layout tab and select the button in the bottom-right corner of the Page Setup group. In the Page Setup window, go into the Margins tab and select the Book Fold option under Pages. Set the document’s margins and size by using the Margins and Paper tabs.
2. Incorporate Lists and Tables
There are different integral writing formats for your workbook project. When outlining several points, create numbered or bulleted lists by highlighting your text and going to Home > Bullets or Home > Numbering. For listing plenty of numerical data with other details, add a grid table by going to Insert > Table.
3. Apply Formatting Options to Your Text
Text design in your workbook is another essential element. Not only should the writing be easy to read, but it should also need a fair bit of presentation. First, select your text by either double-click individual ones or click-dragging across several of them. Next, use the various options in the above formatting toolbar (color, italic, size, etc.).
4. Add images to Your Workbook
Illustrations, photos, and other imagery are also key to making a workbook, especially for the cover. To add a picture, go to Insert > Pictures and then select your preferred option. Click-drag the image’s circular handles to resize and open its upper-right menu for wrapping options.
So, did you read everything? Now you have a basic understanding of how to design a workbook for school or training!


