Sales User Guide for Closing Software
I. Introduction
Welcome to the [Software Name] User Guide, your go-to resource for mastering our software and maximizing your sales potential. This guide is designed to provide clear instructions and expert insights to empower you to excel in sales, close deals with confidence, and achieve your sales goals efficiently.
A. System Requirements
Before you embark on your sales journey with [Software Name], ensure your system meets the following prerequisites:
Operating System: | Windows 10 or macOS 10.14 and later |
Web Browser: | Chrome, Firefox, Safari, or Edge |
Internet Connection: | High-speed access |
Minimum RAM: | 4GB |
Screen Resolution: | 1366 x 768 pixels or higher |
II. Getting Started
A. Installation
Install [Software Name] quickly and effortlessly by following these steps:
Visit our website and log in to your account.
Navigate to the "Downloads" section.
Select the version compatible with your operating system.
Follow the on-screen instructions to complete the installation.
B. Account Setup
Once installed, launch the application and complete your account setup by creating a user profile with secure login credentials.
III. Dashboard Overview
A. Home Screen
The home screen is your sales mission control. It's where you get the big picture of your sales universe at a glance. Here, you'll see a snapshot of your active pipelines, upcoming tasks, and recent updates, all neatly organized to keep you on top of your game.
B. Navigation
Navigation is a breeze with our intuitive sidebar menu. Simply click on the icons to explore specific features, including Contacts, Leads, Pipelines, and Reports. Everything you need is just a click away, making your journey through the software a seamless experience.
IV. Contact And Lead Management
Efficiently managing your contacts and leads is at the core of successful sales. In this section, we'll explore how [Software Name] simplifies this process for you.
A. Adding Contacts
Contacts are the foundation of your sales efforts. To add a contact:
Navigate to the "Contacts" section from the sidebar menu.
Click the "Add Contact" button.
Fill in the contact's details in the provided fields, including name, email, phone number, and company.
Use tags to categorize contacts based on criteria such as industry, location, or source.
Click "Save" to add the contact to your database.
Table 1: Contact Details
Name: | [Contact's Name] |
Email: | [Contact's Email] |
Phone Number: | [Contact's Number] |
Company: | [Contact's Affiliated Company] |
Tags: | [Custom Categories for Sorting] |
B. Managing Leads
Leads are potential customers at various stages of your sales process. To manage leads effectively:
Navigate to the "Leads" section from the sidebar menu.
Click the "Add Lead" button to create a new lead.
Provide lead details, including their status, source, and assigned sales representative.
Track the lead's progress by moving it through different pipeline stages.
Utilize tags to categorize and segment leads for targeted follow-ups.
Table 2: Lead Details
Status: | Current stage of the lead in the sales process |
Source: | Origin or channel through which the lead was acquired |
Assigned To: | Sales representative responsible for this lead |
Pipeline Stage: | The stage of the sales pipeline the lead is in |
Tags: | Custom categories for lead categorization |
C. Tagging And Categorizing
Tags are your organizational allies, allowing you to categorize and filter contacts and leads based on specific criteria. Use tags creatively to personalize your workflow and segment your database effectively.
To add or edit tags:
Go to the "Tags" section under "Contacts" or "Leads" in the sidebar.
Click "Add Tag" and enter a name for the tag.
Assign the tag to contacts or leads by editing their profiles and selecting the appropriate tags.
V. Sales Pipeline Management
A. Creating Pipelines
Efficiently managing your sales pipelines is crucial for closing deals. Here's how to create and maintain pipelines within [Software Name]:
Step 1: From the dashboard, click on the "Pipelines" tab in the sidebar.
Step 2: Click the "+ New Pipeline" button to start creating a new pipeline.
Step 3: Give your pipeline a descriptive name and select the pipeline type (e.g., Sales, Marketing, or Custom).
Step 4: Define your pipeline stages. These are the key steps a deal goes through from initiation to closure. You can customize these stages to match your specific sales process.
Step 5: Set up automation rules for each stage. This can include assigning tasks, sending emails, or generating reports automatically.
Pro Tip: Use descriptive stage names and keep your pipeline stages simple and straightforward. This will make it easier for you and your team to track and manage deals effectively.
B. Moving Deals
As you progress through your sales process, it's important to move deals through your pipeline stages accurately:
Step 1: Open a deal in your pipeline.
Step 2: Use the drag-and-drop feature to move the deal to the appropriate stage. This action reflects the current status of the deal.
Step 3: Update deal details, including expected close dates, values, and any notes.
Pro Tip: Regularly update your deals to ensure your pipeline reflects the most current information. This will help you make informed decisions and predictions about your sales performance.
C. Forecasting
[Software Name] offers a powerful forecasting tool to help you predict future revenue and make informed decisions. Here's how to use it:
Step 1: Access the "Forecast" tab from the pipeline section.
Step 2: View the forecasted revenue based on your current deals in the pipeline.
Step 3: Adjust the forecast based on different scenarios, such as winning or losing specific deals.
Pro Tip: Regularly review and adjust your sales forecasts to ensure they align with your actual sales performance. This will enable you to make more accurate projections and set realistic sales targets.
VI. Communication Tools
A. Email Integration
[Software Name] offers seamless email integration, allowing you to sync your email accounts effortlessly. With this feature, you can:
Send and receive emails directly from within the software.
Automatically log email communications with leads and contacts.
Create email templates for quick and consistent outreach.
Set up email tracking to know when your messages are opened and links are clicked.
B. CRM Features
Our CRM functionalities empower you to:
Organize and maintain detailed customer profiles.
Record customer interactions and conversations.
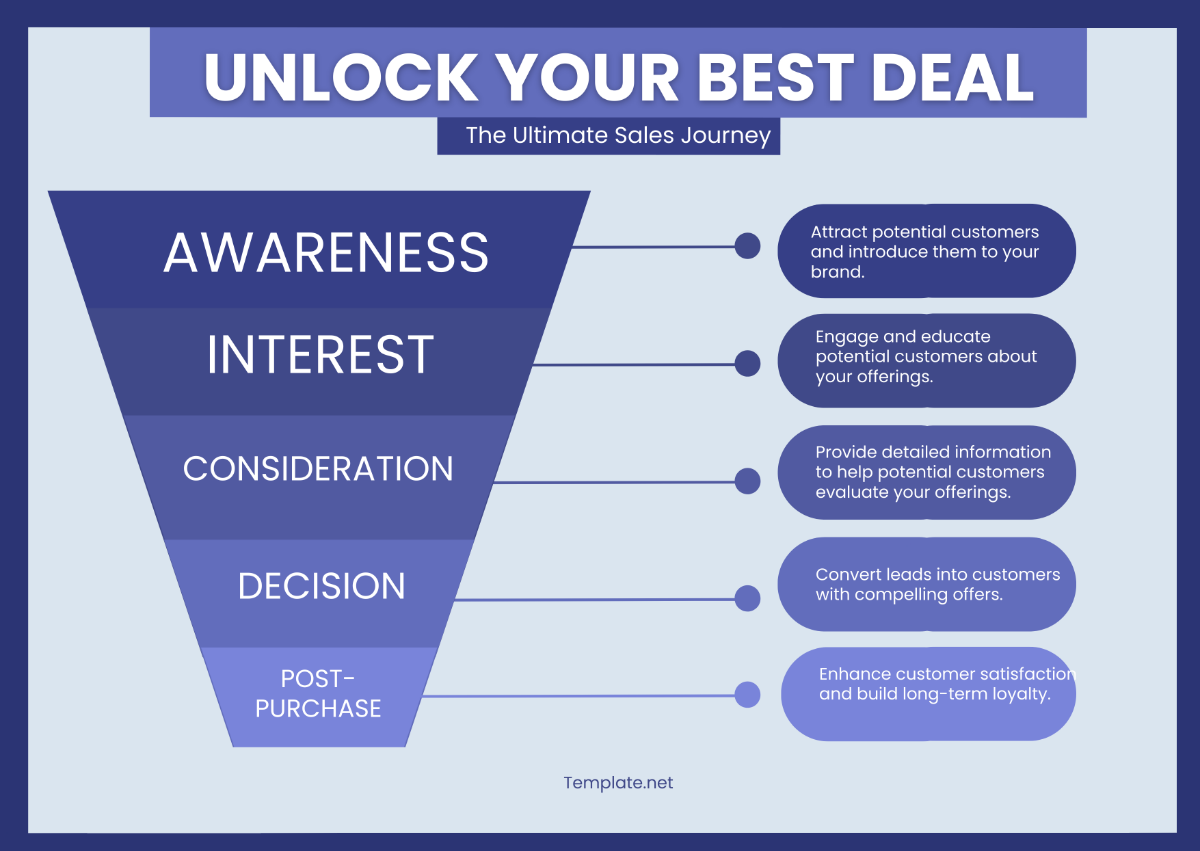
Monitor lead progress through the sales funnel.
Customize sales stages and milestones for each lead.
C. Messaging
The messaging feature enables real-time communication and collaboration:
Instantly message team members for quick discussions.
Initiate group chats to coordinate deals.
Send reminders and notifications to colleagues.
Maintain an organized communication history for reference.
VII. Task And Activity Management
In the realm of effective sales, managing tasks and activities is crucial. Here's how [Software Name] helps you stay on top of your game:
A. Scheduling Tasks
Easily schedule tasks, such as follow-up calls or meetings, right from the software.
Set due dates and priorities to ensure you never miss an important engagement.
Receive automated reminders to stay organized and meet your commitments.
B. Tracking Activities
Record all interactions and activities related to your leads and deals.
Keep a comprehensive log of emails, calls, and meetings for future reference.
Monitor the status and progress of your activities to gauge their effectiveness.
C. Follow-Ups
Effortlessly plan follow-up actions to nurture leads and move deals forward.
Receive prompts for upcoming follow-ups to maintain momentum.
Customize follow-up strategies based on your specific sales process for optimal results.
VIII. Reporting And Analytics
A. Generating Reports
Easily create in-depth reports to gain valuable insights into your sales performance. Follow these steps:
Select "Reports" from the sidebar menu.
Choose the report type (e.g., Sales Summary, Lead Conversion).
Set filters for the desired data range and parameters.
Click "Generate Report" and view your results.
B. Analyzing Data
Once you've generated a report, make data-driven decisions by:
Exploring visualizations and graphs.
Identifying trends and patterns in your sales data.
Evaluating the performance of specific pipelines or team members.
Refining your strategies based on these findings to improve your closing rates.
IX. Automation And Workflow
A. Streamlining Repetitive Tasks
[Software Name] offers automation features to help you streamline and simplify repetitive tasks. Automate the sending of follow-up emails, appointment reminders, or status updates, allowing you to focus on building client relationships and closing deals.
B. Workflow Integration
Seamlessly integrate your customized workflows into our software. Define and execute step-by-step sales processes, from lead qualification to deal closure. With workflow integration, you can ensure that no crucial step is missed, improving efficiency and your chances of success.
X. Integration
Integration is a crucial aspect of [Software Name], enabling you to centralize your sales activities and streamline your workflow. The table above summarizes the key integration features available within the software, ensuring you make the most of this functionality.
A. Email Integration
The following table showcases the details about integrating emails:
Feature | Description |
Email Sync | Seamlessly sync your email accounts to [Software Name] to keep all your communication in one place. |
Real-Time Notifications | Receive instant email notifications within the application for important messages and updates. |
Attachment Handling | Easily attach files and documents directly from your email to your leads and deals. |
B. Calendar Integration
Here are the features relating to calendar integration:
Feature | Description |
Event Synchronization | Sync your calendar with [Software Name] to ensure your tasks and appointments are always up-to-date. |
Scheduling | Schedule meetings and events directly within the application and send invites to contacts effortlessly. |
Reminders | Set up automatic reminders for your appointments and never miss an important meeting. |
C. CRM Integration
The features and descriptions concerning CRM integration is outlined below:
Feature | Description |
Contact Import | Import and sync your existing CRM data with our software for a seamless transition. |
Data Migration | Easily transfer contacts, leads, and deals between our software and your CRM platform. |
Activity Tracking | Automatically log and update CRM activities, ensuring your data is always accurate. |
XI. Customization
Customize your dashboard to match your workflow and preferences. Here's how:
A. Widget Placement
Drag and drop widgets to rearrange them on your dashboard. Prioritize the information that matters most to you.
B. Theme Selection
Choose from a range of themes to personalize the look and feel of your dashboard. Select a color scheme that resonates with your style.
C. Pipeline Customization
Tailor your pipelines to your unique sales process:
Stage Customization: Add, remove, or rename pipeline stages to align with your specific sales cycle. Adapt your pipeline to your unique needs.
Deal Attributes: Define custom deal attributes to capture essential information for your business. Make it work for your industry or product type.
XII. Troubleshooting And Support
Facing issues? Don't worry; we've got you covered. Here's a quick summary of how to address common problems and where to find the support you need:
A. Common Issues And Solutions
If you encounter technical glitches or difficulties, consult our Troubleshooting section within the software for step-by-step solutions.
Check your internet connection and ensure you're using a compatible browser and operating system.
Verify that your device meets our system requirements.
B. Contacting Support
For personalized assistance, contact our support team via the "Support" button on the dashboard.
Our responsive support team is available 24/7 to address your queries, provide guidance, and resolve any software-related issues.
You can also refer to our online Knowledge Base for in-depth articles and FAQs on common topics.
XIII. Security And Data Protection
A. Data Privacy
Your data privacy is of utmost importance to us. [Software Name] employs state-of-the-art encryption to secure your information. Access to your data is limited to authorized personnel only, and we strictly adhere to data protection regulations to ensure your confidentiality.
B. Security Measures
We have implemented robust security measures to safeguard your data, including regular system audits, intrusion detection, and automatic updates. Rest assured, your information is safe with us. Always remember to use strong, unique passwords and enable two-factor authentication for an additional layer of security.

