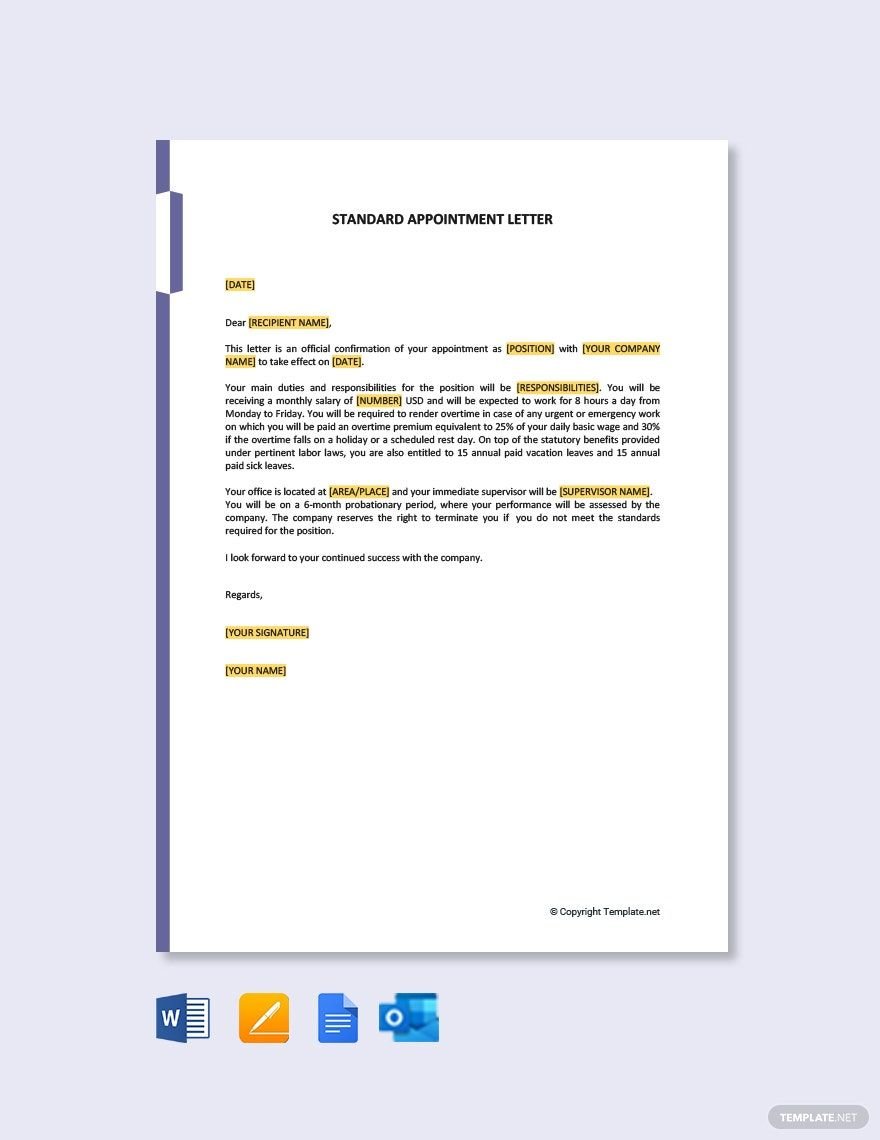
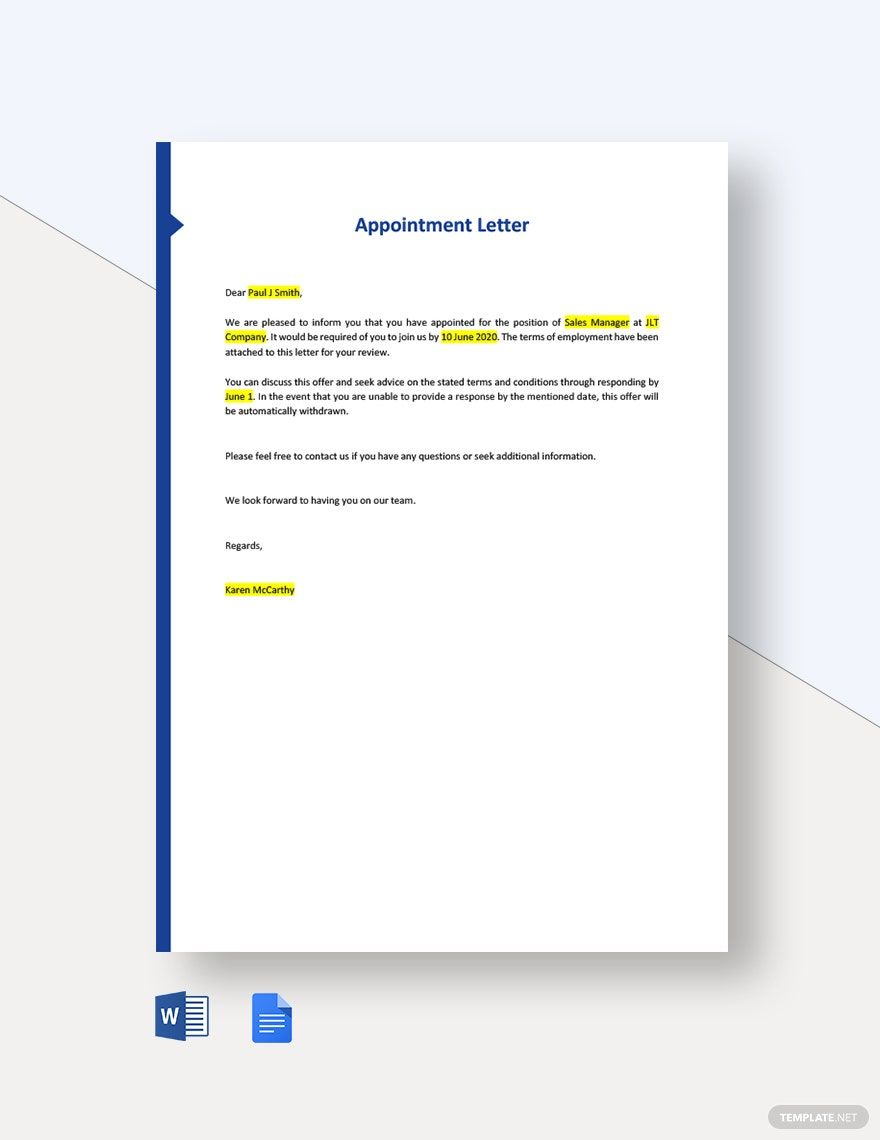
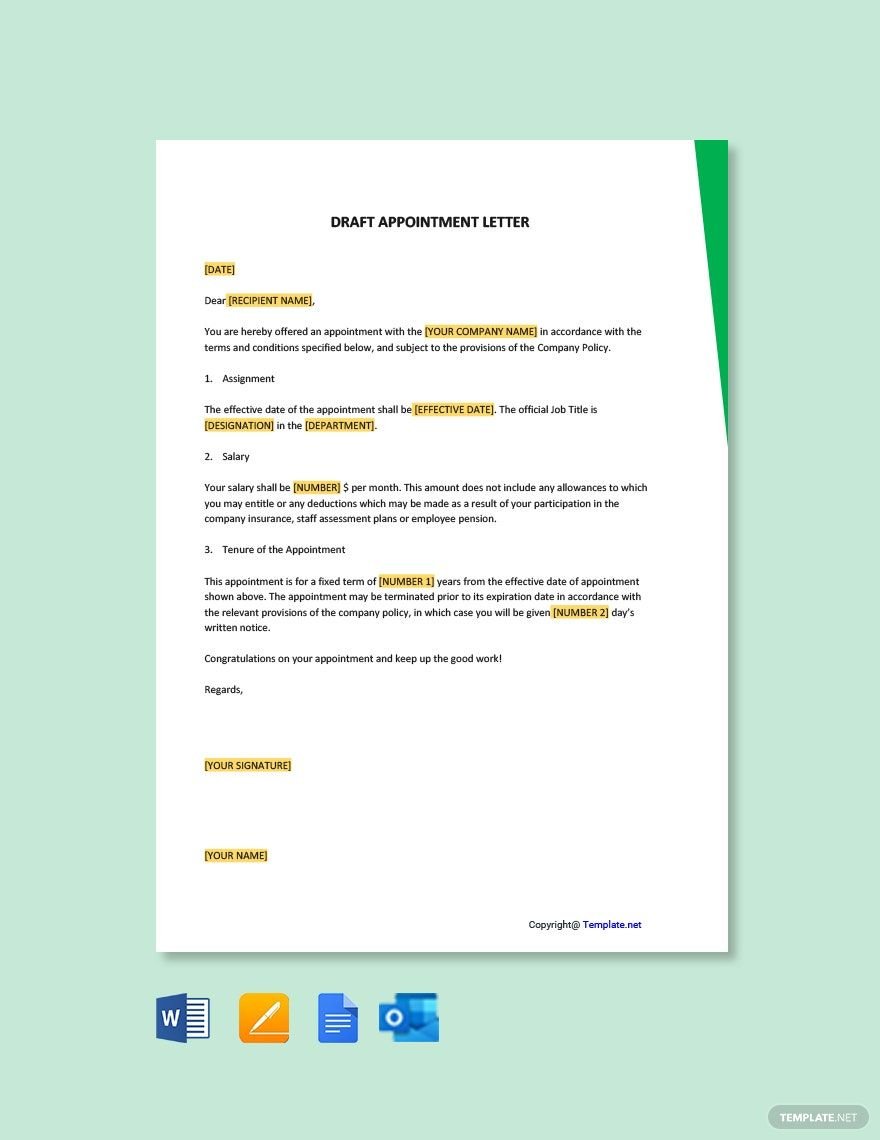
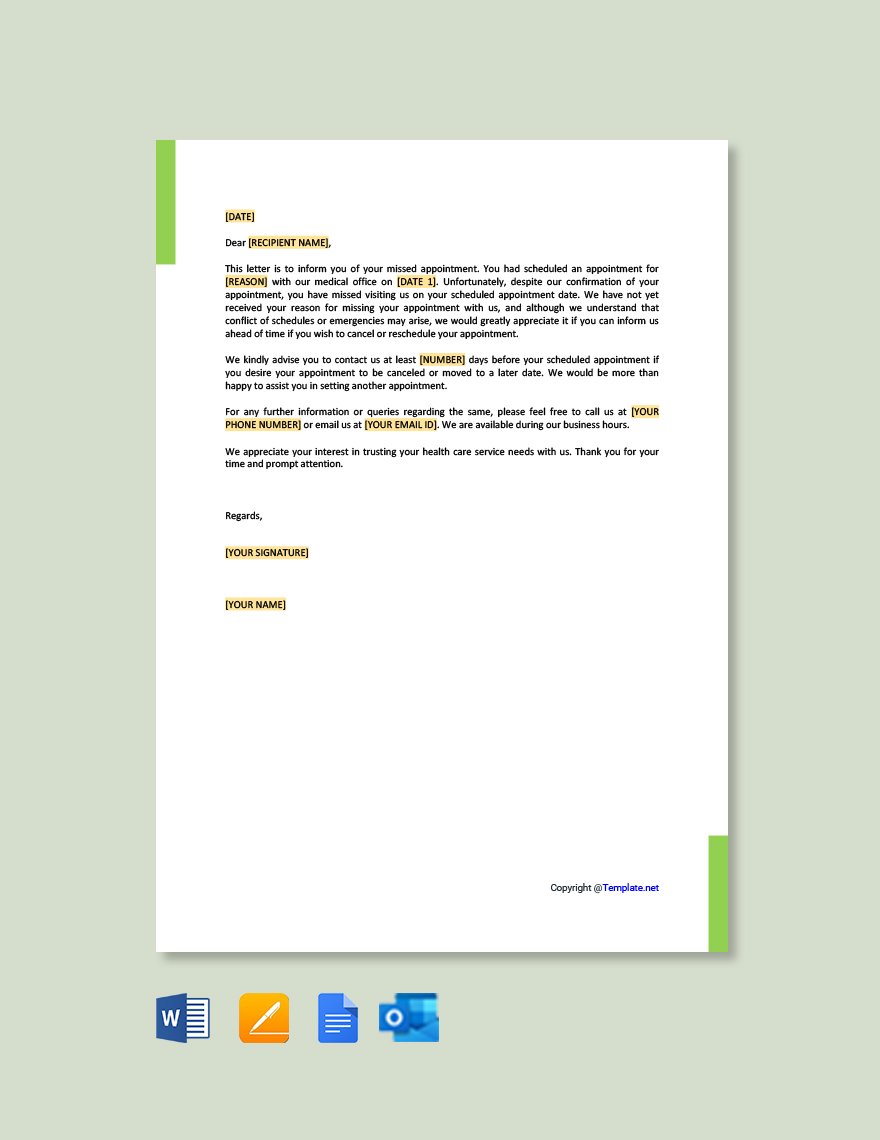
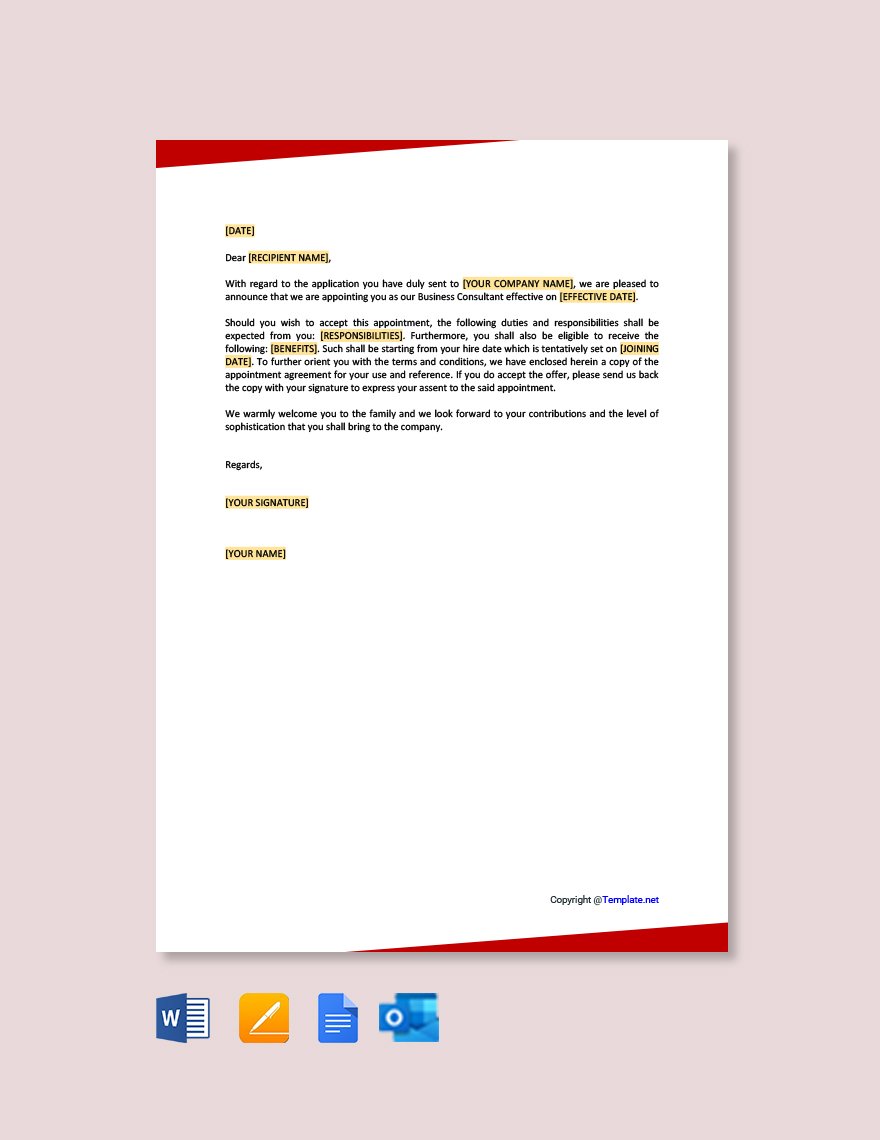
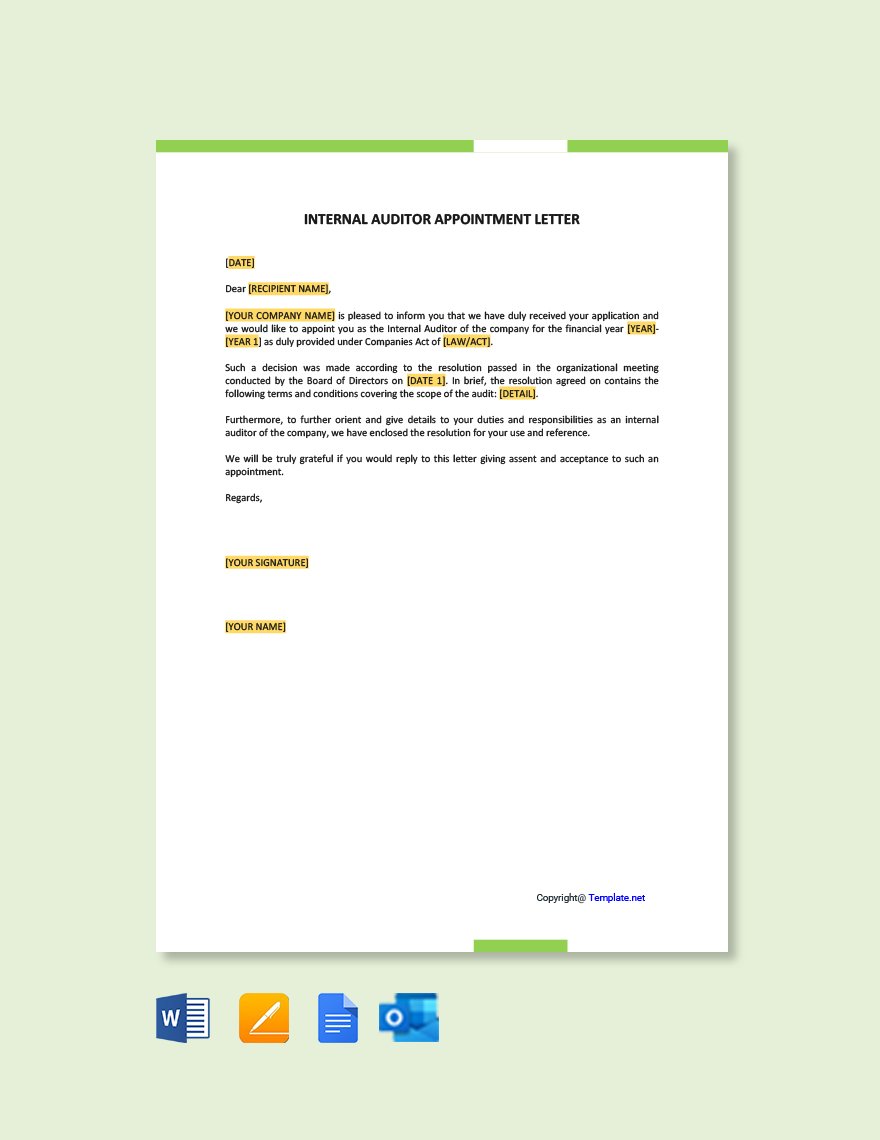
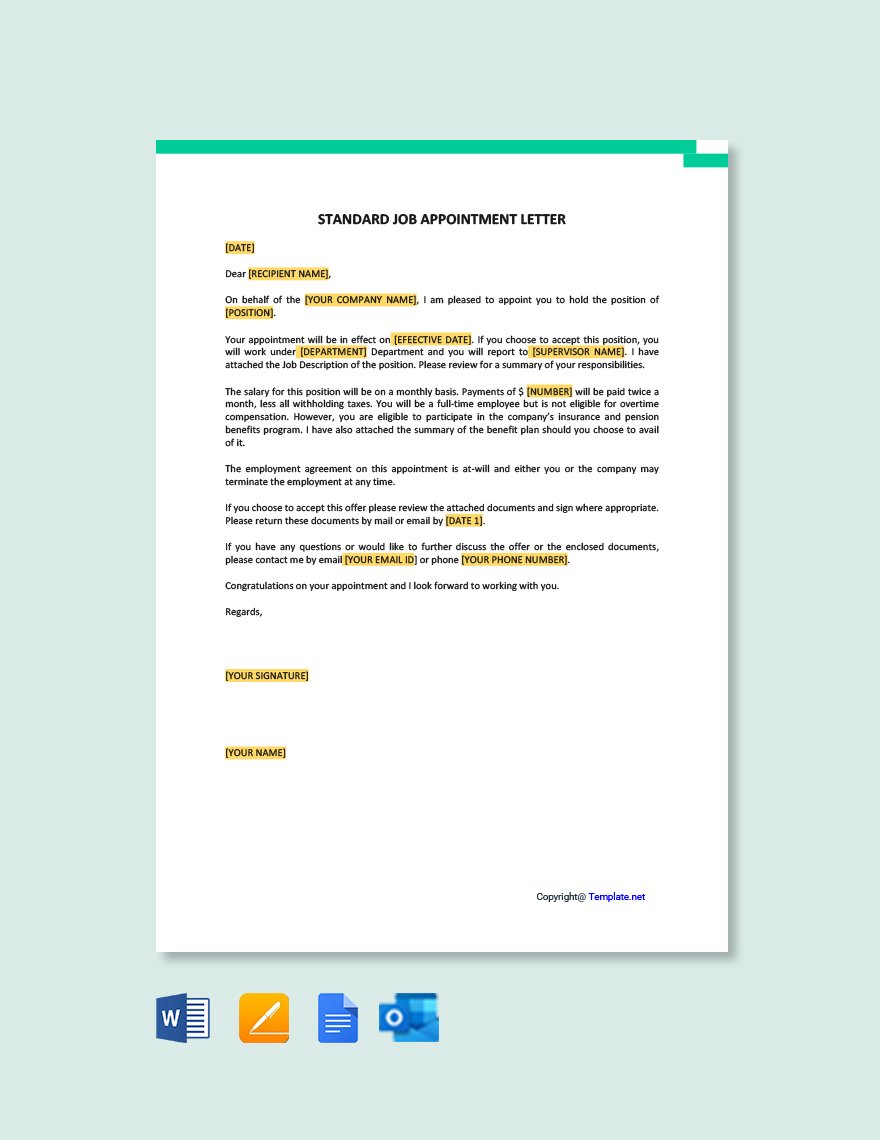
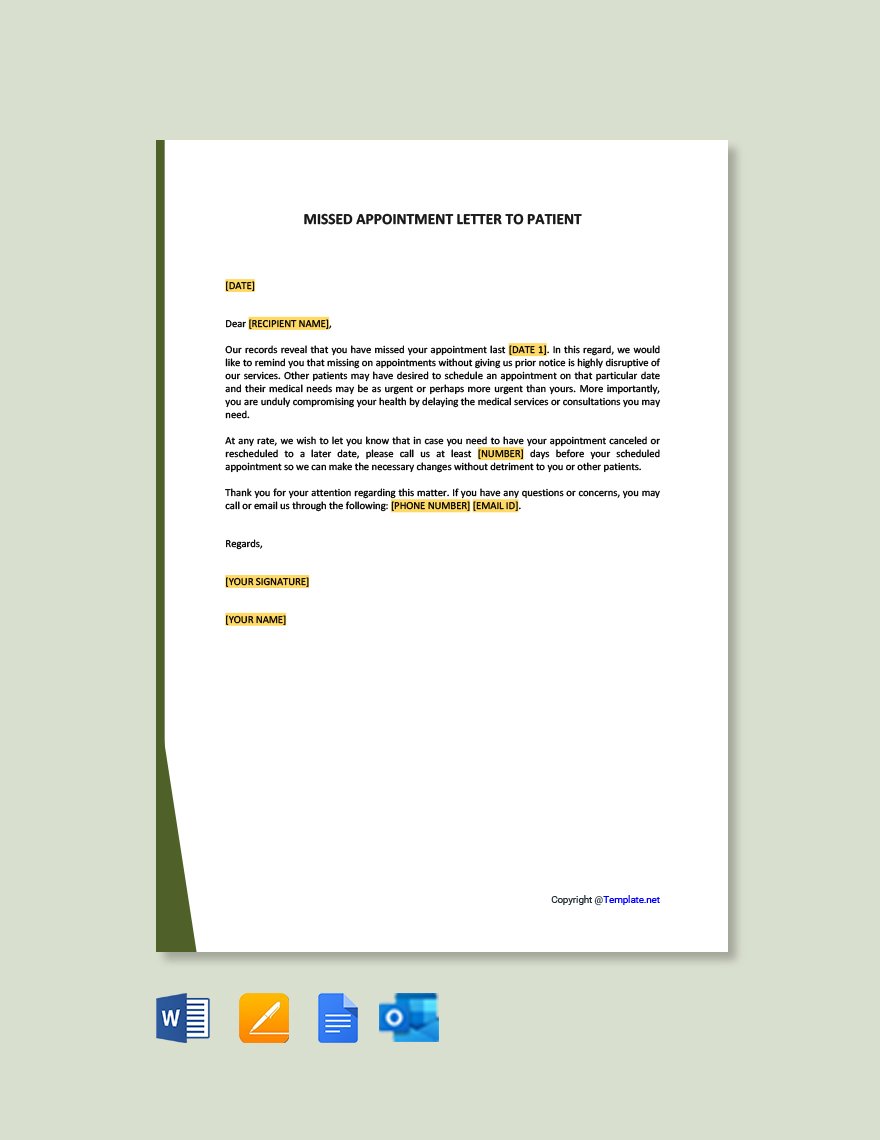
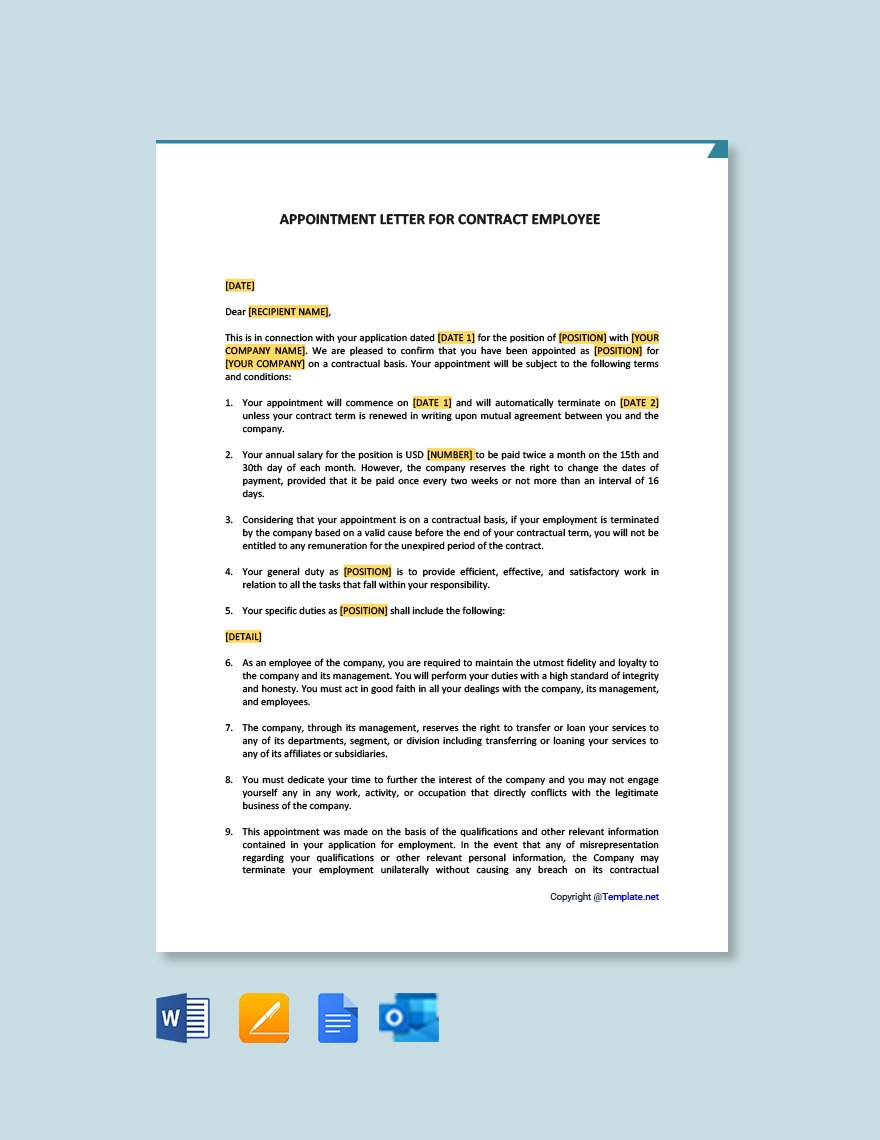
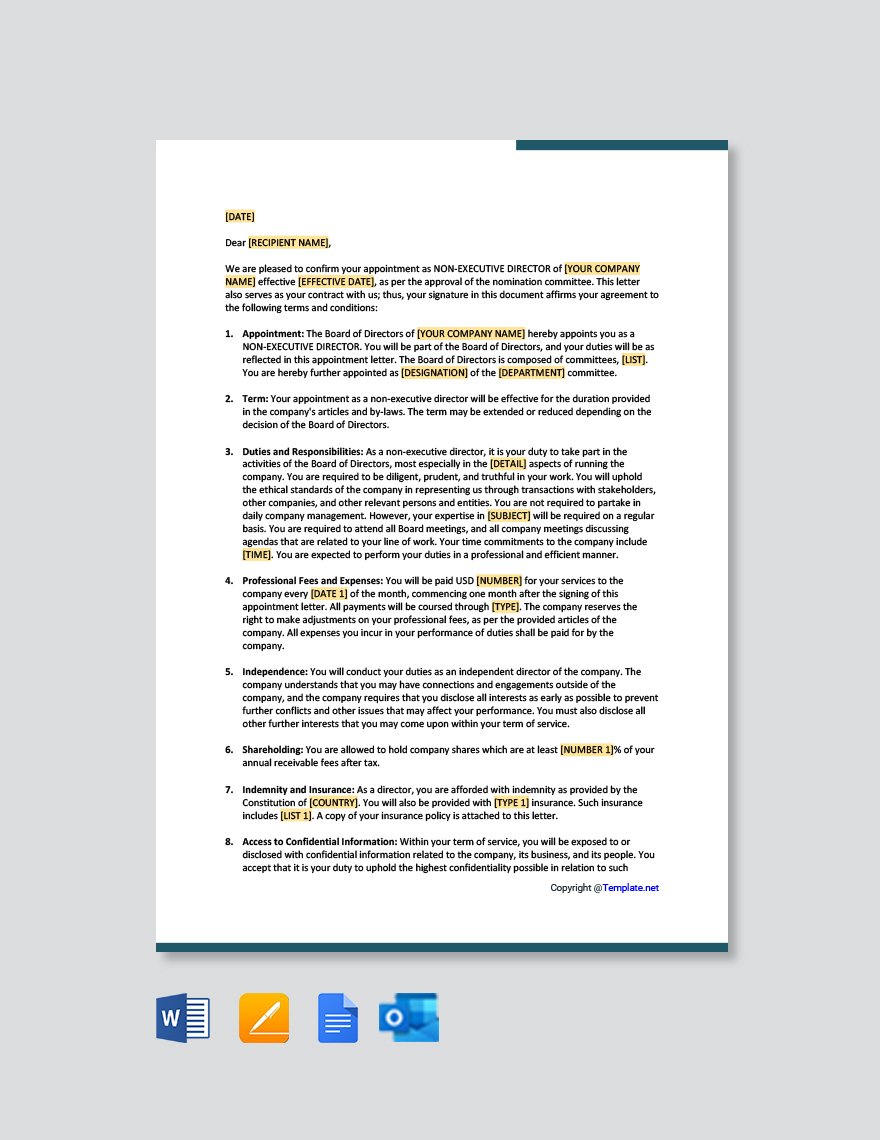
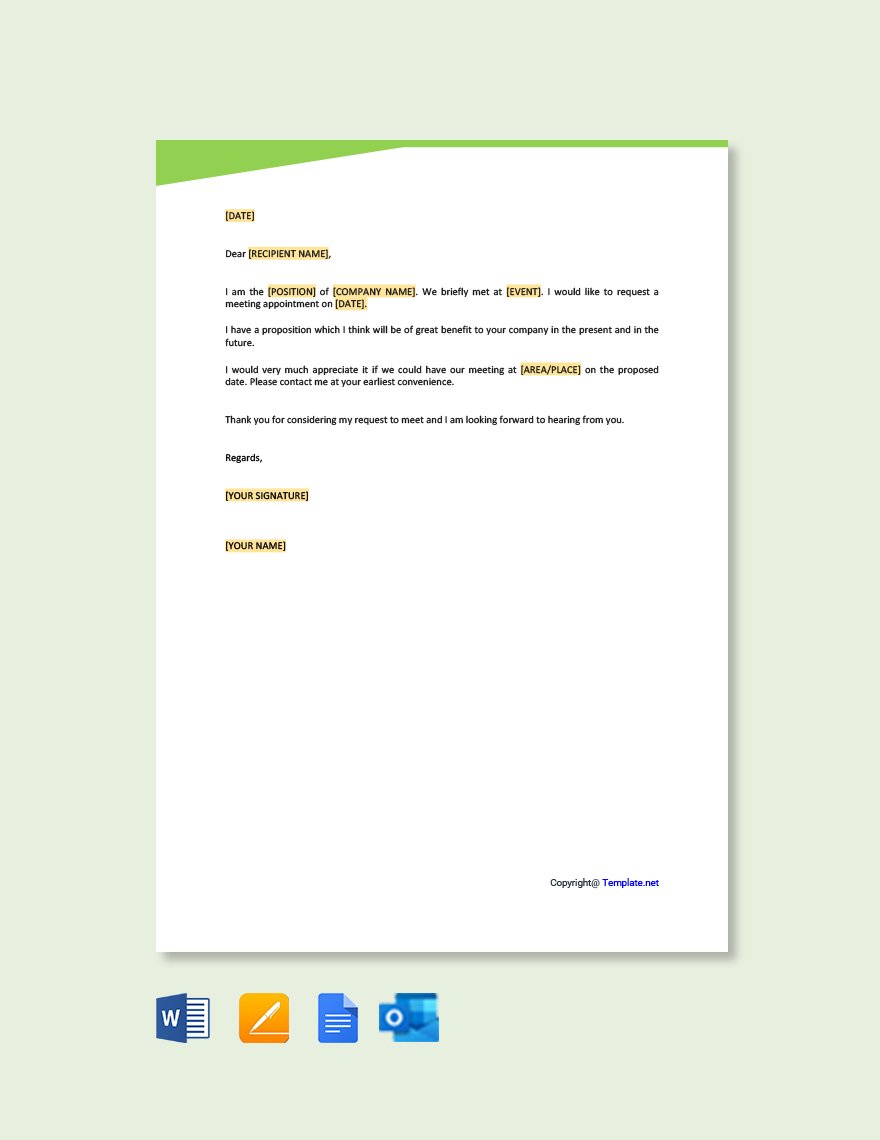
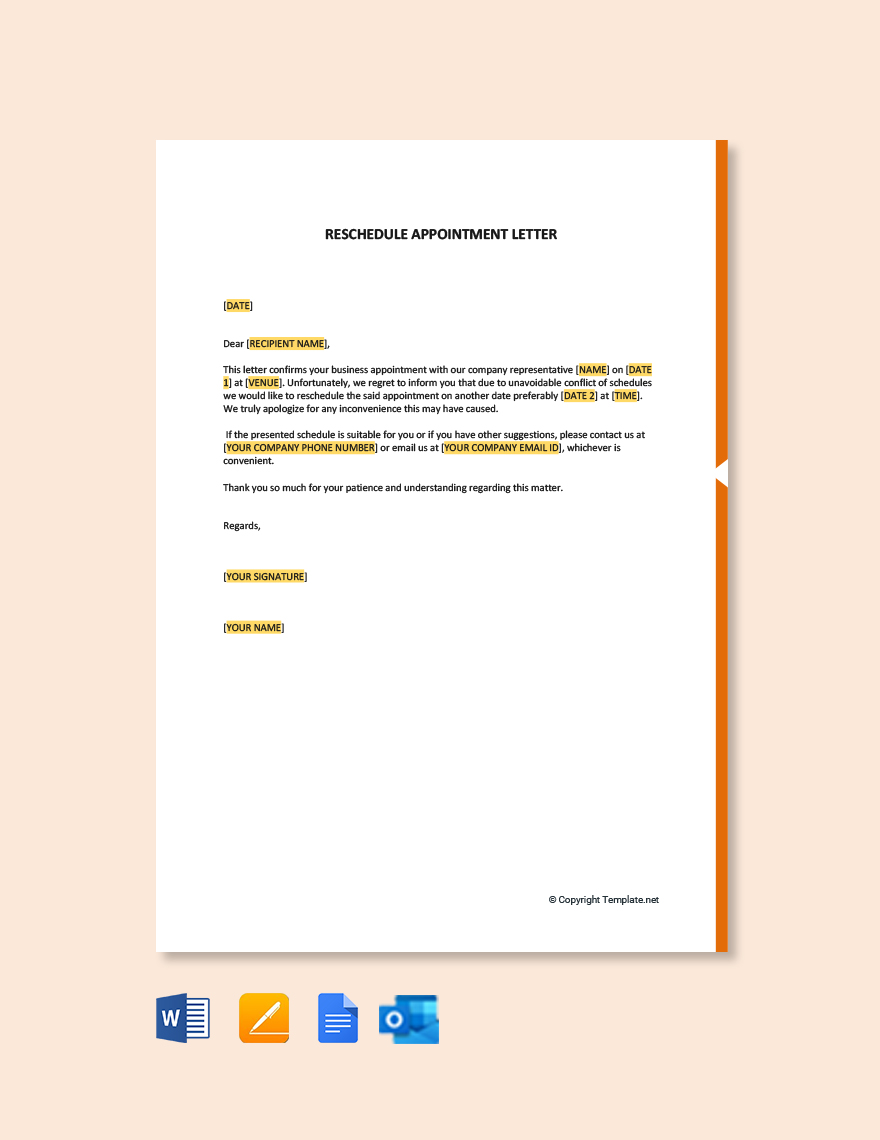
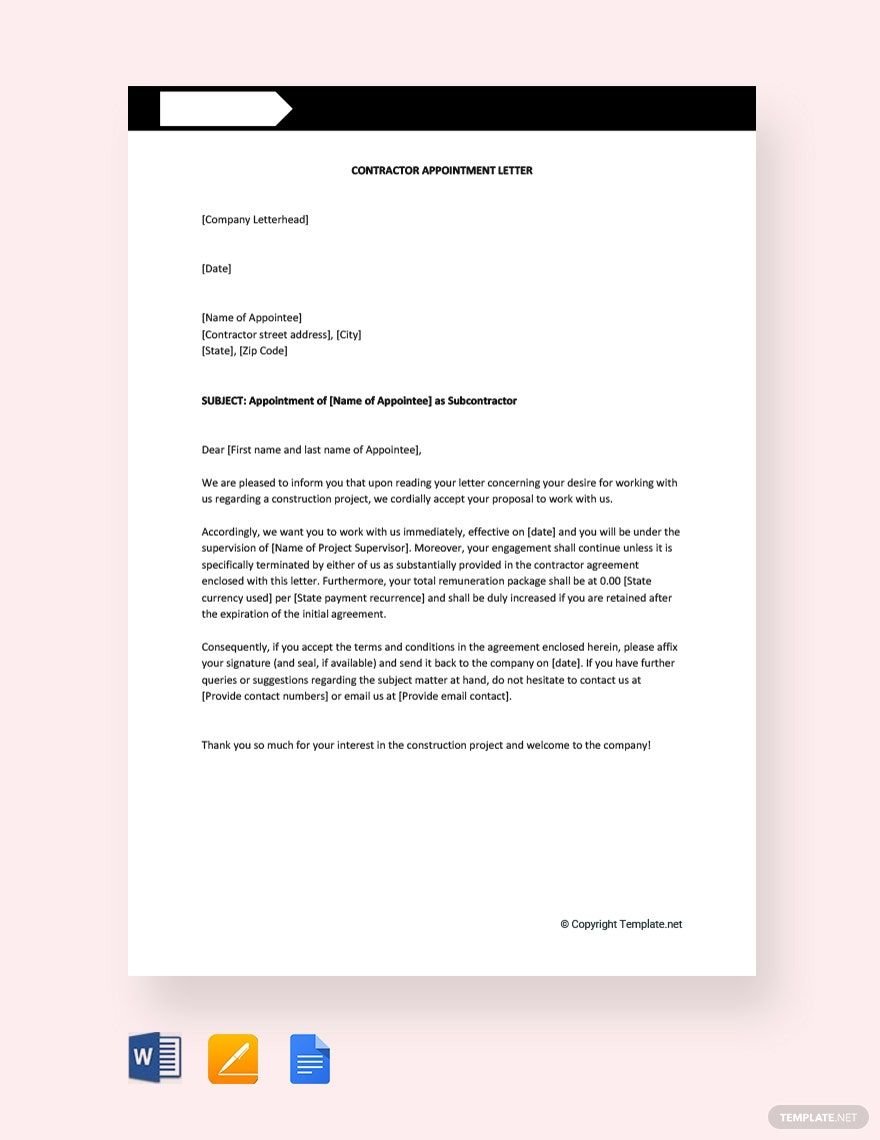
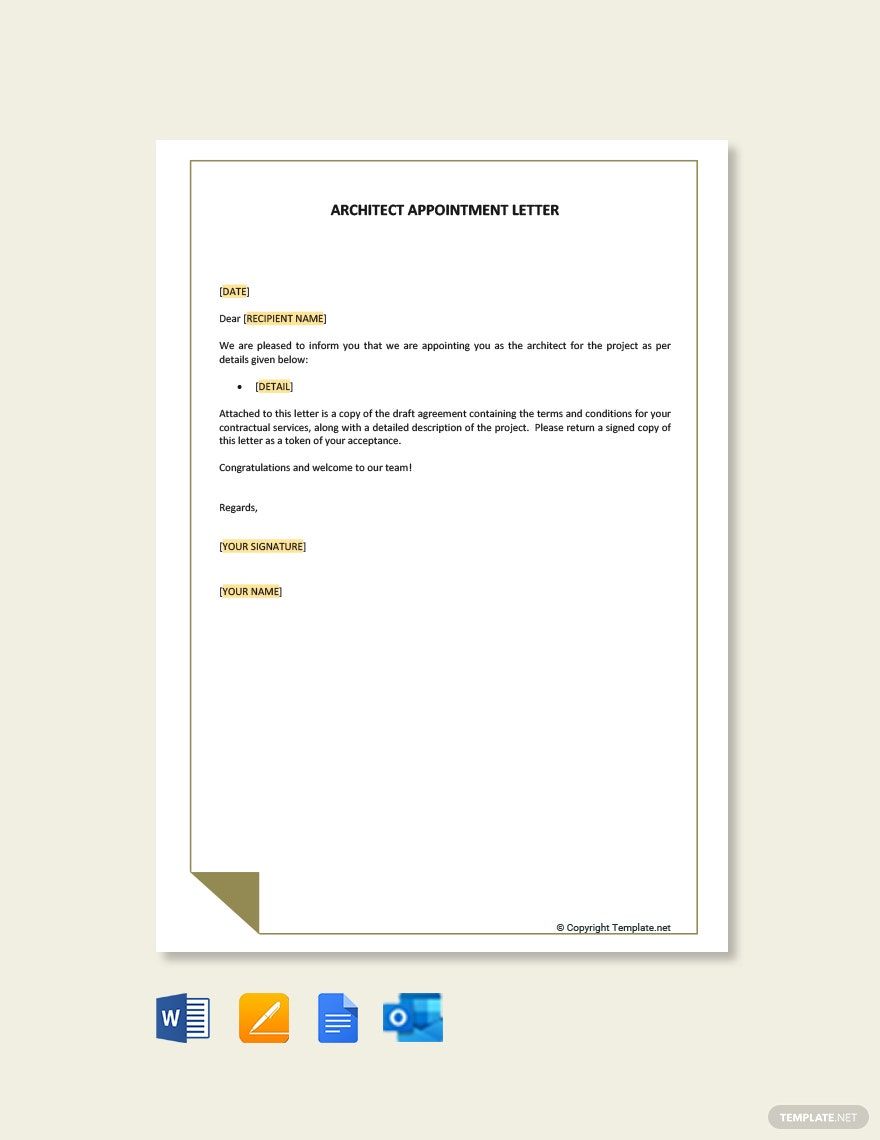
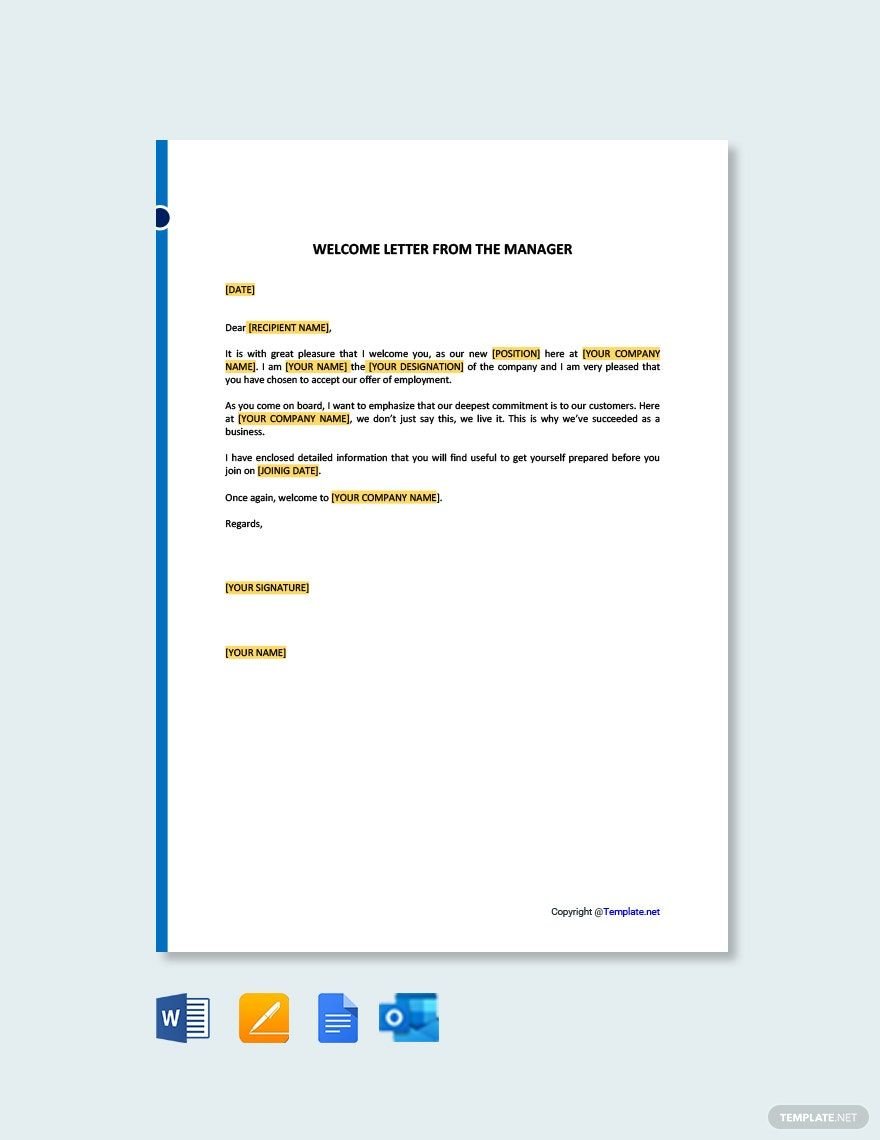
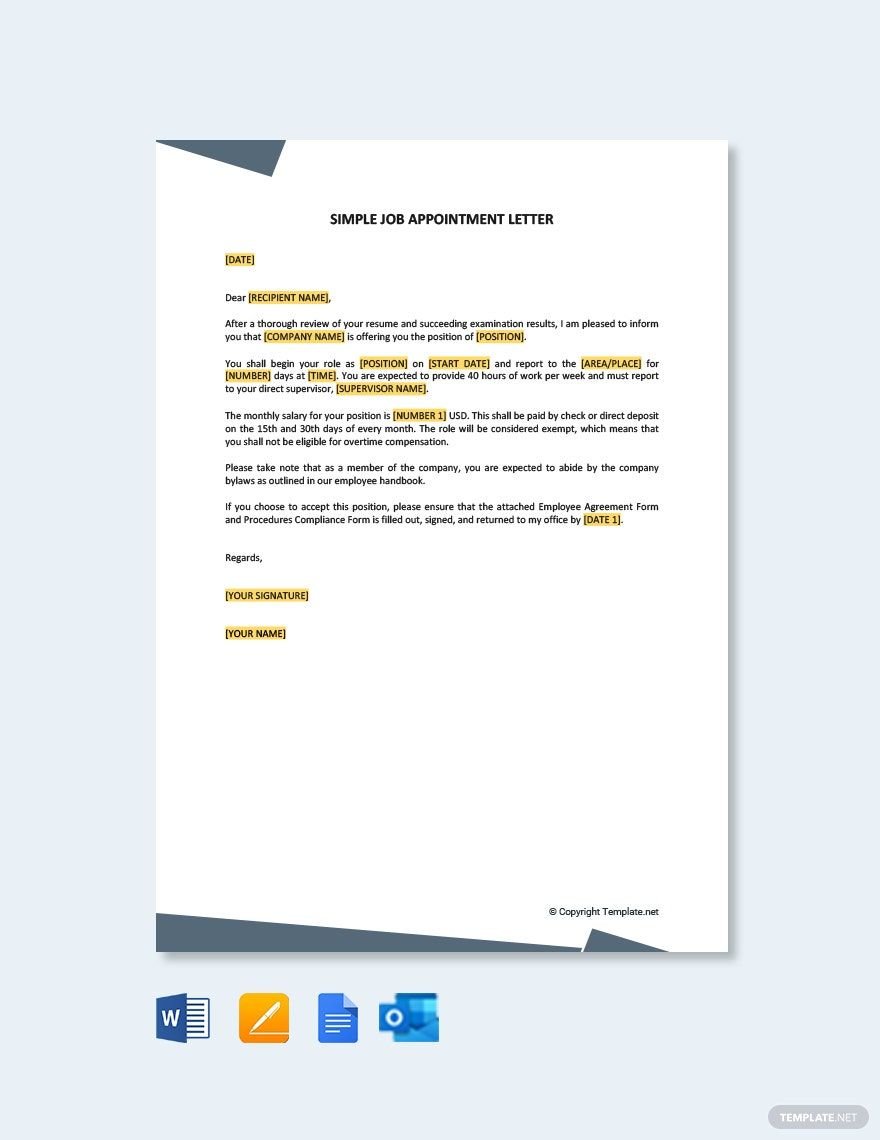
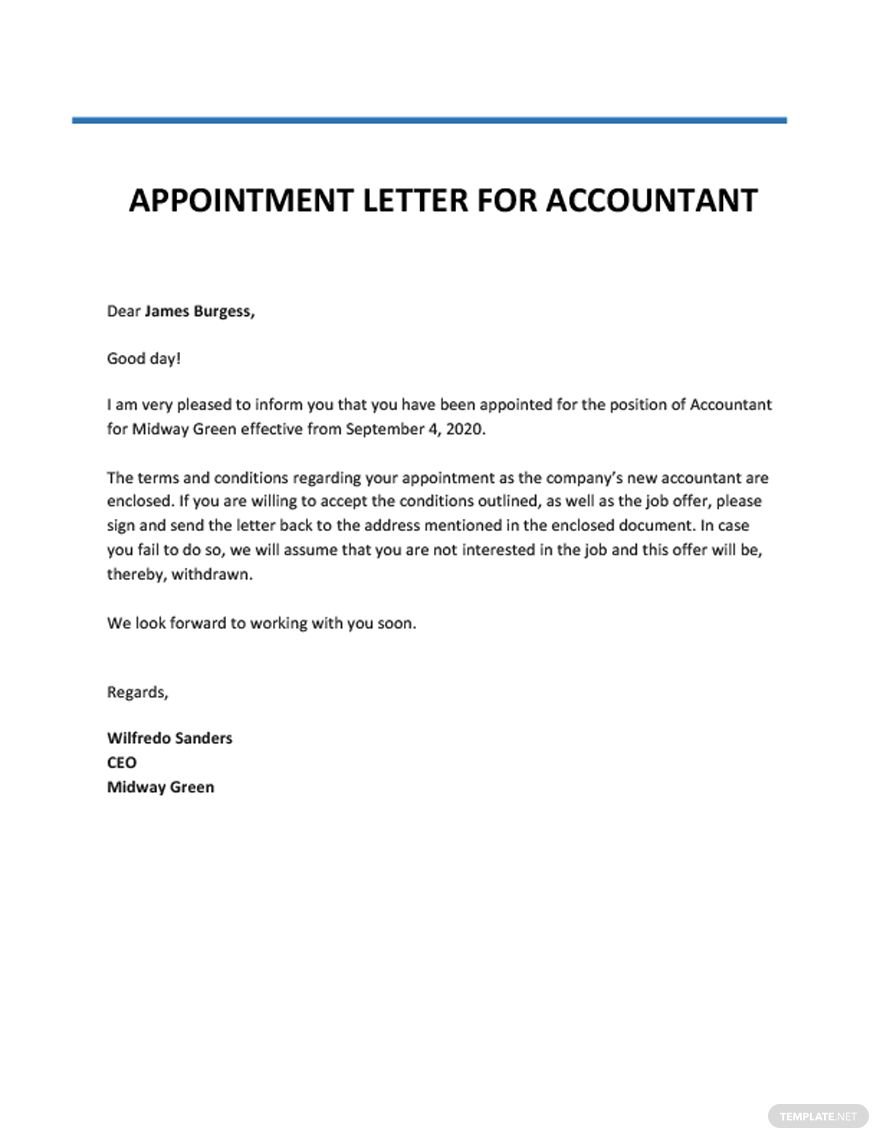
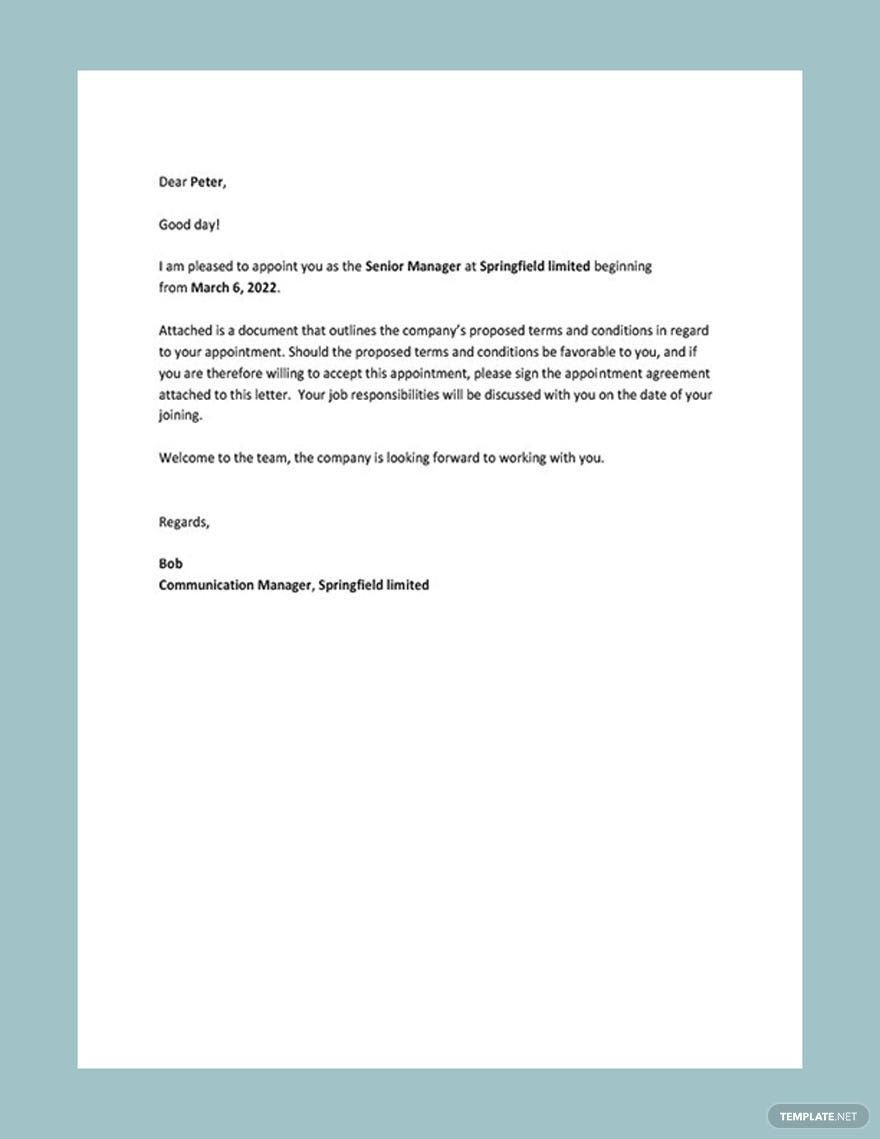
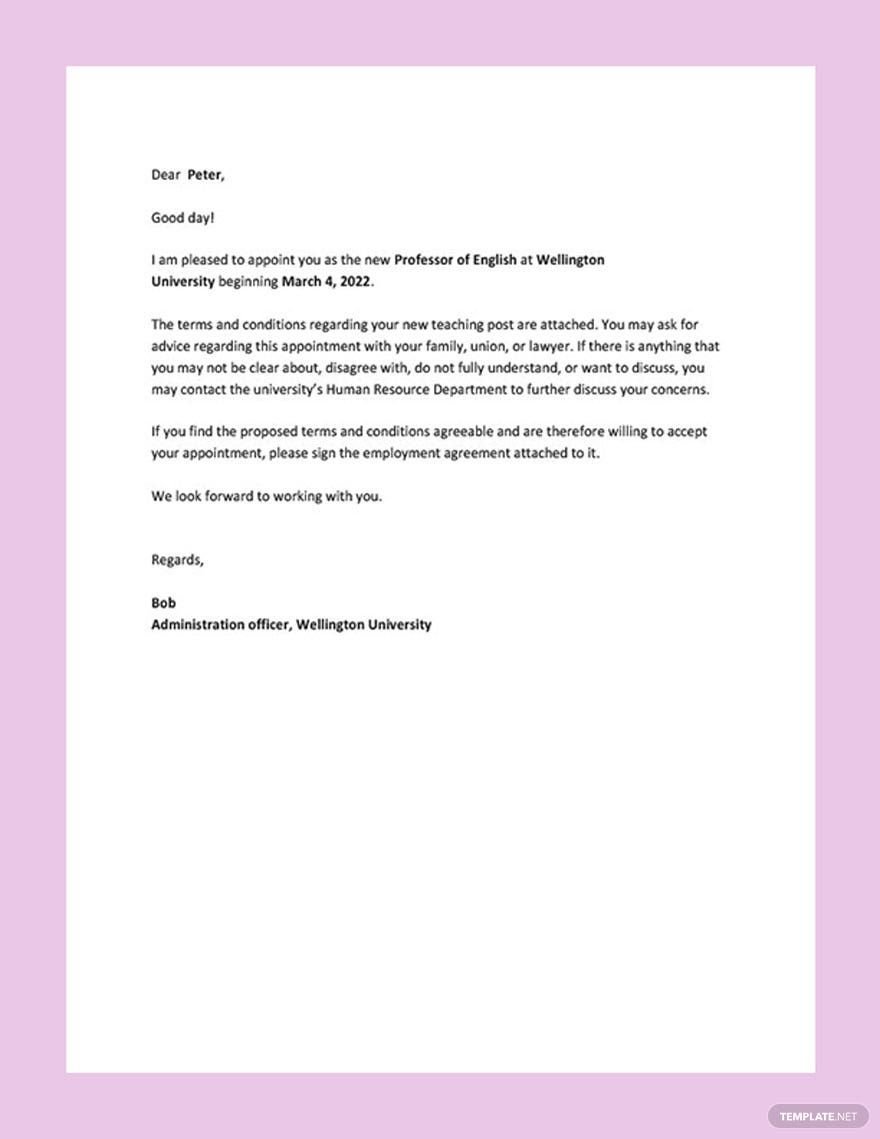
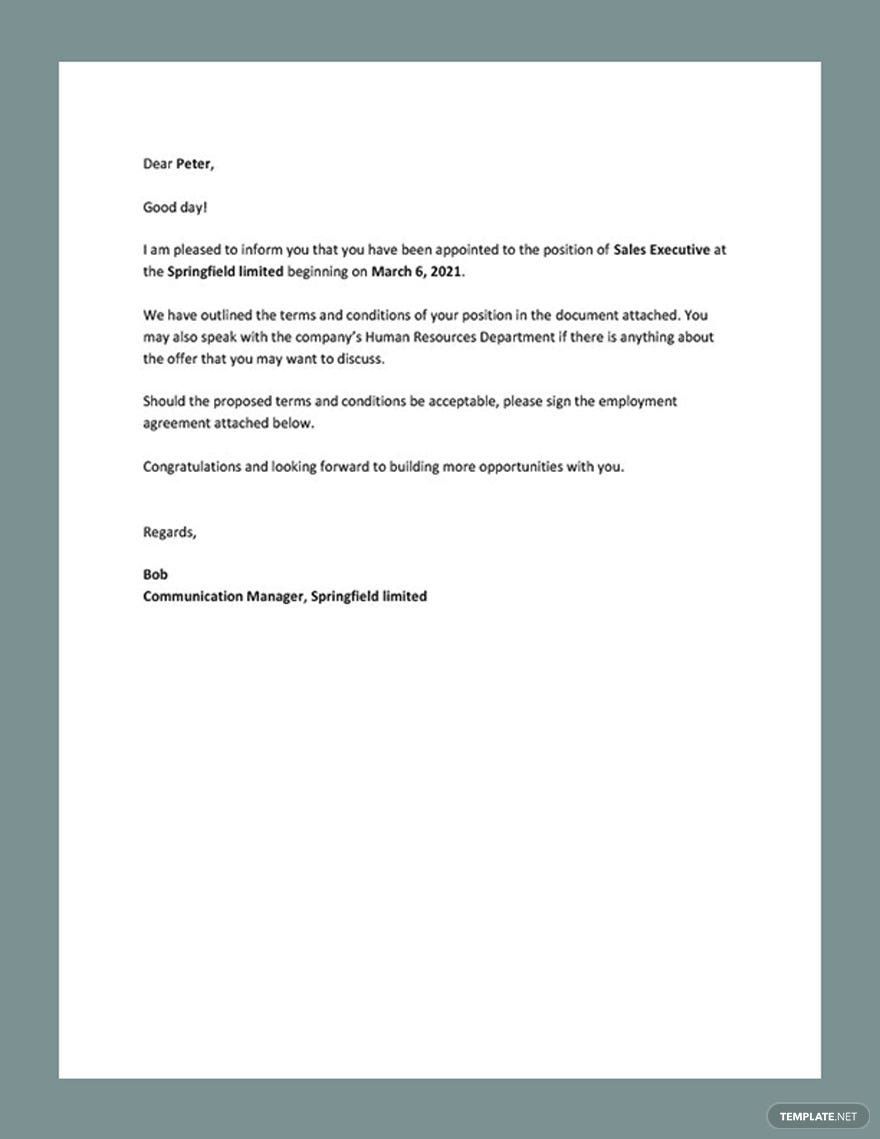
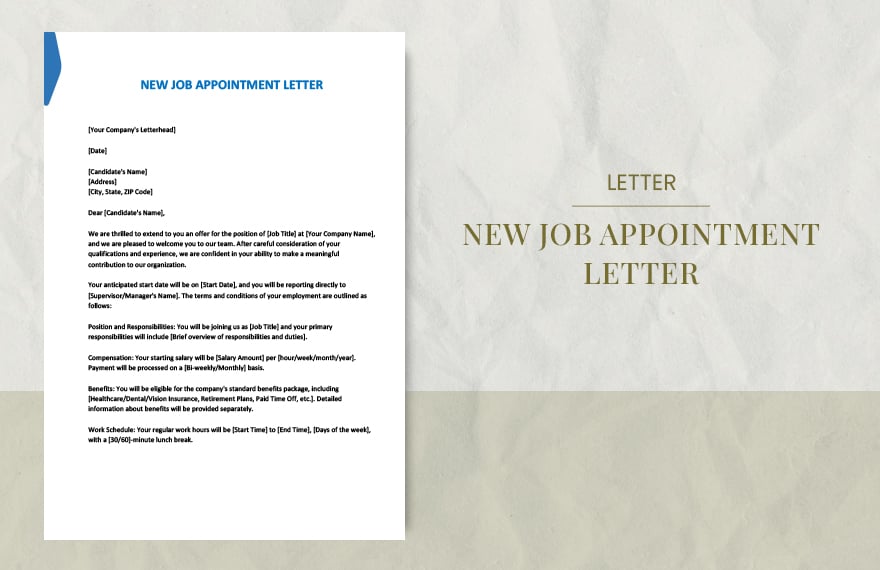
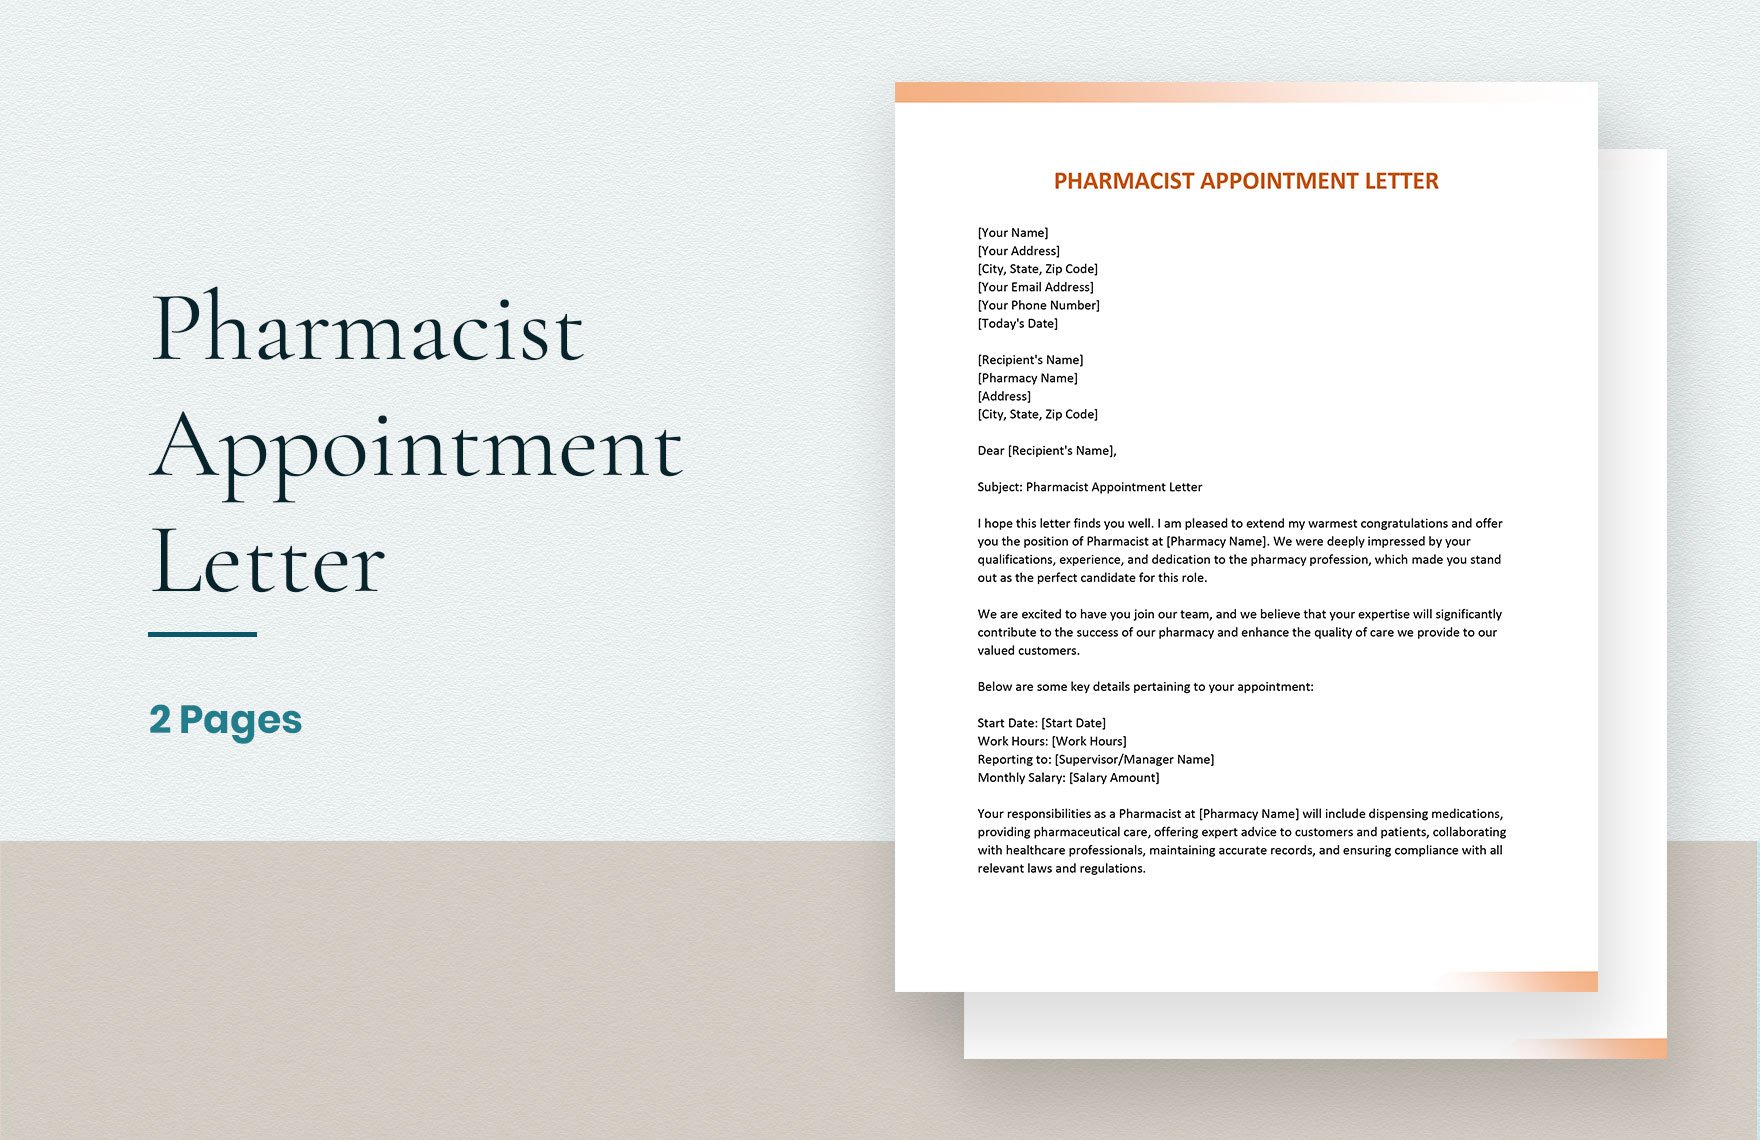
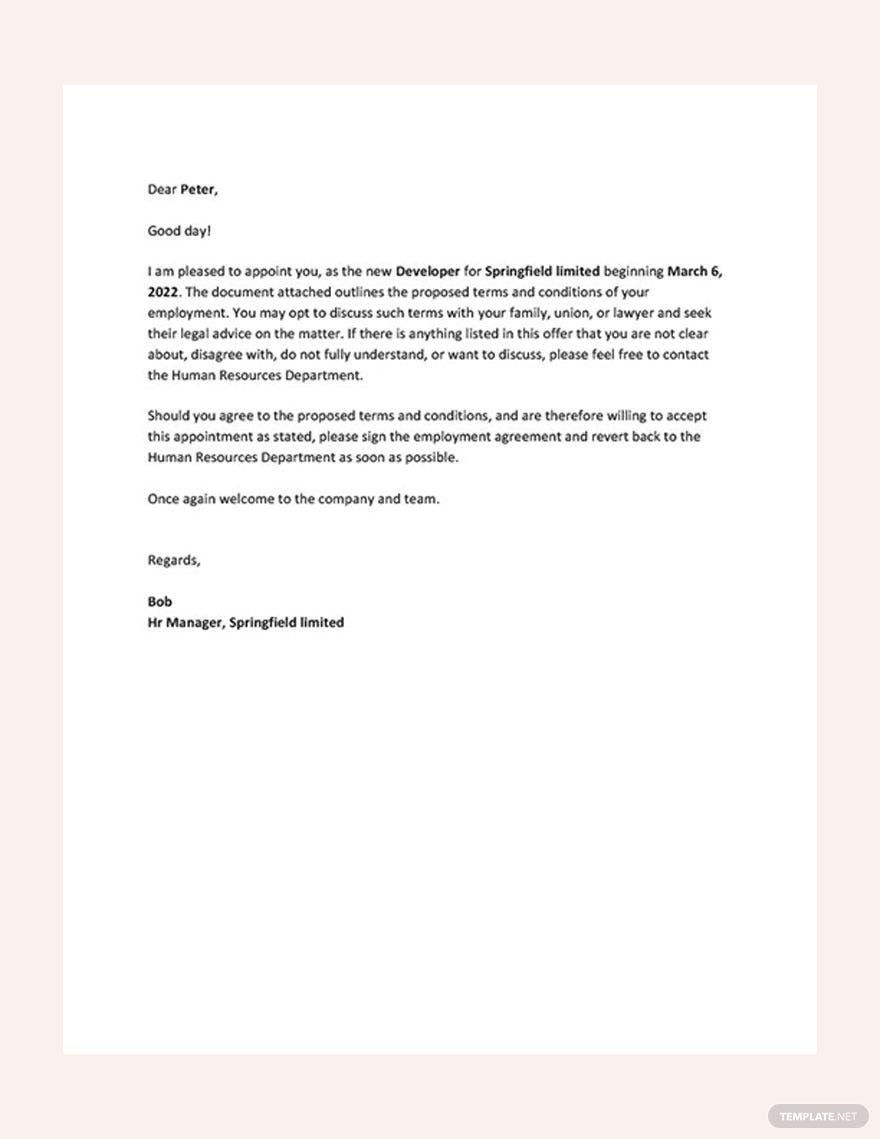
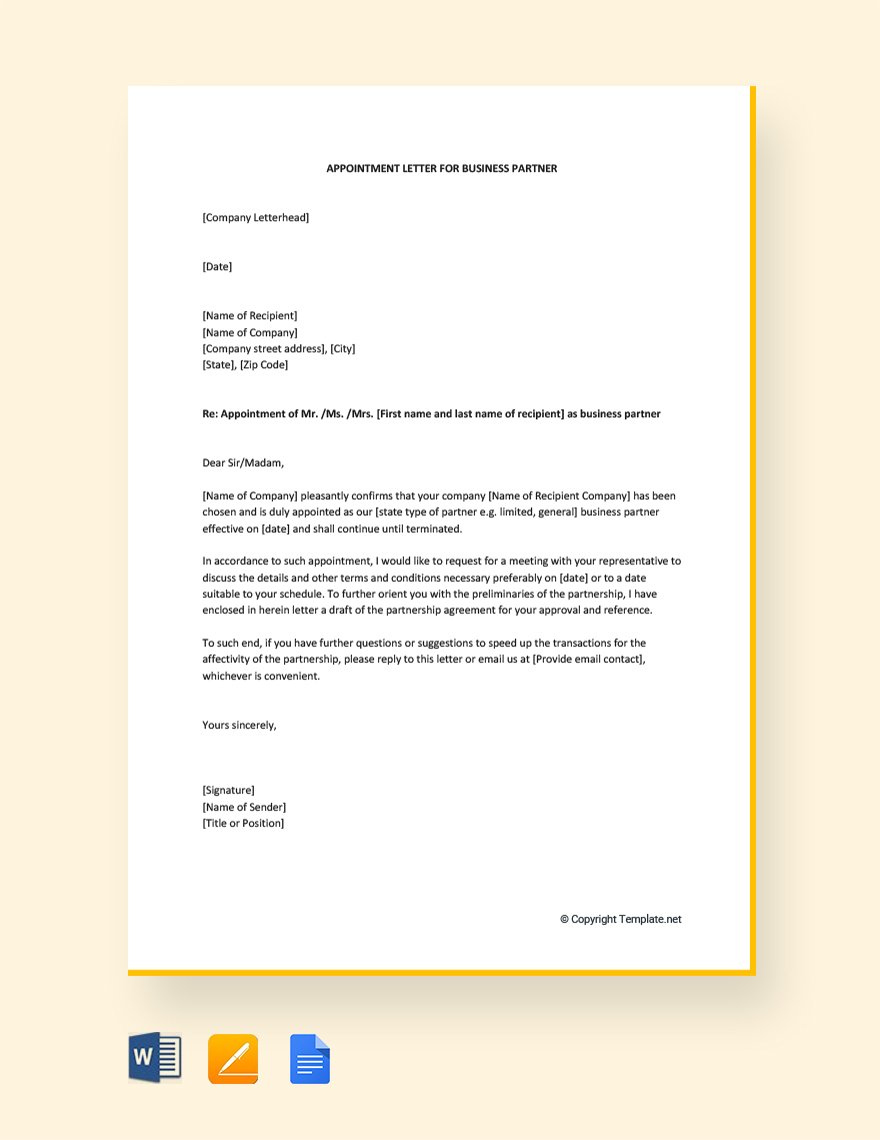
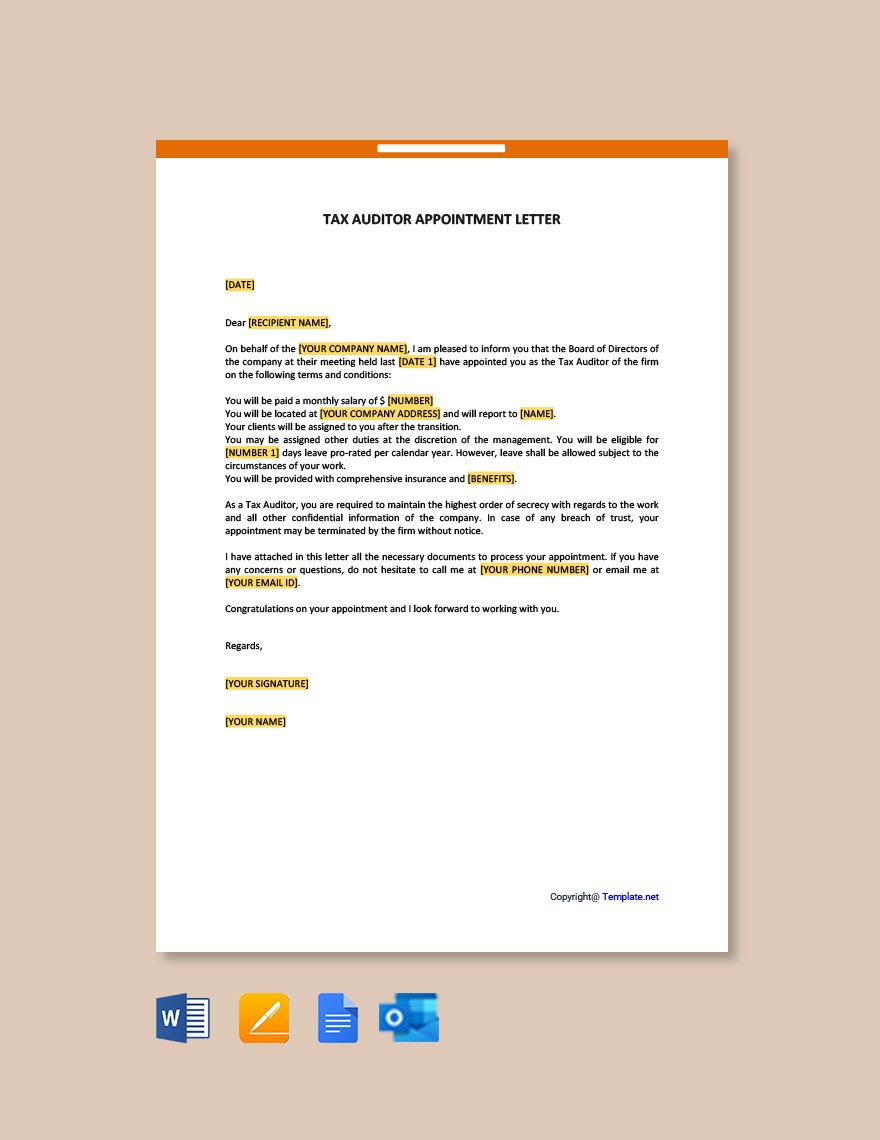
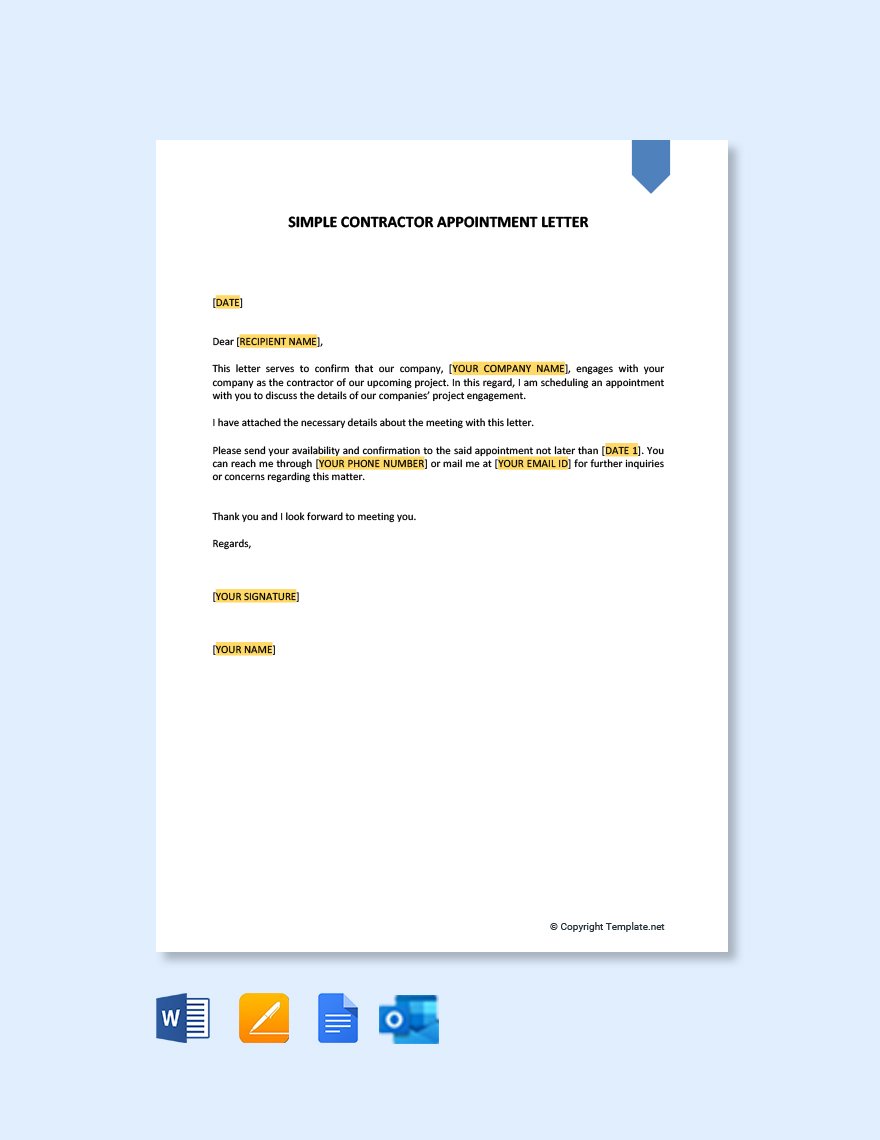
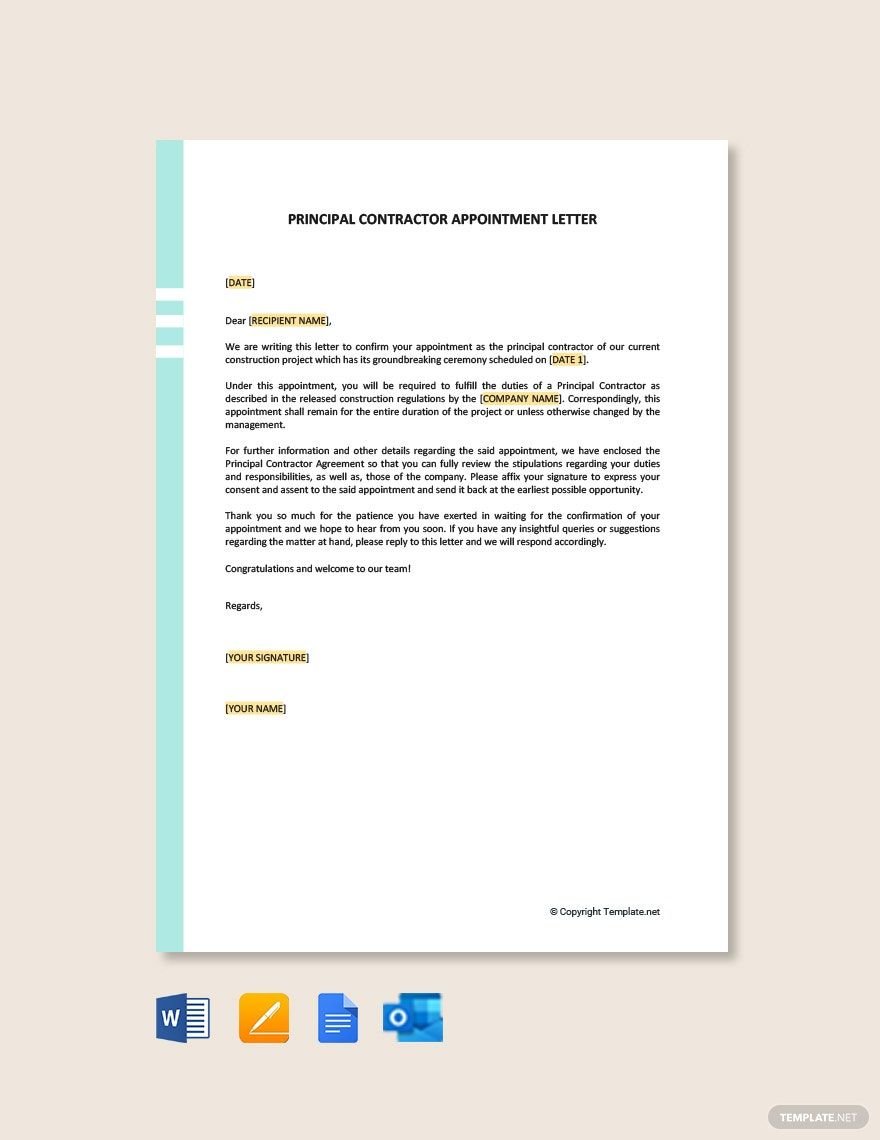
Already managed to set up an appointment but having trouble getting the other party to participate? Then what you need are our professionally made appointment letter templates! They're guaranteed to inform your invitee about when and where your eventual meeting is going to take place. Each template is compatible with every version of Apple Pages and they are all readily available for you to download. If you're looking for even more high-quality templates, then our subscription plans can grant you access to all that we have to offer. So take advantage of this opportunity and sign up now!
What Is an Appointment Letter?
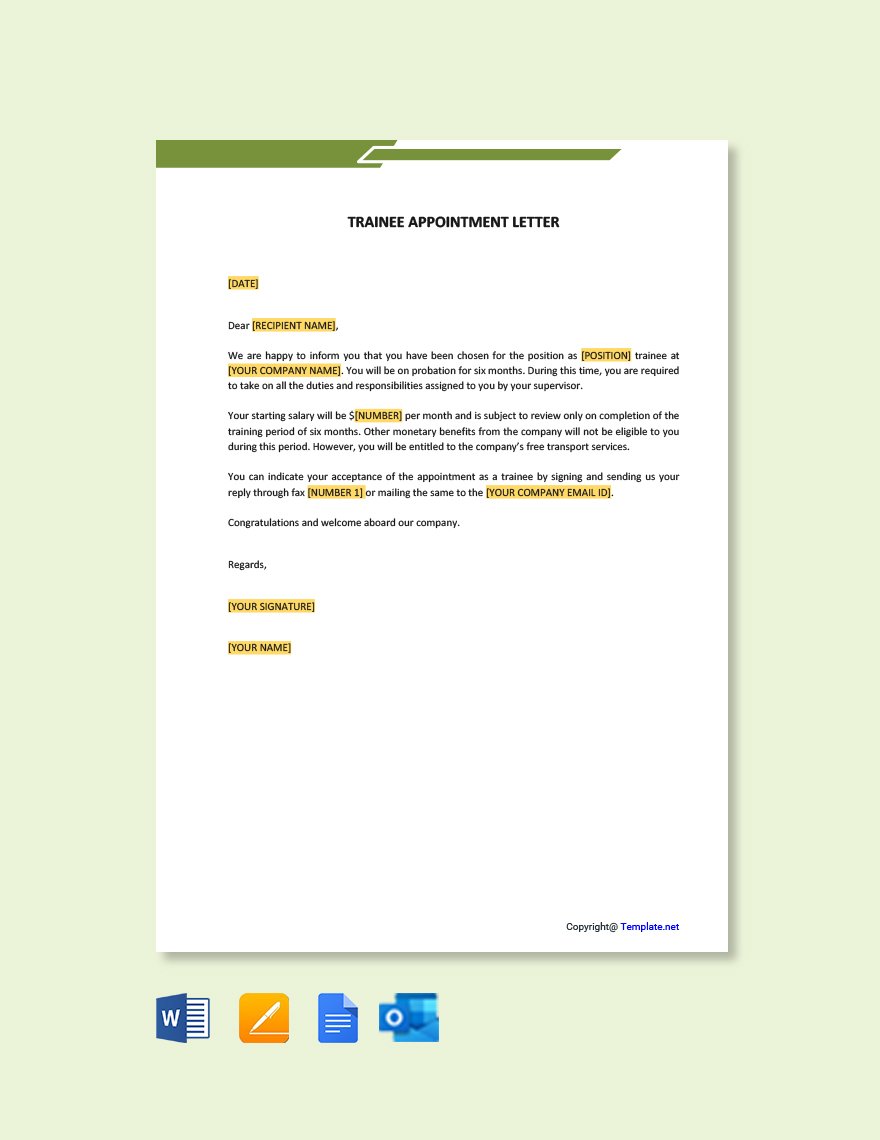
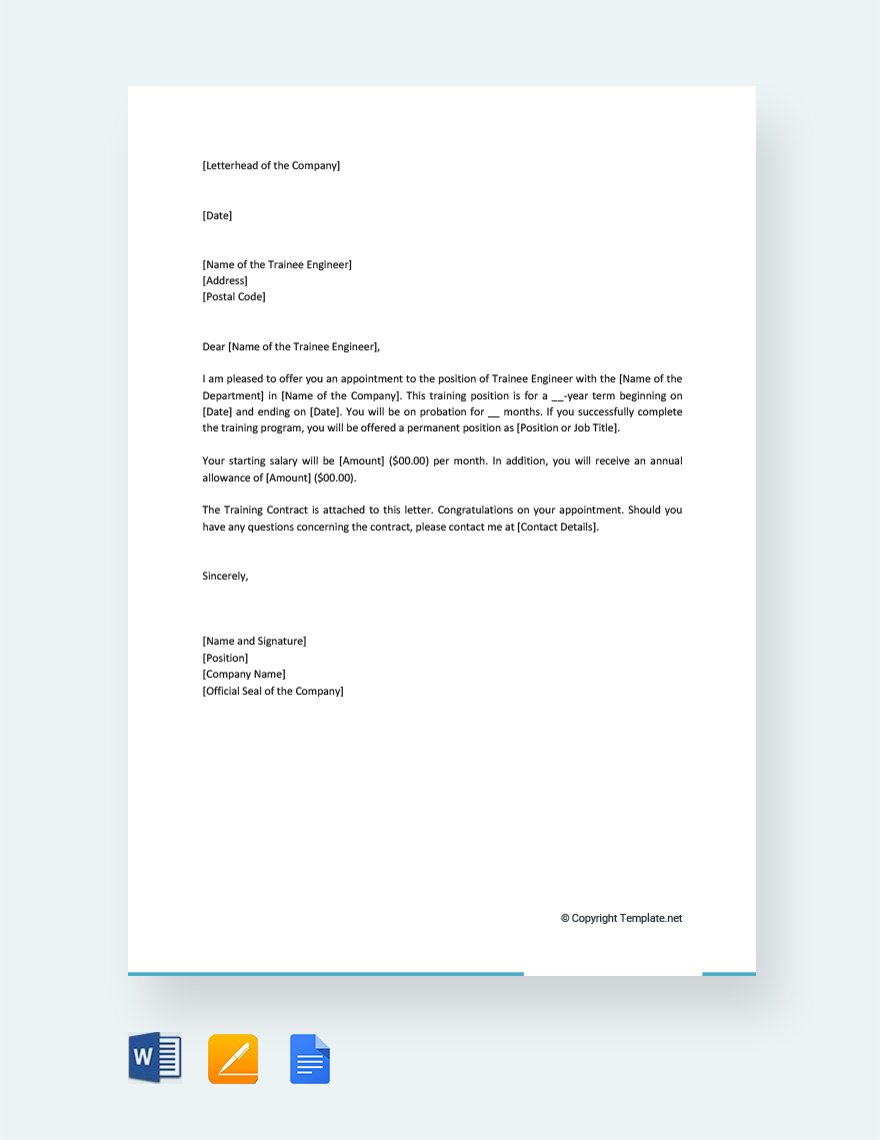
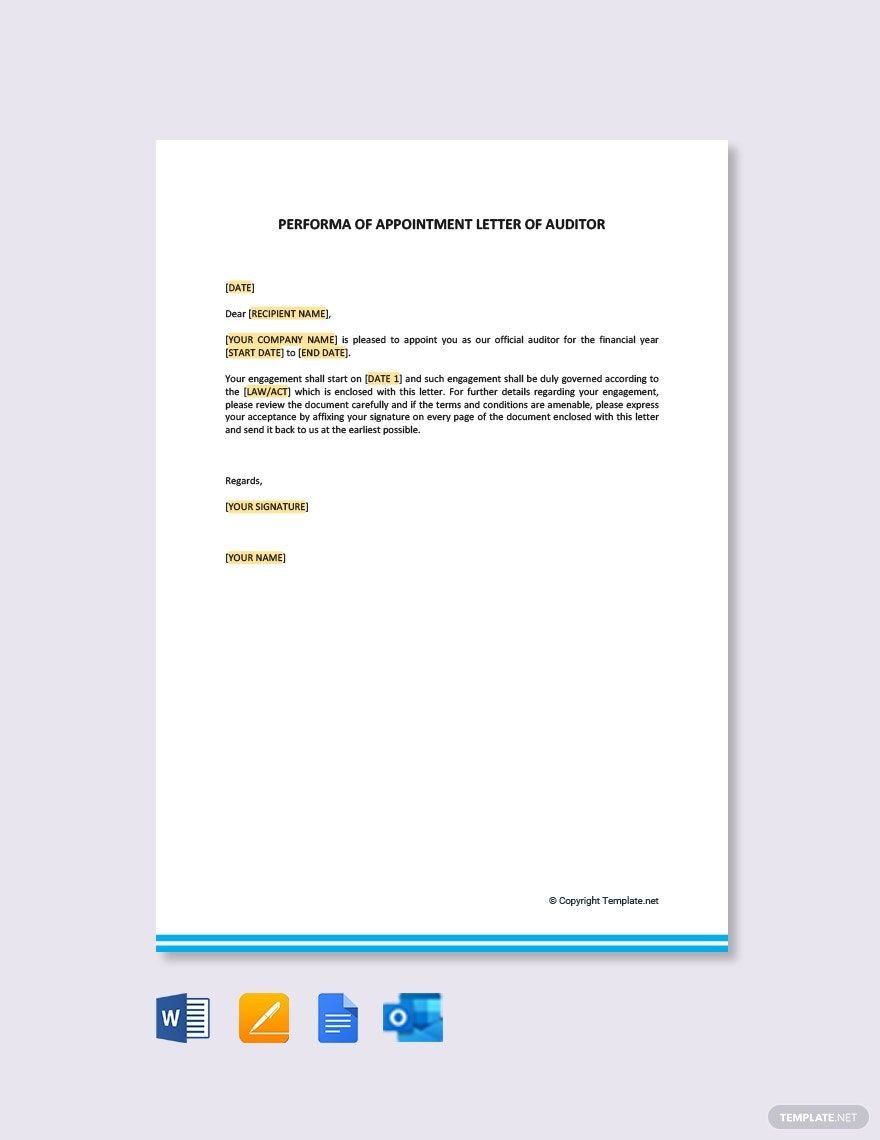
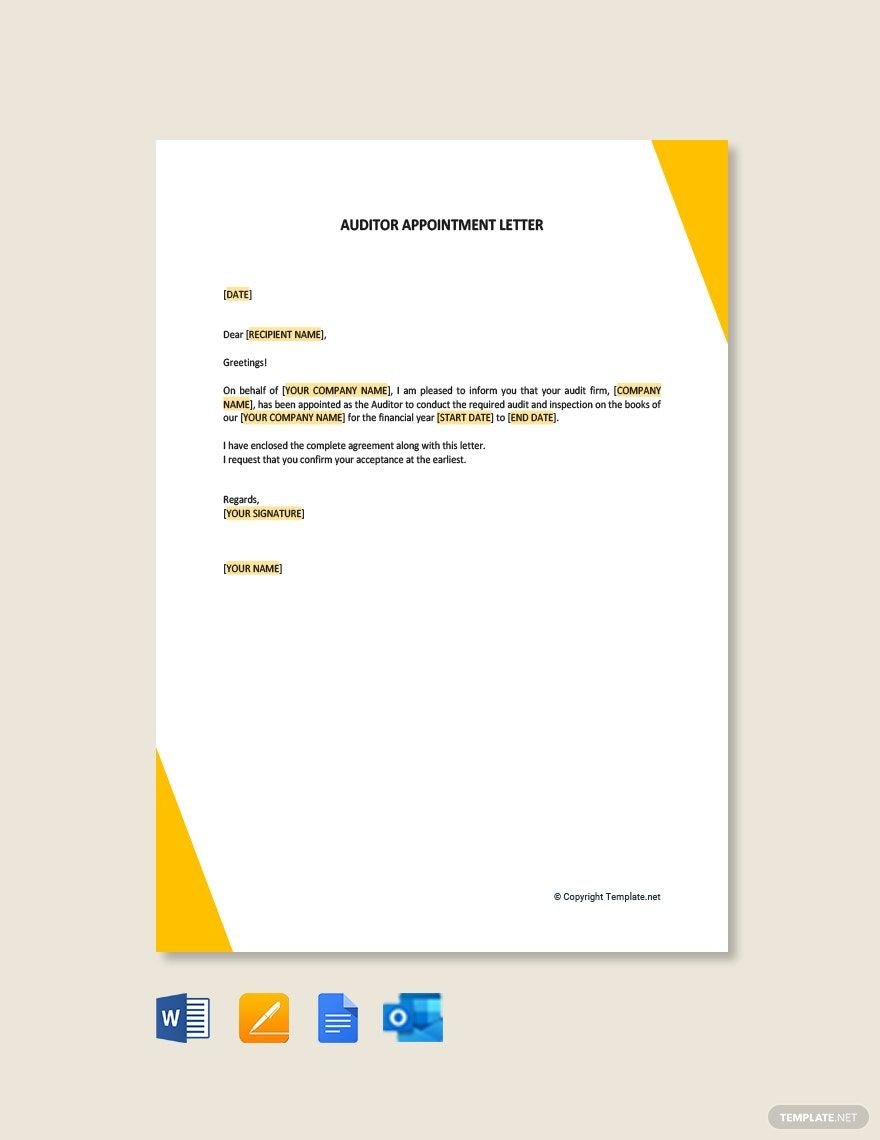
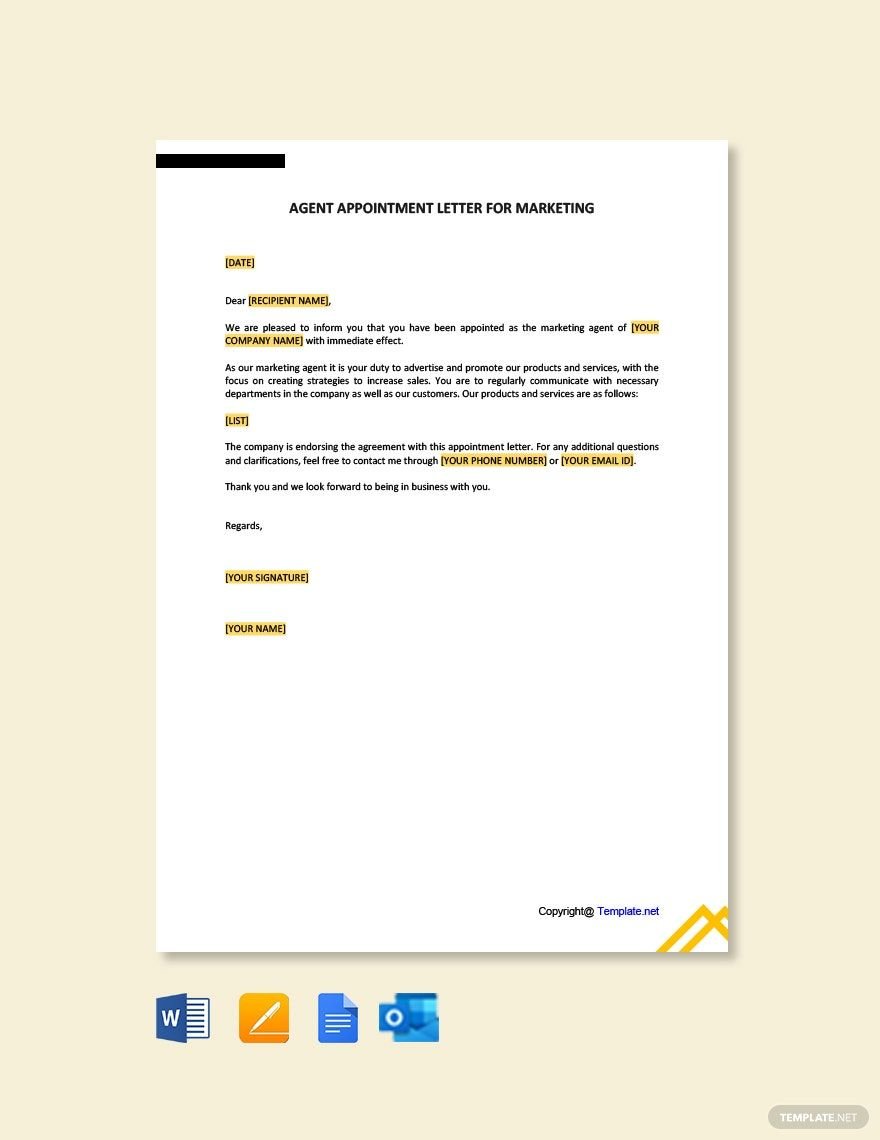
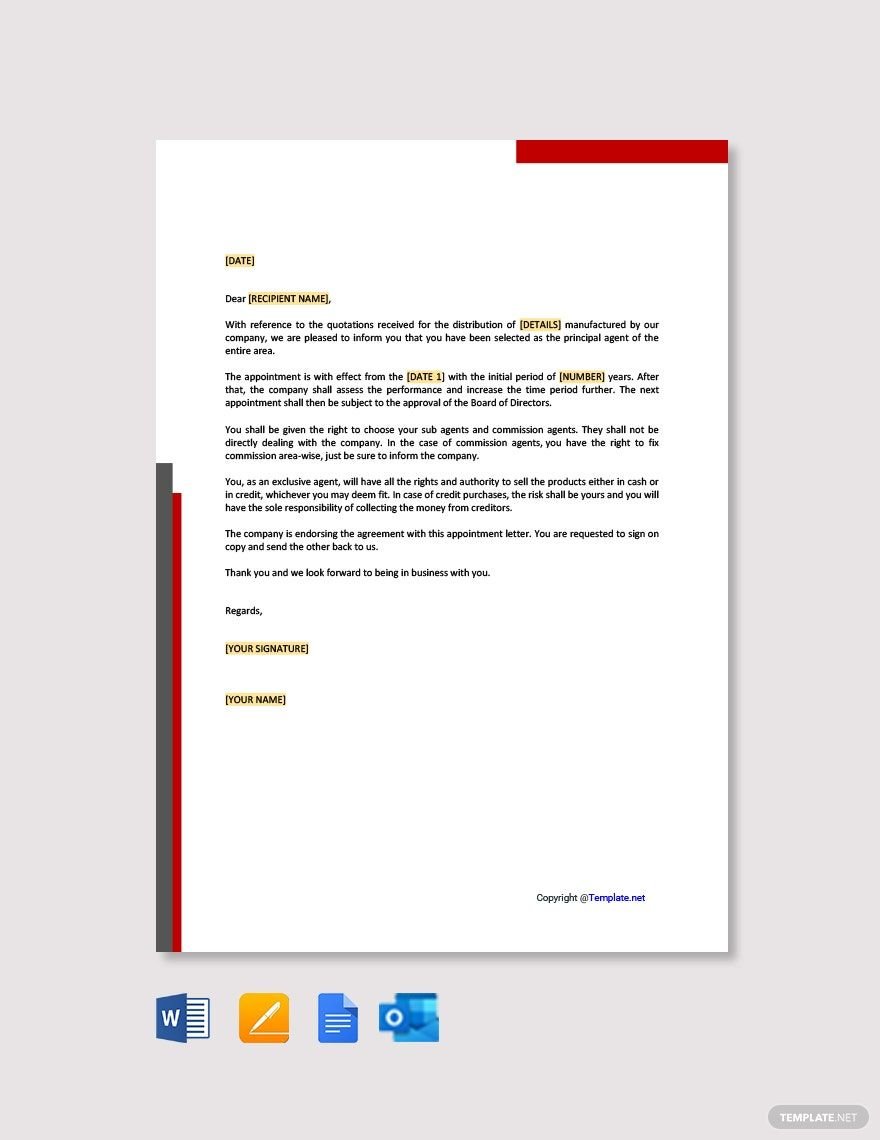
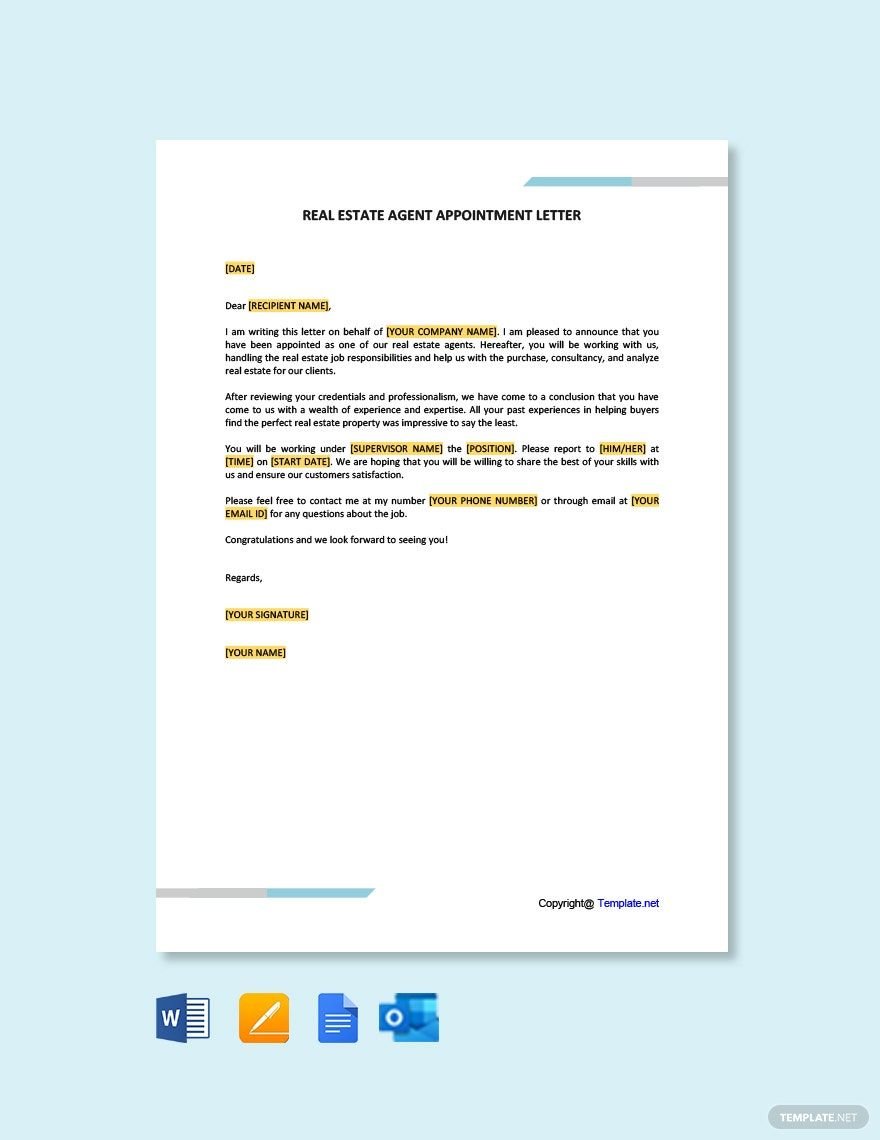
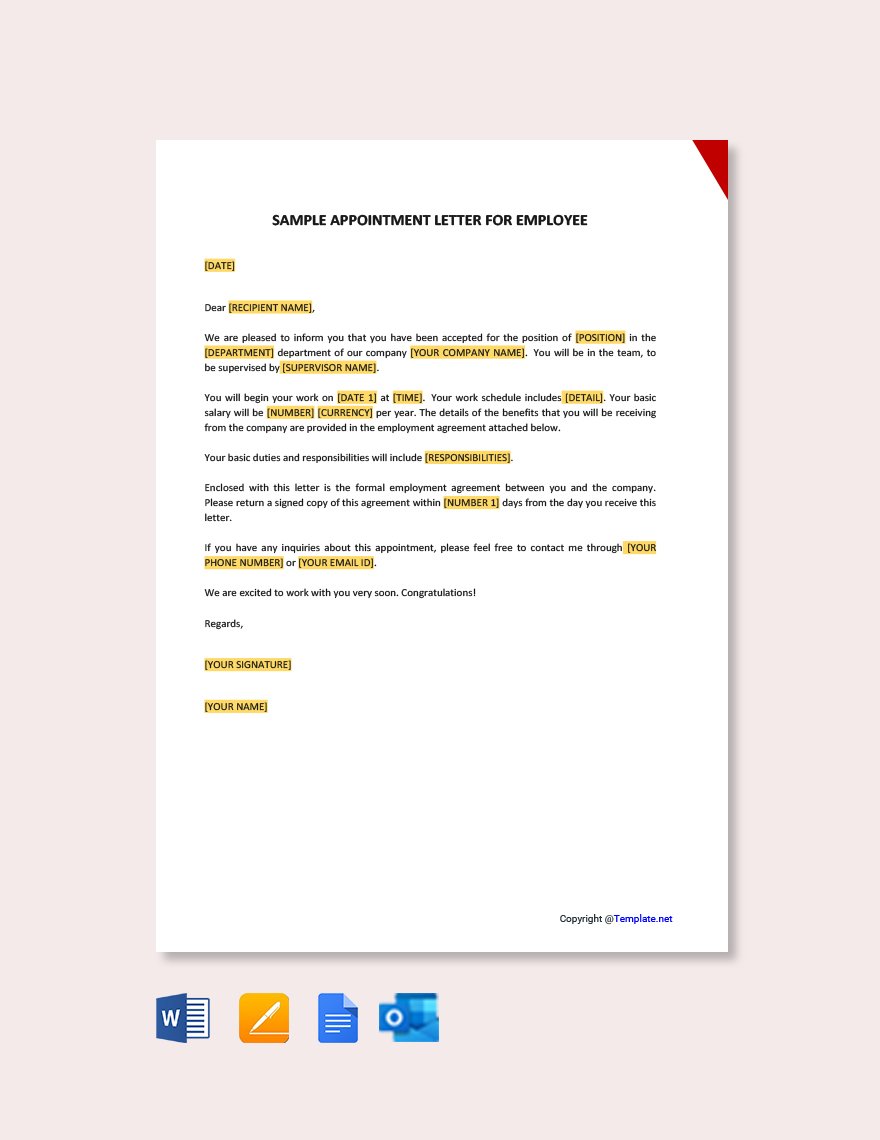
It's a type of sample letter that one sends to inform the recipient about his/her appointment with you in the future. Most businesses send these to certain individuals in order to set up employment interviews or for internship offers. However, know that this type of letter isn't just for appointments that are job-related. They can also be used to invite someone over to discuss personal matters that can affect one of or both parties that are involved.
How to Make an Appointment Letter?
1. Launch Apple Pages
If you're using a Mac, then you should have the Apple Pages software already installed. Open it up and you'll then find yourself in the template chooser. Although you can always start from a blank document, know that using an appointment letter template will dramatically speed up the creation process. It's all a matter of you searching for the ones that come pre-installed with Apple Pages or downloading and exporting the one you want to use.
2. Point Out Who It's From and Who It's For
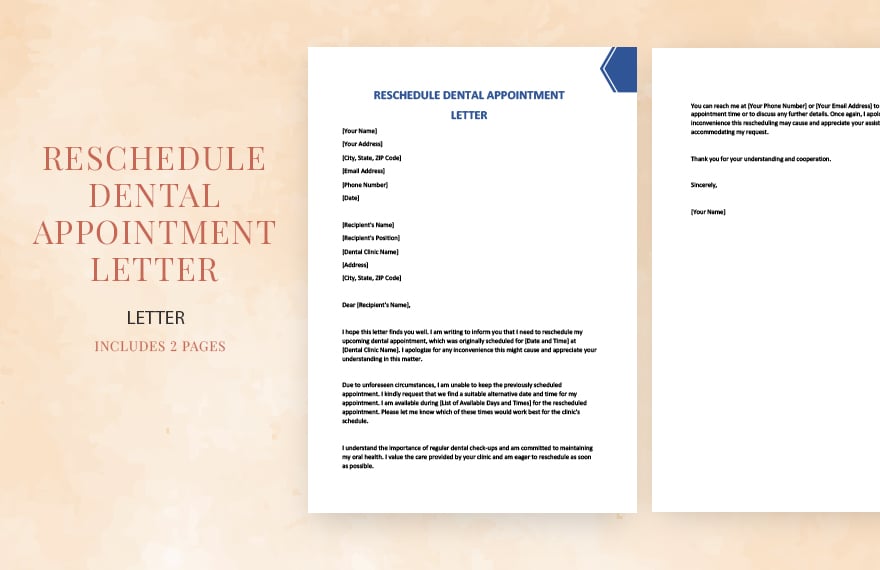
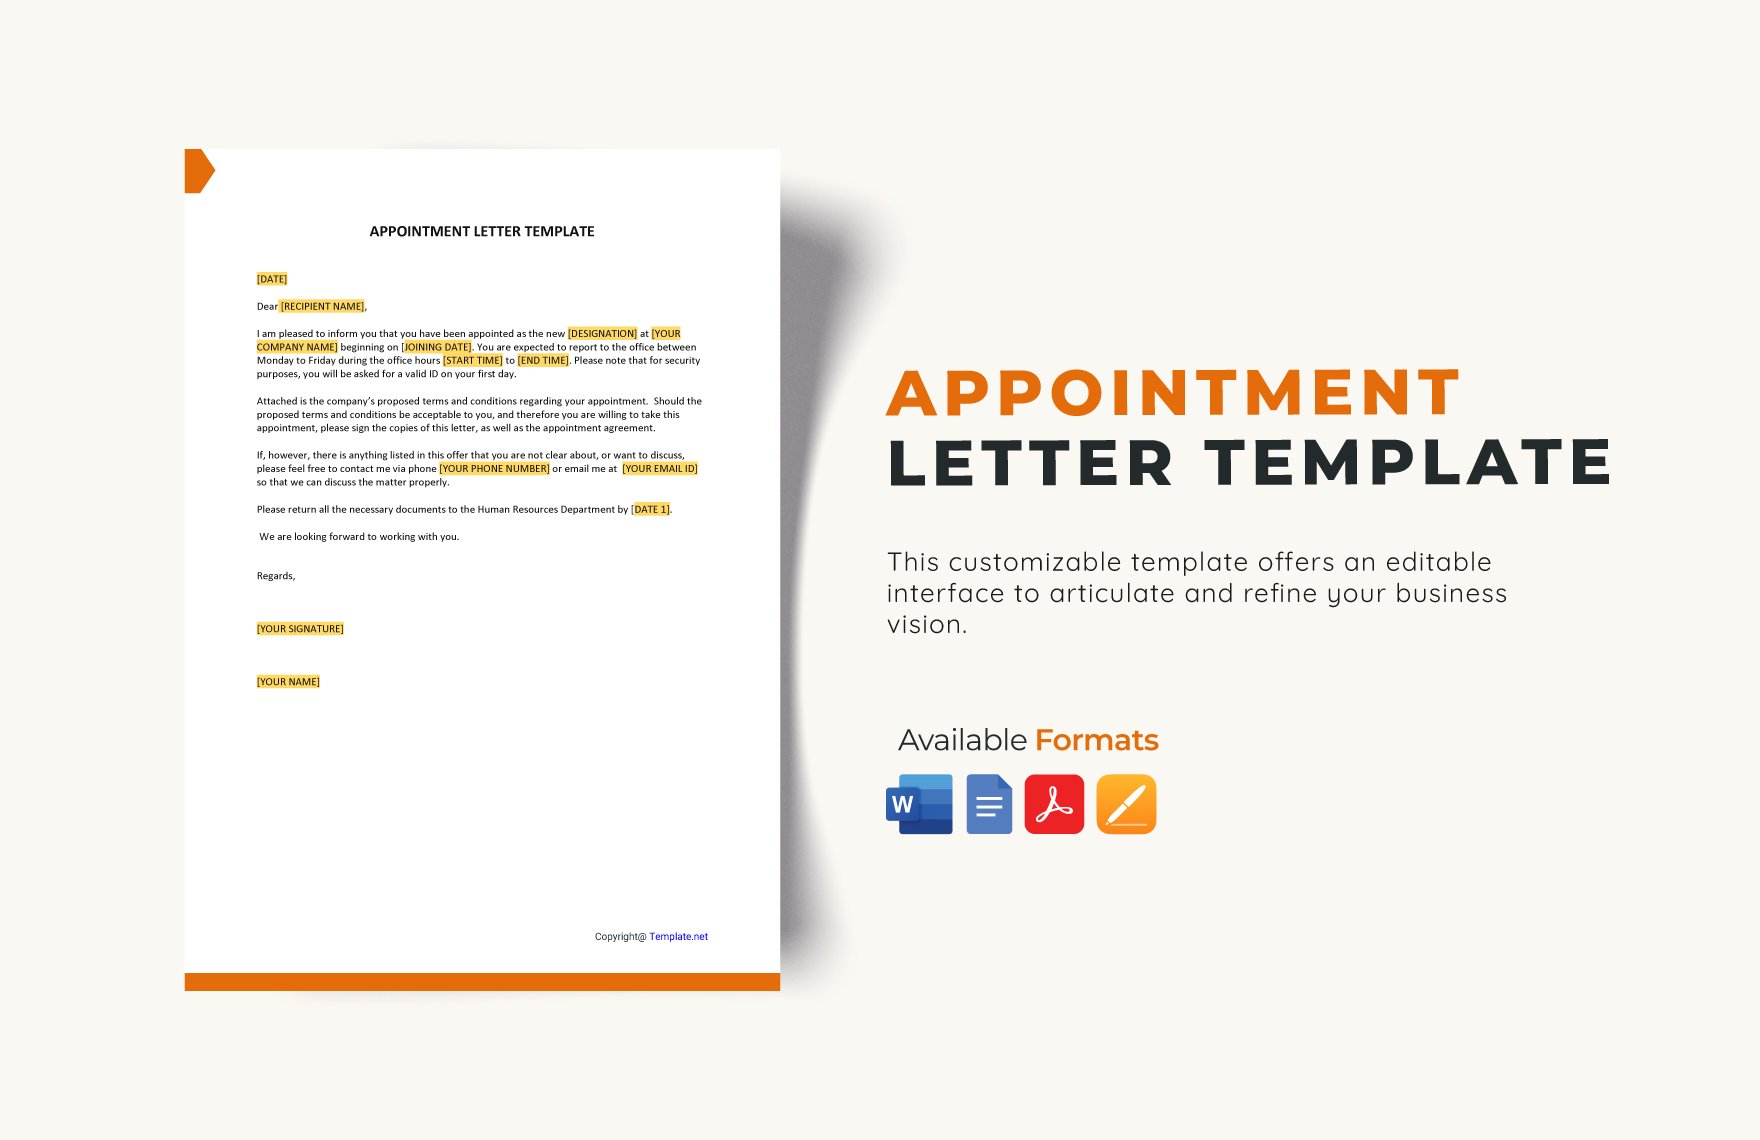
If you decide to make one from scratch, then start by typing in your basic information. You'll want to include your complete name along with that of the company you work for, its address, and its contact details. Next is to put in the complete name and address of the individual that you're sending the letter to. Don't forget to include the complete date that tells the recipient when the letter was made.
3. Greet the Recipient Formally
Any appointment letter that you end up creating needs to start with a proper greeting. Make sure to address the recipient appropriately with either "Mr." or "Ms." followed by his/her last name. Remember that you have to keep the tone of the letter formal at all times. This means that you have to keep it up from the beginning until the end.
4. State the Letter's Purpose and Go Into Detail
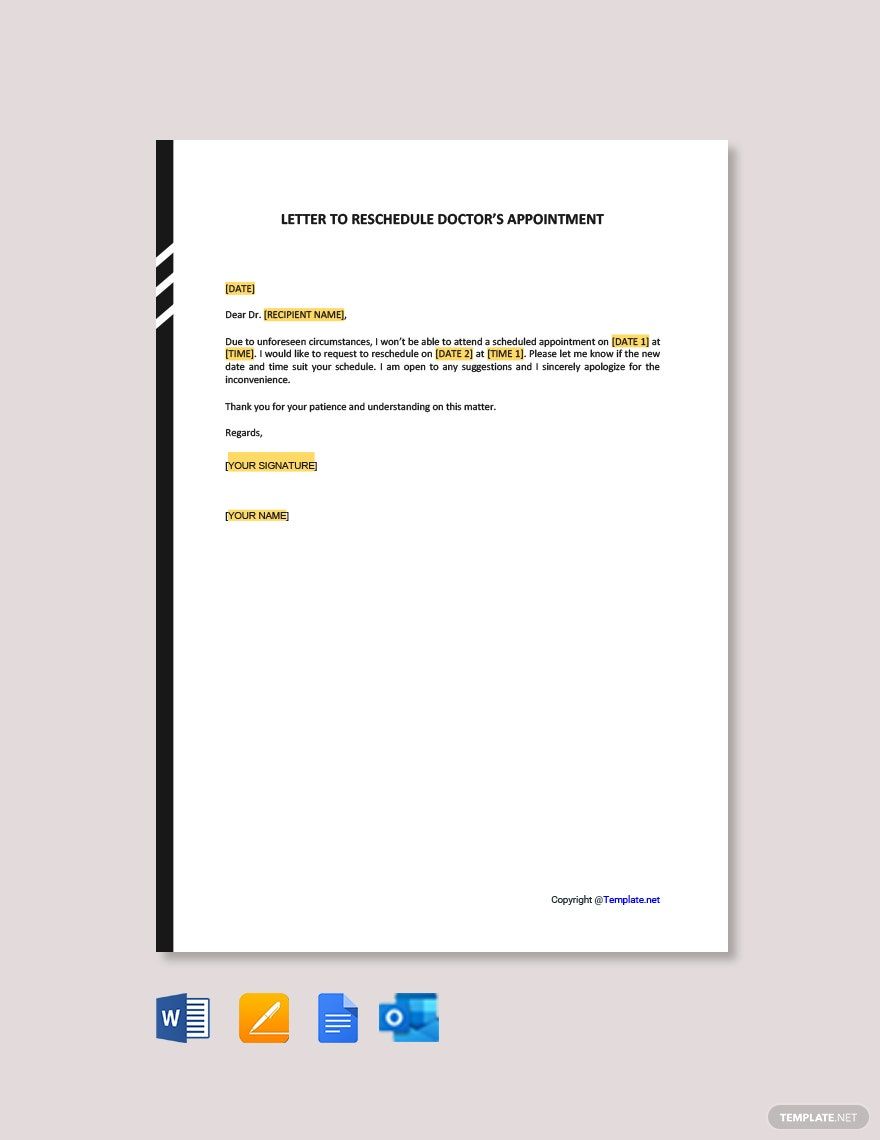
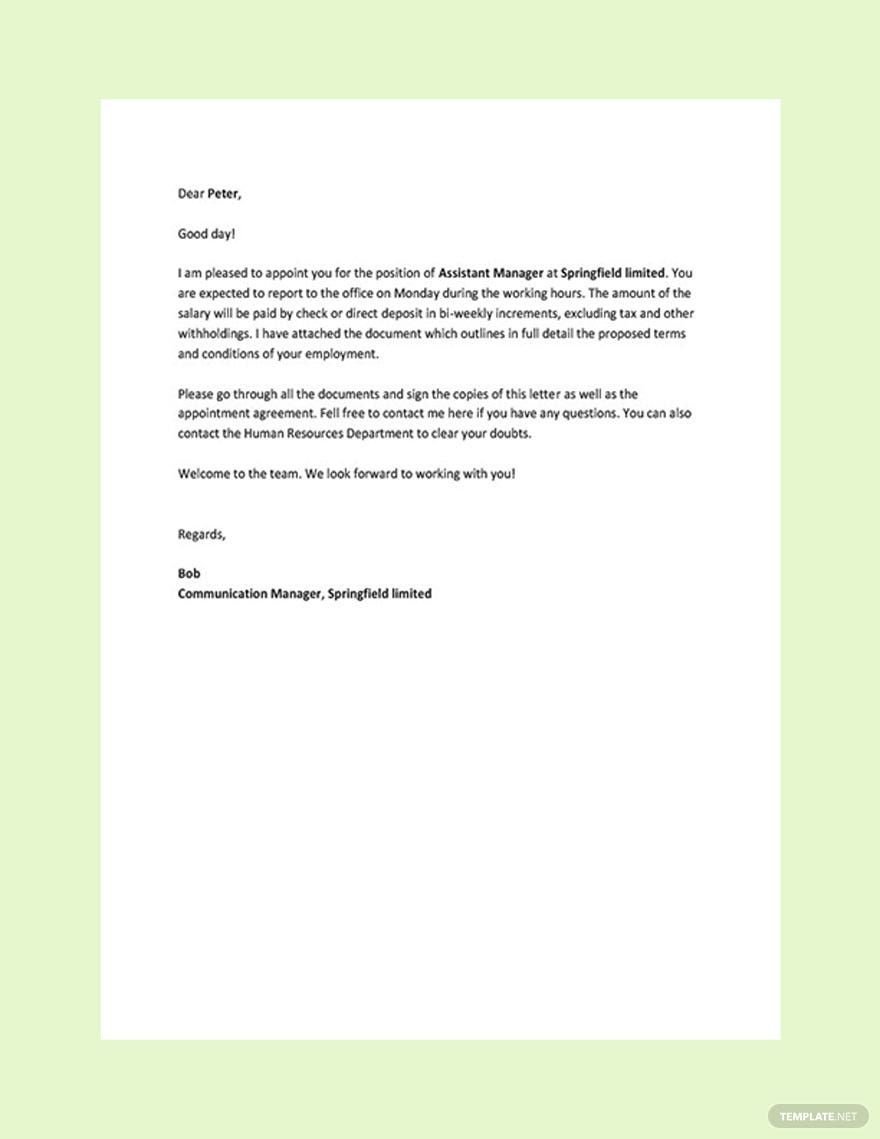
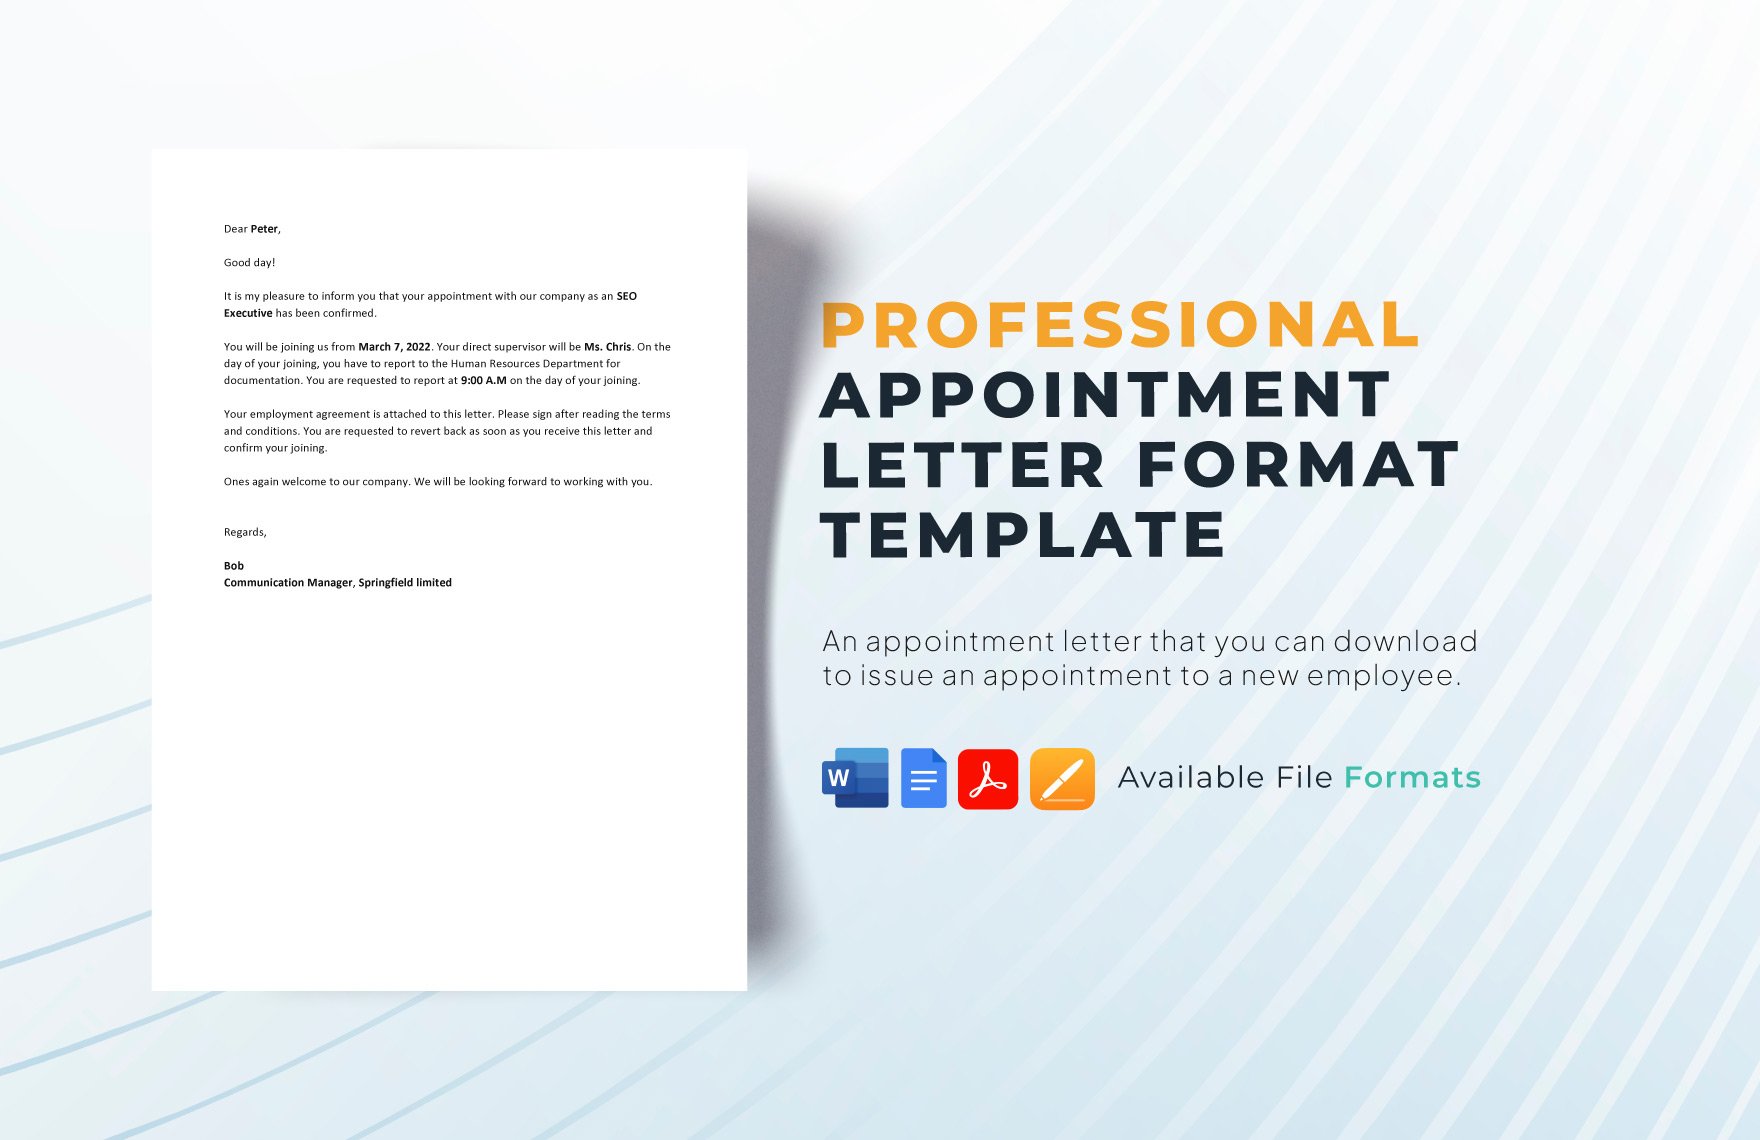
The first statement should immediately point out the appointment that you're inviting the recipient to. Make it clear as to what type of appointment it's going to be. Whether it's to meet up for a contract signing or your standard doctor's appointment, you'll need to provide important details such as the date, time, and the place in which it's going to take place. Depending on the type of appointment letter, you may have to include additional information. For example, one that's meant to discuss the finalization of another's employment will require information on general duties, salary, termination, etc.
5. Close the Letter
It's usually best to formally remind the recipient that you are expecting him/her on the day of the appointment. You should also consider including your contact number so that the recipient may contact you if there are any questions or concerns. Lastly, close the letter by putting in your complete name and signature at the bottom. Once that's done, be sure to save your work so that you can use it again in the future.